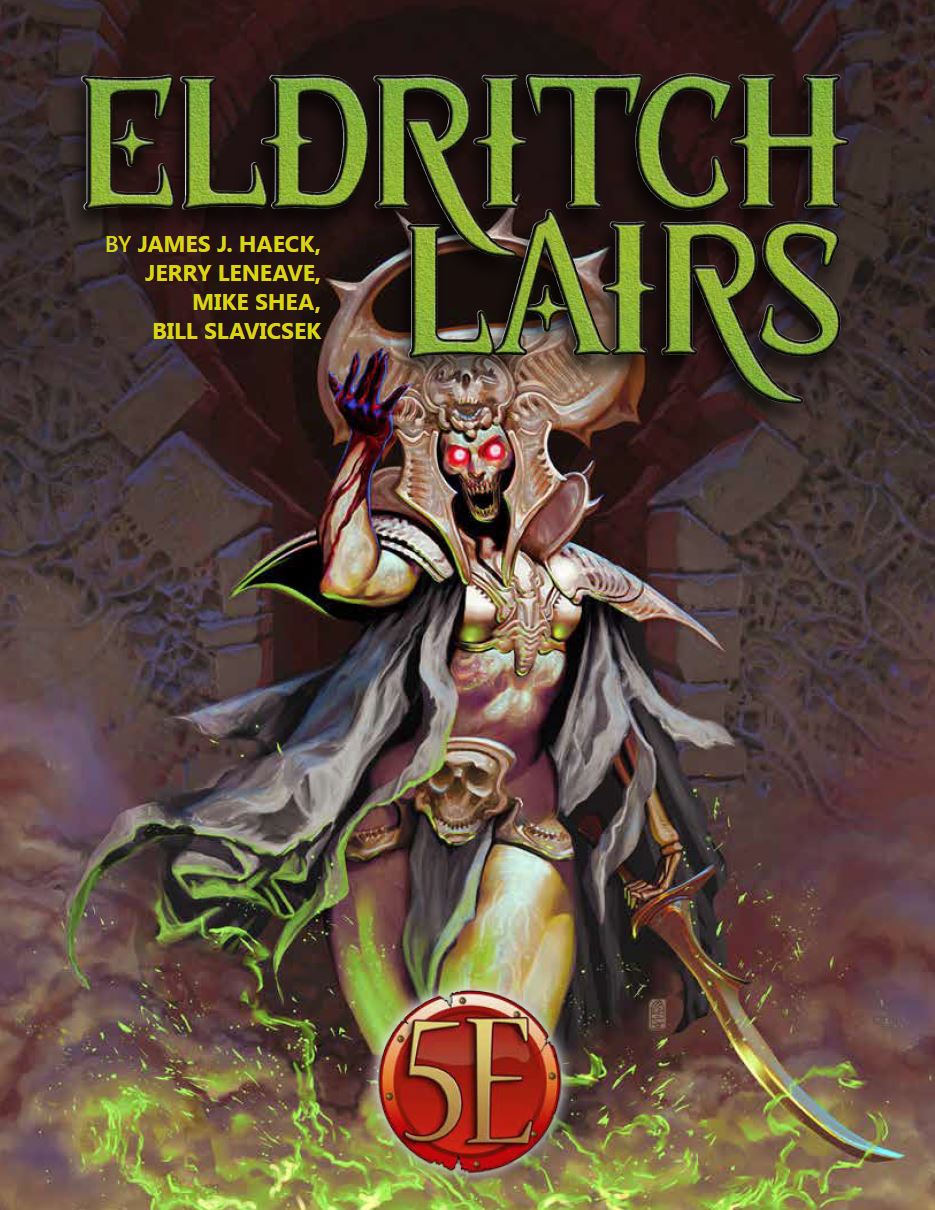
The interrogation of the rogue wizard, Askalan, by the magocracy of Bemmea exposed his creation of unstable magical artifacts built in a ruined ley-line conduit. This Leystone, built by the mages of Vael Turog, had been dormant for centuries until Askalan discovered a way to power it. Now, after his untimely death, the Leystone's unstable power continues to grow at the edge of the Western Wastes. The magocracy hires the characters to find the awakened Leystone, uncover the mystery of this growing power, and return the source of the power to Bemmea for study.

Tomb at the Dragon's Spine is a companion adventure made to go along with the events unfolding during the middle sections of Folio #14 (WS1 Isle of Jade). It contains the information needed to run a side adventure during the Isle of Jade. Many centuries ago, in an age forgotten, the last of the great sea dwarf masons died on the Isle of Jade after helping construct some of the final Corsair structures the world will ever see. Now, his tomb rests on the heights of the Dragon's Back, and evil has crept into the tomb. Only the brave few might now pass the threshold for the treasures that certainly lay within. While crossing the deadly 'Dragon's Spine' of the island's interior, the party encounters a darkness at the heights. Within the ancient stones the tomb of one of the last sea dwarf master masons rests. Has the corruption of the island reached the tomb? Only exploration will reveal the truth, and the treasure. This adventure is formatted to both 1E & 5E gaming rules.

Are there actually vampires in Undermountain? The Baron of Blood demands that you find out! Part Two of the Vampire Hunt trilogy.

The time has come to fight back against Hillsfar. Elanil Elassidil tasks you with uncovering valuable information to be used in a strike against the leader of Hillsfar, First Lord Torin Nomerthal himself. The only problem is that what you need is protected within the walls of the city.

You have traveled to the westernmost point in the Duchy of Starryshade as you make your way to the borderlands. Your final stop in the duchy is a small roadside inn called the Shepherd’s Spear Inn. While stopping for a respite you hear a few tales including a mysterious abbey nearby. This structure is said to only appear for a short time every three years. Magic and wealth are said to be lost within the walls of this structure and with little else to do this might be a final hurrah for your stay in Starryshade!

In a dark cell, Rollo Bargamnn, merchant of Thyatis, turns away in disgust from his evil, green-skinned prisoner; capturing this wretch cost a ship and sixty gallant men. Then his heart hardens once more, and he resumes the interrogation. Here, perhaps, he may find an answer to the question that haunts him. What new evil is casting its shadow over the storm-swept eastern reaches of the Sea of Dread? The trading routes are no longer safe. The attacks of the green-skinned "Orcs-of-the-Sea" and the mysterious "Ship-bane" now go unchecked. Once their raids were random, but the influence of some unseen master has made them into an organized menace. Soon the questioning will be over; Rollo will know enough to track the threat to its lair. Then he will need a band of hardy adventurers brave enough to take on the task. You perhaps? TSR 9127 (Graeme Morris's name is spelled 'Grame' on the cover of this module)
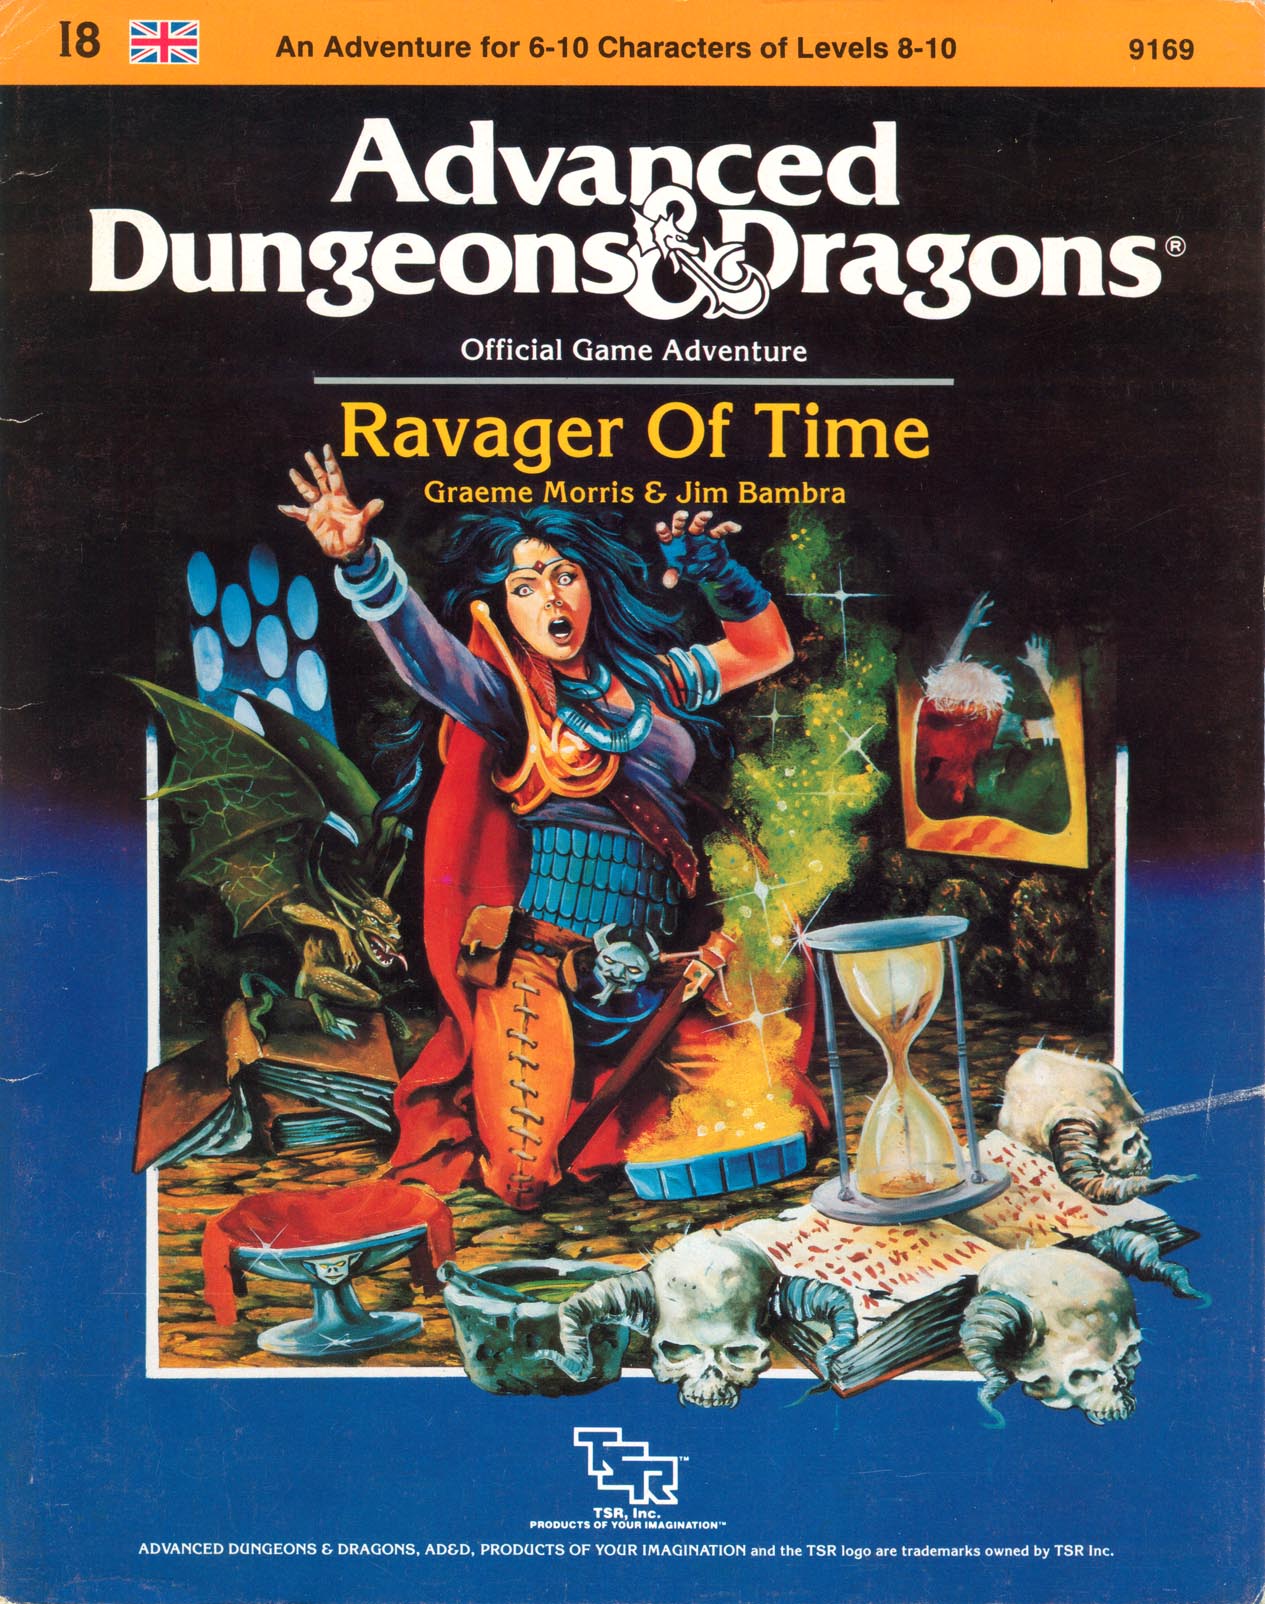
So this is the Ffenargh? Mile after mile of stinking bogs overlain by a swirling mist that clings to the skin and chills to the bone. Ahead, a decrepit causeway rises scant inches above the fetid waters and meanders its way through the twisted forms of stunted trees into the depths of this forsaken land. For years, these blighted fens have been ignored by the outside world, but now an urgent summons brings you into the Ffenargh, to the Court of the Lords Spiritual at Eylea. A foul murder has been committed. Geoffrey D'Arcy, Lord of Myrkfast, has been slain by his own son and you are called upon to find out why. Death has always hung heavy over this mire, but now an ancient evil has returned to haunt the mist - an evil whose icy fingers reach out to crush any who dare delve its secrets. You who have faced death a thousand times, meet it now in ts most terrible guise. Can you defeat it, or will you fall victim to the Ravager of Time? TSR 9169

Silently, ponderously, they float through the Astral Plane, mammoth isles of rock adrift in an endless sea of silver. Once they were gods. Now they're little more than debris, petrified husks of fading belief and forgotten prayer. Yet for many, their memories linger, their dreams live on - and for some, those dreams are terrifying nightmares of vengeance, and conquest, and death. n the first, the heroes are drawn into an epic quest to uncover the secrest behind the retuns of an infamous AD&D villain long thought dead. In the second, the city of Sigil threatens to explode in a faction war for control of an old church and a mysterious force lurking within it. Dead Gods also features a Monstrous Compendium entry for a brand new fiend, full color illustrations to bring scenes alive for players, and a poster sheet of maps for the Dungeon Master. Dead Gods builds on story elements first explored in the Planescape adventure anthology The Great Modron March, though that product is not required to use this one.
Strange doings are underfoot in the wild hills bordering the realm of decent and civilized folks. Villagers and cattle have gone missing; woodcutters have disappeared; misshapen beings have been seen shuffling through the forests. Some brave villagers have tracked a group of stolen oxen as far as the rocky banks of a small river in the hills. The trail disappeared down into a fissure in the limestone rock, where a fast-running stream plunges down to the dark caverns below. Gird your loins, stand behind the dwarf, and get ready to face The Pod-Caverns of the Sinister Shroom!
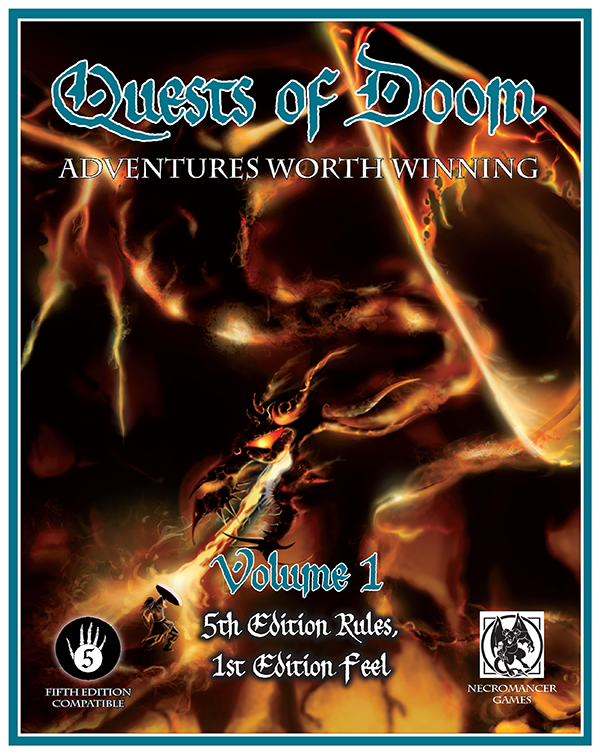
Ra’s Evil Grin challenges adventurers of at least 11th level who are seeking a powerful magic item—the globe of Arden. If a different item suits your campaign better, another appropriate powerful item can be substituted as the final objective. This dungeon culminates in a battle with Dendorandra, a lesser marilith known as a dark daughter. As a lead-in to this adventure, the GM may use a map from another treasure hoard showing the location of the globe (detailed more fully in “The Legend of the Globe of Arden,” below) or a priestly tome describing Arden, the long-dead avatar of Ra, and the wondrous powers of an unknown artifact called the globe of Arden. Such a tome might mention that the globe emits rays as intense as those of the sun, destroying all they touch. In any event, characters should need to consult with sages and oracles to determine the location and history of the globe and dungeon. A sage could also provide a map to the dungeon’s location, referenced in the “The Legend of the Globe of Arden,” below. We set the dungeon on a small, remote island far across the sea, but you can relocate it to suit your campaign. This dungeon provides numerous puzzles, a few traps, and only two monsters. Those monsters, though few in number, should challenge and threaten even the most combat-hardened party—particularly after the party encounters all the vicious creatures that inhabit the Island of the Globe.
An old-school dungeon adventure! Explore (and possibly claim and re-open) an abandoned gem mine. 8 pages, 16 rooms, weird monsters, eerie situations, arcane technology and iridescent jewels! For use with old-school or OSR RPG systems.
Throw your party into an action movie in this pulse-pounding, single-session adventure inspired by Die Hard. This adventure sends your party to celebration of the winter solstice, on the top floors of an archmage's tower. When a group of mercenaries led by a revenge-seeking criminal mastermind crash the party and take the guests hostage, the adventurers are plunged into their own real-life action movie. Yipee Ki-Yay! General Features - Designed for a level 3 party - Playable in 3-4 hours (and playtested) - Gritty and dangerous; the party starts without any weapons or spellcasting and must ambush the mercenaries to arm themselves. - Includes 8 new magic items and 3 new stat blocks. - 7 fully-mapped floors of the wizard's tower, modeled after the floorplans of the real-life building where the original Die Hard was filmed. Why Players Will Love It - Your choices matter! This is not a linear adventure by any means. You're dropped in a dangerous situation, deprived of your gear, and what happens next is up to you. - You're in an action movie! Ever wanted to crawl around air ducts or up elevator shafts, or swing from a roof and smash through a window? Now you can! - Deadly, but with a safety net. The first to die gets a fun surprise, and stays in the game. - Fun loot! If you continue with these characters after this adventure, you'll have some fun new toys to play with. - It's Die Hard! If you're a fan of the movie, you'll be a fan of this adventure. Why GMs Will Love It - It's flexible and easy to run, and rewarding without being overcomplicated. - A quick-reference page contains all the information you might need at a moment's notice, including suggested on-the-fly combat encounters, NPC names, and a cast list with roleplay suggestions for each character. - A plot checklist to help keep you on track during the game. - Most importantly, information is right where you expect to find it.

Unveil the forbidden secrets of Nog and Kadar! The Nogaro River has seen the rise and gall of countless empires, unequaled in their evil and terror. Buried but not destroyed, their legacy lives on, shrouded by the tangled jungle and by time itself. With Ruined Kingdoms, bold explorers can at last lift the veil of oblivion and unravel the mysteries of a dark and sinister past. Inside you'll discover: A 32-page campaign booklet describing the Ruined Kingdoms and their many secrets. A 64-page book packed with adventures-nine plots of intrigue and danger that transport player characters from Dihliz to Afyal and into the heat of the ruin-choked jungle. Adventurers face yak-men, genies, and giants, and unearth artifacts of awesome magical power. An 8-page booklet filled with villainous women and deadly reptilian monsters. Six cardstock sheets featuring detailed maps and player aids. A stunning poster map of eastern Zakhara, depicting the twisting valleys and ancient capitals of the Ruined Kingdoms. Recommended for use with the Arabian Adventures rulebook. TSR 9440

Greetings! I've created a sea-themed supplement that you might find uuseful: Encounters on the Savage Seas is a 100-page supplement containing mini-adventures, NPCs, new ships, locations, and magic items. In all, the writers have produced 19 unique encounters, NPCs, and locations for you to add to any nautical campaign. We’ve even included scaling suggestions so they can be used with different party levels. •Visit the township of Badu - the village riding on the back of a gigantic dragon turtle •Encounter space pirates •Interact with goblin pirates commanding strange water vehicles •Roleplay with Loan Sharks •Endure the Fog of Horrors •and so much more.... You can view the 30-page preview by clicking this link:https://www.dmsguild.com/product/270757/Encounters-on-the-Savage-Seas Also, go grab my FREE playable race: Otterfolk: https://www.dmsguild.com/product/267692/Otterfolk I hope you enjoy the content if you pick it up!

Cleric's Challenge is a one-on-one AD&D adventure, made specifically for a Cleric character. Pommeville is a sleepy little town that seems like a good place to stay for the night. That is, until the dead rise from their graves and begin terrorizing the village! Ancient evil threatens to overwhelm the good folk of Pommeville unless someone can find a way to comfort the restless dead. A lone, player character cleric will have to be clever, courageous, and more than a little lucky to solve the mystery and save Pommeville from the mindless zombies that threaten it! TSR 9429

*THIS IS A D&D NEXT/5E PLAYTEST ADVENTURE* Imani, a Turmishan wizard and former adventurer, seeks the aid of heroes to infiltrate Dretchroyaster’s lair and recover the Diamond Staff of Chomylla—the key to powerful magic and wisdom locked away for thousands of years. In addition to his own sagely interest in the lore of lost Uvaeren, Imani recognizes the dangers of such powerful magic falling into evil hands. The dracolich has secured the staff in his lair’s cen- tral chamber, using ancient wards of protection that can be bypassed only by four artifact-idols once belong- ing to a cult of Bhaal. Each group of adventurers enters the dungeon through a different section of the dun- geon—a forgotten temple of Bhaal, a vast underground lake, a troglodyte village, or Dretchroyaster’s vaults. Dretchroyaster’s lair is no simple set of caverns and ancient ruins. It sits atop a source of great power and energy, which the dracolich and his Cult of the Dragon allies hope to use to unlock the secrets of the staff. Only by undertaking a unified assault against Dretchroyas- ter’s lair can the adventurers hope to recover the Diamond Staff and survive the dracolich’s fury. The adventurers must make their way through the lair and recover the Bhaalite idols that will help unlock the Diamond Staff, all the while dealing with the lair’s creatures and avoiding the dracolich as he pur- sues intruders. Entering the Chamber of the Diamond Staff, the heroes must overcome its magical wards and claim the staff before being slain by the dracolich and his servants.
When the Pathfinder-obsessed daughter of one Qadira's most powerful trade princes goes missing trying to impress the Society, her father angrily demands the Pathfinders track her down or face expulsion from Katheer. Tracking the missing princess leads you to an underground complex filled with traps, tricks, and a creature so powerful, she's lived for a thousand years. Can you save the princess and uncover the power of the Eternal Obelisk?

This adventure is designed for use with the Advanced Dungeons & Dragons game and the AD&D Battlesystem Fantasy Combat supplement. It cannot be played without these games This is the first Battlesystem supermodule. The tiny village of bloodstone pass s menaced by an army of thousands of brigands - orcs, goblins, giants, and human renegades led by a powerful assassin. Outnumbered and helpless, the villagers must pay tribute in gold, food...slaves. Two villagers have traveled far to find aid for their people. They have turned to you, brave and powerful adventurers, as their only hope they cannot afford to pay more than a few silver pieces a day, but their need is great. You are invited to save the people of Bloodstone Pass. Can you organize a defense, train and equip the peasants, recruit allies, gather intelligence?and win the war? Bloodstone Pass is an exciting good aligned, high-level (15+) adventure that combines role-playing with the thrill of mass combat. TSR 9122

Frequent visitors know that the Adurite culture once ruled a large portion of the known world but has now all but disappeared. In this adventure a relic Golem that guards a shrine has been duped and gone on a rampage. This adventure was originally created for a “filler” adventure on a day when the entire party could not adventure. Spoiler alert the Golem is not the worst thing the party will face! At 29 pages this adventure has a little bit of everything.

The air is moist. The moisture mixes with your sweat — the heat is relentless. The drone of insects gives you headaches, and the fever from the infected wounds has left you delirious. Your raft is damaged, and there are spirits in the trees. You’ve only been here for three days. Fever Swamp is a hex-crawl sandbox adventure compatible with Lamentations of the Flame Princess and most other Dungeons & Dragons clones.