
Deep in the jungles of Xen'drik, a relic of great power has lain hidden for thousands of years. Now, determined adventurers race against time and the nefarious agents of the Order of the Emerald Claw to locate the relic, overcome unimagined obstacles, and unlock its ancient secret. The Order's hunt for the parts of an ancient creation pattern nears its conclusion, but other groups also seek this powerful item. Once all of the pieces come within close proximity of each other, the ancient intelligence awakens. Suddenly all parties have a new and powerful enemy to contend with...

Frequent visitors know that the Adurite culture once ruled a large portion of the known world but has now all but disappeared. In this adventure a relic Golem that guards a shrine has been duped and gone on a rampage. This adventure was originally created for a “filler” adventure on a day when the entire party could not adventure. Spoiler alert the Golem is not the worst thing the party will face! At 29 pages this adventure has a little bit of everything.

A recent earthquake has brought forth ancient evil from beneath the waves, to terrorize a sleepy coastal town. People are disappearing. The heroes will sail to an ancient, steam-powered temple in the ocean. They'll encounter mad fishmen, deadly traps, and ancient horrors that slumbered until now.

The land of Felora is a stable pedocracy off the Feso Seaway. Generally considered a safe place to live because of a low humanoid population and a large defensive wall that rings the country. The same cannot be said for the area to the west known as the Wildlands. Once a thriving human land the area was taken over in humanoid raids a century and a half ago. With the aggressions against the wall lessening the Council of Wisdom is organizing groups to go in and explore the land for possible "taming". Potential explorers will be paired off with non-combatant survey teams. Are you new adventurers ready for a job? Played at Epic Nerd Camp '17!

The Legend of the Black Monastery Two centuries have passed since the terrible events associated with the hideous cult known as the Black Brotherhood. Only scholars and story-tellers remember now how the kingdom was nearly laid to waste and the Black Monastery rose to grandeur and fell into haunted ruins. The Brothers first appeared as an order of benevolent priests and humble monks in black robes who followed a creed of kindness to the poor and service to the kingdom. Their rules called for humility and self denial. Other religious orders had no quarrel with their theology or their behavior. Their ranks grew as many commoners and nobles were drawn to the order by its good reputation. The first headquarters for the order was a campsite, located in a forest near the edge of the realm. The Brothers said that their poverty and dedication to service allowed them no resources for more grand accommodations. Members of the Black Brotherhood built chapels in caves or constructed small temples on common land near villages. They said that these rustic shrines allowed them to be near the people they served. Services held by the Brothers at these locations attracted large numbers of common people, who supported the Black Brotherhood with alms. Within 50 years of their first appearance, the Black Brotherhood had a number of larger temples and abbeys around the kingdom. Wealthy patrons endowed them with lands and buildings in order to buy favor and further the work of the Brothers. The lands they gained were slowly expanded as the order’s influence grew. Many merchants willed part of their fortunes to the Black Brotherhood, allowing the order to expand their work even further. The Brothers became bankers, loaning money and becoming partners in trade throughout the kingdom. Within 200 years of their founding, the order was wealthy and influential, with chapters throughout the kingdom and spreading into nearby realms. With their order well-established, the Black Brotherhood received royal permission to build a grand monastery in the hill country north of the kingdom’s center. Their abbot, a cousin of the king, asked for the royal grant of a specific hilltop called the Hill of Mornay. This hill was already crowned by ancient ruins that the monks proposed to clear away. Because it was land not wanted for agriculture, the king was happy to grant the request. He even donated money to build the monastery and encouraged others to contribute. With funds from around the realm, the Brothers completed their new monastery within a decade. It was a grand, sprawling edifice built of black stone and called the Black Monastery. From the very beginning, there were some who said that the Black Brotherhood was not what it seemed. There were always hints of corruption and moral lapses among the Brothers, but no more than any other religious order. There were some who told stories of greed, gluttony and depravity among the monks, but these tales did not weaken the order’s reputation during their early years. All of that changed with the construction of the Black Monastery. Within two decades of the Black Monastery’s completion, locals began to speak of troubling events there. Sometimes, Brothers made strange demands. They began to cheat farmers of their crops. They loaned money at ruinous rates, taking the property of anyone who could not pay. They pressured or even threatened wealthy patrons, extorting money in larger and larger amounts. Everywhere, the Black Brotherhood grew stronger, prouder and more aggressive. And there was more… People began to disappear. The farmers who worked the monastery lands reported that some people who went out at night, or who went off by themselves, did not return. It started with individuals…people without influential families…but soon the terror and loss spread to even to noble households. Some said that the people who disappeared had been taken into the Black Monastery, and the place slowly gained an evil reputation. Tenant farmers began moving away from the region, seeking safety at the loss of their fields. Slowly, even the king began to sense that the night was full of new terrors. Across the kingdom, reports began to come in telling of hauntings and the depredations of monsters. Flocks of dead birds fell from clear skies, onto villages and city streets. Fish died by thousands in their streams. Citizens reported stillborn babies and monstrous births. Crops failed. Fields were full of stunted plants. Crimes of all types grew common as incidents of madness spread everywhere. Word spread that the center of these dark portents was the Black Monastery, where many said the brothers practiced necromancy and human sacrifice. It was feared that the Black Brotherhood no longer worshipped gods of light and had turned to the service of the Dark God. These terrors came to a head when the Black Brotherhood dared to threaten the king himself. Realizing his peril, the king moved to dispossess and disband the Black Brother hood. He ordered their shrines, abbeys and lands seized. He had Brothers arrested for real and imagined crimes. He also ordered investigations into the Black Monastery and the order’s highest ranking members. The Black Brotherhood did not go quietly. Conflict between the order and the crown broke into violence when the Brothers incited their followers to riot across the kingdom. There were disturbances everywhere, including several attempts to assassinate the king by blades and by dark sorcery. It became clear to everyone that the Black Brotherhood was far more than just another religious order. Once knives were drawn, the conflict grew into open war between the crown and the Brothers. The Black Brotherhood had exceeded their grasp. Their followers were crushed in the streets by mounted knights. Brothers were rounded up and arrested. Many of them were executed. Armed supporters of the Black Brotherhood, backed by arcane and divine magic, were defeated and slaughtered. The Brothers were driven back to their final hilltop fortress – the Black Monastery. They were besieged by the king’s army, trapped and waiting for the king’s forces to break in and end the war. The final assault on the Black Monastery ended in victory and disaster. The king’s army took the hilltop, driving the last of the black-robed monks into the monastery itself. The soldiers were met by more than just men. There were monsters and fiends defending the monastery. There was a terrible slaughter on both sides. In many places the dead rose up to fight again. The battle continued from afternoon into night, lit by flames and magical energy. The Black Monastery was never actually taken. The king’s forces drove the last of their foul enemies back inside the monastery gates. Battering rams and war machines were hauled up the hill to crush their way inside. But before the king’s men could take the final stronghold, the Black Brotherhood immolated themselves in magical fire. Green flames roared up from the monastery, engulfing many of the king’s men as well. As survivors watched, the Black Monastery burned away, stones, gates, towers and all. There was a lurid green flare that lit the countryside. There was a scream of torment from a thousand human voices. There was a roar of falling masonry and splitting wood. Smoke and dust obscured the hilltop. The Black Monastery collapsed in upon itself and disappeared. Only ashes drifted down where the great structure had stood. All that was left of the Black Monastery was its foundations and debris-choked dungeons cut into the stones beneath. The war was over. The Black Brotherhood was destroyed. But the Black Monastery was not gone forever. Over nearly two centuries since its destruction, the Black Monastery has returned from time to time to haunt the Hill of Mornay. Impossible as it seems, there have been at least five incidents in which witnesses have reported finding the Hill of Mornay once again crowned with black walls and slate-roofed towers. In every case, the manifestation of this revenant of the Black Monastery has been accompanied by widespread reports of madness, crime and social unrest in the kingdom. Sometimes, the monastery has appeared only for a night. The last two times, the monastery reappeared atop the hill for as long as three months…each appearance longer than the first. There are tales of adventurers daring to enter the Black Monastery. Some went to look for treasure. Others went to battle whatever evil still lived inside. There are stories of lucky and brave explorers who have survived the horrors, returning with riches from the fabled hordes of the Black Brotherhood. It is enough to drive men mad with greed – enough to lure more each time to dare to enter the Black Monastery.

A combination wilderness/dungeon module, first searching for then exploring the temple of Tharizdun. Tharizdun is long gone from the place, so there's no epic final fight. Rather, a mysterious Black Cyst waits at the bottom of the dungeon. The encounter with it is almost scripted, having no hazard except for careless/foolish players. Contains several monsters from the Fiend Folio. Loosely follows Lost Caverns of Tsojcanth. TSR 9065

Rare portals between the planes sometimes appear in the Caslan Woods. Recently though, these mythical woods have slowly moldered into swampland. As if that wasn’t grim enough, bands of ogres and kobolds raid nearby settlement without fear of reprisal. Your adventuring party traverses the Caslan Woods, hoping to find the source to these strange occurrences. What lies at the heart of the swamp, however, is anything but expected.

A flock of kenku bandits have discovered the ruined remains of a temple site, and have used it as their hideout while they raid unsuspecting travelers on nearby roads. It's up to the PCs to clear their nest, recover stolen goods, and rescue their hostages. Will the players be bested by these dirty birds? Or will they have the bandits eating crow?

This adventure can be used as stand-alone or continuing the arc started by Death in Freeport. Terror in Freeport leads the PCs deeper into the intrigue they began to glimpse in Death in Freeport. The investigation takes them from the corridors of power to the bowels of the underworld, with terrifying insights into who really controls the city. They discover that the Brotherhood of the Yellow Sign has its claws in the town's power elite, but thanks to some clever camouflage by Sea Lord Drac. they may not find out just whom the serpents control until it's too late. As the adventure begins, the PCs are contacted once more by a very nervous Brother Egil. He tells them that while staying with Lucius one evening, he awoke to find a burglar in the roomstealing a scroll. Egil is certain that the Brotherhood have penetrated further into Freeport than anyone imagines. He wants the PCs to investigate Milos's other ties to the city and find out what's being done about the temple of the Unspeakable One. The PCs search the cultist's lodgings and discover it has been carefully gone over, and several possibly incriminating books are missing. But the burglars overlooked one thing: a Tome with a diagram of the Lighthouse of Drac sketched onto the back page, marked with the letter V. Upon leaving Milos's lodgings, the PCs come upon a gang of orcs beating up a hapless messenger. They lend a hand, only to discover they've been tricked - the messenger makes off with Milos's book! A chase through the back streets leads them to the boarded-up building the y discovered in Death What they find isn't encouraging. There is a guard posted out front, courtesy of "V"- -Verlaine. head of the Captains' Council. Meanwhile, down below, the cultists continue to have the run of the caverns-— in fact, they have been shipping their unholy relics to Verlaine's own home!
This Digital Quarterly is built around a series of four micro-dungeons that can be used as an introduction to The Roslof Keep Campaign for characters just starting out. These dungeons should allow for a small group of players to not only become familiar with each other but also gain a level before taking up the banner of the Ivory Scimitar and entering Mithelvarn’s Labyrinth. As Roslof Keep is built around characters being asked to take up the Ivory Scimitar banner, it makes sense that they wouldn’t be completely ‘green’ and also might have gotten a bit of a reputation within Daern Kelton and Roslof Keep as trusted adventurers who are looking to help out the locals. This reputation can be used to bring The Folio: Digital Quarterly #6 the characters into the sights of House Aldenmier and, therefore, push characters into the campaign on a more realistic basis. It should also be noted that beginning Dungeon Level 1 with a level of experience is something that will be invaluable to the party and the early stages of the campaign. This adventure is formatted to both 1E & 5E gaming rules.

Your party ventures towards the small town of Stoneridge to procure some of the ale reputed to be the finest in the area. As you near the community you meet a caravan group and learn of a problem ahead. A group of miscreants has been creating mayhem in Stoneridge and the party will discover that the brigands are in possession of a strange artifact and are seeking out the Temple of Theasn. Perhaps interviewing some of the captured warriors will reveal more information.

This quest is for a party looking to resurrect a character whose corpse is missing body parts necessary for survival. Lower-level resurrection spells don’t work on a creature that is missing a head, heart, or other vital organ. To resurrect the body, the characters turn to Vaprak, patron deity of trolls, and attempt to earn the god’s assistance. However, a band of frost giant hunters intend to destroy Vaprak's temple along with everyone inside it. Includes a quest-related NPC that a player can control if they're waiting for their character to be resurrected.
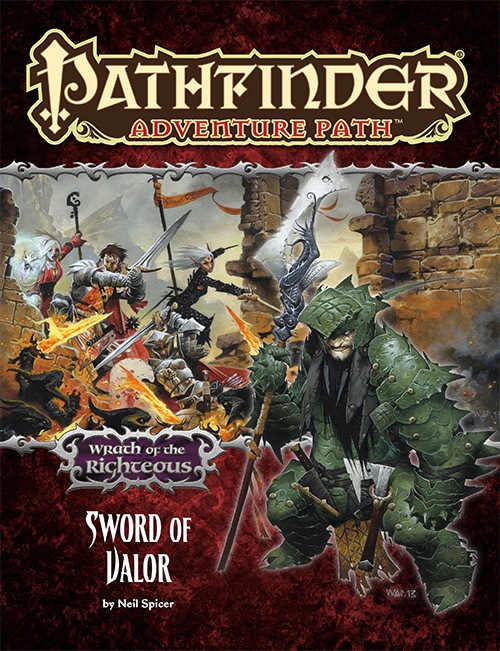
The Wrath of the Righteous Adventure Path continues with “Sword of Valor,” by RPG Superstar Neil Spicer. The PCs, now invested with righteous mythic power, are poised to become the greatest heroes of this seemingly endless war against the demons of the Worldwound… provided they can succeed at their first mission. The citadel city of Drezen was once a symbol of the First Crusade’s triumph against the Worldwound, yet when a larger horde of demons attacked, they shattered Drezen’s defenses and captured both the citadel and the crusaders’ symbol of power. Can the PCs help lead an army north to reclaim Drezen and recover this potent relic, or are they marching their comrades and followers to a gruesome demise?

Deicide is a campaign designed to begin with a party of four to six 1st-level characters, who should advance to 20th level by its conclusion. The Gods have abandoned Faerûn. Bringing loved ones back from the dead hasn’t been done in centuries, and communion with the deities is a spiritual exercise only. Holy warriors and messengers have lost their powers and have all but completely disappeared. In this bleak world, wars are frequent, crime runs rampant, and hope has faded. Rumours are abound of a mysterious crime lord taking control of the underworld. Monsters roam the lands and every road is increasingly more dangerous. Without guidance, the many civilizations of this world are plagued by greed and corruption. The only way forward is to bring the Gods back, or to take their place in the heavens. Deicide takes place across two islands, Aurora and Limdorkal. These landmasses are the westernmost islands of the Moonshae Isles, an archipelago located roughly 400 miles west of the region of Amn and to the southwest of the Sword Coast. Surrounding the Sea of Moonshae, these islands feature a wide array of cities, civilizations, climates, terrains, and monsters. Limdorkal is famously a harsher environment, home to exotic races, whereas Aurora is almost entirely dominated by the human kingdom. Elminster Aumar, the famous Old Mage of Faerûn, once visited these islands and claimed it surprising how such diverse environmental systems erupted here, and how varied were the people inhabiting them. While the Sword Coast is part of Faerûn, a continent of Toril in the Forgotten Realms, feel free to adapt these islands to any setting of your choice, such as Ravenloft, Eberron, Ravnica, or even on your homebrew world. The story told here happens some hundreds of years after the beginning of 5th Edition, and the Overgod Ao is trapped inside an artifact, which limits the workings of gods around Toril. The characters will be able to learn more about the missing Gods, about a mythical folklore artifact known as the Wand of Wonders, which carries the powers of the Gods, and about the crime lord Kaiser Soze. Through their adventures, they will be able to visit other realms, planes, and dimensions, as well as come into contact with different races and civilizations. In the end, it is up to them whether to ally with the Crime Lord, and whether to release the Gods or keep their power for themselves. This campaign can work as a loose set of modular adventures, which can be easily picked separately and played as one-shots of different levels. Even their locations on the map might be moved, and events happening in particular towns can happen on others. The adventures include dungeon crawls, murder mysteries, sandbox urban quests, exploration on land and in the seas, inter-planar travelling, among others.
Dreams of the sleeping wizard seep into reality. Manifest familiars war over the fate of a remote islet. An infinite garden houses an escaped experiment. The god of purity is fooled for his blessings. Into the nightmare we go. 16 pages contain 3000+ words describing 10+ keyed areas to explore (complete the wandering monsters table), 10+ friends and foes to talk to, 10 magic items to use, and thousands of gold worth of treasure to plunder. The adventure is designed for B/X, or like-systems. It is suitable for 4 to 6 characters of levels 1 to 3. It is heavily inspired by the dungeon synth album The Sleeping Wizard by Umbría, which may serve as a soundtrack.
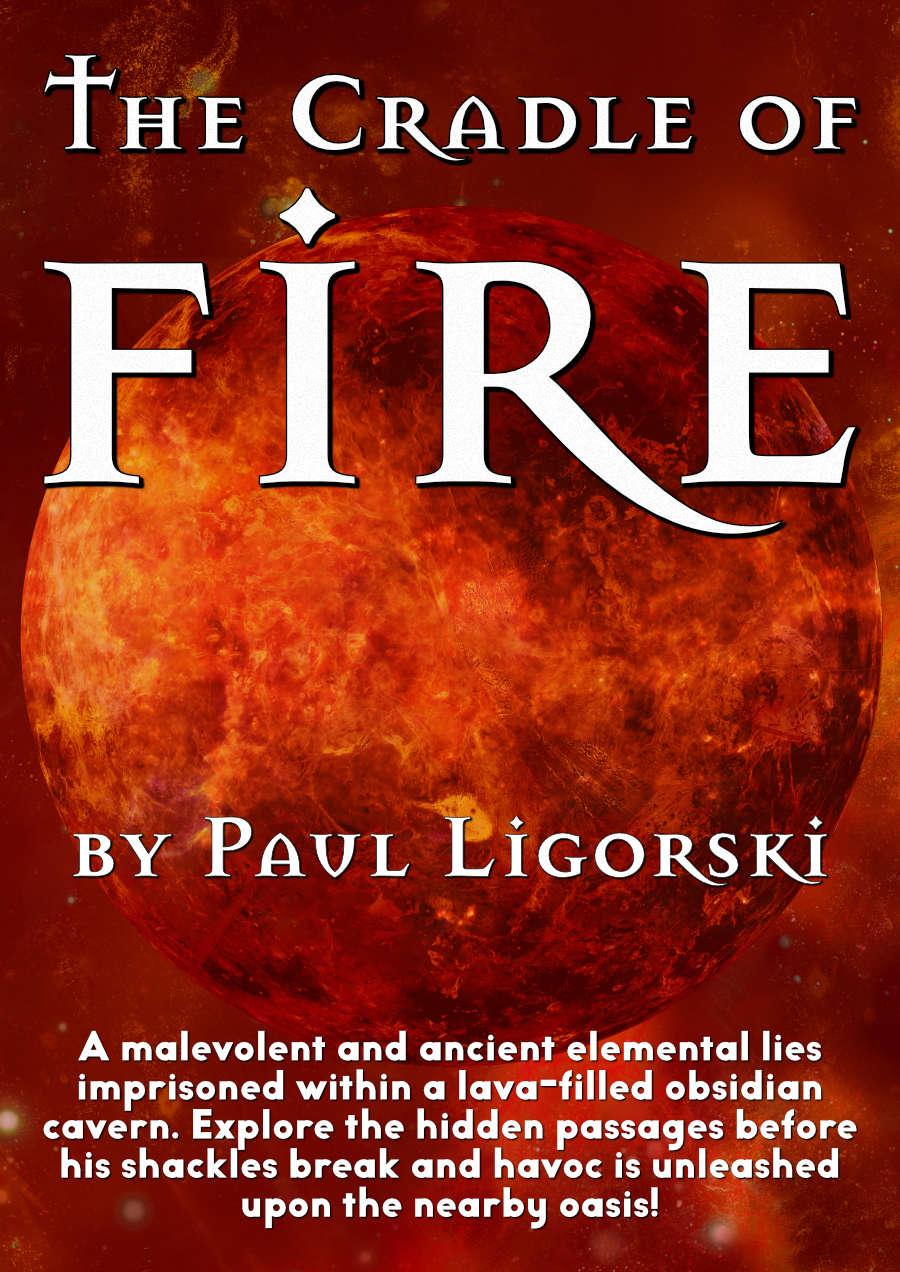
An oasis exploration and lava-filled obsidian dungeon crawl for 4-5 players of 5th to 6th level. Battle elemental evils, save captured sandworms, claim unique elemental magic items. A malevolent and ancient elemental lies imprisoned within a lava-filled obsidian cavern. Explore the hidden passages before his shackles break and havoc is unleashed upon the nearby oasis! 10 pages of oasis exploration and lava-filled dungeon peril! Statblocks for the life-cycle of desert sandworms, plus three unique elemental magic items like "Summer's Bane" - an armlet of compacted ice that grants the wielder a magical bow, and the "Embershard" - a dagger made from the jawbone of a red dragon that imbues the wielder with elemental magics. Run the adventure your way - drop the PCs off at the dungeon entrance and explore the perlious cavern, or let them cavort in the oasis before uncovering the lingering threat. We hope you enjoy the desert oasis and obsidian-carved dungeon crawl from the Heart of Arcana.
Hundreds of years have passed since the great war of Valhalla, but the repercussions are known throughout the lands. The Valkyries were once Odin’s greatest warriors who ferried the dead to the eternal resting place of Valhalla. Odin tells it that their duties asked too much of them and their minds were corrupted. In fits of uncontrollable rage and anguish, they began to slaughter the warriors they once protected. Only four Valkyries survived the war; in their cowardice, they fled to Midgard and hid amongst the mortals. You have been tasked with finding the last Valkyrie and destroying her, once and for all ending the Madness of the Valkyries. But there may be more to learn in the once-great halls.

Sent on a desperate mission into an unknown land, you must seek out the one called "the Master" and his Temple of Death. There is little time to waste, as you must act before the Master's armies destroy your homelands. But to complete your task, you must battle fearsome guardians, travel through a hostile kingdom, and discover the secret of the master. Can you survive his defenses and win? This module contains referee's notes, background, maps and detailed keys. It is the second adventure in the two-part Desert Nomads series begun in X4, Master of the Desert Nomads, but it can stand on its own as a seperate adventure. Wheter you play Temple of Death by itself or as part of a series, the adventure will offer you hours of excitement and fun! TSR 9069

The goddess Erathis has never seemed the sort to demand the sacrifice of mortals in exchange for safe trade routes, but that’s exactly what her high priest has demanded. When a local ruler asks the characters to investigate the high priest, a chain of events is set in motion that could shake the city of Wyllea, and the church of Erathis, to its core. This adventure makes extensive use of roleplaying encounters and skill challenges, with fewer tactical combat encounters. There is a substantial focus on politics and intrigue. The Tariff of Relkingham is written for 3rd level PCs, but contains advice for lowering or raising the starting level from 2-4. It also contains a system for calculating an advantage or disadvantage in the final fight based on the players' actions during the adventure. Pgs. 83-103

Madness in Freeport, the final part of the Freeport Trilogy, details the final confrontation between the PCs, the Brotherhood of the Yellow Sign, and Sea Lord Milton Drac. In Part One, the Drac invites the PCs to the Grand Lighthouse Ball. Careful investigation can reveal the secret purpose of the lighthouse. In Parts Two and Three, the PCs must recover a powerful artifact to thwart the Brotherhood's plans. They must pass through an infamous pirate's hidden caves, then search a sunken temple of the serpent god Yig. In Part Four, the heroes must enter the Grand Lighthouse, AKA Milton's Folly, in a race against time to stop the Brotherhood's world-shaking master plan from coming to fruition. (Bibliographic note: This adventure was originally written for v.3.0, and later updated to the v.3.5 rules. The revised versions of Death, Terror, and Madness in Freeport were reprinted in an omnibus edition, along with two shorter filler adventures, as The Freeport Edition: Five Year Anniversary Edition.)