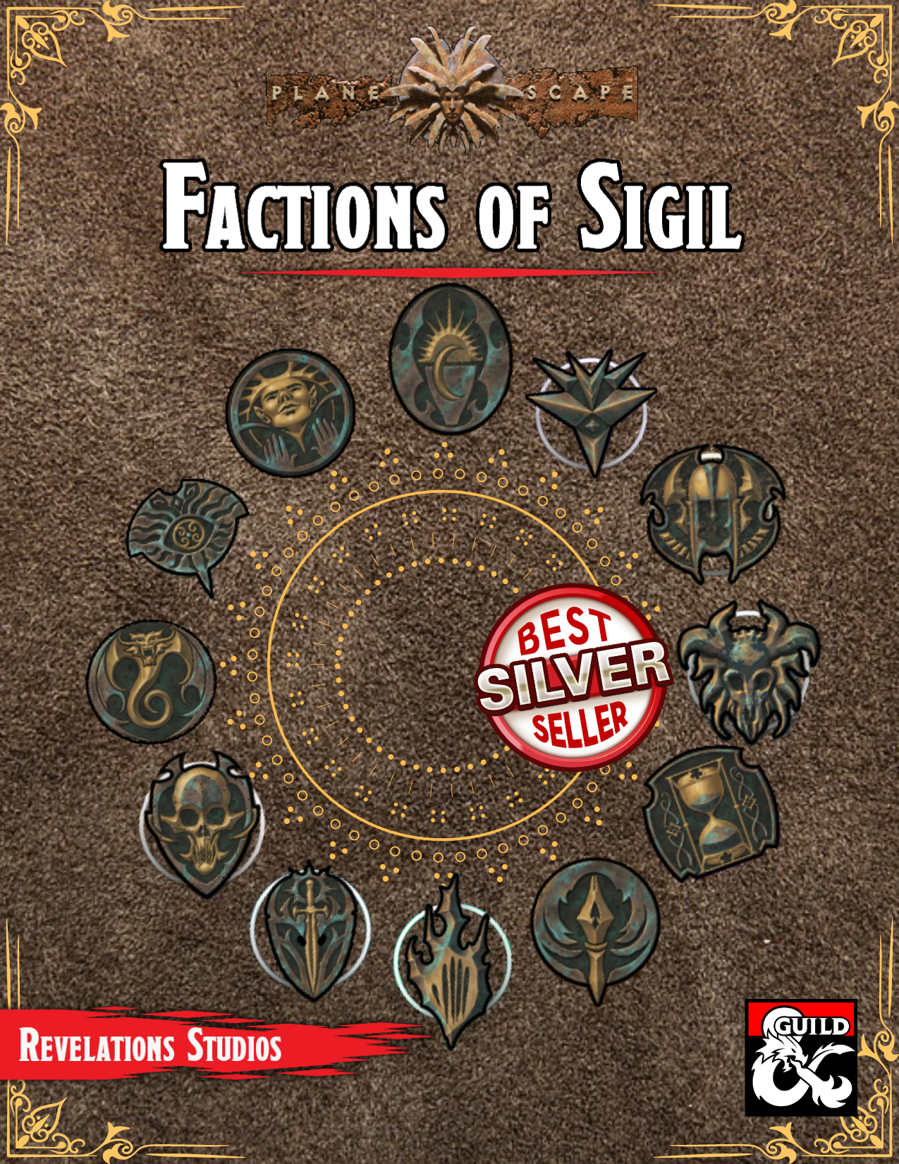
We get it. Factions are an integral part of D&D, but it's not always clear how to use them in your campaigns. Luckily, Factions of Sigil has you covered for each of the twelve main factions found across Sigil and the Outlands! This supplement goes over the various rules and lore around the primary factions found in Sigil and the Outlands, making it easy for any new or veteran DMs to integrate the factions more into the core stories being told, and making them feel more useful for the players that choose to join. This adventure sees the characters ally with the Athar of Sigil to raid the Abbey of the Iron Star and destroy the devils within who are attempting to bring Asmodeus to Sigil.
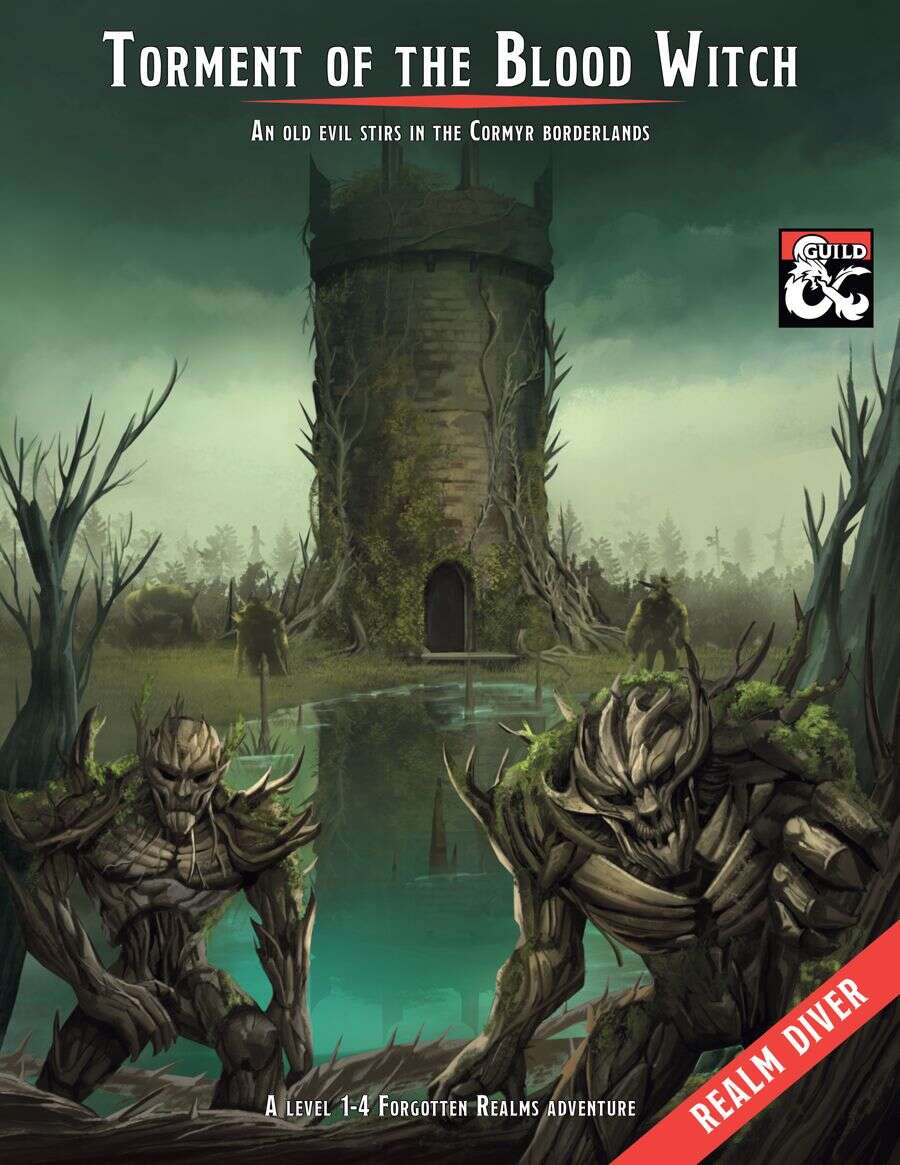
The town of Proskur has been cut off from the rest of the kingdom of Cormyr by a terrible storm, just as its people begins to suffer from a feinting sickness. Now the crops are failing. Are these the acts of a vengeful god? Or something more sinister? While aiding the good peoples of Cormyr in their plight against goblin hordes, the restless dead, a band of cut-throat pirates and the wilds of the Gritstone Moorland, the adventurers must investigate the true cause behind these calamities while uncovering a century old past, following in the footsteps of a legendary band of knights. Will they bring the fight to the evil hag, Bad Blood Hattie in her accursed Bloodtower lair? Or doom Proskur to become a blighted ruin?
The Lost City is a low-level adventure, in which the only hope of the PCs' survival can be found in a ruined city slowly rising out of the sands. The adventure is set inside a huge step pyramid, with the lower pyramid only sketched out and the city itself described with a list of the major areas and a map. The adventure’s main villain is Zargon, a giant one-eyed monster and his minions. The entire double pyramid, not including the city, contains over 100 rooms. The module is designed to give novice Dungeon Masters experience fleshing out adventures and is only partially complete. Later TSR material hints that this adventure possibly takes place in Mystara, but the material is largely setting-neutral. TSR #9049

A magical storm builds over the Anauroch desert bringing portents of death and destruction to Faerûn. Giants imbued with the power of death itself threaten to permanently destroy the giant Ordning and small folk in their wake. Can you stop these unnatural giants and those that seek to control them? A 2 Hour Adventure for 17th-20th Level Characters. Optimized for five 18th-level characters.

A combination wilderness/dungeon module, first searching for then exploring the temple of Tharizdun. Tharizdun is long gone from the place, so there's no epic final fight. Rather, a mysterious Black Cyst waits at the bottom of the dungeon. The encounter with it is almost scripted, having no hazard except for careless/foolish players. Contains several monsters from the Fiend Folio. Loosely follows Lost Caverns of Tsojcanth. TSR 9065

Rare portals between the planes sometimes appear in the Caslan Woods. Recently though, these mythical woods have slowly moldered into swampland. As if that wasn’t grim enough, bands of ogres and kobolds raid nearby settlement without fear of reprisal. Your adventuring party traverses the Caslan Woods, hoping to find the source to these strange occurrences. What lies at the heart of the swamp, however, is anything but expected.

THE FIRST SET OF DUNGEONS ON DEMAND ADVENTURES! The first volume of Dungeons on Demand includes the first four dungeons: Bandit's Nest - Level 1 Adventure Dungeon Insidious Experiments - Level 4 Adventure Dungeon Fierce Tempers - Level 8 Adventure Dungeon Lord of Gloomthrone - Level 12 Adventure Dungeon It also includes the following supplements: New Twists on Old Monsters - Gaming Supplement Imbued with Magic - Gaming Supplement The bundle includes hundreds of pages worth of materials and supplements sure to keep your gaming sessions busy!

A newly constructed temple of Bahamut lies along a road outside a rural township. As the PCs approach the place, a scream for help erupts within it. Pgs. 60-65

Waves of supernatural darkness sweep over the subterranean city of Stoneholme, quenching lights and bringing with it foul creatures of shadow. After heroically defending a group of dwarven children being ravaged by a group of these shadow beings, the PCs are approached by Shtawn Deppenkhut -one of the king's own advisers- and are offered the task of finding the source of the darkness that threatens the city. The PCs investigation takes them through the Underworld to hidden caverns, where demon worshiping priests offer living sacrifices in an attempt to plunge Stoneholme into everlasting darkness, a first step in destroying the hated city once and for all, but as it turns out the priests aren't the only ones behind this unfolding plan to destroy Stoneholme. Dark Days in Stoneholme is ideally suited for a group of dwarven adventurers. It is recommended that you have access to the Stoneholme section of the Rise of the Drow revised & expanded edition (2014) but it is not necessary to run the adventure. Also available for Pathfinder. Published by AAW Games.

A fallen clock tower holds components from an ancient artifact. Upon discovery of the components, competing agents look to launch expeditions to uncover additional components scattered across distant places—and times. The now-lost Temple of Moloch and the construction site of the legendary Tomb of Horrors are two of those locations. However great the risks, finding the components demands the effort, for whoever does so can reassemble the fabled Infernal Machine of Lum the Mad!

The town of Warlorn is often thought of as a peaceful one. Not much happens there, and it is usually considered a place of peace were parties could convene to make truces or were the hurt could always come to find someone to care for them. Perceptions can often be incorrect however. The church of Ilmatter, God of Suffering, acts as an effective government in the town. Illmaters tenants are that to help all those who have suffered and to take on their suffering so that they may be healed. To them suffering is truly Holy, and to take suffering on from another is seen as the greatest way to prey to their god. Not everyone is as virtuous as a god, even his own followers, and humanity in taking on holy suffering is still left with desires; lusts that can be corrupted. When the Duchess of Manipulation who delights in corrupting church men spoke to the leader of this clergy of Ilmater, it was no difficult task for her to find a loophole in Illmaters word that she could exploit. If suffering was holy, then truly it should be those that do not yet understand Ilmater’s ways that should feel this suffering. Using a cultist of hers, she was able to create a child that could later be used as an ingredient for a portal right to her layer of hell. It’d be two birds in one stone; corrupt a devoted followers of a god she hated to later take their souls as her own, and create a portal that she could use to cross both herself and her armies to the material plane. When the players enter the scene, the child will have already been kidnapped, and the child’s mother will be hanging up fliers giving out a reward to anyone that can find her child. The players will find themselves needing to infiltrate the Church of Ilmater into its secret underground cult so that they can save the child and stop Glasya from finding her way to the Material Plane.
Venture-Captain Rashmivati Melipdra has called for a group of Pathfinders to travel to Jalmeray and assist her in retrieving a stolen relic. A former member of the Monastery of Unblinking Flame, Melipdra was in the process of negotiating with the monastery for custody of some of their most ancient and historically significant training devices. Before the deal could be completed, a rogue monk stole one of the relics and fled the monastery for the island of Veedesha. There, the monk seeks to use her training and the stolen devices to create a new competing monastery. As the PCs travel to a lawless island controlled by bandits and martial artists, they must find a way to retrieve the stolen goods from the new master of the Monastery of Unforgiving Fire.

Displace Beast Maze is an adventure that has one long encounter that is a combination of a puzzle (maze) and combat encounter (Displacer beast). The Displacer beast tentacle's ability to attack through the maze walls, knowledge of the layout, and hit-and-run tactics make the labyrinth both a useful and possibly deadly lair for the creature. Pgs. 27-29

Turnover is upon us once again! Compete against rival adventuring groups to collect as many hidden, magical eggs as possible! Although the egg hunt begins within the relatively safe confines of Leilon, players will inevitably need to range further if they hope to win the competition. Tired of watching your children have the time of their lives hunting for magic eggs while your inner dragonborn barbarian stews and simmers on the sidelines? Well, thanks to An Egghunter's Guide to Adventure they no longer have to! This adventure supplement is much more than a full length adventure! It is a source of inspiration and template for how you can incorporate an egg hunt into any pre-existing campaign. It is the frolicsome spirit of Easter painstakingly updated to fifth edition standards!

Sent on a desperate mission into an unknown land, you must seek out the one called "the Master" and his Temple of Death. There is little time to waste, as you must act before the Master's armies destroy your homelands. But to complete your task, you must battle fearsome guardians, travel through a hostile kingdom, and discover the secret of the master. Can you survive his defenses and win? This module contains referee's notes, background, maps and detailed keys. It is the second adventure in the two-part Desert Nomads series begun in X4, Master of the Desert Nomads, but it can stand on its own as a seperate adventure. Wheter you play Temple of Death by itself or as part of a series, the adventure will offer you hours of excitement and fun! TSR 9069

Refugees in Mulmaster have had a fairly tough time, and that was before the disappearances. The few that return have been changed, refusing to believe that they were even missing. You have been asked by Mulmaster’s nobility to find the source of the disappearances and put an end to them. This adventure premiered at AMERICA's Cup 2018 in New Zealand.
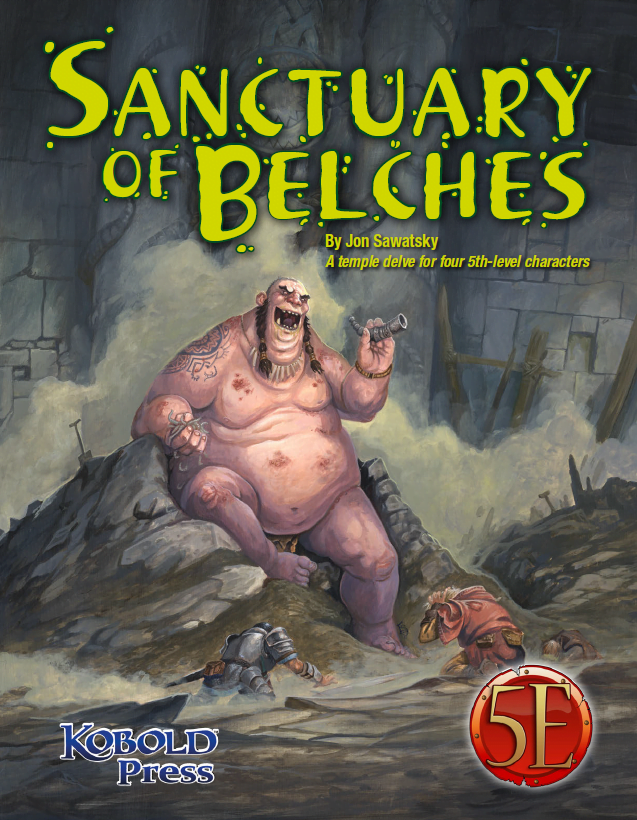
The trouble began several weeks ago when a duergar excavation team went to work in a long-abandoned temple. Drawn to the temple by stories of riches and artifacts, the duergar hired several giants as laborers before cracking the temple’s sealed doors. The largest of the giants, a loathsome Thursir mutant named Huppo, used his acidic vomit to expedite tunneling into the temple’s collapsed hall of worship. Then, Huppo found the horn—an unusual instrument made from a single piece of stone, with a mouthpiece so intricate only a master carver could have made it. The horn became the giant’s obsession. Seeing only the horn’s potential sale value, the dwarves demanded Huppo turn it over to them, but Huppo refused. To force compliance, the dwarves stopped feeding the gluttonous brute, but Huppo had already found his own source of food; in deep areas of the temple, worms were chewing out of the rocks, and Huppo ate them by the fistful. He also played the horn. Then, after several days of blowing the horn and devouring the strange worms, Huppo released a belch so noxious the dwarves had no choice but to lock him in a sealed chamber and carefully consider their next move. The horn’s call, however, had caught the attention of passing nomadic orcs. They set up camp outside the temple entrance in the hope of finding the horn and its player. That’s the current situation at the temple: the giant refuses to stop blowing the horn and belching out deadly clouds of stomach gas; the dwarves are frightened and edgy while their leader is obsessed with malevolent whispers; orcs are threatening to overrun the place; and the population of worms grows steadily as something awakens deep in the stone beneath the sanctuary of belches.

Sometimes wandering through the frontier garners information as opposed to bloodshed. In this adventure the party stumbles across a party of Plainsmen who tell the party of some strange goings on at a remote graveyard. They tell the party that they observed ghostly figures after a lightning strike and small fire. As they were unprepared to deal with the undead but suggest if the party is up for some experience, perhaps they should head north in the morning!

The Shades of Bodach Ridge Whitepeak has a dark history of black magic originating with the evil witch Skruul the Reaper. The dark rituals she conducted seemed sure to plague the region, until a plucky group of adventurers thwarted her plans sending her into a state of perpetual fractured undeath. Now souls scatter from her old haunt on Bodach Ridge. What could have set these souls free?
In the parched desert sands, a mirage glistens invitingly on the horizon, but the nearest water is a hard day’s march in the opposite direction. You swear you smell the faint wet smell like coming rain when the wind shifts just right and see the stars reflected off some far lake at night. There’s no water here, just a lone sandblasted pillar, its features smeared by centuries of sand. Smell that? The brine of ocean mist? Here? Is the pillar made of coral polyps and mollusk shells? What is this place? An aquatic temple magically transported to an arid environment. Based on the author’s one-page map that was published in Knock #2 by Merry Mushmen. Published by Duvelman Dice.