The interrogation of the rogue wizard, Askalan, by the magocracy of Bemmea exposed his creation of unstable magical artifacts built in a ruined ley-line conduit. This Leystone, built by the mages of Vael Turog, had been dormant for centuries until Askalan discovered a way to power it. Now, after his untimely death, the Leystone's unstable power continues to grow at the edge of the Western Wastes. The magocracy hires the characters to find the awakened Leystone, uncover the mystery of this growing power, and return the source of the power to Bemmea for study.

Are there actually vampires in Undermountain? The Baron of Blood demands that you find out! Part Two of the Vampire Hunt trilogy.

You have traveled to the westernmost point in the Duchy of Starryshade as you make your way to the borderlands. Your final stop in the duchy is a small roadside inn called the Shepherd’s Spear Inn. While stopping for a respite you hear a few tales including a mysterious abbey nearby. This structure is said to only appear for a short time every three years. Magic and wealth are said to be lost within the walls of this structure and with little else to do this might be a final hurrah for your stay in Starryshade!

In a dark cell, Rollo Bargamnn, merchant of Thyatis, turns away in disgust from his evil, green-skinned prisoner; capturing this wretch cost a ship and sixty gallant men. Then his heart hardens once more, and he resumes the interrogation. Here, perhaps, he may find an answer to the question that haunts him. What new evil is casting its shadow over the storm-swept eastern reaches of the Sea of Dread? The trading routes are no longer safe. The attacks of the green-skinned "Orcs-of-the-Sea" and the mysterious "Ship-bane" now go unchecked. Once their raids were random, but the influence of some unseen master has made them into an organized menace. Soon the questioning will be over; Rollo will know enough to track the threat to its lair. Then he will need a band of hardy adventurers brave enough to take on the task. You perhaps? TSR 9127 (Graeme Morris's name is spelled 'Grame' on the cover of this module)

Silently, ponderously, they float through the Astral Plane, mammoth isles of rock adrift in an endless sea of silver. Once they were gods. Now they're little more than debris, petrified husks of fading belief and forgotten prayer. Yet for many, their memories linger, their dreams live on - and for some, those dreams are terrifying nightmares of vengeance, and conquest, and death. n the first, the heroes are drawn into an epic quest to uncover the secrest behind the retuns of an infamous AD&D villain long thought dead. In the second, the city of Sigil threatens to explode in a faction war for control of an old church and a mysterious force lurking within it. Dead Gods also features a Monstrous Compendium entry for a brand new fiend, full color illustrations to bring scenes alive for players, and a poster sheet of maps for the Dungeon Master. Dead Gods builds on story elements first explored in the Planescape adventure anthology The Great Modron March, though that product is not required to use this one.
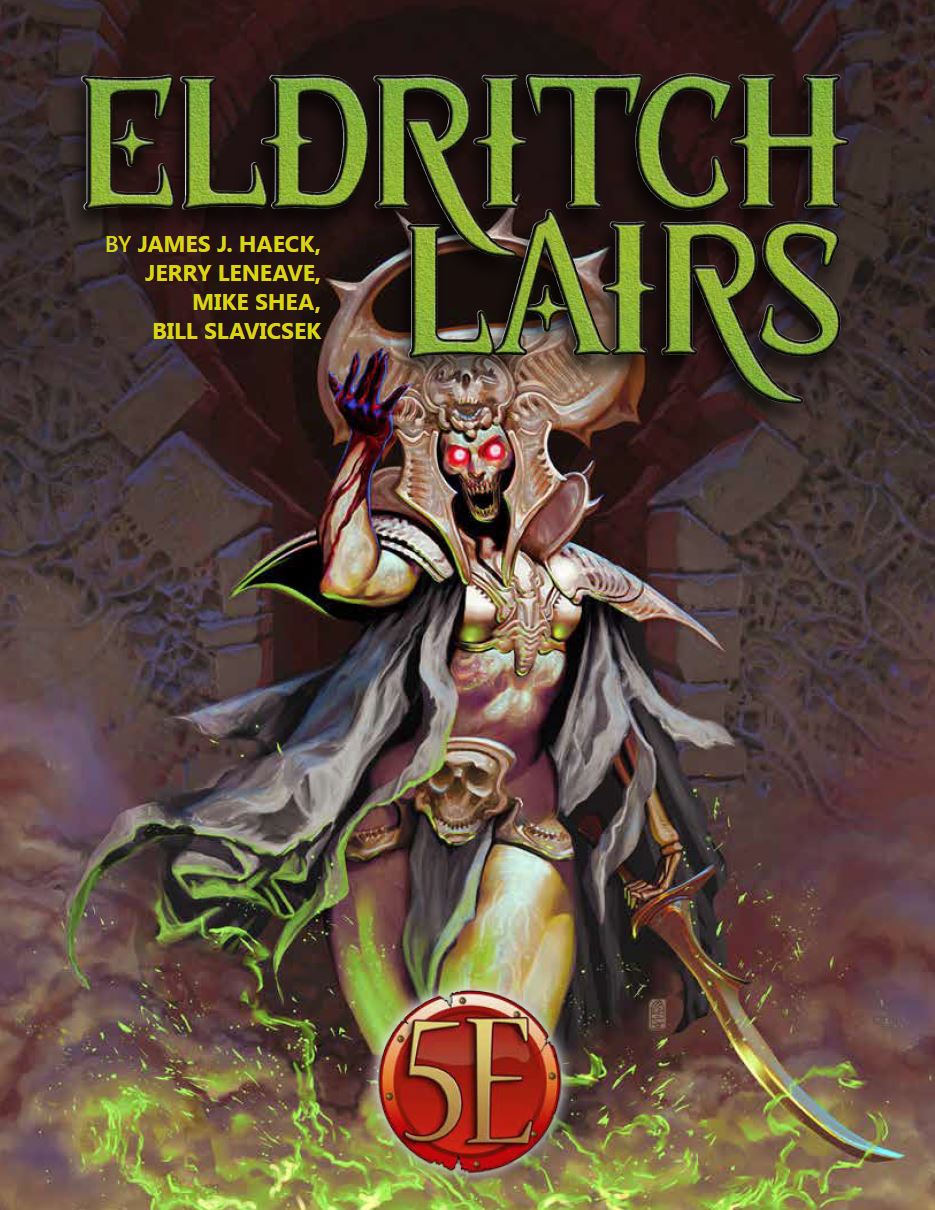
Ra’s Evil Grin challenges adventurers of at least 11th level who are seeking a powerful magic item—the globe of Arden. If a different item suits your campaign better, another appropriate powerful item can be substituted as the final objective. This dungeon culminates in a battle with Dendorandra, a lesser marilith known as a dark daughter. As a lead-in to this adventure, the GM may use a map from another treasure hoard showing the location of the globe (detailed more fully in “The Legend of the Globe of Arden,” below) or a priestly tome describing Arden, the long-dead avatar of Ra, and the wondrous powers of an unknown artifact called the globe of Arden. Such a tome might mention that the globe emits rays as intense as those of the sun, destroying all they touch. In any event, characters should need to consult with sages and oracles to determine the location and history of the globe and dungeon. A sage could also provide a map to the dungeon’s location, referenced in the “The Legend of the Globe of Arden,” below. We set the dungeon on a small, remote island far across the sea, but you can relocate it to suit your campaign. This dungeon provides numerous puzzles, a few traps, and only two monsters. Those monsters, though few in number, should challenge and threaten even the most combat-hardened party—particularly after the party encounters all the vicious creatures that inhabit the Island of the Globe.

*THIS IS A D&D NEXT/5E PLAYTEST ADVENTURE* Imani, a Turmishan wizard and former adventurer, seeks the aid of heroes to infiltrate Dretchroyaster’s lair and recover the Diamond Staff of Chomylla—the key to powerful magic and wisdom locked away for thousands of years. In addition to his own sagely interest in the lore of lost Uvaeren, Imani recognizes the dangers of such powerful magic falling into evil hands. The dracolich has secured the staff in his lair’s cen- tral chamber, using ancient wards of protection that can be bypassed only by four artifact-idols once belong- ing to a cult of Bhaal. Each group of adventurers enters the dungeon through a different section of the dun- geon—a forgotten temple of Bhaal, a vast underground lake, a troglodyte village, or Dretchroyaster’s vaults. Dretchroyaster’s lair is no simple set of caverns and ancient ruins. It sits atop a source of great power and energy, which the dracolich and his Cult of the Dragon allies hope to use to unlock the secrets of the staff. Only by undertaking a unified assault against Dretchroyas- ter’s lair can the adventurers hope to recover the Diamond Staff and survive the dracolich’s fury. The adventurers must make their way through the lair and recover the Bhaalite idols that will help unlock the Diamond Staff, all the while dealing with the lair’s creatures and avoiding the dracolich as he pur- sues intruders. Entering the Chamber of the Diamond Staff, the heroes must overcome its magical wards and claim the staff before being slain by the dracolich and his servants.
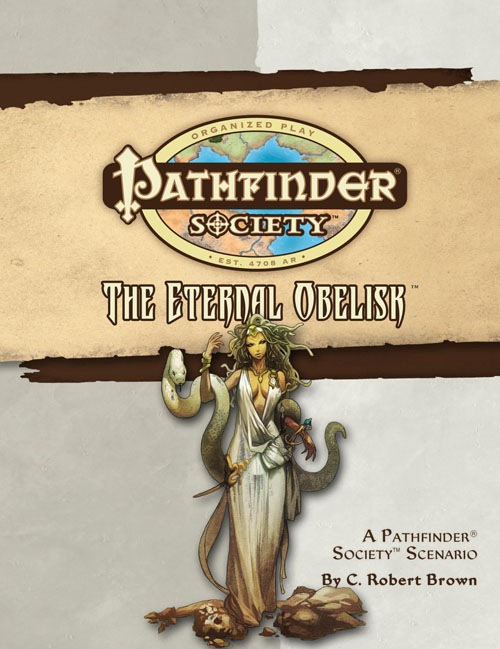
When the Pathfinder-obsessed daughter of one Qadira's most powerful trade princes goes missing trying to impress the Society, her father angrily demands the Pathfinders track her down or face expulsion from Katheer. Tracking the missing princess leads you to an underground complex filled with traps, tricks, and a creature so powerful, she's lived for a thousand years. Can you save the princess and uncover the power of the Eternal Obelisk?

Frequent visitors know that the Adurite culture once ruled a large portion of the known world but has now all but disappeared. In this adventure a relic Golem that guards a shrine has been duped and gone on a rampage. This adventure was originally created for a “filler” adventure on a day when the entire party could not adventure. Spoiler alert the Golem is not the worst thing the party will face! At 29 pages this adventure has a little bit of everything.

Gnomish tinkerer Antikythera Ulam thought she’d struck upon a clever idea when she constructed a clockwork servant smart enough create other creatures of its own design. However, she soon found that the problem with giving things minds of their own isn’t always the wisest of ideas… Note: This adventure is intended to work with Mordenkainen's Tome of Foes, and requires a copy of the book to run succesfully.

This week’s Filbar offering is an introductory level adventure pitting fresh adventurers against a variety of opponents. As they head out to make a name for themselves the young group will first need to pass by the Horn of Delmar. This mountain landmark was once home to a mighty fortress felled centuries before hand. While many have adventured to the top they have returned ravaged with injuries and reports of strange and foul creatures. This adventure features an old tower, bandits, undead, and an old dungeon complex for those who search hard enough.

After handling a bit of diplomacy for the York Republic, the ruling council has asked for more assistance from you. Years before the western edge was not where it is now. A series to protective towers stretched out securing the land. Unfortunately for the country, those towers were taken by Giants of the region and pushed the York-ians to their current border. The council feels that your party is strong enough to go scout out the area and see if the land can be retaken. This adventure setting was designed for both 5th Edition rules AND 1st/2nd Edition D&D for the Filbar Campaign for six, sixth level adventurers and DM. This adventure is easily adaptable to most any game and system. Save yourself some time and utilize it for a one shot adventure or a continuing campaign.

The Terror of Screeching Hill is an adventure designed for a party of four level 1-3 characters. Introduce your friends to Dungeons & Dragons or take a break from your current campaign and save the town of Stonehollow in this early level one-shot! To the villagers of Stonehollow, the flight of bats warns of an impending disaster. Earthquakes, which riddle the small mining town, often follow this omen causing cave-ins and trapping miners underground. Thankfully, the ground hasn't shaken in weeks. However, every night at sunset, a colony of bats fly over the town as a haunting cry echoes over Screeching Hill, a mound on the southern outskirts of the village. Villagers have begun to go missing, including the town's doctors Simon and Kirk Bartok, and some have suffered terrible wounds after being attacked by a relentless creature out of the darkness. With no doctors to treat the wounded and the expectation of more attacks, the villagers of Stonehollow turn to you for help. Will you investigate the terror of Screeching Hill and save the town from its reoccurring nightmare? Included: - A 16 page one-shot designed for level 1-3 characters - Unique maps - Two player handouts - A simplified document compatible with screenreaders

Giants have been raiding the lands of men in large bands, with giants of different sorts in these marauding groups. Death and destruction have been laid heavily upon every place these monsters have visited. This has caused great anger in high places, for life and property loss means failure of the vows of noble rulers to protect the life and goods of each and every subject -- and possible lean times for the rulers as well as the ruled. Therefore, a party of the bravest and most powerful adventurers has been assembled and given the charge to punish the miscreant giants. This module contains background information, referee's notes, two level maps, and exploration matrix keys. It provides a complete module for play of ADVANCED DUNGEONS & DRAGONS, and it can be used alone or as the first of a three-part expedition adventure which also employs DUNGEON MODULE G2 (GLACIAL RIFT OF THE FROST GIANT JARL) and DUNGEON MODULE G3 (HALL OF THE FIRE GIANT KING). TSR 9016

The mists have led you deep into Glumpen Swamp to a den of great evil. Within, the unliving son of an unliving god awaits the peace of death that eternally eludes him. Will you grant him his rest, or realize the part he is to play in things to come? Part Seven of Misty Fortunes and Absent Hearts.
Your stalwart band treks through the trackless jungle seeking the Dragon's Maw Waterfall. At the base of the falls, behind a massive curtain of water, is rumored to be the cavern lair of a great wyrm. The local Xulmec tribesmen say the great dragon has not been seen in nearly 100 years, so perhaps its hoard lies unguarded and ready for plunder. But what role do the heroes play in a blind shaman's prophecy foretold a century ago?

In lieu of a monetary reward for their latest adventure, the PCs have been 'gifted' land ownership in the form of a former religious holding on the coast. While the party cannot collect taxes, they can rennovate the building and use it as a base of operations as they adventure around the Katorian Sphere. Best of all, it sits on a vineyard!
Called by the Elder Elemental Eye to serve, four corrupt prophets have risen from the depths of anonymity to claim mighty weapons with direct links to the power of the elemental princes. Each of these prophets has assembled a cadre of cultists and creatures to serve them in the construction of four elemental temples of lethal design. It is up to adventurers from heroic factions such as the Emerald Enclave and the Order of the Gauntlet to discover where the true power of each prophet lay, and dismantle it before it comes boiling up to obliterate the Realms.

The legendary spellcaster Emirikol the Chaotic has turned the region into a wild magic zone, a place where all magic goes awry. The only way to put things back to normal is to retrieve the source of the problem deep inside the Ooze Chambers of Emirikol! This adventure is for 4th level characters and can be run on its own or as part 3 of the Litany of Arrows adventure path. This adventure contains, 2 pages of new magic items, 8 new monsters and NPCs, a full write-up of Bwimb II, the Paraelemental Princess of Ooze, an entity referred to in many D&D products but never fully fleshed out and stats for the 3rd edition iconic heroes Regdar and Mialee, who play a major role in this adventure. It's got over 10 pieces of original art, full color maps, tagged and untagged, and a special handout for the player who obtains the Ooze Fist of Emirikol. This adventure builds on the story begun in the platinum-selling Castle of Corellon and the follow-up, Warpath of Gruumsh.
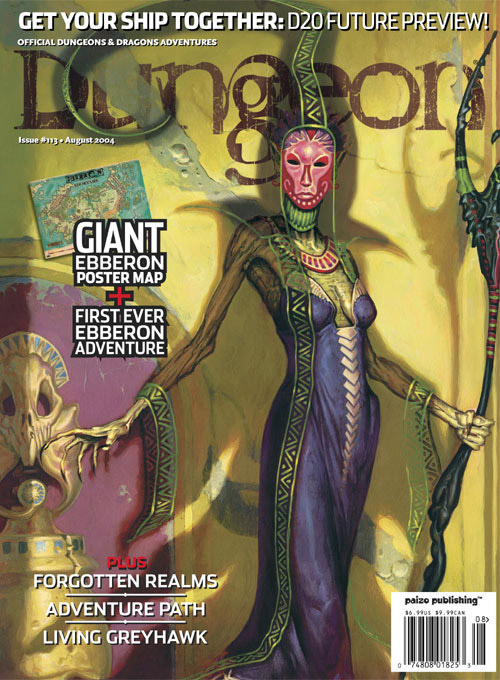
Take your first exciting foray into D&D's newest campaign setting with a deadly exploit in Sharn, City of Towers. Descend into the ruined undercity to face the legacy of the daelkyr, aberrations from the evil plane of Xoriat, and come face to face with the Queen with Burning Eyes! Pgs. 16-32