
After escaping the oppressive rule of the hobgoblin empire, a tribe of goblins stumbles across a long-abandoned iron mine that would make the perfect home for them, if only it wasn’t already full of dangers. What lurks in the mine is however a secondary problem for the goblins, as they know that hobgoblin scouts will be hot on their heels. Looking to gain a valuable ally, they turn to the local town of Cathric for help. Under orders from the Marquess of Cathric, your band of adventurers is tasked with ensuring that the mine can provide a steady source of iron. Of course, this will mean helping the goblin tribe to get the mine working and defending them from their old masters. Your players will have to face off against the monsters in the mine, a hobgoblin scouting party and some over enthusiastic mining equipment, all while trying to put on a brave face in front of three trainee goblin fighters. Content warnings: spiders, enclosed spaces, displaced populations, authoritarian regimes. It is also implied that a monstrous creature is wounded by another monstrous creature.
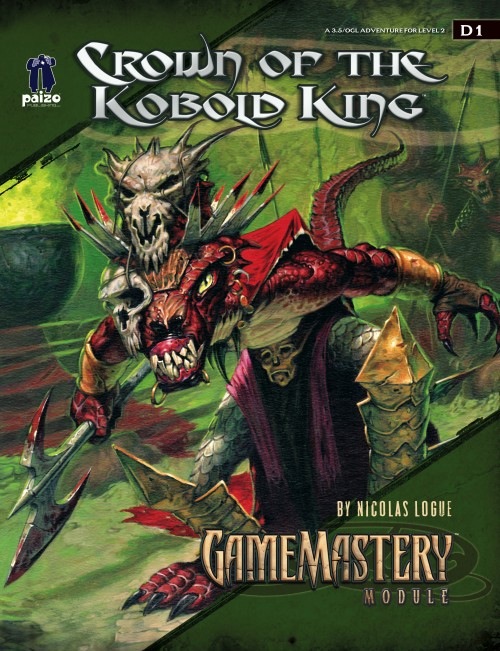
The crown of the kobold king will be anointed in blood. Five children from the town of Falcon’s Hollow have gone missing, dragged off into ruins underneath a cursed dwarven monastery. Soon they will be sacrificed to the crown, all to the glory of the twisted King of the Kobolds. If they are to be saved from this gruesome fate, brave heroes must follow their trail to the monastery and plumb the depths of its trap-laden and monster-infested halls.

5e Solo Gamebooks presents Tyrant of Zhentil Keep by Paul Bimler, a 160+ page solo adventure for Dungeons and Dragons Fifth Edition. This adventure is designed for one 3rd-level PC of any race or class, without a DM. Tyrant of Zhentil Keep continues the narrative of The Death Knight’s Squire (the first solo adventure in this series) but can be played as a standalone also. It follows the story of your PC as they continue their journey across Faerun, a lone adventurer wandering wherever the wind takes them. Eventually, it takes them to Zhentil Keep in the Moonsea Region, a strange city, full of secrets. There they begin a quest which takes place over two books, this being the first one, part 2 being Citadel of the Raven. Tyrant of Zhentil Keep is a mini-sandbox in gamebook form, with multiple sidequests and locations to explore. Everything leads towards a central story arc that becomes clearer as the book progresses. Where Death Knight’s Squire had a clear-cut mission at its core, this adventure is pure exploration at first, similar to how a game with a Dungeon Master might commence. The nature of your quest becomes clearer as you advance, collecting snippets of information and encountering various NPCs and locations. The adventure builds upon The Death Knight's Squire in several ways, introducing new combat sheets, sidequests and even audio sound FX embedded in the PDF! You have two ways to approach playing this adventure. You could print out the maps booklet and use actual tokens or miniatures (you’ll need access to a printer for this), or you can load individual .png files of the maps (included) into Roll20 or similar applications and place and move tokens on your device.
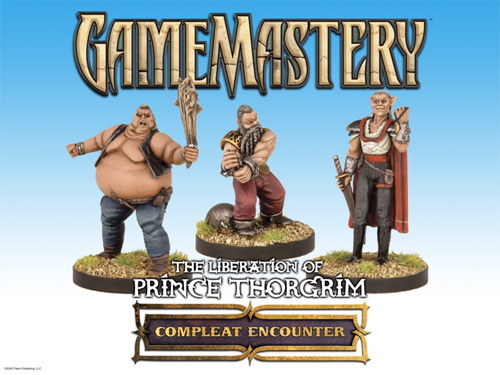
Prince Thorgrim rots in jail, wrongly accused by the corrupt sheriff and his cruel gaoler. Whispered rumors speak that those in his keep are tortured and sometimes murdered. Only the truly brave or fantastically foolish would try to storm the jail and free the prince. A Compleat Encounter, scalable to any level, featuring the shackled dwarven prince, the elven sheriff, and his foul gaoler. CURRENTLY UNAVAILABLE FROM THE PUBLISHER!

A fiend lurks among the Black Blade goblins. A shapeshifting barghest fashioned by the General of Gehenna to exact revenge on all goblin-kind. It’s aim: to kill as many goblin leaders as possible… A masked goblin approaches the party asking for help. Two tribe leaders are dead. But a rival for chief has control of the crime scene. Will the party discover the barghest among the goblin ranks? Can they stop this imposter before it strikes again? Adventure Overview The adventure’s story is spread over 4 parts and takes approximately 4 hours to play. The adventure begins with a Call to Action scene. Part 1: Goblin Politics. Krill sends his emissaries to implore help from any strong intermediary. The party is asked to investigate the murder of Thrawn in Dringly’s lair. This is Story Objective A. Part 2: The Opposition. Gain entry into Dringly’s lair and investigate the murder of Thrawn. Gather enough evidence to find the killer. This is Story Objective B. Part 3: To The Lair! Now that the players have determined the barghest (Yeep) is to blame, they need to get to Krill’s lair quickly as he is in imminent danger. This is Story Objective C. Part 4: The Barghest.When the players arrive at the lair, they need to get to Krill and expose and defeat the barghest. This is Story Objective D. Adventure Background A barghest named Yeep has begun its onslaught of attacks against the Black Blade goblins. Starting with Chief Gnar, then his second in command Thrawn, the barghest is moving methodically down the line of command. Krill is now chief. But he has some problems: Two leaders of the Black Blades are dead. Who killed them and why? Is he next? Dringly, the next in command, has decided to take his lair for himself, declaring himself Chief of the Black Blades. Who are the Black Blades? The Black Blades are a tribe of goblins in the local area. They are known for dipping their blades in a dark black substance. It is rumored these blades are poisonous. The Black Blades regularly attack passersby on the road to rob them. The Black Blades have two lairs, one run by a chief who leads the whole tribe, and another overseen by a boss lieutenant. The Black Blades have a well-established pecking order which is how Krill stands to become chief. The next in line is Dringly, who has also declared himself chief and wants Krill dead. Krill suspects that there is something suspicious about two leaders being killed within a day of each other, but he has already burned Gnar’s body without any investigation. He needs to investigate the body of Thrawn, but it is in Dringly’s lair. Krill wishes to avoid direct confrontation with Dringly at the present for three reasons: 1) Any violence would only kill his own tribe members and further divide the lairs. 2) He believes there is still hope for negotiation to reunite the Black Blades. 3) He believes that if he were to attempt negotiations himself, Dringly would kill him. This adventure features: Two maps. Ready for your favorite Virtual Tabletop. A full color pdf. A black and white pdf. One custom monster, a reprint of barghest, all others available in the Monster Manual. Four hours of entertainment involving: roll playing a goblin bard, investigating a murder scene, tracking down a barghest before it strikes again. Applicable to any setting.
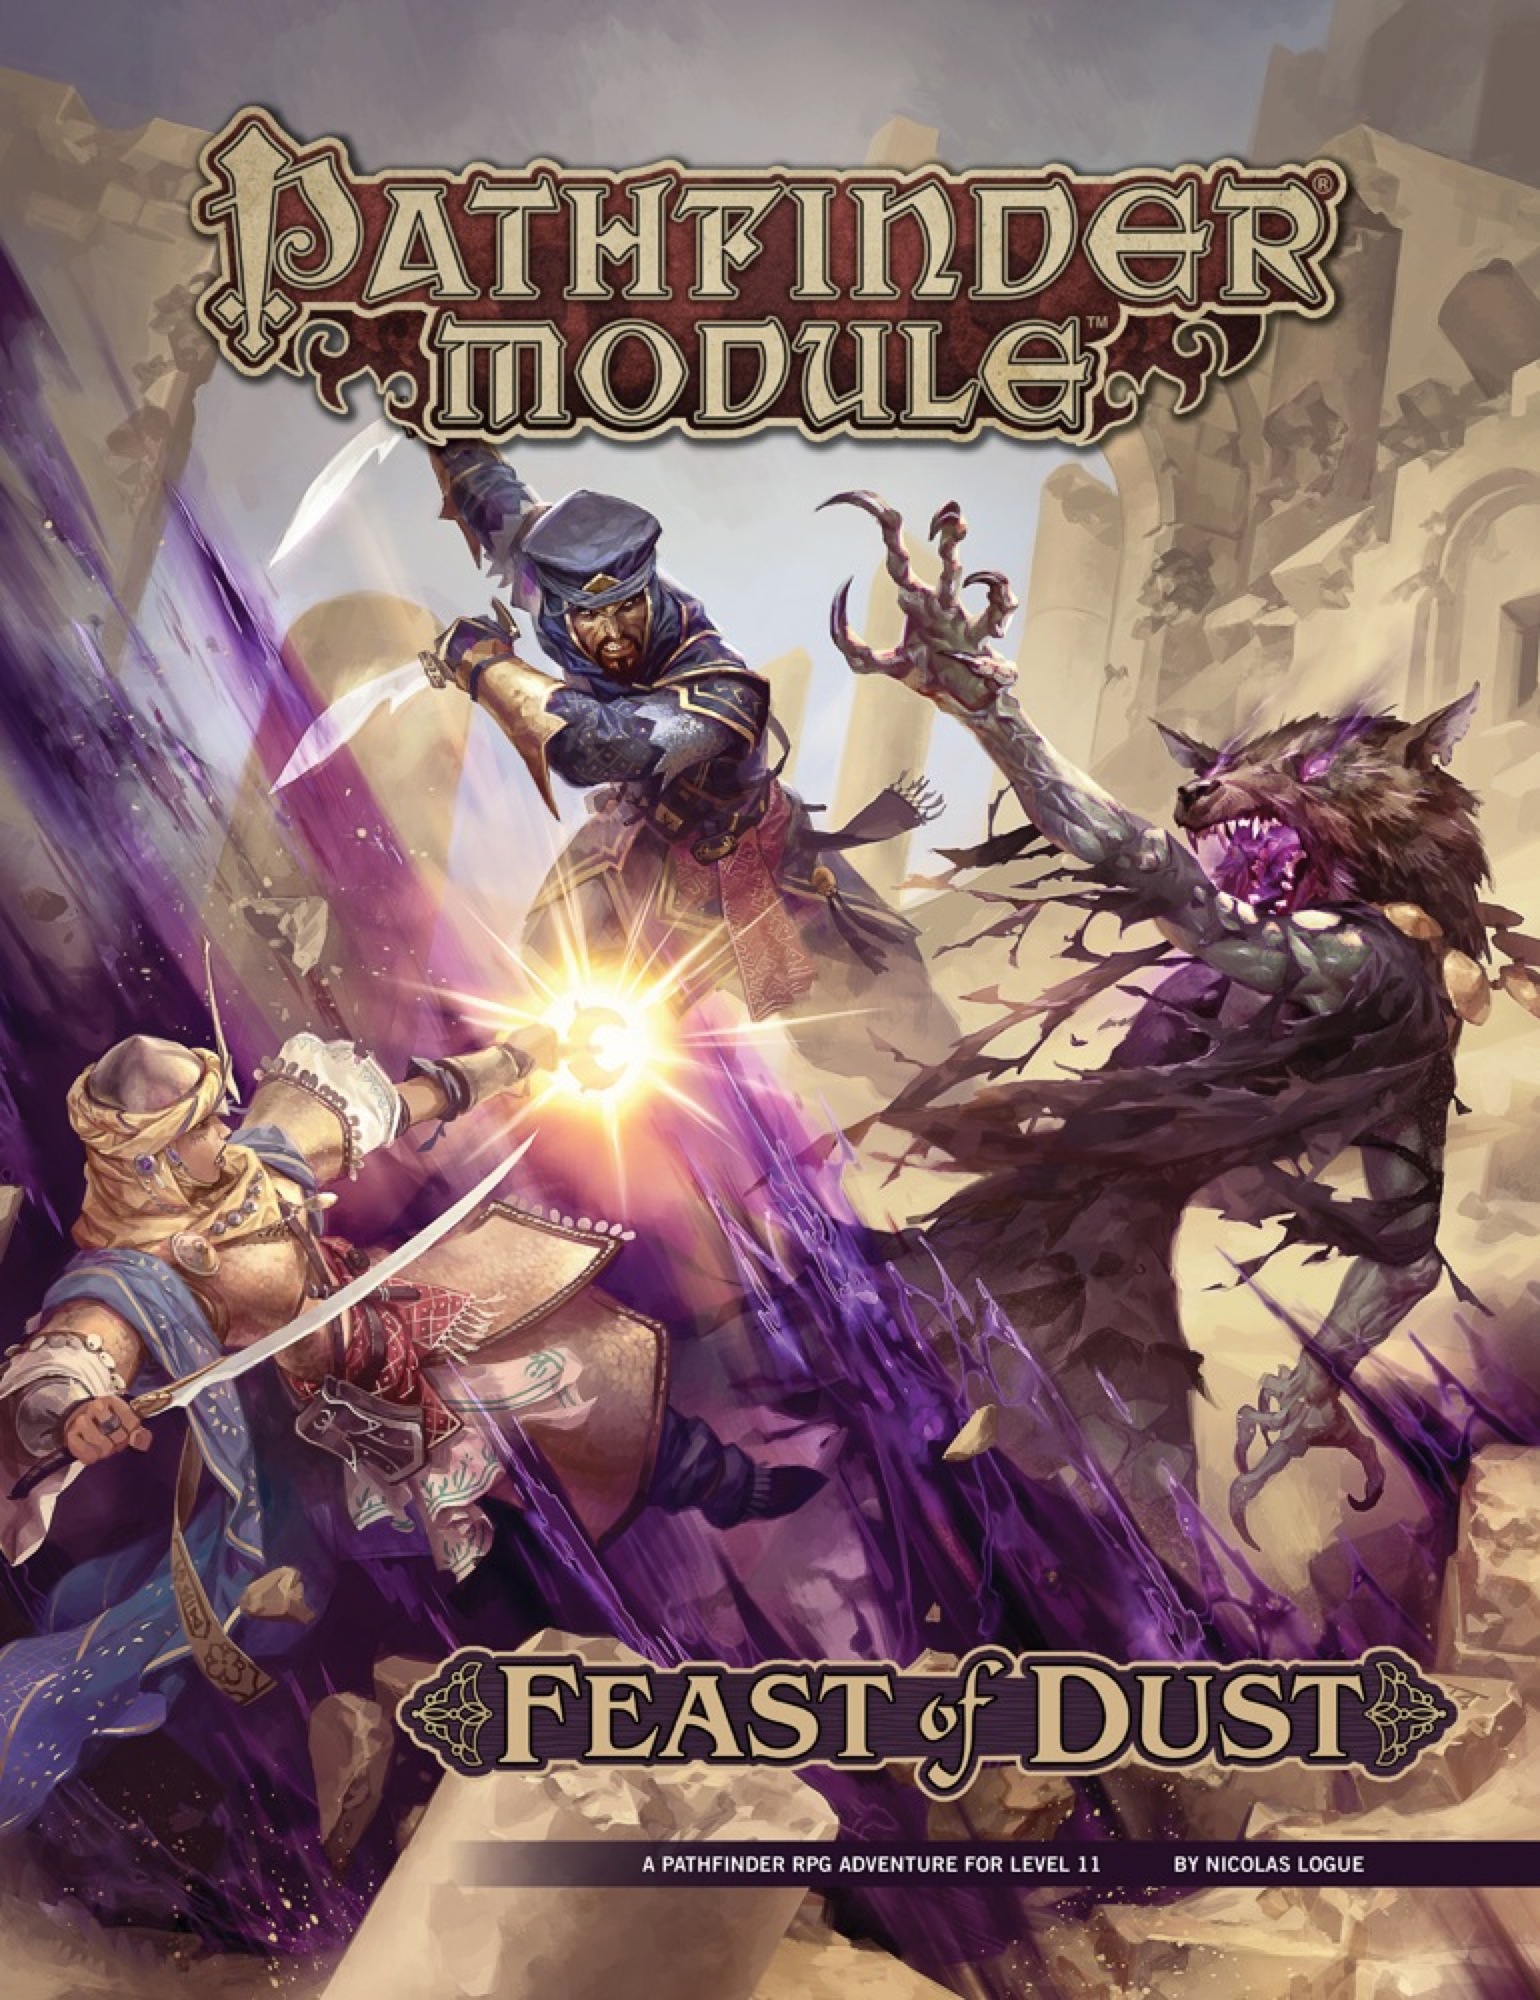
A deadly curse known as the Feast of Dust spreads rapidly through the Meraz Desert, driving its victims mad with hunger and a burning desire to flee into the sands. To find the source of this strange affliction, the heroes must investigate the plagued city of Dimayen, challenging fearsome gnoll tribes, nihilistic daemons, and the walking dead to discover the secret of a long-forgotten evil—a powerful daemon harbinger called the Jackal Prince of Famine. Despite the efforts of an ancient secret society, this twisted, unholy monstrosity walks the world again, threatening to spread his apocalyptic curse across all of Golarion! To stop the demigod's return, the heroes must uncover his three vile siblings, now bound within malevolent artifacts, and use their combined powers to stop the Jackal Prince before the entire world feels his corrupting touch.

This adventure is light and comedic and is indeed a heist adventure! It is designed as a one-off side quest for an established party but can be tweaked to work as an introductory adventure for characters meeting one another for the first time. This is ideal for a well-rounded party in which each player can show off and play a vital role in the mission’s success as they rob an evil potion master blind! Players can obtain potions of Heroism, Invisibility, Flying and Mind Reading. This adventure is perfect for DMs looking to fill a shorter session or injecting some light humor after an intense end-of-the-world campaign.

Social conflict and negotiations, combat, random encounters, treasure, and dungeon delving — all the elements of a classic D&D adventure in 4 hours. Don’t be put off by the 80+ pages! Half of it is maps and character sheets! Goblin Trouble is a short adventure for four 1st level characters. Written for the Dungeon Masters who are running their very first game, it is full of useful advice and tips on how to prepare for the sessions and how to run the game, easing everyone into the game mechanics along the way More advanced Dungeon Masters and players have the option to use extra options for most encounters that make the game a bit more challenging and fun. In the adventure, the party visits a small village in the Green Forest. There they learn about nasty goblins that terrorize anyone who enters too far into the forest... Is the party up to the challenge? This adventure is also a perfect choice for Dungeon Masters who are looking to expand Lost Mines of Phandelver. With this purchase you’ll get: A beautifully-illustrated 4-hour adventure in PDF format Four unique color maps in both Player and DM versions. All the maps are available as separate files, so they’re easily imported into Roll20 or another VTT. A special Adventure Tracking Sheet that helps you prepare for the game and track your progress 12 ready-to-play, slightly simplified 1st-level characters with backstories so you and your players can immediately jump into the adventure! The players also get a short guide that helps them choose the perfect hero for them. Goblin trouble must be solved. Time to set off on a grand adventure! Would you like to know what the supplement looks like inside? Click the preview under the cover picture above!

5e Solo Gamebooks presents The Tortured Land, the fourth in our series of solo adventures set in the Forgotten Realms. With this adventure, we take off the gloves and throw your PC into the thick of some serious danger in the frigid north of Faerun. Only the most hardened adventurers will make it through this adventure in one piece, and with several different paths available, replayability is assured. The Tortured Land will provide you with hours of enjoyable, challenging play time. Arriving in a lonely village in the middle of the northern plain known as The Ride, your hero is soon drawn into a quest to retrieve a precious artifact. From there they will journey even further north, towards the barren waste known as the Tortured Land, in search of an unknown enemy. There are items to collect, codewords to activate and perils to avoid. And of course, many combat encounters! As always, hyperlinks are included in the text to facilitate easy navigation, removing the need for scrolling between entries.

This scenario was originally written for use as a competition event at Games Day 1987. We have published the adventure so that you will be able to reproduce the competition. The scenario also serves as an introduction to the forthcoming supplement detailing the land of Lustria. (see WFRP World Map, p272). At Games Day the party had to play the part of a small band of pygmies, and we have included details of this party so that you can use them too. You should carefully read the notes on Witchdoctors, Ancestor Spirits and the spell Control Spirits before starting play. If a conventional party is used here there is a significant chance that players will lose favourite characters. Much of the scenario is geared towards pygmies, (some tunnel heights, the presence of pygmy ancestors and so on), and a party without access to pygmy-magic may find some areas extremely difficult. Pgs. 11-27 Published by Games Workshop
Baldur's Gate Break-Ins collects three heist and infiltration adventures for characters of levels 3-5, for use as a continuation of Burial in Baldur's Gate or as standalone modules. This collection fleshes out several locations around Baldur's Gate, providing adventures in every quarter of the city: Crash the world's worst dinner party in Eomane House! Contend with a criminal operation, a murderous raid, and a Feywild crossing in Jopalin's! Break up a blood-drenched cultist lair in Hamhocks Slaughterhouse! This book includes adventure hooks for running each location separately or as part of a campaign, a guide to running heist and infiltration adventures, three possible group patrons for the party, maps and rosters for each location, more than a dozen creature and NPC stat blocks, and a map pack with player and DM maps by Dyson Logos.

An ancient power has started to rise and threatens a small town. Venture into dark caves and put an end to the power creating the skeletons within. Intended for 6 characters level 5-10 Approximately 6 hours of play Featuring 7 new monsters A transforming boss encounter Easily set in your own world, Theros, or Ferun Can be run with the basic rules Full of unique art a map handout for your players and maps for your VTT You can lean into horror or you can keep it PG. Suitable for gamers young and old for one long session or three shorter sessions.

Cheese Goblins III — The Church of Lavache A Level 4 Adventure of Holy Havoc and Dairy Doom by Infinite Initiative High on a lonely hill, the Church of Lavache has gone strangely silent. What was once a peaceful chapel now glows with sickly yellow light. Locals whisper of cheese-scented smoke curling from its windows… and giggling shapes scampering through the graveyard after dark. Inside, something ancient stirs. A deranged warlock—Darius Manchego—has seized the sanctuary and begun a ritual to summon Lavache, an obscure archfey of dairy, indulgence, and decay. Cheese Goblins swarm the halls, corrupting pews, altars, crypts, and even the sacred dead. If the ritual completes, the Matron of Cheese will step through the veil—and the town below may drown in holy curdled chaos. Adventurers must storm the defiled church, navigate its cheese-slicked catacombs, disrupt the ritual flames, and confront Darius before Lavache fully manifests… or face the archfey herself in all her gooey, bovine glory. Inside the Adventure A complete 5e one-shot for characters level 4 • A hilltop church overrun by goblins, traps, riddles, and corrupted magic • A branching dungeon with dynamic time pressure—delays strengthen the final encounter • A cheese-slick sanctuary fight, a cursed family crypt puzzle, and a summoned archfey showdown • A chaotic boss battle with Darius Manchego and (if the party is too late) Lavache, the Matron of Cheese • A new magic item: Curdled Charm of Cheese Conjuring Adventure Hooks The Sudden Takeover – Overnight, the church begins oozing cheese and goblins barricade the road. A Priest in Panic – A trembling clergyman begs the heroes to reclaim his overrun chapel. Bounty on the Cheese Warlock – A wanted poster offers coin for the capture of Darius Manchego, last seen near the church. Part of the Thirsty Tiger Tales series by Infinite Initiative—short, atmospheric adventures built to run in one or two sessions.
Millennia ago, aberrations from Xoriat, the Realm of Madness, were driven from Eberron. The Gatekeeper druids–mostly orcs–placed powerful dimensional seals throughout Khorvaire to prevent the creatures of Xoriat from returning. To repair a breach in one of the seals at a settlement called Tjorda, a Sealguard Complex was built. An immortal guardian ws tasked with attending to the repaired crack in the seal. Thousands of years later, the Gatekeeper druids rediscovered the sealed complex. Even without knowing its precise history, they ascertained its sacred nature and have guarded it from then on. Being sealed in to protect the site and commune with the inner guardian is considered a great honor. Much of this history has long-since been forgotten. But 10 years prior to the adventure’s start, Vilda Karrte–a relic hunter with her own agenda–tracks a Xoriat artifact called the Spiral Well to the complex. Turned away by the Gatekeeper, she forces her way inside, grievously injuring them. Having discovered Vilda’s journals, Provost Nigel Faurious, through the Clifftop Adventurers’ Guild Handler Lhara, tasks the adventurers with recovering the Spiral Well.
The party arrange for passage on a fast ship called the Silver Slipper. The good Captain Sara agrees to take them aboard for a reasonable fee. The voyage, however, is marred by strange events, and the crew begin whispering about a dark statue taken aboard as cargo. The statue is to be delivered to a port beyond the PCs' destination. When a fog rolls in one night, the ship is attacked by evil agents of a dark god come to claim the statue. In this nautical nightmare, the PCs must travel aboard the ship, interact with the crew, and save themselves from a boarding party of eldritch evil.

"Blood Money" is a caper adventure in which the adventurers work outside the law to pull off a major robbery. Good planning is essential, and the characters need to stay cool under pressure.
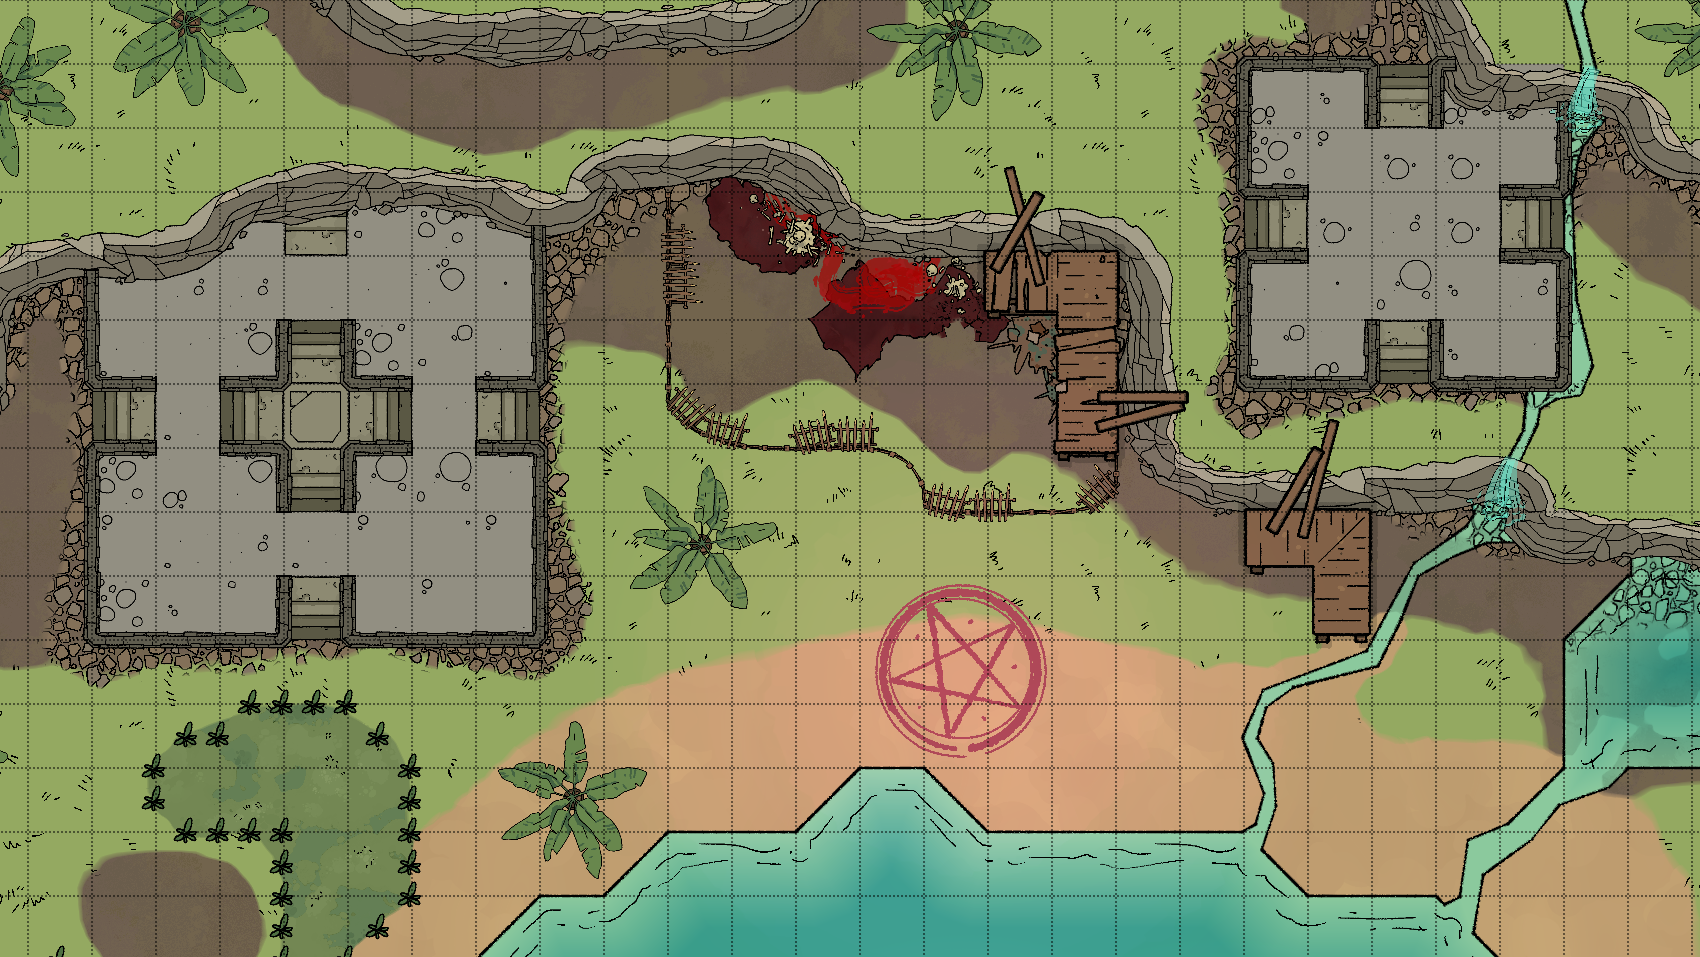
Fight on the Beaches is the second of a collection of plug-and-play combat encounters for your 1st-Echelon Draw Steel campaign. These encounters are not strictly contextualized in any narrative. They are not adventures themselves, nor are they carved from any over-arching adventure. They're adventure-agnostic, so that you can just plug them into your own adventures and PLAY! Two encounters are enclosed. Each encounter consists of: - A map ready for use in VTT - A reference map for the Director - Some number of victory point conditions and mechanics of the encounter - Three monster tables (one for each level) for parties of 2-6 heroes. - Tips for monster tactics at each level In This Set: 002A: Wash Out the Coastal Ruins - Fight above the waves in ancient ruins guarded by lizardfolk, bugbears and angulotls, or wode elves! Features a very dangerous new dynamic terrain object. 002B: Summon Goxomoc - Hold back hordes of demons while summoning the Protector of Ix! Multiple zones of control, waves of enemies, a very complex fight designed to take 5 rounds.

A family has been abducted and the village of Myrehall needs help in getting them back. This is the third adventure in a miniseries with the following adventures being: A Chance Encounter The Mystic Circle A Dark Veil Falls

A short adventure that can be used as part of a larger campaign or run as a one shot for 3-4 Tier I or II characters. An all elven guild has taken on a large job for an unknown character. They are doing everything they can to fulfil the contract regardless of who gets hurt in the process. On this short adventure the characters will run into and a foul of the Elven Guild. Can they stop them from finalizing their plan. This adventure includes hooks for additional adventures that can be run after this adventure is completed.

A beloved noble is at death’s door, struck down by a mysterious affliction! A desperate plea for aid has been answered, but will the heroes solve the mystery in time? This much is certain: Sinister forces are at work in Toven, and time is running out! Lost in Malice is a 5e compatible mystery adventure optimised for a party of four 2nd level characters. Low level mystery adventure Includes a mystery overview and clue map for ease of running at the table Focused on Roleplay and Exploration. Fascinating cast of NPC's Includes a detailed battlemap of a woodland cabin (day and night version)