Into the Forsaken Temple's Crypt is a short adventure for four 10th-level characters. The adventure takes place in a buried temple crypt, which has been sealed for centuries. Dungeon Masters can adjust it for higher-level characters by expanding the dead magic areas and increasing the number and power of constructs and undead that inhabit the complex. Some things are best left untouched, and some secrets are best left untold. One such secret is the location of the resting place of the traitor Ellowyn Blacktree. Her body has lain undisturbed for centuries, undead but immobile, in the prison the elves created for her. The elven histories tell that Ellowyn was a powerful wizard back in a time beyond human reckoning. While others worked diligently to learn magic, Ellowyn's arcane powers came to her quickly. In her youth, she called this a blessing from Corellon Larethian, and she worked diligently to serve him for the good of all elvenkind. In time, she became one of seven female elves entrusted with the care of a mythal, or elven place of power, devoted to preserving the balance of magic and nature. But Ellowyn, it is said, kept a terrible secret of her own: She had fallen in love with a drow whom history knows as Orith To'rellen. One dark winter night she betrayed her sisters, Corellon, and all of elvenkind by allowing Orith and the followers of Lolth to overrun and defile the mythal. Ellowyn herself was then betrayed by the drow, who abandoned her on the surface near a vampire's lair as they returned to their home in the Underdark, leaving her to face certain death and elven justice alone. In the depths of their grief and anger, the elves sentenced Ellowyn, perhaps unwisely, to dwell forever in the darkness that she had chosen, thus ensuring that she never followed the normal path of life and death that most elves take. Many elves died at her hands before they could restrain her. With terrible spells rarely seen even in that ancient time, they bound her in an underground crypt far away from any living thing. There, the legends say, she waits, nursing a terrible hatred against elves, drow, Corellon, Lolth, and especially Orith To'rellen.

PL1 – Encounters at Gormell is the initial adventure for the campaign in the Principality of Lockerbie. This series of adventures are set in the land known for the large city of Kettlespit and the capital of Xado Keep. The land resides to the south of the mountain range called the Spines, home to a devastating series of magic wars years ago. This land was the site of many battles and skirmishes and the western reaches are still very dangerous. This offering provides information on the village of Gormell and a variety of different scenarios to get your first level players up to second level and beyond!

This week’s Filbar offering is a mid-level adventure with the party headed out towards the frontier. As they move towards high adventure, adventure finds them first! Keldor Keep is the last bastion of civilization on the frontier but has recently come under attack. With its defenders scattered it falls to the party to save the fortress and protect the border! A hit at Who’s Yer Con 2016, this adventure is more than enough challenge for a group of 4-6 level characters!
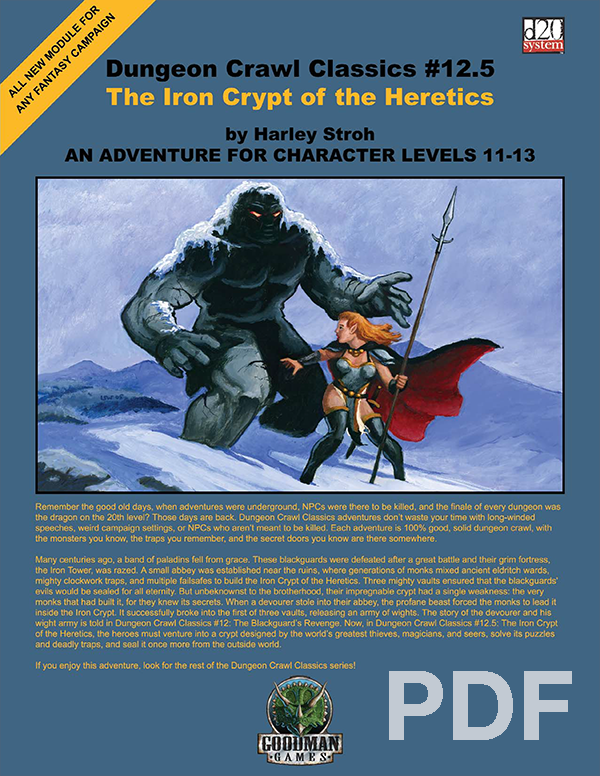
Many centuries ago, a band of paladins fell from grace. These blackguards were defeated after a great battle and their grim fortress, the Iron Tower, was razed. A small abbey was established near the ruins, where generations of monks mixed ancient eldritch wards, mighty clockwork traps, and multiple fail safes to build the Iron Crypt of the Heretics. Three mighty vaults ensured that its evils would be sealed for all eternity. But unbeknownst to the brotherhood, their impregnable crypt had a single weakness: the very monks that had built it, for they knew its secrets. When a devourer stole into their abbey, the profane beast forced the monks to help it inside the Iron Crypt. It successfully broke into the first of three vaults, releasing an army of wights. The story of the devourer and his wight army is told in Dungeon Crawl Classics #12: The Blackguard’s Revenge. Now, in the Iron Crypt of the Heretics, the heroes must venture into a crypt designed by the world’s greatest thieves, magicians, and seers, solve its puzzles and deadly traps, and seal it once more from the outside world.

A mission to find a rare recipe ingredient for a local wizard. The recipe to fashion that magic item calls for a few drops of fey blood. Hmmm...where in the world can that be found?

The people of the Linsholm fear orcs are about to raid their small farming village. For the past several days, they have been seeing orcs in the hills and forests around the village. They don’t realize that something much worse than this small band of orcs is out there. For now, it’s hunting the orcs. But if the townsfolk aren’t careful, they could be next. Protect the village of Linsholm, but perhaps not from what they fear. Discover that not all orcs are evil. Reunite the fractured orc clan, and broker peace between them and the villagers. Uncover what is hunting the orcs, and the secret to their power. A 6-8 hour adventure optimized for a party of 4th level characters.

The newly ordained Bishop Martin has called upon your group to deliver a message across the sea. While somewhat beneath your status, the new bishop was a former adventurer of some renown. Along the way to the southern reaches the party will find themselves dropped off at the wrong port and unable to speak to the locals…and that’s just the beginning! The party will need to find the pasha, get valuable information from him to assist the new bishop, and finally get back home. This adventure goes with FT – Antioch – Kingdom of Nirack.
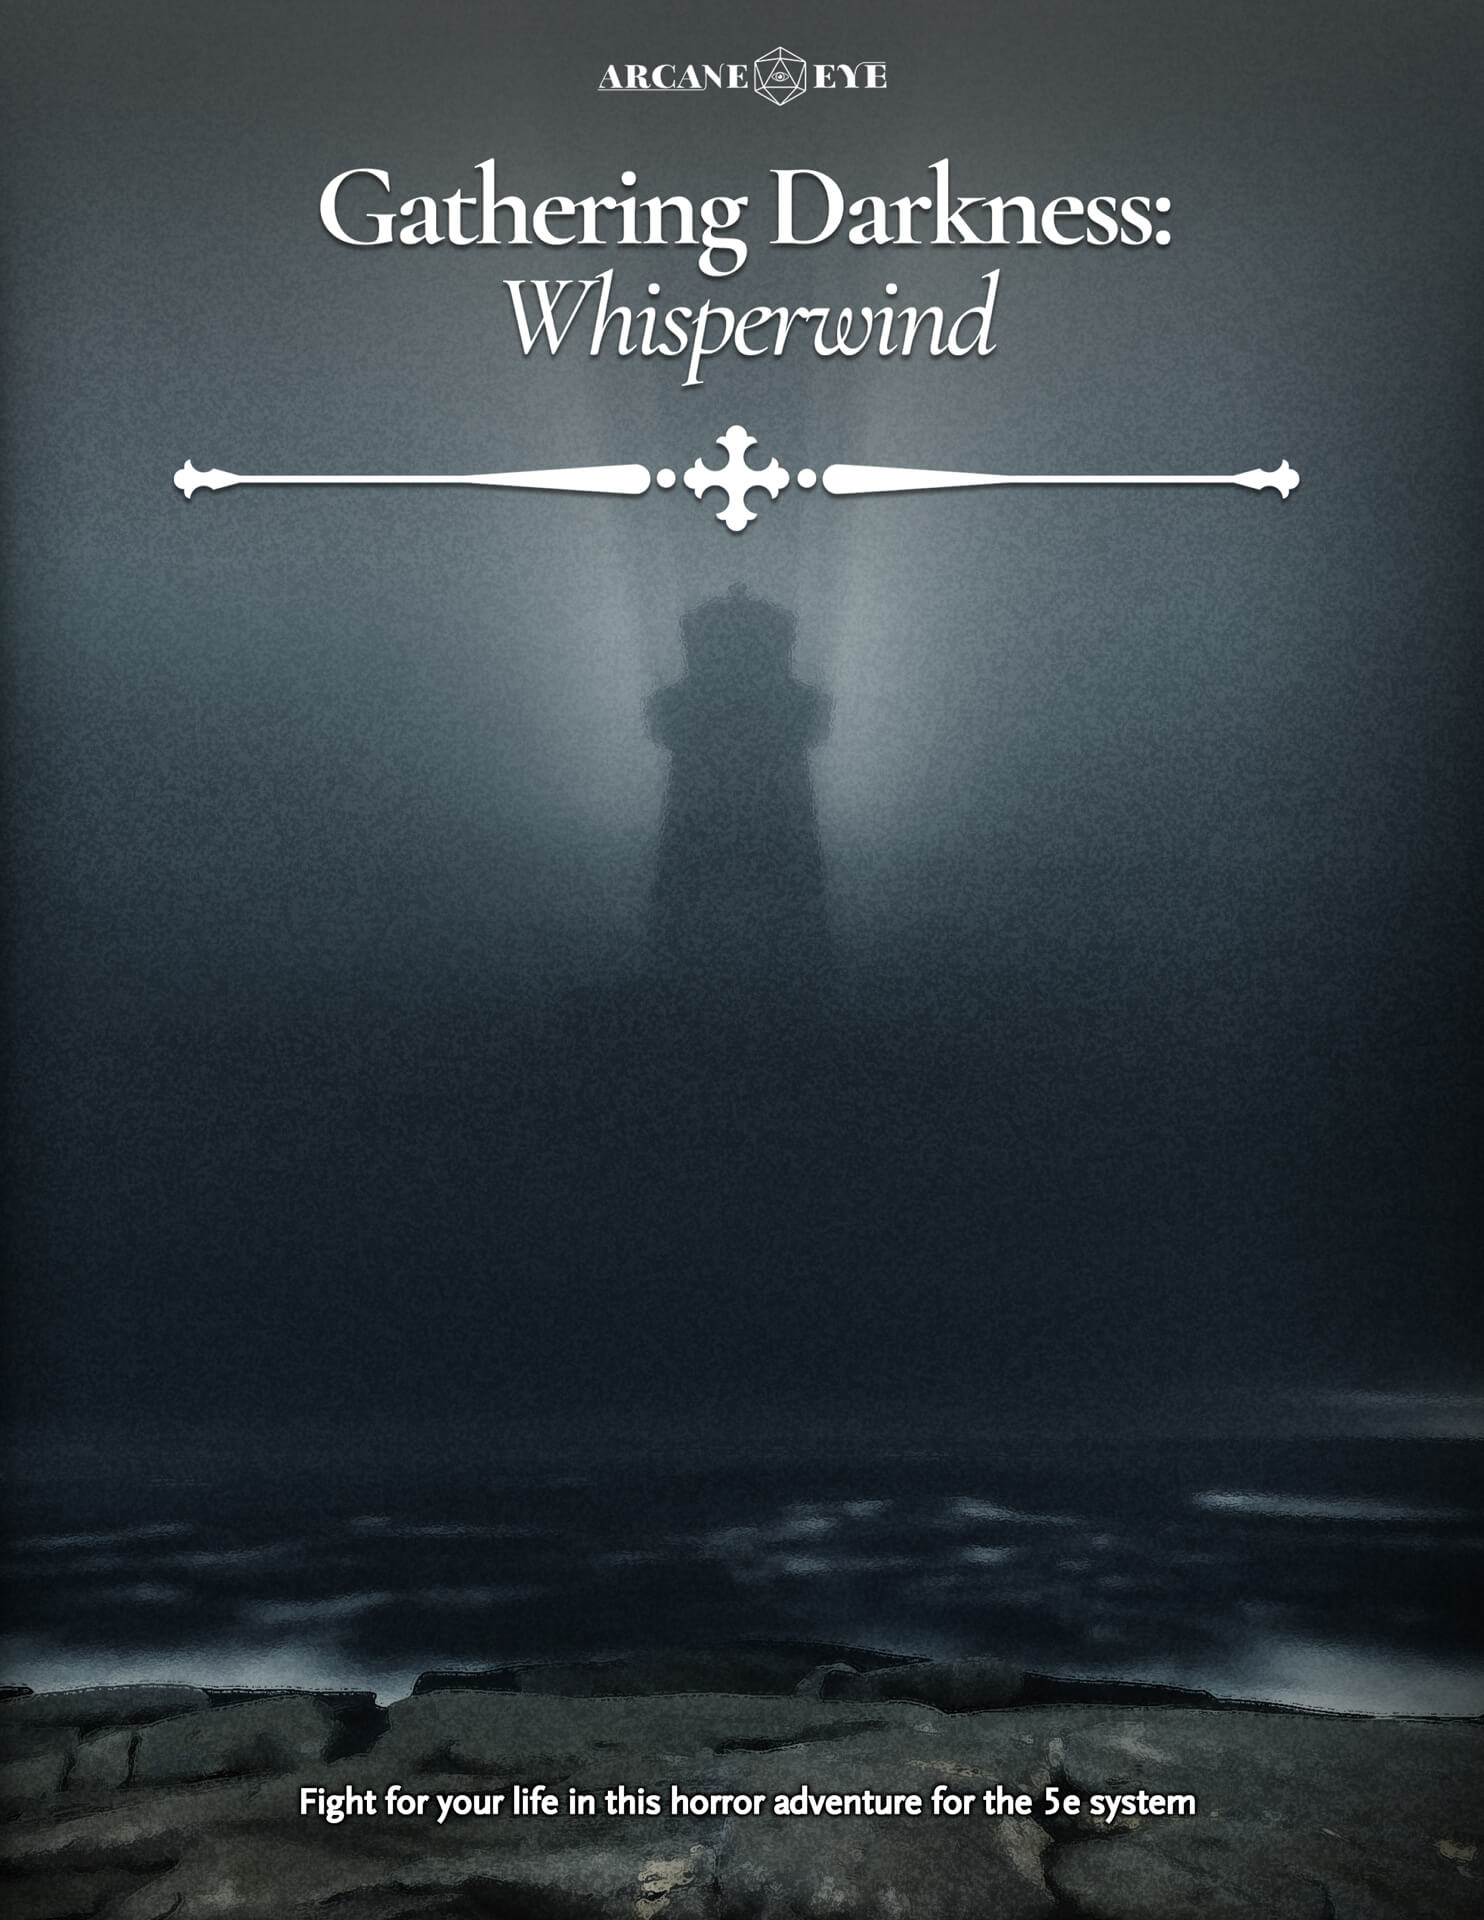
What’s Included Gathering Darkness: Whisperwind is a self-contained 6-7 hour adventure for the 5e system and is meant for four or five 3rd-level characters. This premium module contains: A complete story, battle maps, and custom NPC stat blocks Random encounters for entering houses in a haunted village A new mechanic called Blight which affects creatures based on their exposure to the horrors of Whisperwind A table of Lingering Effects that reflect the influence of the Dark on Whisperwind’s inhabitants The is the first adventure in the Gathering Darkness Anthology. The Setting This adventure takes place in the cursed coastal village of Whisperwind, a place stuck in a perpetual state of twilight. Once a thriving hub for fishing and trading, Whisperwind now exists in a place beyond time and space. Those unfortunate enough to end up there can come from any plane and any period of time – past, present, or future. Not much is known about the cursed village. In fact, most people are not even aware of its existence, and those that have heard of it often believe it to be a fairytale created to scare children. What they do know is this: once you enter Whisperwind, you may never leave. What they may not know is that inhabitants of Whisperwind do not die of natural causes and may live forever if they are not killed by other means. Instead, prolonged exposure to Whisperwind can have radical effects on the body and mind. The strongest willed may be unaffected, while the weak may lose their minds or be consumed by the terrible sickness known only as blight… Your Mission Uncover the mysteries of Whisperwind, survive the horrors that attempt to drag you into the Dark, and escape alive with your sanity intact.
Wild transmutation magic suddenly blasts through the sleepy town of Pinebrook Dell, turning the inhabitants into classic D&D monsters! Can the party reverse the effects as they too begin to slowly mutate? This one-session adventure is a love letter to classic D&D. Every monster the party might encounter dates back to the earliest days of the game... and the players are slowly turning into monsters themselves! Mechanics are provided for players to start turning into monsters (Gelatinous Cube, Beholder, Mind Flayer and more!) as the adventure progresses, with fun puzzles tailor-made to highlight their monstrous new abilities. This module is for 4-6 characters at level 4.

Sarkt is an illithid sorcerer. It was cast out of its community for its heretical studies (Sarkt was in fact, lucky to escape alive). It didn't take the cunning creature long to pick up a few thralls and find a new place to live, safe from the murderous intentions of its companions. Sarkt dwells in the subterranean ruins of an ancient shrine to Blibdoolpoolp, the crustacean-headed deity of the kuo-toas. This shrine lies on the fringe of a region controlled by kuo-toas, but since Sarkt's arrival, the fishmen avoid the area. A few unfortunate kuo-toas now serve Sarkt as thralls and maintain the illusion that the shrine serves Blibdoolpoolp. Pgs. 82-88

Lord Dragle was set to auction off his most recent discovery, the Shroud of Olindor. The elven relic was certain to make Dragle a wealthy man. Such a pity he had to die. But the plot surrounding Dragle’s death is far more layered than it appears. It is up to the player character to discover the hidden motives and ultimately recover the Shroud of Olindor. Part 2 of the Olindor Trilogy.

A Four to Six Hour Adventure for 11th-16th Level Characters in Dungeons and Dragons 5E The Adult Green Dragon Valturnax has attacked the nearby village of Hartsvale, threatening to destroy them completely if they do not submit to his rule by nightfall. To save the town, adventurers must ascend the mountain by climbing through the caves housing the dragon’s minions and face him in his lair – and they need to do so before the sun sets. This adventure is meant to be quite challenging. Enemies know the adventurers are coming and have had time to prepare, and they do so intelligently. This adventure draws some inspiration from Tucker's kobolds. As an added bonus, this adventure is available completely for free.

The Bloody Maul of Kord is a magic weapon protected by the priests of Kord, who occasionally allow a noteworthy hero to use it when going on a dangerous quest worthy of the storm deity’s blessing. Six months ago, Atrimos of Ardor took the Bloody Maul for a quest to the Caverns of Demise, hoping to end attacks to the realm being launched from the caverns. He never returned. Now, the clerics of Kord hire the PCs to go into the caverns to retrieve the Bloody Maul of Kord—and to find Atrimos, if possible. Pgs. 108-113
A flameskull lord that calls itself the Bright Lord of Everburning Fire has taken control of a primordial node deep within the Elemental Chaos. It long ago shrugged off the control of its original creator and now follows its own plans and desires. Top among these is the desire to tap into the power of a fire primordial and increase its own status from undead creature to demigod. Pgs. 156-161

In the deep, it has awoken. Hidden in the ruins of an old dwarven kingdom awaits a powerful relic, and an army kobolds are on the march to retrieve it. Dare the heroes enter this ancient place, and will they find the relic before the army arrives. In a race against time the adventures may unleash the greatest evil, while trying to save the world from a grim fate. Tomb of the Dragon's Heart is a low-level OSR adventure suited for Labyrinth Lord and other oldschool retro clones. The adventure was originally written for the Danish Living Campaign The Hinterlands, and it is for the first time presented in English. The adventure introduces the players to a different tradition of adventures, and it one with a focus on exploration and encountering the unknown. The adventure contains new magical items and relics and new monsters to challenge your players. Tomb of the Dragon's Heart also functions as a prequel to The Flooded Temple and to Grave of the Heartless. Published by Greis Games.

The Submerged Spire of Sarpedon the Shaper lies to the west of the Isle of the Dismemberer. On the northwestern shore of this island, crumbling steps spill from the shore directly into the sea. There, a seaweed choked stone path can be glimpsed winding down into the depths. At low tide, a quarter mile along the path, a lone onion dome may be seen poking through the waves. In the twilight of the sorcerer lords, The Submerged Spire was the jewel of the Shattered Isles. Within his submarine redoubt, Sarpedon penetrated ever deeper into the organic mysteries. Now, its for- lorn dome the roost of seagulls, its secrets slumber beneath the waves.

The Sea Witch is a short adventure for four 10th-level characters. The difficulty of the adventure can be adjusted by changing the level of main antagonist (Black Molly, the sea hag pirate) or by altering the number of her ogre servants. To tailor the encounter to groups of different levels, refer to table 4-1 in Chapter 4 of the DUNGEON MASTER’S GUIDE. The adventure is set off a lightly populated coastline known as Misty Bay, but adapts easily to any coastal region in existing campaigns. The sea hag known as Black Molly is a notorious pirate who has plagued the coastal cities for the better part of a decade. A successful Knowledge (local) check (DC 15) will reveal that Molly and her ogre crew have a filthy reputation as merciless killers who delight not only in plundering vessels for their riches, but also in destroying the ships themselves and sending all hands to the bottom of the sea. Now the villain and her followers have seized control of the Old Lighthouse of Misty Bay located off a lightly populated coastline. For generations the lighthouse beacon has protected the fishermen of this region, warning them of the dangerous rocks that lurk just below the level of the high tides. Recently, the hag has put out the beacon, darkening the lighthouse; misery and destruction are sure to follow as ships start to blunder into the rocks. Blackmail is apparently Black Molly’s aim in this venture: She conveyed a message to the nearest shore community, the fishing village of Poisson, demanding the princely sum of 50,000 gp. Until she receives this ransom, she intends to hold the lighthouse and its beacon hostage. The fate of the human keepers who tend the lighthouse is unknown to the seaside communities at this time, but they fear the worst. The Sea Witch is ostensibly a rescue mission: The PCs are pitted against the evil of Black Molly and the brawn of her savage ogre crew. It is the heroes’ task to retake the lighthouse and, if possible, free its captives from the clutches of their jailer. What neither the PCs nor the shore communities yet realize is that while she 1would be pleased to have the gold, Black Molly is in fact after bigger treasure. Molly has no intention of giving up the lighthouse — at least, not until she finds what her master sent her here for. Lying on the sea floor practically at the base of the rock on which the lighthouse sits is the wreck of the war galley Flying Cloud, which according to popular legend was captained by a cleric who wore around his neck an amulet of the planes. Black Molly wants this prize, but so far she hasn’t been able to find it. She’s scoured the wreck without finding any sign of the magic item. Now she’s trying to determine where to search next, for the item might well be somewhere near the wreck. If she can’t find it, she’ll start torturing her captives to find out if they have any useful knowledge about the amulet.

With a series of torrential rains, the soaked soil has weakened and an opening to a forgotten tomb has been discovered. You and your associate prepare to venture into the lost Kalar's Crypt! This scenario is useful for a beginning campaign or just a side adventure when most of the group can't participate.

Not everything worth stealing is worth cash The party must recover a stolen patent of nobility from a thieves' guild, in order to stop a civil war. Pgs. 12-22

While the PCs continue the quest for the missing pages of the Codex of Gamber Dauch they find the lands of Count Elam. The ruler has recently been informed of an agricultural problem with a herd of Anhkheg tearing up the lush farmland. Further investigation will uncover darker secrets in the area, and those involving Drow and Derro!