
This new version of the classic adventure is completely updated to 3.5 edition. In The Lost Vault of Tsathzar Rho, a defenseless village asks the characters to slay an out-of-control ogre. Sounds easy enough. But the ogre, who used to be nothing more than a nuisance, has become crazed and psychotic. When the characters arrive at its cave, they find a subterranean portal has connected the cave to a much larger underground complex. Something in that complex has transformed the ogre and many other local creatures into fiendish marauders. In fact, it’s the lost vault of Tsathzar Rho, an ancient wizard and prophet of the Outer Gods, who are gathering their foul minions for battle.
Tears for Twilight Hollow is about mystery, danger and deceit- the players seek a missing Paladin in an increasingly-troubled town, chasing clues around a village and through a valley only to discover that the Paladin's old friend long ago began worship of an evil S&M goddess. Betraying her friend and trapping her soul in a Devourer, a powerful extraplanar undead creature, the evil priestess continually parades the soul-bereft corpse of their fallen Paladin in front of the villagers in a show of 'sorrow', all the while gaining immense pleasure from the village's pain. Pgs. 62-110
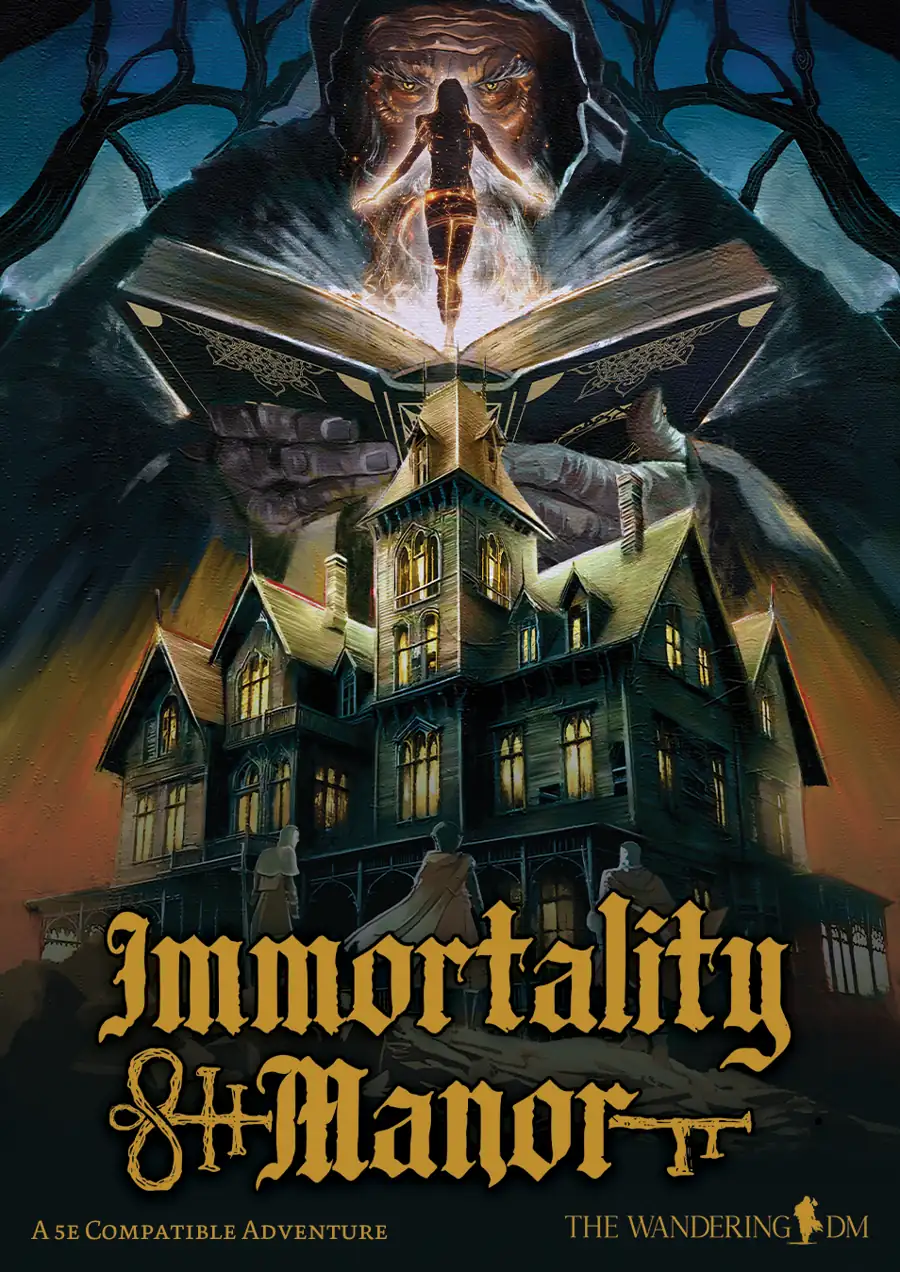
Love, Madness, and Immortality Collide Within the Haunted Halls of a Cursed Manor. Step into Immortality Manor, a 5e-compatible adventure that fuses gothic horror, intricate puzzles, and immersive storytelling. This campaign plunges adventurers into a tragic tale of obsession and dark magic. Explore the haunted estate of Stomund Wysalt, uncover secrets, navigate deadly traps, and make choices that will shape—or doom—your fate. -- Gothic Atmosphere: Every room is steeped in dark fantasy, offering a chilling gothic setting perfect for horror fans. -- Unique Resurrection Mechanics: Death isn’t the end. The Resurrection Coffin revives players but with growing exhaustion and increasingly dire consequences. -- Multiple Endings: Will you free Lucinta from her cursed prison, confront Stomund, or become trapped in the manor forever? -- Sandbox Exploration: Explore the manor non-linearly, uncovering secrets at your own pace with layers of mystery and puzzles. -- Intricate Mystery: Unravel a tragic love story while solving dark, intricate puzzles. -- Funhouse Dungeon Crawl: Play as a combat-heavy, puzzle-filled dungeon crawl for an action-packed experience. Key Details: -- Level Range: For parties of levels 1-3 -- Playtime: 3-6 sessions, or use each room as individual encounters. -- System: 5e-compatible, easily adaptable. -- Downloadable Content: Includes detailed maps, NPC character sheets, and tokens for all NPCs. Can you uncover the secrets of Immortality Manor, or will you join its list of eternal victims? Also available as a VTT on Roll20: Immortality Manor | Roll20 Marketplace: Digital goods for online tabletop gaming

A generic tomb usable for one off adventures or unexpected exploration discovery. An abandoned dwarven tomb has been taken over by goblins.

The Black Rose Inn has a spectral resident prowling its halls and a cultish secret under its floorboards. Can the characters delve beneath the Black Rose and bring closure to a decades-old tragedy? Beneath The Black Rose is a haunting horror adventure for 6th-level characters. It's a one-shot that takes about 3-5 hours to complete and includes: -A ghostly mystery and a murderous cult -Two new monsters to bedevil your players -Combat cards for each monster, PC, and special treasure -High-quality digital maps for use with virtual table tops

A haunted house, a missing person, and a hint of wild fey magic. In the kingdom of Norland in the Moonshae Isles, King Keethan rules by the will of Torm the True, though in Glen Dourn folk still hold true to the old ways—a dense and layered folklore of monsters and tales to frighten children. It is to this remote valley that Keethan bids you make haste to seek out signs of his beloved cousin, Lady Sorcha Hannigard. Sorcha vanished on her wedding day three years ago, sending her groom and neighbours alike into mourning. But where can she have gone? The only remaining clues to this mystery lie in her abandoned mansion home, where powers less wholesome have now taken up residence. The Dread Coven will not give up what they know so easily, although they will strike a bargain if you’re willing to pay the price in pain.
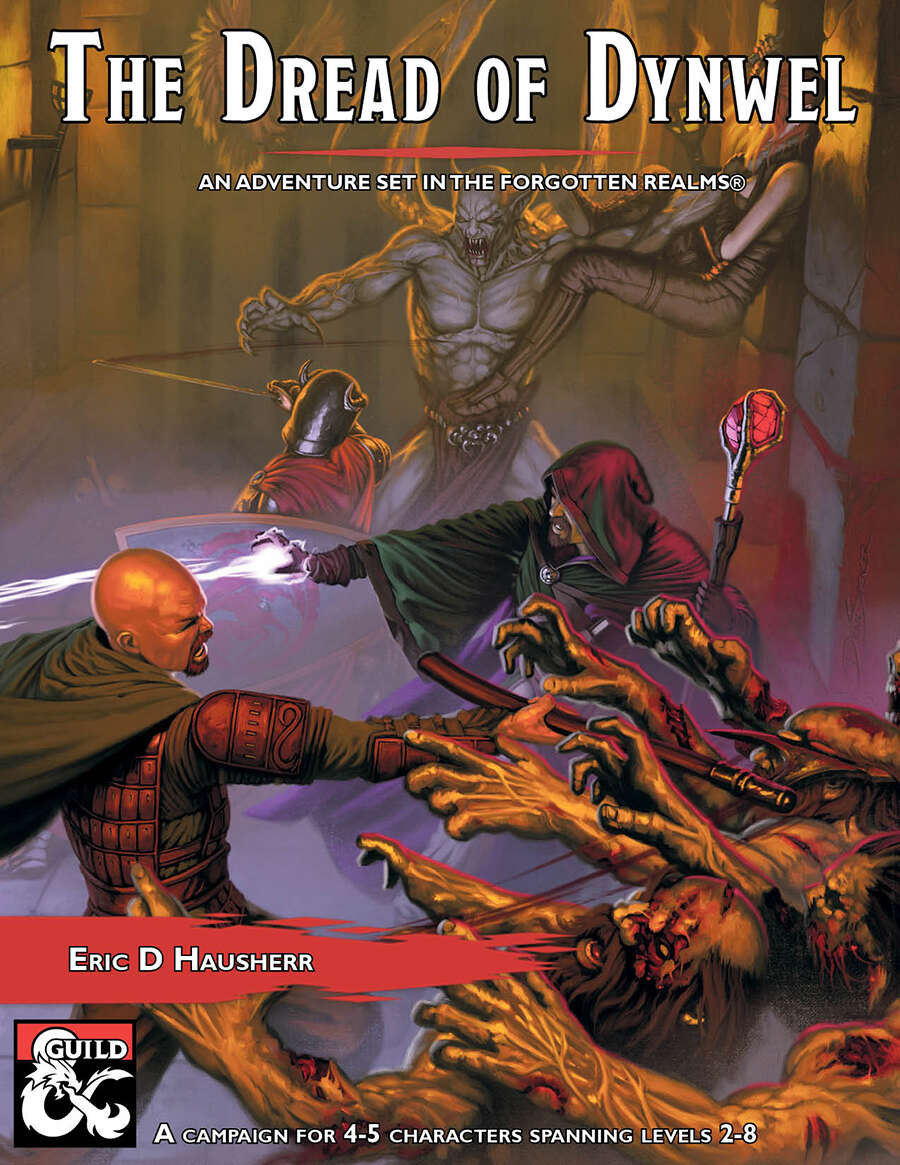
The Dread of Dynwel is an adventure set in the Forgotten Realms and optimized for 4-5 players. The characters start as a down on their luck but somewhat experienced crew of adventurers with a wanted poster which pays a much-needed gold reward. Soon, events in the Sunset Vale are revealed as more dangerous than they seem, sweeping the characters along with them. From the heights of the Sunset Mountains, the alleyways of Scornubel, and depths of the Reaching Wood: The Dread of Dynwel covers levels 2 through 8 and features material which can be played as a full campaign or dropped into an ongoing one.

An unknown force is inciting the people and creatures of the idyllic Greenwood to commit horrific acts of murder and carnage. Can the adventurers quell the towering rage of the rampaging Horseman? Part Thirteen of Misty Fortunes and Empty Hearts.

Dragotha's phylactery lies hidden somewhere in the ruined city of Kongen-Thulnir, a ruin now inhabited by tribes of giants and besieged by an army of dragons desperate to claim the phylactery for their undead master. "Kings of the Rift" is the tenth installment of the Age of Worms Adventure Path, a complete campaign consisting of 12 adventures, several "Backdrop" articles to help Dungeon masters run the series, and a handful of poster maps of key locations. For additional aid in running this campaign, check out Dragon's monthly "Worm Food" articles, a series that provides additional materials to help players survive this campaign. Issue #342 of Dragon presents several magical items that the PCs can construct using Item Creation feats that fit into the mythos of the Age of Worms Campaign. Pgs. 52-86

Azaketh, a sly and industrious devil, prepares his revenge against his bitter enemy Zirkex. Naturally, the mortals affected by his schemes are mere pawns to further his goals. It is up to the heroes to stop Azaketh in his tracks before he takes control of a powerful weapon – Logrimm’s Tower Golem. The Tower Golem is an adventure designed for 3-7 2nd to 4th level characters and is optimized for five characters with an average party level (APL) of 3. It's the second and final chapter of the saga about Logrimm’s Tower Golem. The first chapter The Soulmonger isn't necessary to play The Tower Golem but it sets up the villian Azaketh and introduces NPCs that can help the characters conquer the Tower. The focus of The Tower Golem is set on roleplaying and interesting fights. In theory, the Tower is an infinite web of rooms and portals that the characters may never escape. However, eventually, the characters reach the end for one final encounter. You can change, interweave, or exchange the different parts as you see fit. There are several proposals and fully fleshed out levels in this document, but you may add your own adventures to the list!
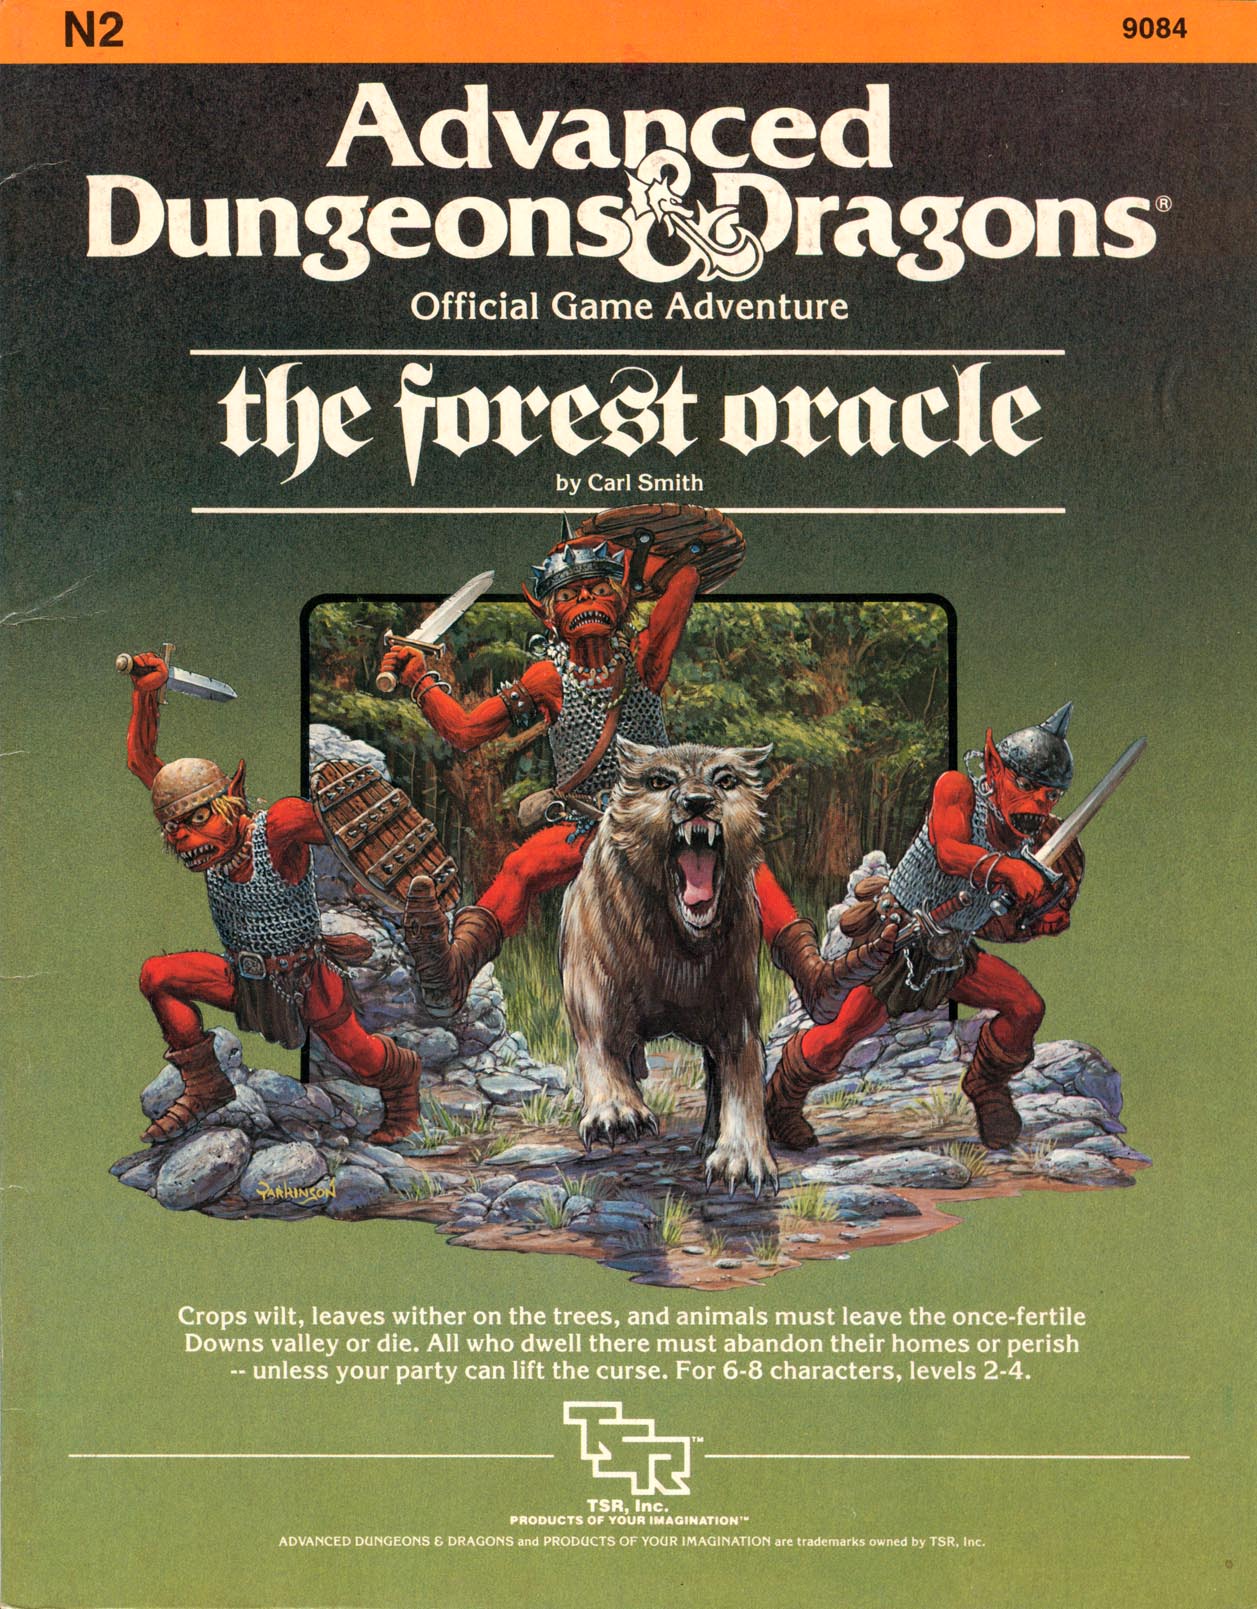
Crops wilt, leaves wither on the trees, and animals must leave the once-fertile Downs valley or die. All who dwell there must abandon their homes or perish-- unless your party can lift the curse TSR 9084

Ra’s Evil Grin challenges adventurers of at least 11th level who are seeking a powerful magic item—the globe of Arden. If a different item suits your campaign better, another appropriate powerful item can be substituted as the final objective. This dungeon culminates in a battle with Dendorandra, a lesser marilith known as a dark daughter. As a lead-in to this adventure, the GM may use a map from another treasure hoard showing the location of the globe (detailed more fully in “The Legend of the Globe of Arden,” below) or a priestly tome describing Arden, the long-dead avatar of Ra, and the wondrous powers of an unknown artifact called the globe of Arden. Such a tome might mention that the globe emits rays as intense as those of the sun, destroying all they touch. In any event, characters should need to consult with sages and oracles to determine the location and history of the globe and dungeon. A sage could also provide a map to the dungeon’s location, referenced in the “The Legend of the Globe of Arden,” below. We set the dungeon on a small, remote island far across the sea, but you can relocate it to suit your campaign. This dungeon provides numerous puzzles, a few traps, and only two monsters. Those monsters, though few in number, should challenge and threaten even the most combat-hardened party—particularly after the party encounters all the vicious creatures that inhabit the Island of the Globe.

This Christmas, Santa Claus must die! Adopt the role of one of history’s iconic Christmas villains and raid Santa’s North Pole base in order to destroy Santa’s corrupted form. Due to Grinch’s machinations, Santa’s jovial form has been corrupted and he’s called off his annual gift-giving journey. Now, the Spirit of Christmas gives Grinch an ultimatum: he must assemble a team of other famous villains, infiltrate the North Pole base and destroy the corrupted Santa Claus so he can be reborn and deliver presents. The team will have to navigate environmental hazards, deal with four factions of Santa’s elves and finally battle the Man in Red himself. However, each team member has their own secret agenda to complete … and time is running out!
The characters are introduced to the coup occurring in Whitehorn and are tasked with warning a friend, whose family is involved, about it. (characters can choose one instrument as a reward)
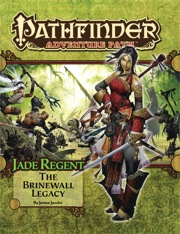
The town of Sandpoint, Varisia, Inner Sea Region has put out a bounty on the nearby tribe of Licktoad Goblins in retribution for the goblins raiding traders and travelers near the quiet town. The party takes up the bounty and ventures into the swamp; eventually finding the goblin village in ruins and it's inhabitants scared in it's burned huts. The party finds out; either through investigation of the ruins or the goblins themselves; that a group of skeletons with eastern arms and armor had ransacked the village and took a stash of fireworks that the goblins stole from an old shipwreck. The party then makes it to this cave and finds it empty except for a half dozen skeletons. Further in past the skeletons is their leader, a skeletal samurai who fights the party in an attempt to defend his treasure. The treasure turns out to be a letter that reveals that secrets of the Kaijitsu family; the same family their good friend Ameiko who runs the Rusty Dragon inn belongs to; that lies in wait in the abandoned town of Brinewall to the northern boarder of Varisia. Ameiko along with several other important NPCs with a caravan north. It's recommended that GMs create encounters for the caravan trip north as it's essentially 3 weeks of travel with nothing in it. It's also recommended that GMs completely ignore caravan rules; they're not flushed out and they're not fun to run. The party and the caravan reaches the abandoned town of Brinewall where their friend Ameiko becomes possessed and is thrown into a coma; where the other NPCs agree to take care of her while the party explores the town and castle. The castle is a three floor behemoth of a dungeon populated by Dire Corbies, Troglodytes, and various other monsters all under the leadership of Kikonu, an Yamabushi Tengu Oni. The goal of exploring Brinewall Castle is to find the two keys to the vault; one of which is on the Yamabushi Tengu while the other is on a Half-Fiend Decapus that lives in the basement of Brinewall. Once the PCs enter the vault they find the Amatatsu Seal; one of the seals that cement authority to one of the ruling houses in Minkai of Tian Xia; as well as several visions that show that Ameiko Kaijitsu is the rightful heir to be ruler of Minkai and that they'll need to travel north to do so. Such ends the first book of six.
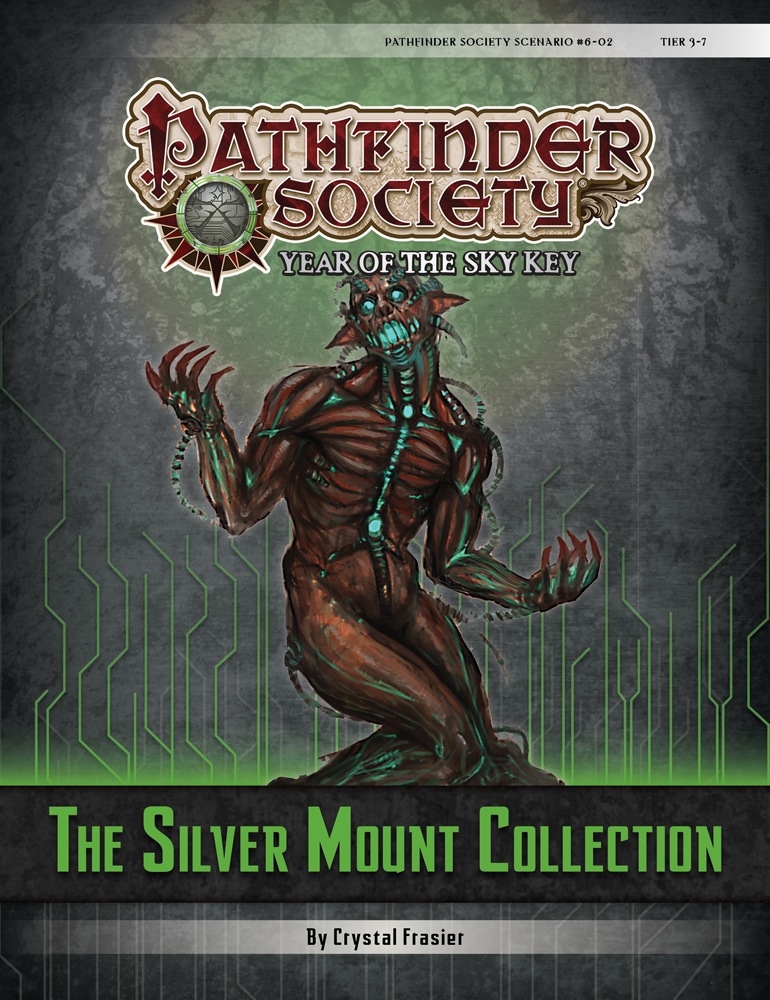
The esteemed Blakros family—famous for their museum in Absalom—receives a large shipment of artifacts from Numeria but fears that the ever-vigilant Technic League will attack to reclaim its "stolen" property. When they request the help of Pathfinders to help guard the collection, the PCs discover that the Technic League is the least of their worries. Content in “The Silver Mount Collection” contains faction missions for the Dark Archive.
An old-school dungeon adventure! Explore (and possibly claim and re-open) an abandoned gem mine. 8 pages, 16 rooms, weird monsters, eerie situations, arcane technology and iridescent jewels! For use with old-school or OSR RPG systems.

Inspired by the campaigns featured in the Critical Role podcast, this adventure takes place in the land of Exandria, with players tasked with uncovering the secret behind an ancient underwater realm known as the Netherdeep. The campaign itself is designed to take characters from Level 3-12 and also explores a large area of the continent of Wildemount.
Fallow and abandoned for years, Bloodsworn Vale has long been a dangerous wood separating two kingdoms. A recent call-to-arms asks adventurers from around the world to establish a trade route through this dark and forboding forest.

When a Thayan research expedition returns from the Glacier of the White Wyrm with only two survivors that are reduced to whispering about an ancient pyramid under the ice, perhaps it is time to discover just what scares the life out of a nation of necromancers. The events of DDEP2 Mulmaster Undone resulted in terrible geographic upheaval all around the southeastern region of the Moonsea. Massive landslides, earthquakes, tidal waves, and gnashing tornados devastated the land and the city of Mulmaster was nearly scrubbed from the face of Faerun. Fortunately, these events also revealed previously hidden artifacts—trinkets, mostly—from the ancient Netherese all around the city. The Thayans have long held an interest in the port city and wasted no time in assisting in the rebuilding efforts. They simply asked that a blind eye be turned to their archaeological interests, and in return they would continue to spend their own resources (at no expense to the Mulmasterites or even the High Blade) to rebuild the city, bigger and better than before. It wasn’t long before their interests paid off with the discovery of a research laboratory beneath the Glacier of the White Worm, far to the east of Mulmaster and nestled in the mountains. The Thayans sent a sizable expeditionary force but only two acolytes returned. The visiting Zulkir has found this particularly troublesome, and with the assistance of Rastol Shan, the head of the Cloaks, has arranged for a mercenary force to perform a more pointed investigation of the area. In return the Thayan noble has promised significant compensation. Upon arrival at the dig site, the characters are quick to discover that the laboratory hides ancient and palpable evil. The purpose of the facility can be discerned with careful investigation, and the effect of the still-active fragment of the Dark Obelisk has empowered (some may say attracted) servants of the Worm that Walks. Danger and death await, certainly, though the characters always have the option of running away and living to fight another day…