
Part Two of the Umbral Aristocracy Trilogy. The treasure hunt has led to the City of the Dead. Beneath that well-manicured park is an ancient crypt where the treasure awaits you!

Part One of the Umbral Aristocracy Trilogy. Rumors abound of a map that leads to a treasure of unimaginable value. When chance drops the map into your hands, you have the chance to become wealthy beyond your wildest dreams. But you’re not the only ones with that dream. The chase is on. A Two-Hour Adventure for Tier 1 Characters.

Candlekeep is under siege, and it needs adventurers to help protect it! Heed the call to defend the legendary monastery and stand against the tide of evil. Confrontation at Candlekeep was used as a D&D Next playtest for D&D 5E. It was released to organized play Dungeon Masters in August 2013, and ran at Gen Con, PAX, and other major conventions. The adventure includes rules for running multiple tables, but can also be run for just one table. The attack on Candlekeep by forces of Asmodeus is tied to the events in Ed Greenwood's novel about the Sundering, "The Herald."
Into the Forsaken Temple's Crypt is a short adventure for four 10th-level characters. The adventure takes place in a buried temple crypt, which has been sealed for centuries. Dungeon Masters can adjust it for higher-level characters by widening the dead magic areas and increasing the number and power of constructs and undead that inhabit the complex. The PCs had just entered the Forsaken Temple's crypt in the last episode. Now they can begin to penetrate deeper into the crypt, discovering more of its hidden dangers.

In this adventure, the Lord Commander of the Sharn Watch hires the heroes to investigate the murder of an actress. The investigation quickly spirals into a bloody dispute involving a dead wizard’s spell-book, political rivalries, and secrets that might foment war among the Five Nations. Pgs. 1-37

Based on the popular Stranger Things Netflix show, this starter set adventure is designed for new players and features pre-generated characters and a simplified DnD 5e rule set.

The Iron Route, an important trade road east of Phlan, is beset by competing bandits. An exiled Black Fist officer leads his band of mercenaries turned cloaked ruffians, while a mysterious dragonborn sorcerer commands screaming savages from the north. In this war over the trade route, the beleaguered merchants are the victims, and Phlan suffers from a lack of supplies. It’s up to adventurers to strike out and reopen this vital route.

A City on the Brink of War Missing for decades, the Crown of Neverwinter, symbol of the former ruling family, has emerged at last. Yet not all are pleased with the crown's reappearance. Beset by rebels and plaguechanged, Lord Dagult Neverember must hire a group of adventurers to track down the so-called Lost Heir and discover his intentions for the city. The stakes are no less than the lives of the citizens of Neverwinter, for if the heroes fail, Neverwinter seems doomed to descend into civil war.

Ages ago, the tower stood as a bastion against banditry and marauders. But civilization has long since retreated from this area, and a band of goblin thieves has taken up residence in the ruined tower. Local woodsfolk beg the PCs to rid the place of the bandits before they are victimized again by the goblins of the Broken Tower. Pgs. 18-23

A storm of unparalleled fury has been ravaging the peaks of the Earthspur Mountains for a tenday, and the Monastery of the Yellow Rose sits in its eye for now. Some monks have fled the monastery to the safety of Mulmaster and beseech you to convince their more obstinate brothers to retreat to the city before the eye of the storm shifts, and the monestary is in terrible danger. Can you brave the elements and convince the monks to escape?
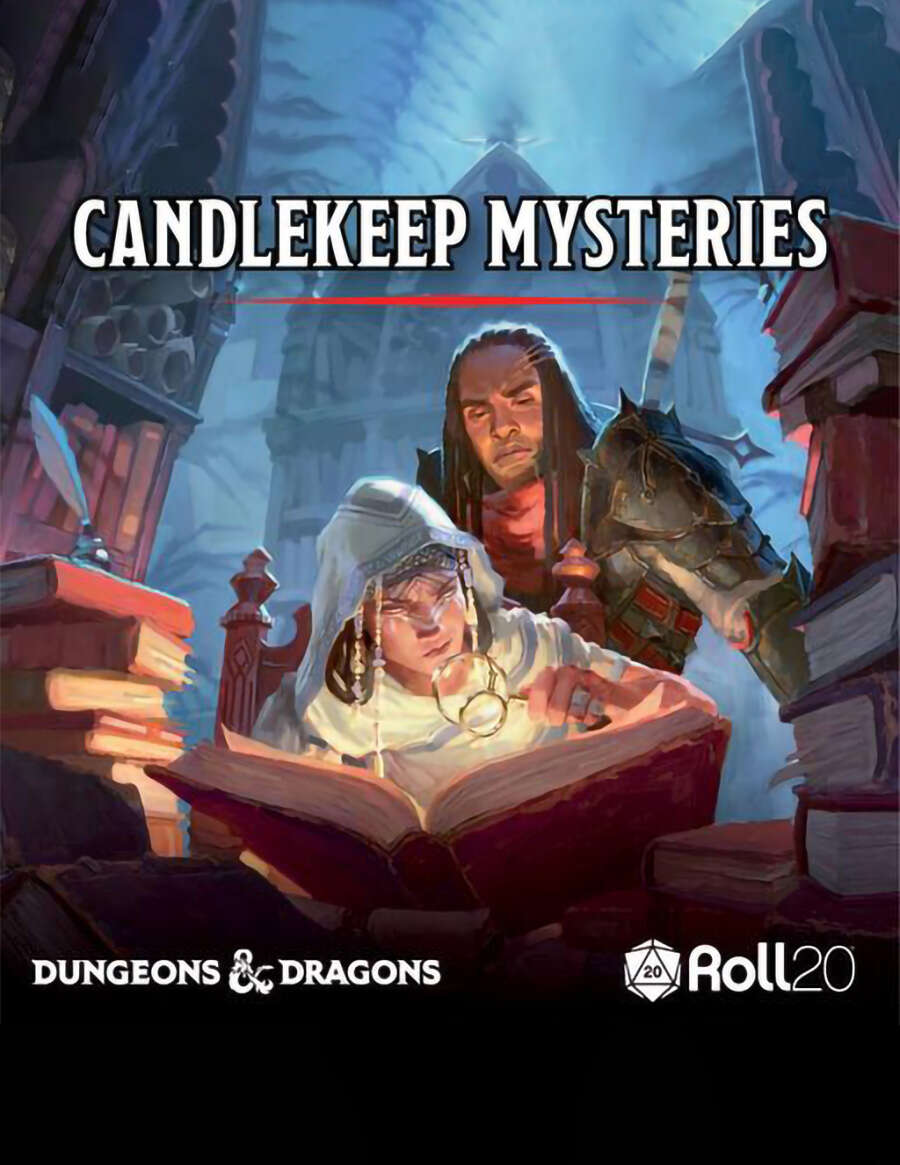
A book donated to the library-city of Candlekeep details how the previous owner created a mansion in a pocket dimension and what the command word to enter is. The gateway was recently discovered, and the characters need to enter the mansion to retrieve the researcher who rediscovered it.

The first part of the Dreams of Red Wizards adventure path originally published for the D&D NEXT Playtest. Following the events Ghosts of Dragonspear Castle, a new set of adventurer's will see some of the repercussions of that adventure. This adventure is intended to be continued in the Dead in Thay adventure (Note that they Dead in Thay 5e adventure featured in Tales from the Yawning Portal is missing a significant portion of interlude that links Scourge of the Sword Coast to the events within the Doomvault). The adventurers arrive when Daggerford is crowded with refugees from outlying lands. Goblins, gnolls, and orcs have been raiding the countryside. Now, food is scarce and tension is high. Blame for a theft has fallen on the refugees, and the Duke of Daggerford has forbidden more of the displaced from coming into town. After overcoming difficulties to enter Daggerford, the characters learn more about the raids. As they fight against the humanoids and delve deeper in the darkness that encircles Daggerford, the characters learn of Bloodgate Keep. After a final fiendish ambush, they’re ready to confront the real threat to the area. DM Note: This adventure points the adventurers strongly towards Bloodgate Keep but that location does not appear until the Dead in Thay adventure; at several points the party may feel drawn to explore that location rather than continue their investigations around Daggerford. However, since Bloodgate Keep is only eluded to as a source of great evil power, it can serve to easily segue to an entirely different adventure path. As a NEXT Playtest adventure, Scourge of the Sword Coast uses milestone leveling and the included stat blocks for creatures do not necessarily match or even appear in the 5e Monster Manual, nor do they have XP values or challenge ratings. In some places it will reference rules used in the Playtest but dropped or changed in the 5e release, these are unlikely to substantially impact gampley with 5e rules.
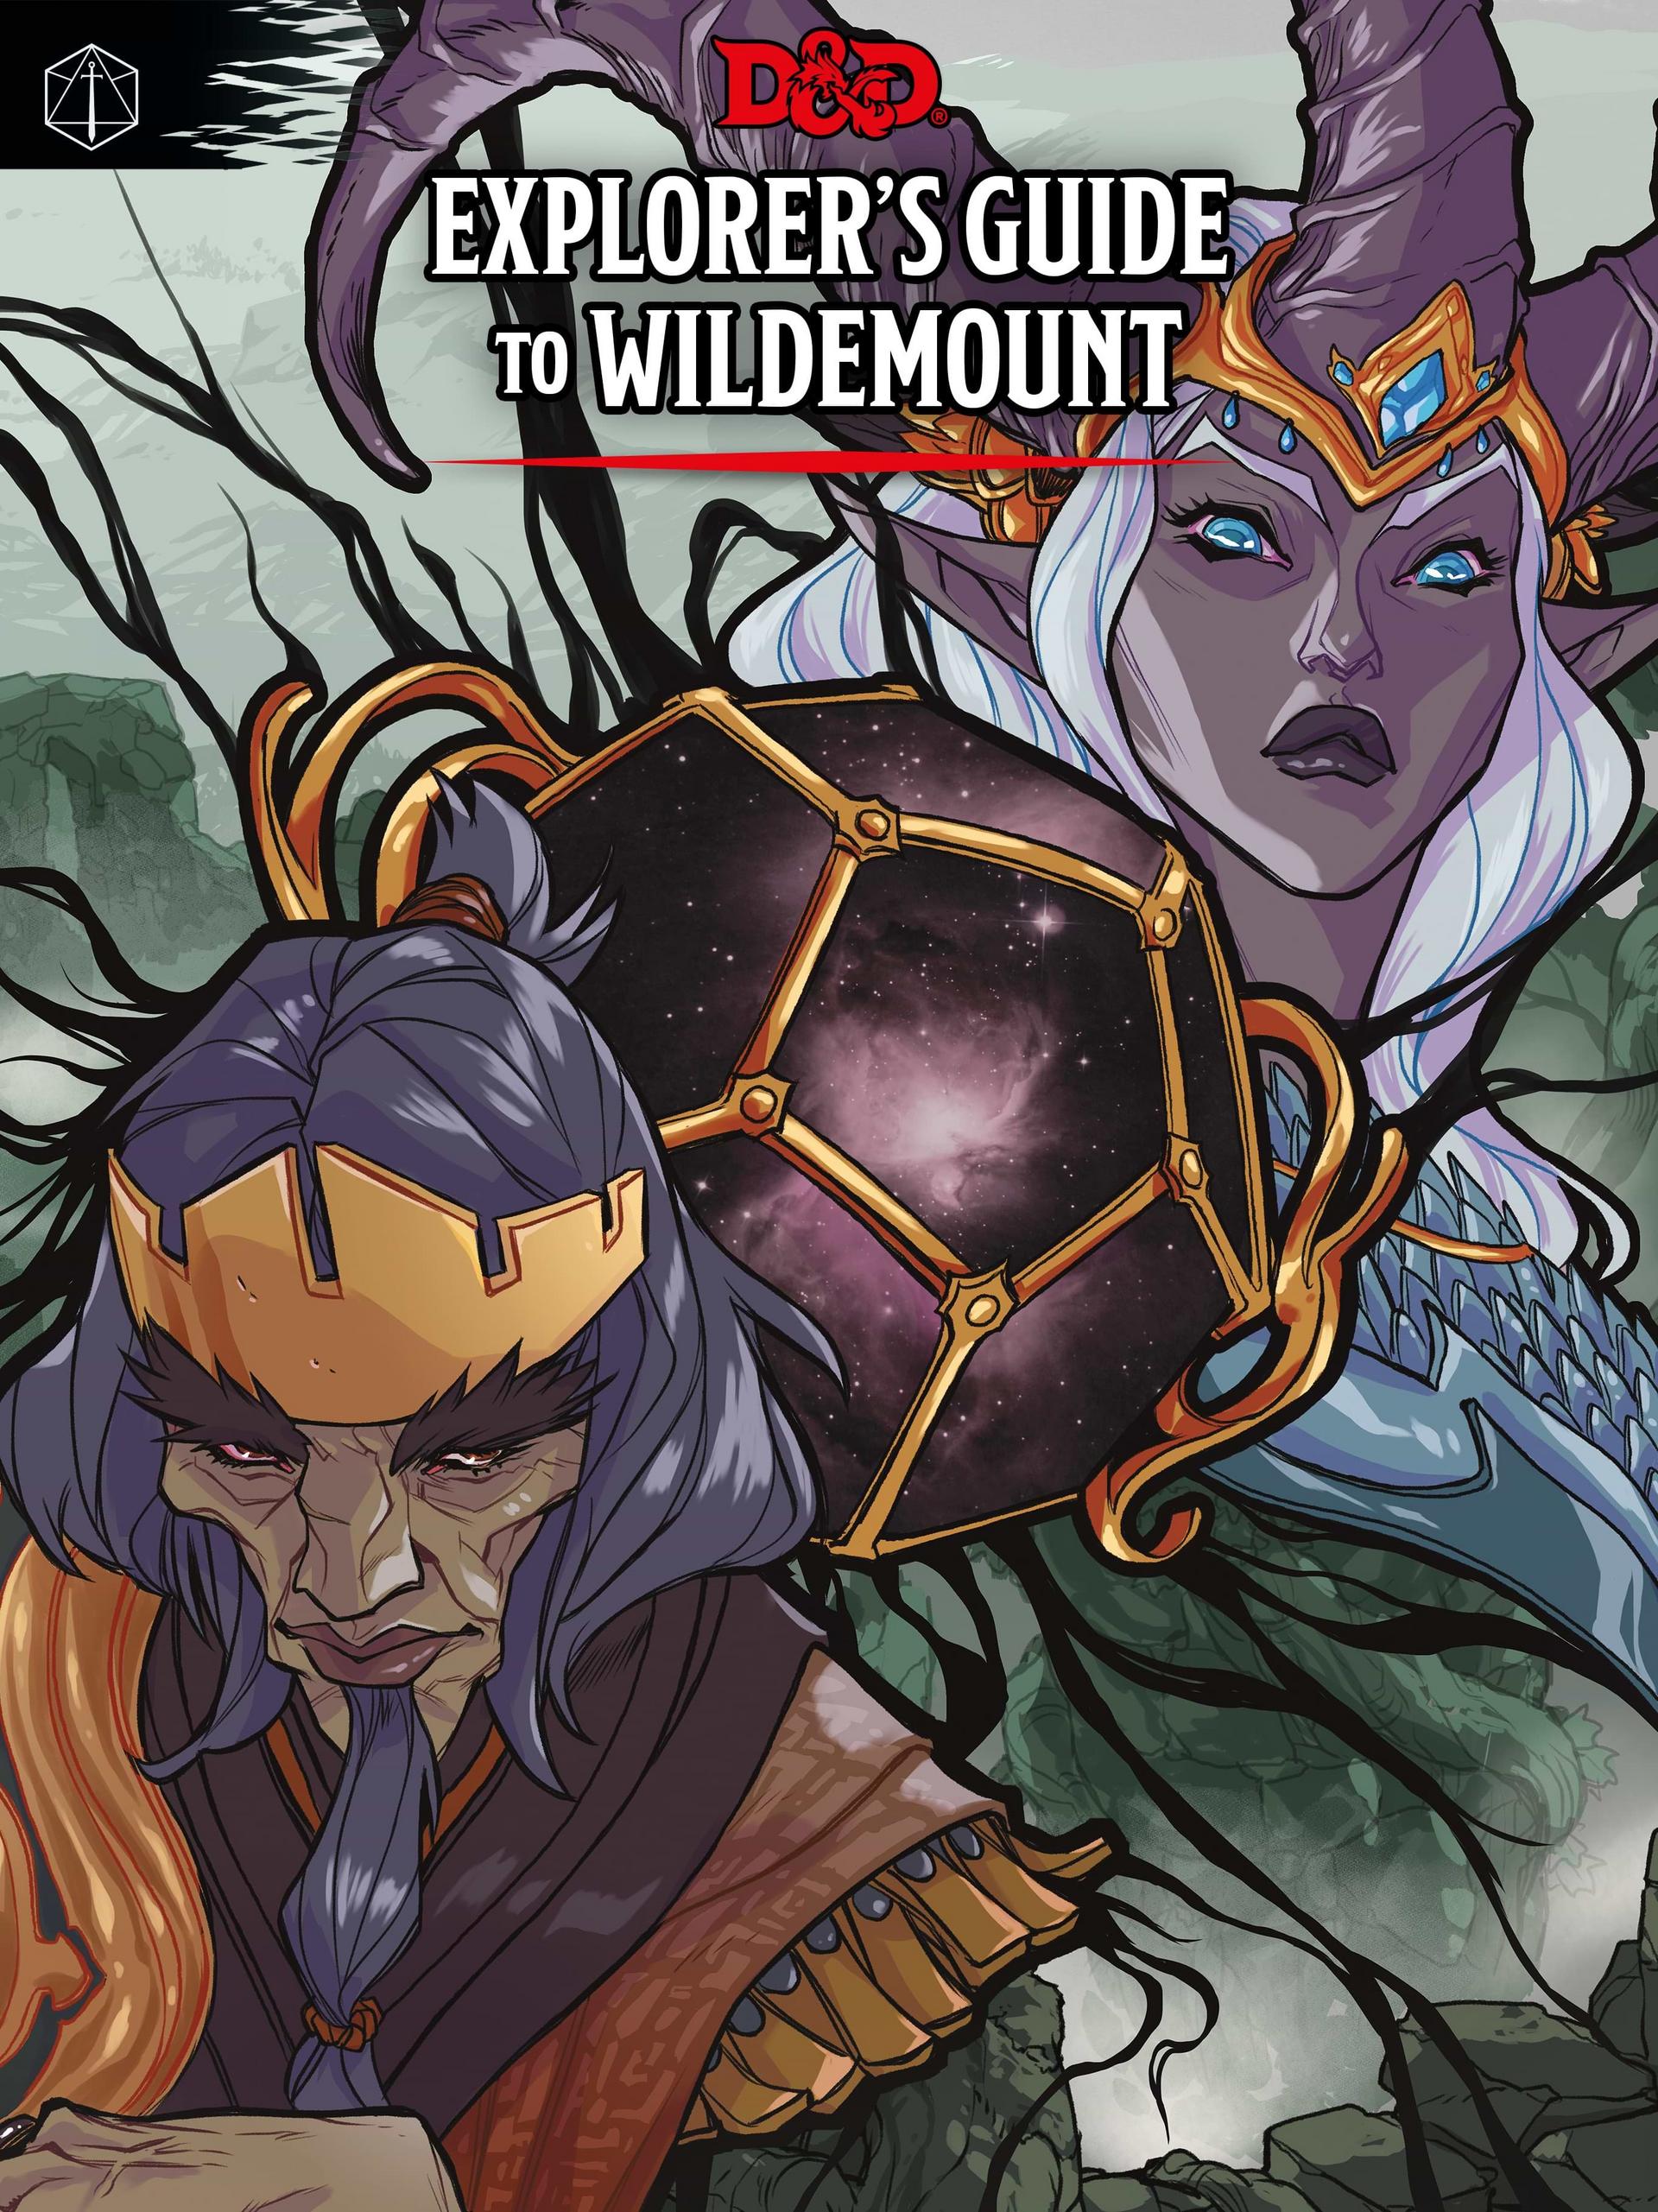
An elder warlock from the goblinoid swamp village of Urzin has been kidnapped by soldiers of the Dwendallion Empire. Now the machinations of an evil imperial inquisitor might unleash an evil that could threaten the garrison at Fort Venture and the goblinoids of Urzin alike.

Important: The adventure is 1e but it has monster conversion notes for D&D 4th edition The town of Highport, once a human community overlooking Wooly Bay from its perch on the northern coast of the Pomarj, fell prey to hordes of humanoids swarming out of the jungle-covered hills surrounding the settlement. Though the orcs, goblins, kobolds, ogres, and gnolls razed much of the place in their ferocious rampages, the smoldering ruins they left behind soon became a new kind of community, a place of trade between the humanoid “locals” and the unsavory human traders who have no compunction about doing business with them. Slaves are a commodity in ready supply in Highport’s market, since many pirates raid up and down the coast of the bay, putting fishing villages to the torch and filling their holds with captured refugees. Slavery has become a thriving business in the town, and rumors abound of a cartel of Slave Lords who run things from behind the scenes, filling their coffers in secret from the buying and selling of human chattel. The trade has become so prolific that the good folk to the north have grown tired of these depredations and decided to fight back. Forces of righteousness and honor have recently descended upon Highport, some openly and others in secret, in various attempts to destroy the machinations of the Slave Lords and abolish the abominable enterprise that has taken far too many loved ones from home and hearth. One such doughty servant of goodness is Mikaro Valasteen, a cleric of Trithereon. Mikaro slipped unnoticed past the crumbling walls of Highport with a single mission: to rescue and transport as many slaves to their freedom as possible. Mikaro and a handful of faithful assistants located a number of escaped slaves—as well as rescued a few more not sufficiently restrained and guarded—and shepherded them through the gates and beyond the reach of their humanoid tormentors, returning them to their lands and homes. This covert freedom brigade enjoyed remarkable success early on, since the servants of the Slave Lords were often lax in their vigilance and sloppy in their efforts to prevent loss of the “merchandise.” After one too many shipments never made its destination, the humanoids stepped up their security and the normal channels of escape from Highport closed to Mikaro and his team. He cannot risk exposure by smuggling the freed slaves through the gates as merchandise any longer, since shipments of goods are now regularly stopped and checked. No longer able to free the slaves in that manner, Mikaro began hiding his charges in an abandoned villa in a particularly rundown part of the town. Although they are safe for the moment, their numbers have grown unmanageable, and the priest fears it is only a matter of time before someone slips up and brings slavers to their doorstep. Ever more desperate to find a new means of escape from Highport, Mikaro has started work on a plan that is both daring and dangerous. He intends to use a series of old sewers coupled with natural caverns running beneath the town as an escape route to the sea beyond the walls. But he needs someone to clear out the creatures and pitfalls he knows lie within. Pgs. 2-27
Two Red Wizards of Thay have undertaken a secret mission into the High Moors east of the Sword Coast. They are searching for something or someone. Whatever their goal out there in the cold and windswept hills, if the Red Wizards want to keep it secret then it is probably best uncovered swiftly for the good of everyone else. Even the mercenaries who escorted them into the wilderness earlier agree: someone should stop them. Pursuing the Red Wizards leads the adventurers to a barrow mound in the wild grasses of the High Moors. At the barrow, they discover the remnants of a wizards' sanctum still being plundered. The fate of its lore and treasures is up to the characters. Without caution, things may get out of hand. This Dungeons & Dragons adventure is written to suit four to six characters of 8th level. With this text and the core D&D manuals, you have everything you need to play. You may also benefit from the Sword Coast Adventurer's Guide to learn more about the High Moors of Faerûn. Made for the Magic: the Gathering set "Adventures in the Forgotten Realms".
The Bloody Maul of Kord is a magic weapon protected by the priests of Kord, who occasionally allow a noteworthy hero to use it when going on a dangerous quest worthy of the storm deity’s blessing. Six months ago, Atrimos of Ardor took the Bloody Maul for a quest to the Caverns of Demise, hoping to end attacks to the realm being launched from the caverns. He never returned. Now, the clerics of Kord hire the PCs to go into the caverns to retrieve the Bloody Maul of Kord—and to find Atrimos, if possible. Pgs. 108-113
In Treasure of Talon Pass, the player characters explore an ancient mountain garrison in search of a jade chalice reputed to be worth a small fortune. But the path to the jade chalice isn’t easy. A dragon and its kobold minions have taken up residence in the garrison, and some undead soldiers from long ago still haunt its halls as well. Nor are the PCs the only ones seeking the jade chalice. A band of orc mercenaries known as the Nightfists are after the chalice . . . and they arrived at the dungeon only minutes before the PCs

In the ruins of Kiris Dahn, a human town, lies a 'Slaying Stone'. The stone is said to have the power to kill any foe, though the stone is consumed in the process. The party will venture into the ruins which are the home to an assortment of goblins, hobgoblins, and kobolds. However, a mercenary band of orcs have been hired (by a benefactor who is not met in the module) to search the ruins for the Stone, and the party must find it first. The party must use caution and stealth to move through the town without alerting the denizens or the mercenaries while searching strategic points around the abandoned town to find the Stone. Eventually, the party should find the stone under the protection of an indifferent Brass Dragon.

On the outskirts of town lies an ancient temple to an unknown deity. Periodically, undead creatures issue from the catacombs beneath it. The party receives a commission from the city elders to venture into the catacombs and exterminate the undead. Pgs. 64-71
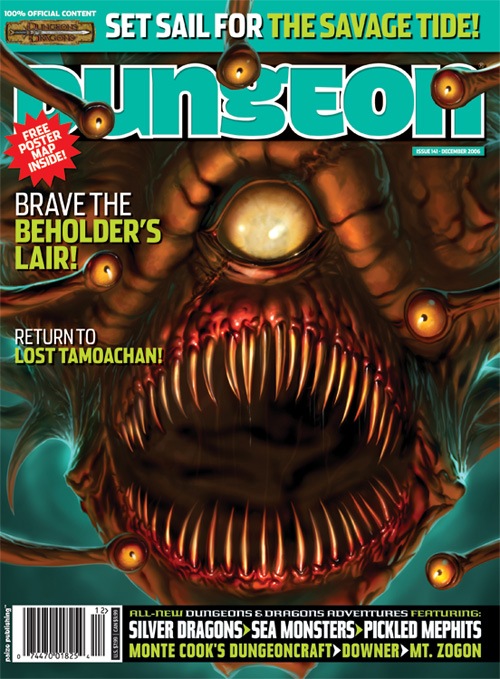
All ocean voyages are fraught with peril, yet a voyage to the infamous Isle of Dread might seem to some old salts to be a deliberate goading of the gods of the sea. Many of those who have attempted the voyage before managed to return to civilization often choose not to speak of the trials they experienced on that dangerous route, yet those whose lips can be loosened by a draught of grog whisper amazing stories... tales of pirates, sea monsters, terrifying storms, and perhaps most harrowing of all, of a strange and sinister land without land, a floating graveyard of dead ships mired in a sargasso the size of an island. This place has many names, but its most well-known may be it's most apt - Journey's End. "The Sea Wyvern's Wake" is the third chapter of the Savage Tide Adventure Path, a complete campaign consisting of 12 adventures appearing in Dungeon magazine. For additional aid in running this campaign, check out Dragon magazine's monthly "Savage Tidings" articles, a series that helps players and DMs prepare for and expand upon the campaign. Issue #350 of Dragon magazine features a regional guide to the seafaring environs the PCs can expect on the journey to the Isle of Dread. It’s time to bid farewell to the city of Sasserine as the PCs board the Sea Wyvern for a 3,000-mile voyage south into the uncharted waters of the Vohoun Ocean. Their destination: the Isle of Dread. Pgs. 16-48