
A short Adventure that can be used as a standa alone adventure as well as be plugged into a larger campaign for Tier II characters. The Mere of Dead Men is a dangerous place where no one is safe, Orcs have been seen taking prisoners and Lizardfolk have been forced out of their home taking refuge in an old castle. They need help to get out and rescue some that have been taken prisoner at the Mornhaven Towers. Help theLizardfolk gather and prepare for an exit while also protecting them from the harm that dwells in the swamp. The adventure comes with the following: - Full PDF adventure file. - 12 Parchment style DM and Player maps ready for VTT use. - 1” diameter tokens ready to be cut out for use in person as well as files for use in a VTT

A Tutorial and Alternate Start for Lost Mines of Phandelver Before Phandelver is a tutorial adventure designed to help new players and DMs be better introduced to Dungeons & Dragons. Crafted with best educational practices in mind and covering important details of preparation and mindset often overlooked, especially by new DMs, Before Phandelver will help the Lost Mines of Phandelver truly become the adventure worthy of inclusion in the Starter Set.
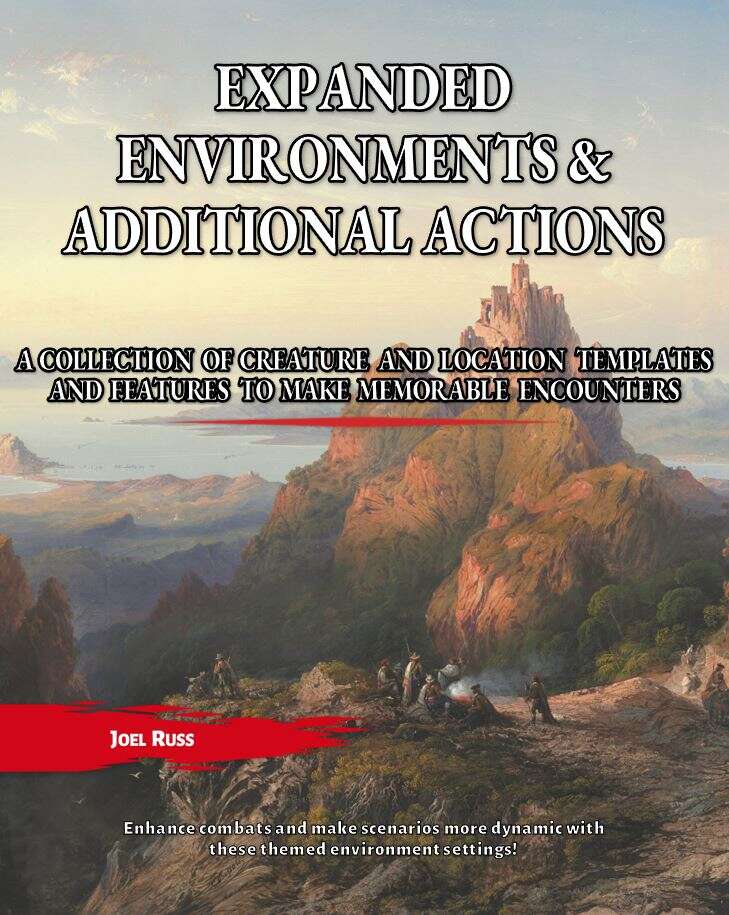
Give your game’s locations a character all their own! Build encounter themes, emphasize magic places, and connect it all to the monsters living there with Expanded Environments and Additional Actions. Use traits to make creatures stand out and enhance their bond with the land, then add lair actions to reinforce the connection and escalate the fight. New interactions encourage a race between players and monsters to gain the upper hand using the environment around them with additional options in combat. In non-combat encounters, regional effects keep the feel of magic heightened in the surrounding area. Grab characters’ attention, and limbs, in the clutches of fallen armies on the ancient battlefield. Apply library traits and lair actions to a dragon to create an encounter with a bookwyrm. Tempt characters with the allure of enchanted gold in the treasure hoard. Bend fire itself to your will in the heart of a volcano. With Expanded Environments and Additional Actions ties “where you are” to “what & how you fight” with 21 environment templates for attributes and abilities you can apply to existing monsters and places that include all of the following: 80 lair actions that give the terrain a role, and often a roll, in the fight. 75 traits so familiar monsters gain new tricks and special features. 73 regional effects to add to the wonder of the world between combats 64 interactions for players or monsters to make the most of their surroundings This supplement was designed for dungeon masters who want more dynamic combat and more magical encounters. The collection started as my own expansion of the environments found in MCDM’s Flee, Mortals! but can be used on its own (along with the existing D&D 5e rules).

A fiend lurks among the Black Blade goblins. A shapeshifting barghest fashioned by the General of Gehenna to exact revenge on all goblin-kind. It’s aim: to kill as many goblin leaders as possible… A masked goblin approaches the party asking for help. Two tribe leaders are dead. But a rival for chief has control of the crime scene. Will the party discover the barghest among the goblin ranks? Can they stop this imposter before it strikes again? Adventure Overview The adventure’s story is spread over 4 parts and takes approximately 4 hours to play. The adventure begins with a Call to Action scene. Part 1: Goblin Politics. Krill sends his emissaries to implore help from any strong intermediary. The party is asked to investigate the murder of Thrawn in Dringly’s lair. This is Story Objective A. Part 2: The Opposition. Gain entry into Dringly’s lair and investigate the murder of Thrawn. Gather enough evidence to find the killer. This is Story Objective B. Part 3: To The Lair! Now that the players have determined the barghest (Yeep) is to blame, they need to get to Krill’s lair quickly as he is in imminent danger. This is Story Objective C. Part 4: The Barghest.When the players arrive at the lair, they need to get to Krill and expose and defeat the barghest. This is Story Objective D. Adventure Background A barghest named Yeep has begun its onslaught of attacks against the Black Blade goblins. Starting with Chief Gnar, then his second in command Thrawn, the barghest is moving methodically down the line of command. Krill is now chief. But he has some problems: Two leaders of the Black Blades are dead. Who killed them and why? Is he next? Dringly, the next in command, has decided to take his lair for himself, declaring himself Chief of the Black Blades. Who are the Black Blades? The Black Blades are a tribe of goblins in the local area. They are known for dipping their blades in a dark black substance. It is rumored these blades are poisonous. The Black Blades regularly attack passersby on the road to rob them. The Black Blades have two lairs, one run by a chief who leads the whole tribe, and another overseen by a boss lieutenant. The Black Blades have a well-established pecking order which is how Krill stands to become chief. The next in line is Dringly, who has also declared himself chief and wants Krill dead. Krill suspects that there is something suspicious about two leaders being killed within a day of each other, but he has already burned Gnar’s body without any investigation. He needs to investigate the body of Thrawn, but it is in Dringly’s lair. Krill wishes to avoid direct confrontation with Dringly at the present for three reasons: 1) Any violence would only kill his own tribe members and further divide the lairs. 2) He believes there is still hope for negotiation to reunite the Black Blades. 3) He believes that if he were to attempt negotiations himself, Dringly would kill him. This adventure features: Two maps. Ready for your favorite Virtual Tabletop. A full color pdf. A black and white pdf. One custom monster, a reprint of barghest, all others available in the Monster Manual. Four hours of entertainment involving: roll playing a goblin bard, investigating a murder scene, tracking down a barghest before it strikes again. Applicable to any setting.

Damnation! The Companion that once stood as a beacon of hope and goodness above the city of Elturel has been extinguished and the entire city—along with its denizens—have been drawn into Avernus, the first layer of the Nine Hells! While those fortunate enough to have been outside of the city’s walls during its departure have been spared that fate, but they’re not yet out of danger! The refugees formed a caravan bound for the nearby city of Baldur’s Gate. Can you keep them safe from devils, bandits, and one another until they reach safety? Four One-Hour Mini-Adventures for 1st to 2nd Characters. Optimized for APL 1.

The Heartland Scouts – brave defenders of the Coast Way – have been captured! What their captors haven’t counted on is the adventurers’ feisty animal companions. Left behind, they are nevertheless bound to spell trouble! In this entirely unique adventure, players take on the roles of trusty animal companions and familiars on a quest to rescue their adventurer masters. Surely leaving behind a druid’s harmless badger friend is no threat to one of the great evil powers of the world – or is it? Rescue: A Familiar Tale features a story and challenges designed especially for the animal companions. Players choose and customize their animal companion from over 20 options, with illustrated character sheets included for each one. This adventure does not require existing player characters and can be enjoyed by players of any experience level with the game. While it makes for a perfect “something different” one shot, Rescue can also serve as a session zero for any new campaign and includes guidelines for a fun and surprising way to create inspired new characters at the adventure’s end!
Provost Nigel Faurious’s research has revealed the location of an icy spire near the eastern side of Icewhite Island. The Provost needs the Hoarfrost Flower, an artifact found inside this spire, to make his Convergence Manifesto a reality. Eager to complete his work as quickly as possible, the Provost previously paid for an expedition from the Deathsgate Guild to explore the icy spire at the same time the Clifftop Guild surveyed the Shining Valley in the last adventure. The Deathsgate expedition’s ship, the Nightwood Cask, was destroyed by the cold of the Risia manifest zone. They made it to the island on lifeboats and headed to the spire, hoping to use it as shelter until someone from the Deathsgate Guild comes to rescue them. The spire’s builders are long gone and forgotten, but their traps and magic remain. Mror archeologists once found this place while in search of their ancestors that many believe hailed from the Frostfell. Only their camp remains in the foyer of the spire, where the party from Deathsgate waits. While the Deathsgaters’ supplies dwindle, they argue among themselves on their next steps. Should they try and make it to shore and hope their ship somehow survived, continue to wait, or delve deeper into the spire to complete the task they were hired for?

Beneath the moorlands of Thar, hidden from all for centuries, lies the Broken Halls of Goldahroud. It seems to have been inhabited until recently as the blood marks on the walls are only a few weeks old. What mysteries lie beyond the doorway from the Tomb of Kered? Fear of the markings have forced the SALT Consortium to turn again to hiring adventurers to face what horrors await them in the Broken Halls of Goldahroud.

Rumors have been spreading in small towns and hamlets, regions isolated in the far reaches of the wilderness and cut off from major cities and trade routes. Rumors of strangeness in the forest, where the animals suddenly watch with intelligent eyes while the sound of a crone’s laughter pierces the veil of night. Rumors of young men and women disappearing without a trace in the wilderness. Rumors of a cottage that walks on enormous chicken legs. Rumors of Baba Yaga. Those rumors turn out to be true and the Dancing Hut of Baba Yaga has come once again to haunt, confuse, befuddle, and terrorize the far corners of the land. The Grandmother of Witches cackles in her flying mortar as she sails over the trees, a shadow in the darkness, but what does she want? Why has she come? And what strangeness awaits in her fantastic hut on dancing chicken legs? Brave heroes are needed to head out and find the answers to these questions and more! Welcome to the Dancing Hut of Baba Yaga, an adventure unlike any other. Baba Yaga, the Grandmother of Witches, has come to town, and her dangerous and mysterious Dancing Hut beckons adventurers to brave its wondrous depths. Open the doors, unlock the puzzles, and meet the famed witch, her adopted daughters, and a host of other strange characters. This module presents the Dancing Hut and its most famous owner, Baba Yaga, as an adventure site worthy of high-level exploration. You can use the module in many different ways, and the Adventures in the Hut section provides ways to entice characters to seek out Baba Yaga. In general, the adventure environments presented are designed to challenge a party of characters levels 11-16, but with some adjusting and focus on non-combat solutions, a party of lower-level characters could also explore the Dancing Hut.

This dungeon is suitable as a one-shot or drop-in for characters between levels 12 and 17. Taken from the Against the Idol of the Sun high-level hexcrawl campaign, the Death Knight's Tomb is a location-based exploration adventure. It features increasing localized time distortions that ultimately pit the party in a fight against an ogre Death Knight and his minions who just destroyed an elven time lab over ten millenia ago, which is just a few seconds ago in relative terms at the bottom level. There are six distinct sections to the dungeon containing four combat encounters of increasing difficulty. As written, the party enters the structure to rescue an overly adventurous Scorpionfolk couple and their rescuers, but they can be omitted or rewritten to any other species.

Will your party survive the frostbite Frostbite Gauntlet? A sequel to The Great Trial, this module is an arctic, highly challenging gauntlet focused on exploration and combat, planned for fours 10th-level characters. The adventure can be also run as a one-shot or as part of any campaign for that level. For more information on The Great Trial, see at the end of this page. The module is divided in two parts: Chapter 1 The gauntlet itself, the party will be taken to a demi-plane against their will and from there, they have a simple goal: leave. However, a powerful undead guardian will make things difficult. The party needs to find some of the sources of power of Deathwings, the guardian, to weaken it and have a chance against it. Chapter 2 After leaving, the group will arrive at a cave complex made of stone and ice. A ancient dracolich names Icingdeath will chase the party, squeezing through the tight tunnels, always on the party' heels. Once out, the party is greeted by Aenor and offered their rewards.

'The Sunken Village of Little Corth' is a 2nd level Dungeons and Dragons adventure centred on a time-paradox puzzle. The PCs travel across a necrotic marsh (the Grey Creeping) to a sunken village where, upon being transported back 2000 years into the past, they must prevent a necromancer freeing Orcus (demon prince of Undeath) from the imprisoning veils of the spirit plane. If only it was as simple as that, for the PCs must also contend with deactivating a giant mechanical orrery, and be sharp enough to realise that the useful items that helped them survive the Grey Creeoing must be found and placed for their 'future-past' selves.

The heroes hurry to reclaim a treasured item that an evil hag has hidden away. The item they seek is well guarded by dangerous foes bent on destroying any that dare enter their domain. Estimated play time - 1 hour. This product contains two combat encounters designed for 4th level PCs, an extensive backstory, new monsters and new magic items. The encounters are easily adapted to almost any campaign setting. The text also includes optional changes that DMs may consider when running the adventure for their own campaigns. This side trek encounter is the second of a three-part "Fey's Bargain" encounter series.

A short adventure that can be used as part of a larger campaign or run as a one shot for 3-4 Tier I or II characters. An all elven guild has taken on a large job for an unknown character. They are doing everything they can to fulfil the contract regardless of who gets hurt in the process. On this short adventure the characters will run into and a foul of the Elven Guild. Can they stop them from finalizing their plan. This adventure includes hooks for additional adventures that can be run after this adventure is completed.

Chapter 1 - When a relative of someone close to the characters goes missing from a nearby village, the players are asked to investigate. The party has to recover stolen goods from a thief before setting out from the City of Ravens Bluff. They travel through the wilds of Vesperin in search of the missing person, finding trouble and helping locals along the way. Chapter 2 - As the journey continues, the party arrives in a small hamlet suffering from a strange blight. The players will need to investigate the situation and choose sides in a longstanding feud between the mayor and a local magic user. Chapter 3 - After clearing a tribe of violent orcs from a nearby mountain pass to protect the residents of a town, the party will have to enter the lair of a long-dead dragon to rescue their quarry from a band of goblinoid slavers, where they discover an entrance into a dwarven city, lost and forgotten centuries ago. Chapter 4 - The party will have to traverse the ruins of the dwarven city, avoiding hazards and battling the horrors that lurk there, to uncover the identity of the slaver's leader. A discovery that will lead them through a treacherous forest to the city of Tsurlagol in search of a pirate ship called the Star Carver, and its drow captain, The Viper's Kiss. Along the way, they meet an unlikely ally. Chapter 5 - Once they arrive in Tsurlagol, the players will have to choose between gaining the assistance of the city council to fight the pirates head on, or making a deal with the Viper's Kiss, herself. The path they choose will either lead to an epic battle on the Sea of Fallen Stars, or into the deadly sewers and tunnels beneath the city to face an enclave of wererats, undead, and a tribe of mad, kraken-worshipping kuo-toa, in search of a fabled relic. The Laughing Horde of Ruin, Part 1 is the first module of an original 5e adventure campaign. It is designed for character level 1-5, and uses material from the Dungeon Master's Guide, Monster Manual, and Volo's Guide.

Characters are ready to make their mark as adventurers and travel to the City of Splendors to begin their careers. Their first job in Waterdeep promises to be a memorable one: a mermaid has hired them to rescue a kidnapped bard and bring justice to the witch who stole her voice.
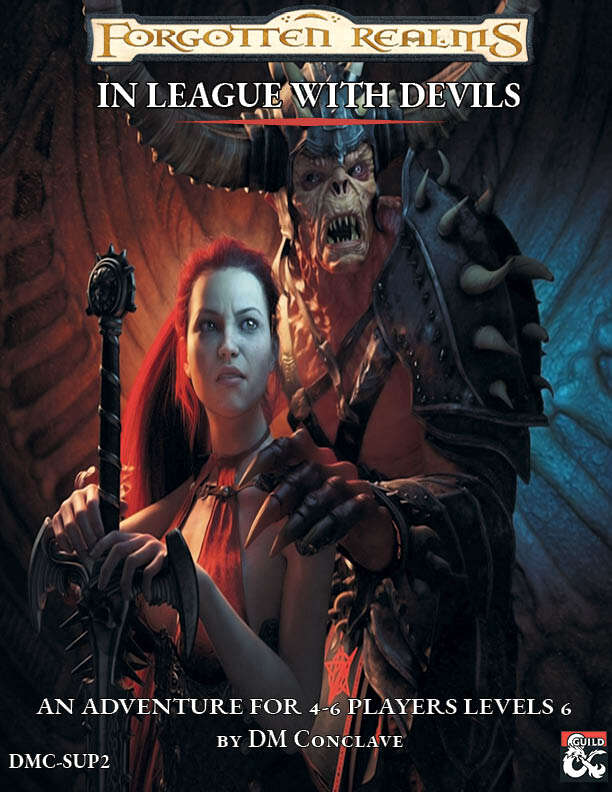
This adventure is a supplementary scenario for Baldur’s Gate: Descent into Avernus, which can be used while the party is fleeing Elturel and are heading towards Fort Knucklebone at level six. It entails a bargain with Bagrivyek, the goblin deity of cooperation. The God offers them a deal they can’t refuse, significant magical assistance for their quest, should they become its test subjects in a fight to the death with some of its elite troops. Devils that have been infected with a special substance, which is called soul-ichor and was created by a psychomancer, in search of his own power. The heroes will have a chance to interact with a god and bargain with it, a fight to the death at the Hellbent Fighting Pits, and also get a chance to learn of or even be introduced into a long-forgotten school of magic. Will the players reap all the benefits of this god-deal, or suffer the consequences of failing?

Summoned by the ruler of the Moonshae Isles, the adventurers are asked to seek out the five lost Temples of the Earthmother. A 12 hour adventure for 5 players of 1st-3rd level characters.

"Can you solve the Labyrinth within 13 hours and get back what was stolen from you?" A 4-Hour Adventure for Tier 1 characters optimized for APL 3 taking place in the Feywild Domain of Delight, Labyrinth, where everything seems possible and nothing is what it seems. This adventure takes place when the characters have been abruptly teleported into the Feywild Domain of Delight, Labyrinth. The Kobold King has given the characters thirteen hours to solve the labyrinth, or they will lose what he stole from them forever. "It's only forever, not long at all..." Pillars of Play: Skill challenges and exploration. Minimal/optional combat. Content warning: Non-consensual theft Adventure Inspiration: Jim Henson's Labyrinth (1986)

The Dysmal Swamp is a coastal wetland that stretches over 100 square miles. Devoid of any urbanization, the ecosystem enjoyed its dank sanctuary. A community of bullywugs called the swamp home for generations, hunting and maintaining the balance of the land. The land also appealed to the Belange Company, a wicked fey-run enterprise making cheap magic items, who needed a secluded location far from both thieves and oversight. When the Belange Company established their magical workshop in the swamp, the bullywugs attempted to drive them off. However, the Belange Company’s supply of magical items provided enough firepower to protect their endeavor, and many bullywugs fell in the initial conflicts. The Belange Company began crafting scores of magical items to be sold across the region, using a cheap alchemical process that produced a nasty liquid byproduct glowing with chaotic magical energies. Rather than devise a new process, the Director decided to discharge the waste into the swamp. As production increased, so did the pollution, and the sludge began to warp the wetland. The region’s typically reclusive bungisngis population became aggressive. It is only a matter of time before these mutated swamp giants lay waste to bullywugs.