
When a Thayan research expedition returns from the Glacier of the White Wyrm with only two survivors that are reduced to whispering about an ancient pyramid under the ice, perhaps it is time to discover just what scares the life out of a nation of necromancers. The events of DDEP2 Mulmaster Undone resulted in terrible geographic upheaval all around the southeastern region of the Moonsea. Massive landslides, earthquakes, tidal waves, and gnashing tornados devastated the land and the city of Mulmaster was nearly scrubbed from the face of Faerun. Fortunately, these events also revealed previously hidden artifacts—trinkets, mostly—from the ancient Netherese all around the city. The Thayans have long held an interest in the port city and wasted no time in assisting in the rebuilding efforts. They simply asked that a blind eye be turned to their archaeological interests, and in return they would continue to spend their own resources (at no expense to the Mulmasterites or even the High Blade) to rebuild the city, bigger and better than before. It wasn’t long before their interests paid off with the discovery of a research laboratory beneath the Glacier of the White Worm, far to the east of Mulmaster and nestled in the mountains. The Thayans sent a sizable expeditionary force but only two acolytes returned. The visiting Zulkir has found this particularly troublesome, and with the assistance of Rastol Shan, the head of the Cloaks, has arranged for a mercenary force to perform a more pointed investigation of the area. In return the Thayan noble has promised significant compensation. Upon arrival at the dig site, the characters are quick to discover that the laboratory hides ancient and palpable evil. The purpose of the facility can be discerned with careful investigation, and the effect of the still-active fragment of the Dark Obelisk has empowered (some may say attracted) servants of the Worm that Walks. Danger and death await, certainly, though the characters always have the option of running away and living to fight another day…
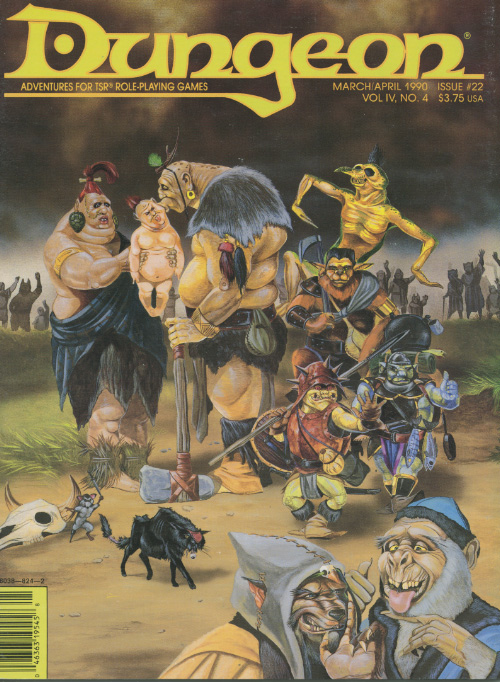
Somewhere ogre the rainbow.... You and your fellow humanoids are going to be diplomats! Can you say "disaster?" I knew you could. This module is made for humanoid monster PCs created with GAZ10 (The Orcs of Thar Gazetteer). That module is required to play through this adventure. The players start in the village of Flooshpragh, which acts as the horde center for the Rude Mongrel tribe of goblinoid races. Unknown to the players, the tribe has grown unmanagebly large, and the chief has marked the players as expendable individuals! Many subtle clues exist throughout the module to clue the players into this betrayal. The adventure proceeds through a town with roleplaying opportunities, a tower dungeon, and finishes by the players unknowingly pranking a human wizard. Pgs. 50-64

A loyal band of adventurers must find the Horn of Kiri-Jolith, a powerful artifact that could help turn the tide of the War of the Lance before the forces of the Blue Dragonarmy claim it. They must delve into the ruins of Castle di Garinoc - the home of Lord Kiril Garinoc, a Knight of Solamnia who perished 300 years ago in the Cataclysm - and recover the horn before the Blue Dragonarmy arrives and claims it for their own! Dragonlance: Quest for the Horn of Kiri-Jolith is a 5-7 hour adventure for 5th level characters. Inside Quest for the Horn of Kiri-Jolith you'll find: A multi-chapter adventure heavily-researched to fit neatly with previous canon and into the larger story of the War of the Lance. Exploration through a ruined castle from before the Cataclysm. Encounters with draconians, goblins, the ghostly lady that haunts the castle, and a final siege battle with the Blue Dragon, Swiftbolt! Unique versions of classic enemies and magic items to use in your own campaign. A foundational adventure designed to start a larger Dragonlance campaign.

Deep within the Kraken's Maw, a brutal maelstrom of ocean that devours ships, lies the mysterious Isle of Jade. Long forgotten in the memory of men, the island has served as a bastion for an ancient sect of female Corsairs, but their power is waning, and the threat of the outside world is at their shores in the form of a necromancer from Roslof Keep. Now a party has set out from Taux seeking the necromancer. Their course will take them directly into a conflict of high magic, ancient warrior religions, marauding fern goblins, and primordial dinosaurs. Will you take up the challenges presented by the Isle of Jade? This adventure is formatted to both 1E & 5E gaming rules. Also available in PDF.

As you continue to pursue the lost pages from the Codex of Gamber Dauch (Daw-sch) you receive a missive from your cleric’s church. With your fame building the Caravan Masters have gone to the church to request your assistance with a strange humanoid uprising in the west. After a bit of research, you discover the area may/may not be home to a magical crozier. The trouble is in a rural area and home to the community of Rantoul. A meager humanoid incursion shouldn’t cause you too much trouble and you decide to accept the mission!

FN11 – The Amulet of Dorian Beldor begins as a race to catch a fugitive from justice and quickly escalates into a much larger problem. With over 40 pages and 8 different maps this adventure has your party stumbling onto a former city covered by a rock slide now inhabited by a large group of humanoids. Buried deep within the complex is the ancient relic that controls elementals and will be quite useful as the Filbar North series winds down.

Deep in the jungles of Xen'drik, a relic of great power has lain hidden for thousands of years. Now, determined adventurers race against time and the nefarious agents of the Order of the Emerald Claw to locate the relic, overcome unimagined obstacles, and unlock its ancient secret. The Order's hunt for the parts of an ancient creation pattern nears its conclusion, but other groups also seek this powerful item. Once all of the pieces come within close proximity of each other, the ancient intelligence awakens. Suddenly all parties have a new and powerful enemy to contend with...
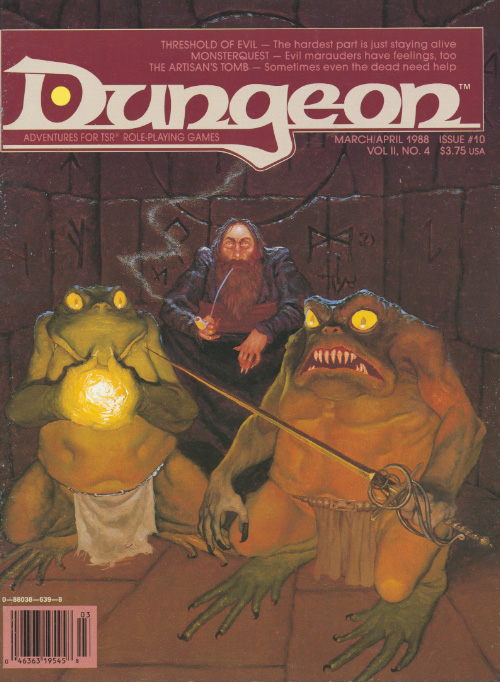
Everything would be fine if the person you're trying to help wasn't already dead. The requirements of honor reach even beyond the grave. A spirit asks the party to help grant it passage to the afterlife. Pgs. 9-11

The Chinese legend of Lady White Snake, like a serpent shedding its skin, is a tale that’s been renewed many times. At its core, it is a tale of a water snake granted magic and human form when a mortal man drops a god’s gift of immortality into the river. It is a story of friendship in which the white snake saves a green snake’s life and shares her powers. It is a story of jealousy in which a turtle spirit covets their immortality and plots against them. It is a story of selflessness in which the white snake sacrifices all—trapped in a pagoda for eternity—to save, from the turtle spirit, the same mortal man she’s grown to love. But in some retellings, it is a story of evil and good, Lady White Snake, an evil demon, and the turtle, a well-intentioned monk. Or it is a story of treachery, the green snake betraying her closest friend. This adventure embodies the multi-faceted nature of the original legend transformed over centuries. The town’s healer, Lady White, has been captured, and everyone in the village has a different story to tell. It’s up to the characters to decide who they trust, what they believe, and what they’re going to do about it.

In the eastern desert stands the ancient tomb of Solomon III. Like all tombs, it is full of magical treasure and crawling with deadly creatures. But unlike other tombs, this one is screaming. Years ago, soldiers and wizards went in to silence the screams, and they succeeded, but they never returned. Now Solomon’s tomb is once again screaming out across the dunes, and no one knows why. Solomon’s treasure is still down there, but then, so is whatever is screaming. ADVENTURE TYPE: Small Linear Dungeon DESIGN NOTES: This adventure is intended for characters levels 5 to 7. It includes a desert wilderness area, an oasis, the tomb exterior, the tomb interior, and a cave system below the tomb to explore. Each area contains various NPCs, new monsters, old traps, shiny treasures, and strange magical items. There are many opportunities for (deadly) combat, and a few of them may be inescapable, but it is possible for players to have complex interactions and to experience very different consequences, depending on their choices. INCLUDES: Story hooks, dialogue prompts, creature stat blocks, dungeon overview map, and full-sized battle maps of each dungeon room that can be printed and used right on the table. KEYWORDS: Tomb, ghuul, ghoul, skeleton, ooze, demon, devil, thief, wizard, desert, sabercat, oasis, spider, viper
/pic536818.jpg)
The wizard Fez has faith in the abilities of adventurers. But Mephistopheles isn't as confident. So a pact was made between the wizard and the demon. As each bargained madly to outdo the other's bet, Fez was trapped in a magical sleep. More than just a wizard's pact is at stake as you strive to accomplish the seven "impossible" tasks. FEZ II is a module which will challenge your ability to overcome dangers, solve problems, and adjust quickly to the unexpected. It was the wizard Fez that made the deal with the demon, but it is you who must make good on ...

You've enhanced your experience and with that comes training. You found a suitable teacher and have been quite studious and are ready to move on. As the instructor gives you leave, bad new strikes in the form of his sickened wife. You quickly learn that a rare herb known as Unicorn's Mane is required. As repayment, you set out to gather the item to save your friend's spouse. This adventure setting was designed for 5th Edition AD&D for the Filbar Campaign, but is easily adaptable to most any game and system. This scenario is a true solo meaning you don’t need a DM to officiate. It is suggested that a 4th level be used for “meatier” characters or 5th for those of less daunting stats. Don’t forget to follow us on Twitter @FilbarRPG for notices and updates as well.

The entity known as Oreiax is a gruesome, stunted monstrosity born of ancient death. Rescued from an eternity of petrification by Doresain the Ghoul King, Oreiax immediately pledged itself to the Ghoul King's service, and thus indirectly, into Orcus's service. Oreiax, born of stone and death, seeks to glorify Doresain by petrifying the world. Pgs. 112-119

A blood curdling SCREAM shatters our adventurers rest as they set up camp for the evening. Without warning the forest comes alive and a heroic struggle begins, as our adventurers battle to avoid becoming the forest's latest victims. Take your players deep into a cursed glade on a dark and stormy night to confront an evil Druidess, and a horrifically corrupt tree...

In part one of the Randal Morn Trilogy, "The Sword of the Dales," the legendary leader of Daggerdale, Randal Morn, was captured by unknown assailants as he sought to regain the great weapon for which that adventure was named. A stalwart band of enthusiastic heroes was recruited to ride to his aid, yet all they recovered was the Sword itself and a message: "Seek me in Spiderhaunt Wood." In the second part of the trilogy, "The Secret of Spiderhaunt," those same adventurers found Randal and freed him briefly, yet he was almost as quickly torn from their grasp by an agent of the evil Zhentarim, seeking to end the threat of Randal Morn's return to power. In this final episode, the heroes must follow the kidnapper's trail and rescue Randal Morn again before the Zhentarim finish interrogating him and the axe falls upon his neck. Armed with the Sword of the Dales and aided by a powerful spirit that lives within the weapon, the heroes must march into the heart of Zhent-occupied Dagger Falls, free Randal Morn, and save the city from utter destruction. The job is dangerous - perhaps more than the heroes can handle - yet those who would live in songs and legends cannot concern themselves with living to a ripe old age! This is the final part of a trilogy of modules that began with "The Sword of the Dales" and "The Secret of Spiderhaunt." TSR 9488

Dragonbowl is a setting and pulp action adventure in one. It plunges a party into a rich festival scenario that revolves around a deadly gladiatorial contest, where the dangers they face in the arena are almost secondary to those they encounter in the murky criminal underworld they find themselves in: a world that stinks of corruption, human trafficking, illegal dinosaur-trading, necromancy, blood sacrifice and unnatural arcane experiments. The action takes place in a vast cavern in Mount Waterdeep, known as the Underbelly, where not only Dragonbowl Arena, but also an entire festival grounds – consisting of temples, bars, casinos, funfairs and markets - has been constructed to host this grand sporting extravaganza. With Xanathar, Jarlaxle, Davil, Volo and the Black Viper all in attendance, and scores of 'entanglements' (faction missions) to keep players busy, Dragonbowl can be played as a sequel to Waterdeep: Dragon Heist, or as a first step towards the Undermountain and the Dungeon of the Mad Mage. Equally, it can be played as a stand alone adventure, or easily transported into other settings. The adventure is written for a party of four 6th level adventurers, and easily customisable for three to five players, of any mid-tier level (the adventure contains maps and handouts adapted for both 4 and 5 player tables). The adventure is designed to last around ten to fifteen 4-hour sessions, but can very easily be shortened or lengthened according to the DM's desire. The adventure features all three pillars of play: combat (in and out of the arena), social interaction (a succession of parties and parades, where players can get entangled in NPC business) and exploration (30+ locations in the festival grounds alone).

As you move throughout the countryside a rider appears in the distance and begins to close quickly. Hand going to your weapons you ready yourself for danger but notice the rider is very young. Timmy Little introduces himself and warns you of a bout of Goblin-Pox at his village. Many people are sick and need help. Timmy says he and other young people have been sent out to find heroes to save the town and asks if you can help. While the boy cannot provide a great deal of information on the malady he advises you that the people of Troburtandban who aren’t sick can help with information. Once you agree he rides off to find additional help.

A quick-paced exploration of the magic tower, home to the great Solomon, the Master Conjurer, an expert in fiendology. Adventurers have to find Control Orbs to disable the tower's security system before it destroys them, and discover the secrets of the tower in the process. Their progress will be ushered by a seemingly helpful entity with nefarious intent - Zarloxar, the blue Abishai. The success of adventurers could also finally spell freedom to the fiend... or not if players, under stress, will realize the trickery in time. Part of "Detailed Encounter" series - each "Detailed Encounter" - features new monsters with unique stat blocks, new magic items, a custom battle map, and detailed NPCs. It also has story hooks and advice enough, to quickly turn it into a separate adventure!
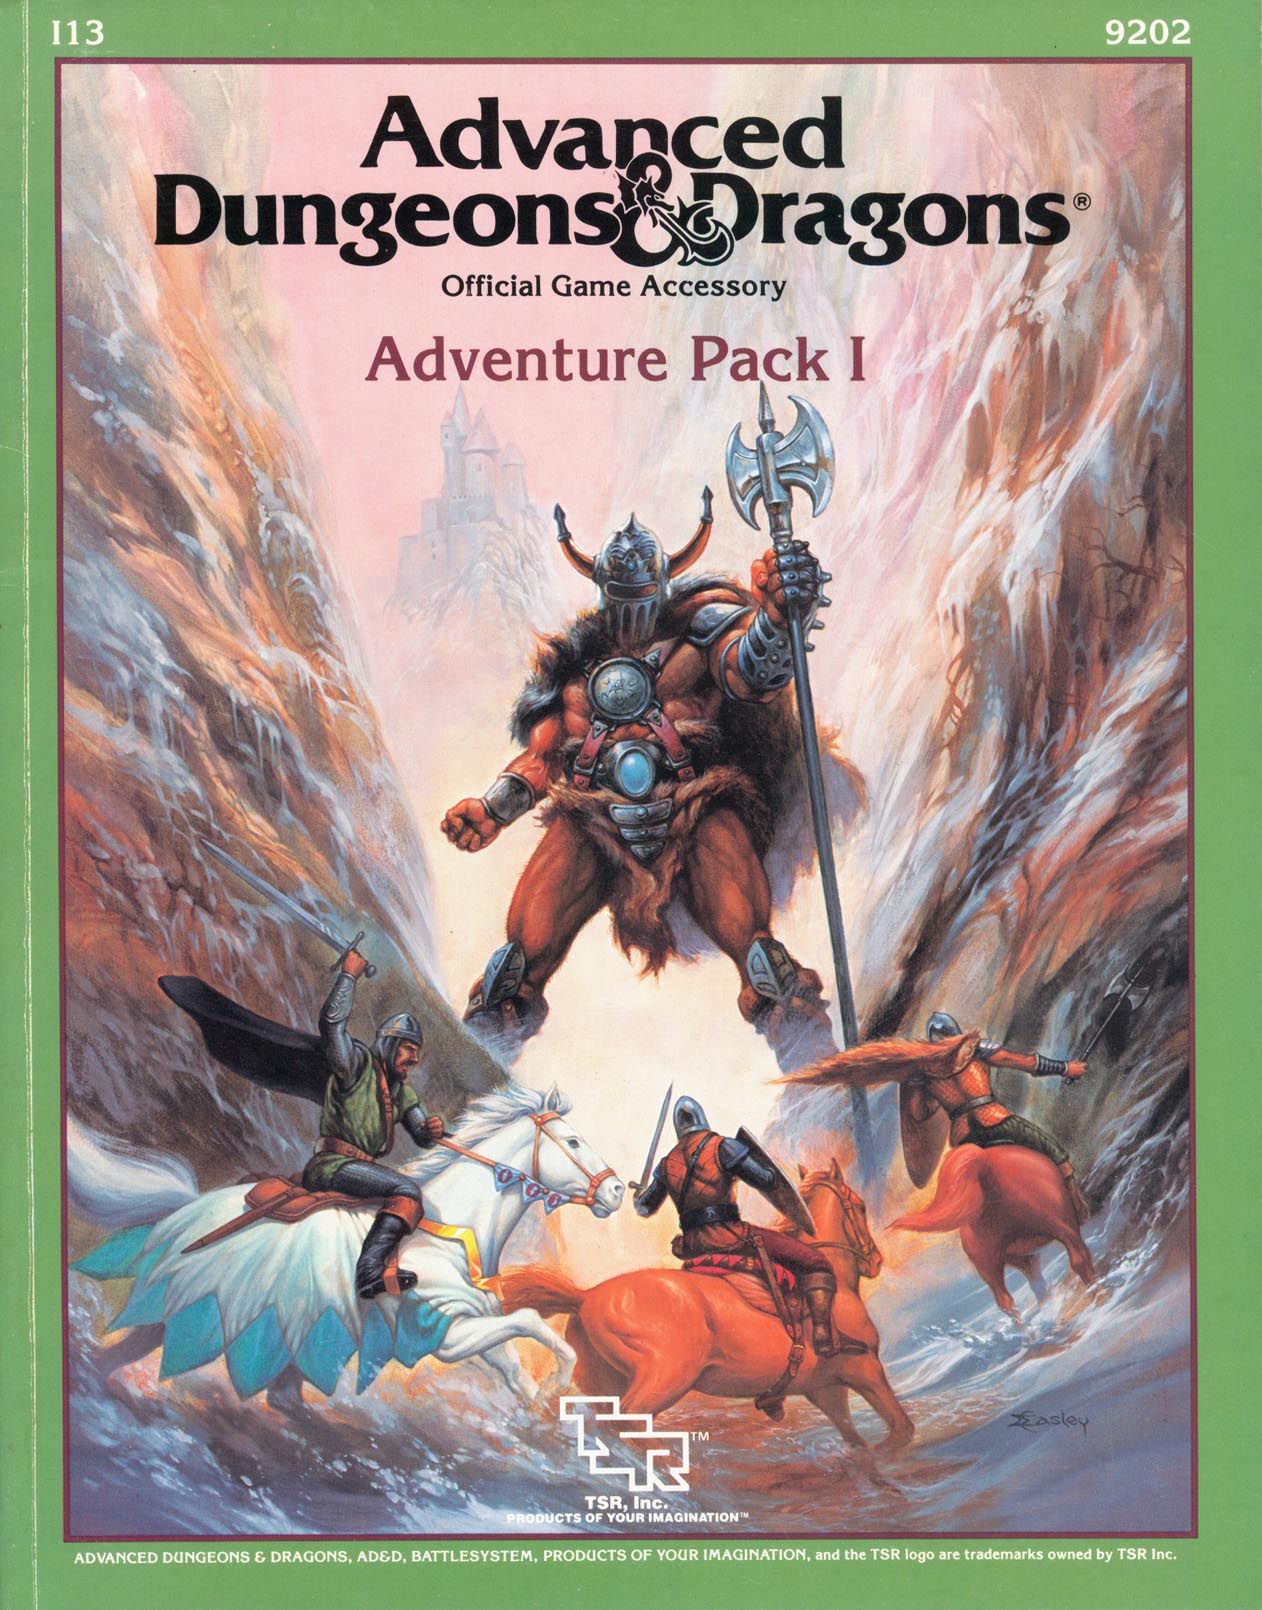
A walk in the woods, a trip to the zoo, a day at the circus - harmless enough, right? Wrong, as players will discover when things are not as they appear to be. Included in I13 Adventure Pack I - https://www.adventurelookup.com/adventures/i13-adventure-pack-i TSR 9202

Located at the division of land between the Duchy of Starryshade and the famed Horselords is the historic Mystic Wood. Home to the site where the peace treaty was signed between the two countries this area is rumored to have a strange effect on magic. Information has reached the local thane that a gathering, or conclave, of humanoids is to occur this weekend. He has dispatched his military but they are too far to be of use. He has heard of your growing fame and asked your party to investigate this rumor and take appropriate action.