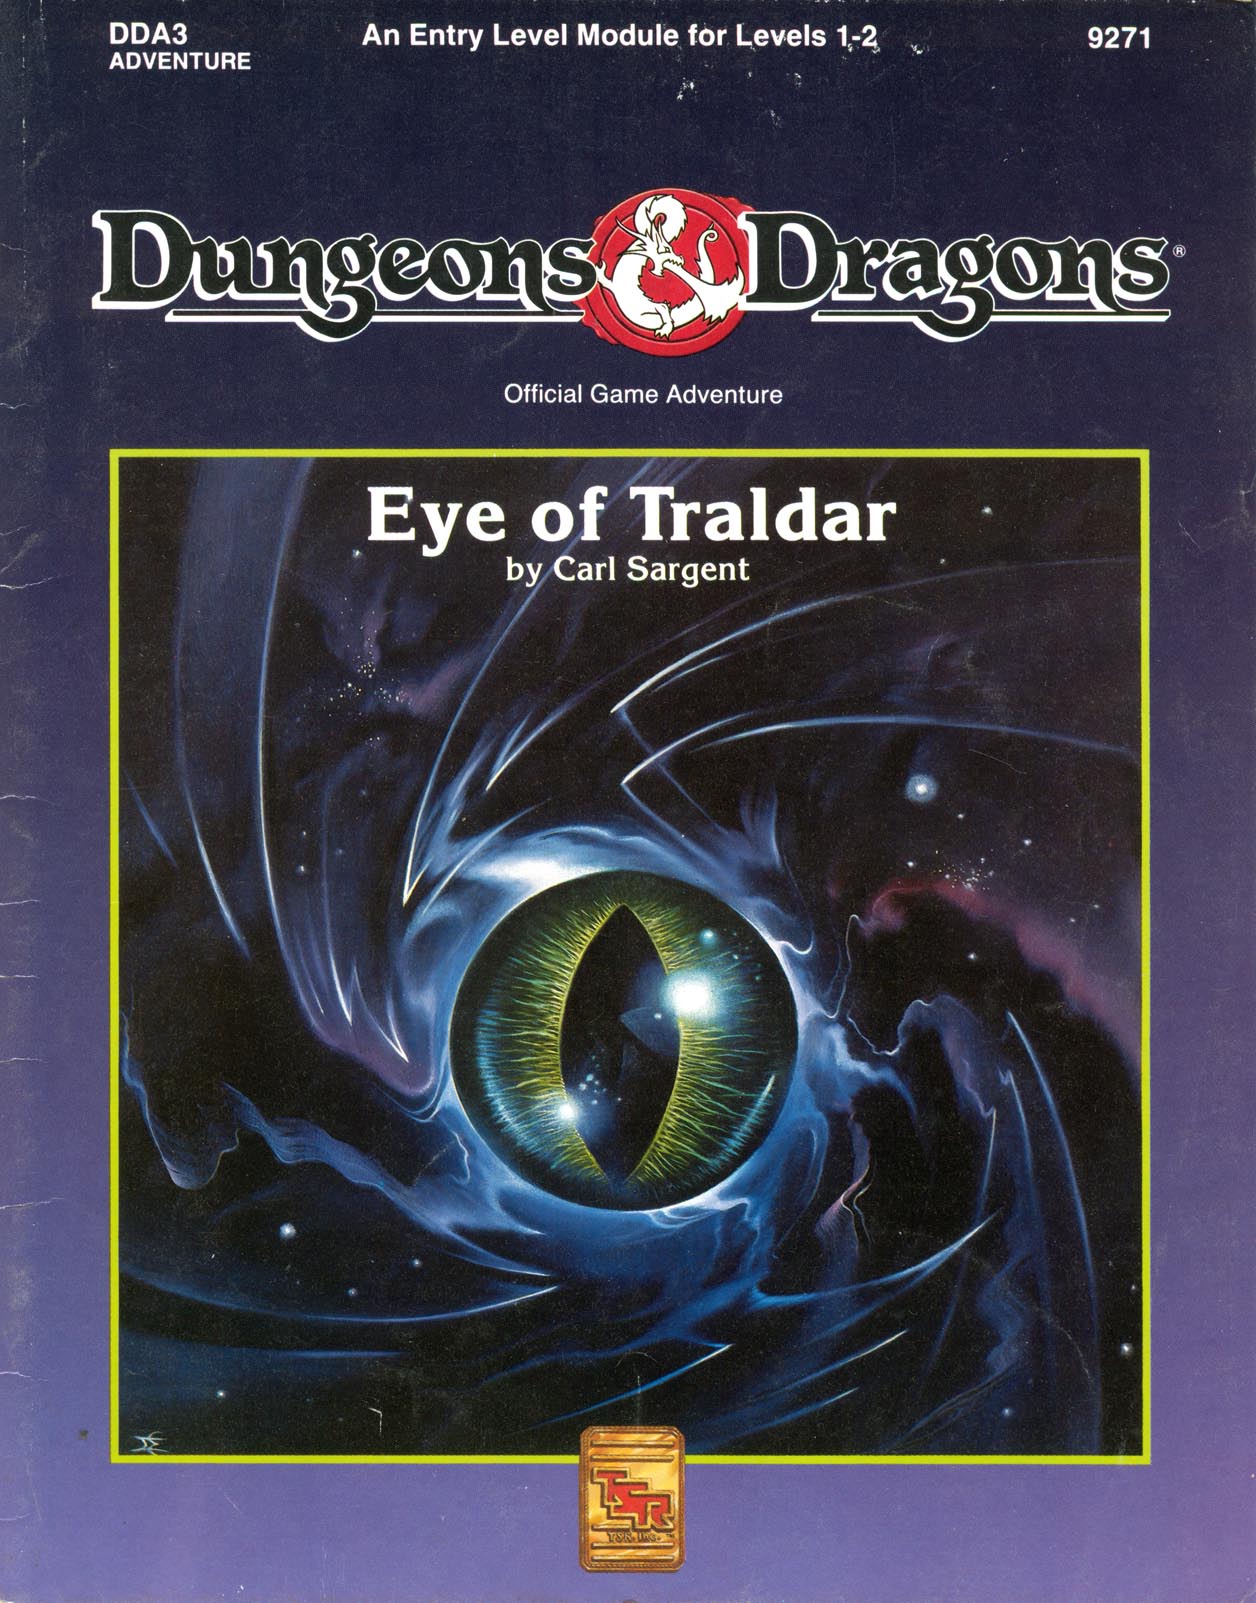
Powerful Magics are Loose in Karameikos! You and your companions are starting on your first adventure and you've been swept into the intrigues surrounding the infamous Black Eagle Barony. To prevent the evil Baron von Hendricks from gaining more power, you and your cmpanions must retrieve the magical Eye of Traldar from the wizard's tower at Fort Doom. Can you escapes the clutches of the armed garrison? Will the Baron gain the powerful artifact and use it for evil? You and your friends make the choices and affect the entire Grand Duchy of Karameikos. This module is particularly recommended for novice Dungon Masters and players who want to try their hand at overland adventuring. Recommended for four to six characters, levels 1-2 Handouts and pregenerated characters provided Suitable for use with the Dungeons & Dragons Game box and conventional D&D Game rules Features simple rules on outdoors travelling for exclusive players of the D&D Game box Adventure in the monster-filled caverns and dungeons beneath Fort Doom. TSR 9271

When a Thayan research expedition returns from the Glacier of the White Wyrm with only two survivors that are reduced to whispering about an ancient pyramid under the ice, perhaps it is time to discover just what scares the life out of a nation of necromancers. The events of DDEP2 Mulmaster Undone resulted in terrible geographic upheaval all around the southeastern region of the Moonsea. Massive landslides, earthquakes, tidal waves, and gnashing tornados devastated the land and the city of Mulmaster was nearly scrubbed from the face of Faerun. Fortunately, these events also revealed previously hidden artifacts—trinkets, mostly—from the ancient Netherese all around the city. The Thayans have long held an interest in the port city and wasted no time in assisting in the rebuilding efforts. They simply asked that a blind eye be turned to their archaeological interests, and in return they would continue to spend their own resources (at no expense to the Mulmasterites or even the High Blade) to rebuild the city, bigger and better than before. It wasn’t long before their interests paid off with the discovery of a research laboratory beneath the Glacier of the White Worm, far to the east of Mulmaster and nestled in the mountains. The Thayans sent a sizable expeditionary force but only two acolytes returned. The visiting Zulkir has found this particularly troublesome, and with the assistance of Rastol Shan, the head of the Cloaks, has arranged for a mercenary force to perform a more pointed investigation of the area. In return the Thayan noble has promised significant compensation. Upon arrival at the dig site, the characters are quick to discover that the laboratory hides ancient and palpable evil. The purpose of the facility can be discerned with careful investigation, and the effect of the still-active fragment of the Dark Obelisk has empowered (some may say attracted) servants of the Worm that Walks. Danger and death await, certainly, though the characters always have the option of running away and living to fight another day…

To Hell and Back Again is the perfect adventure for new players and veterans looking to experience Dungeons & Dragons in a new way! It's written as a solo adventure, where choices have gigantic consequences, but it also provides balanced rules to play with a group or a Dungeon Master as well! This 80 page adventure features: - A heart-pounding origins story that fits perfectly as either a prequel to Descent Into Avernus, a stand-alone adventure, or into your ongoing fantasy campaign. - Beloved characters like Lulu the hollyphant, Mad Maggie and her redcap gang, the archdevil Zariel, and many others brand new to this adventure. - Infernal War Machines, and exciting encounters with unique stat blocks. - Innovative Destiny and Traits mechanics that make your choices really matter. - A ton of possible outcomes that will fuel your character's many adventures to come! - Four gorgeous sample characters, with interactive character sheets designed to be new-player friendly so that you can jump right into the story if you'd like. - A community survey when you finish so that you can see how your outcomes and choices compared to other players!

Retribution and revenge are yours for the taking! Demise of the Slavers pits you against the forces responsible for turning your life upside down and kidnapping your friends and family. The original pair of adventurers have come a long way and with the help of friends, it is time to end the slavers hold on your homeland of Esaq! Don’t miss this exciting conclusion for the DQ series.
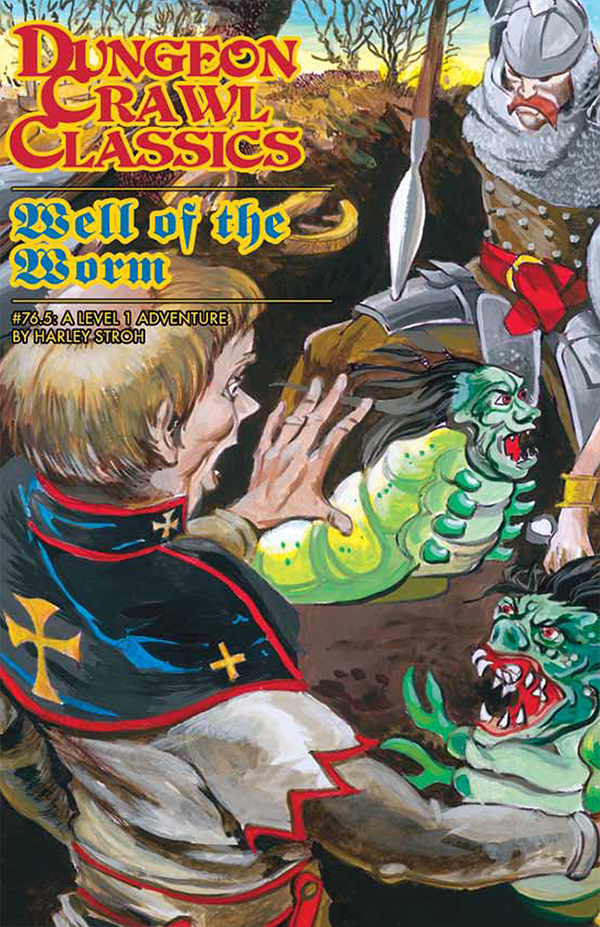
In ages long past and best forgotten, the world was ruled by worms. Deep within dreaming jungles, and high atop monolithic temples, fell priests sacrificed the blood of man and his kith to the mammoth war-worms. One wizard would return the world to the rule of the worm. From deep within the blood-soaked earth, calling upon the spirits of the slain and blood of the dying, rising from the moldering bones of fallen warriors, the war-worms have returned. Their foul Mother – last of her kin – births more crawling horrors with every passing hour. The age of the worm is once more upon us. The call is sounded: Who will rise to purge the darkness?
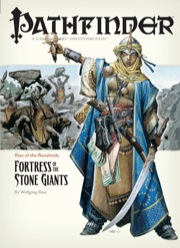
The Giants are on the March! The Rise of the Runelords Adventure Path continues! Driven to battle by a maniacal warlord, the once-peaceful stone giants of the Storval Plateau threaten to destroy the sleepy town of Sandpoint. Will fast action and quick wits be enough to save the defenseless community? Yet, even if the giants' initial raid can be repelled, only by striking at the heart of their titanic war machine—the black-towered fortress of Jorgenfist—can the menace be quelled. But who knows what mysterious bloodlust spurs the usually peaceful giants to war, or what mysteries lie beneath their ancient fortress?

"Tyr is free! Tyr is free!" Such is the heady cry that echoes from the darkest warrens to the gleaming chambers of the Council in that ancient city. Now is your chance to savor life released from the oppressive gloom of the sorcerer-kings-but for how long? New forces threaten the newly-born independence of Tyr, as outside forces march upon the city. King Tithian is determined to resist, but there are others on the Council of Advisors less eager to risk their wealth and lives for the cause of independence. It falls upon you to help mobilize and lead the citizen-army of Tyr on the road to Urik. In Road to Urik, the city-State of Tyr has thrown off the yoke of the sorcerer-king Kalak and declared all slaves free, but the neighboring city-state of Urik is amassing its own armies to conquer Tyr. In the first part of the adventure, the PCs must negotiate with various factions of the city in order to win their support for the war effort. In the second part the PCs leading a scouting force ahead of the main army, and the choices and successes in the first part will affect the troops they lead here. Finally, they will need to fight and lure away the Urik army's own scouting force, letting the army of Tyr ambush them. The second and third part make heavy use of the Battlesystem rules, which were pushed pretty heavily in the early Dark Sun books. Like many Dark Sun adventures, the module makes heavy use of handouts that come in a flip-book along with the main adventure. This adventure is a sequel to Freedom. It stands on its own, but the plot of the adventure is based on the events of Freedom and the novel the Verdant Passage, so you can't really run them in reverse order. Much like Freedom took place concurrently with The Verdant Passage, Road to Urik takes place just before the events of The Crimson Legion, the second novel in the Prism Pentad. TSR 2406

In a distant dimension of existence, a collective of Modrons run experimental tests to find the answer to one question: What draws adventurers to places known as "Dungeons"? Hijacking the travel of adventuring parties, these Modrons subject them to a series of tests in their artificially created dungeon. Deadly combat, logic puzzles, "moral" challenges, and a plot about a kidnapped "Maiden" Modron by an "Evil Wizard Construct" can be found within. But not all is as it seems... Leading the experiment is a rogue Modron officer named the Creative Director, who has gone mad and morphed the tests into an elaborate death trap for adventurers. Seeking revenge against those it considers responsible for its “imprisonment”, it pits the adventurers against ever escalating challenges. Who will defeat the Creative Director and put an end the mad tests?

An unexpected envoy arrives in Sporedome and offers to give aid against the fire giants of Maerimydra, if you are willing to help his people with a small problem. A two-hour adventure for 5th through 10th level characters. Optimized for five 8th level characters.
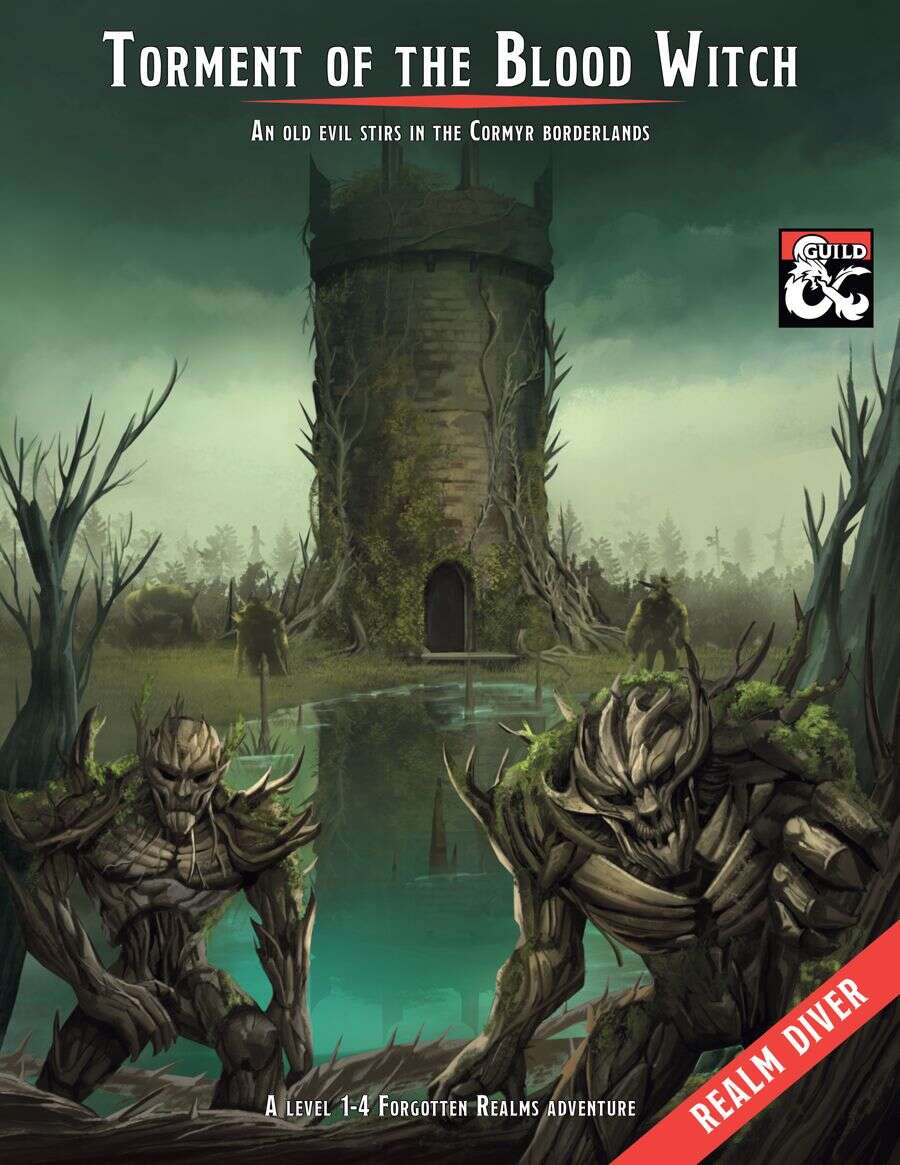
The town of Proskur has been cut off from the rest of the kingdom of Cormyr by a terrible storm, just as its people begins to suffer from a feinting sickness. Now the crops are failing. Are these the acts of a vengeful god? Or something more sinister? While aiding the good peoples of Cormyr in their plight against goblin hordes, the restless dead, a band of cut-throat pirates and the wilds of the Gritstone Moorland, the adventurers must investigate the true cause behind these calamities while uncovering a century old past, following in the footsteps of a legendary band of knights. Will they bring the fight to the evil hag, Bad Blood Hattie in her accursed Bloodtower lair? Or doom Proskur to become a blighted ruin?

AL19 – Junket to the Southlands has the PCs enjoying a little R&R in southern Allatrama when a caravan comes into town. Scuttlebutt has it that some famous Bard came in with them and is giving a performance later. With nothing else to do you opt to take a listen. After hearing the tales recited by the incredible poet you opt to visit the location of her stories. Saddle up folks, you’re heading into the frozen land to the south!

Questing through the forest, you will be tested. Which side will you take between a wizard and the Keepers of the Veil? Will you be able to find the materials necessary to help cure your friend of the ancient evil that assails him? And when it comes down to it, what are you willing to sacrifice for your beliefs? Third Time’s the Charm picks up where Second Glance left off and invites the PC to find a wizard who can help heal the Crystalline Curse slowly paralyzing the PC’s friend and protector. As the party grows closer on this adventure, learning to depend on one another, they must also navigate the Veiled Wood’s changing landscape, deciding who they can trust and who they will help as much lies in the balance. Though this was written as the third installment in the Crystalline Curse Trilogy, this adventure can be inserted into any campaign setting and scaled accordingly. Third Time’s the Charm is part of our mission to bring you high-quality, ready-to-play material that supports adventuring parties of 1 Player and 1 DM. This adventure is written for a third-level character in a one-on-one 5th edition D&D campaign. Everything you need for your own two-person game is inside! This product includes: -A 3rd or 4th-level adventure adaptable to any setting -Stat blocks for one new creature and two NPCs -A region map, two sitemaps, and a hand-drawn dungeon map to aid the PC’s investigations -A fully realized forest region with fleshed-out NPCs and places to explore -Detailed backstory for the ancient warrior sheltered inside the PC’s treasured amulet -Four custom magical items And helpful tips for DMing a one-on-one game This adventure is perfect for those looking to begin or continue their duet campaign. Published by D&D Duet.

A Vistani fortuneteller has called you out by name during the Burgomaster’s private reading. She raved of an army of the dead, a delicate powderbox, and a beautiful yet dangerous woman. Now the Burgomaster wants to know why you’re more important than he is... Part Four of Misty Fortunes and Absent Hearts.

Nightmares that kill, a mysterious thief that only steals knick-knacks, tales of a huge beast terrorising fisherfolk, an inn with disappearing guests, discoveries of hidden magic portals and rumours of an assassin at large: None of these things are enough to stop the ever-flowing tide of traders and travellers crossing the Bridge of Fallen Men, but its protectors - Cormyr's Purple Dragons - are short on time, and courage... ...will adventurers answer the call?
A one-shot adventure of dark fantasy, tragedy, and horror... - 4-6 hour adventure for 3rd - 5th level characters. - 24 pages of an elegant, easy to read PDF. - 4 custom handouts that pair with the adventure. - 2 custom monsters. - 10+ trinkets and magic items for handing out to your players. - 6 gorgeous free battle maps that can be found here: https://www.dmsguild.com/product/434359/Map-Pack-01--The-Sorrows-of-Southsward-Keep

When Volothamp Geddarm hires you to recover a missing key, you find yourself wrapped up in a series of murders in Lower Skullport. Can you find the killer before they find you? Part One of the Skullport Shakedown trilogy. A Two- to Four-Hour Adventure for Tier 2 Characters. Optimized For: APL 8

This adventure works best after going through the original trilogy (Death, Terror, and Madness in Freeport). After exposing the madness and corruption of the previous Sea Lord, a succession crisis is upon Freeport. There are no heirs to the seat of power, leading the Captains' Council to overturn the Law of Succession. But opening up succession plunges the city into chaos as various factions vy for the title. The PCs will need to survive riots and secret plots to make sure the right man (or woman) ends up with the job.
Venture-Captain Dennel Hamshanks sends you to convince an Andoren druid named Hemzel to allow the Pathfinder Society to study his recently discovered lorestone, a minor magical item that unlocks some of the mysteries of the ancient Andoren druid circles. When you arrive and find Hemzel murdered and the lorestone missing, you must race against time to recover the lorestone and stop Hemzel's murderers from using it against the druids of Andoran.

Lorena Appleton, the youngest daughter of the youngest son of the heir to the Appleton estates, went missing several weeks ago and returned with a mysterious illness. Her parents spent their vast fortune pleading to all doctors and clerics passing through their town of Braeburn, desperate to find a cure for their daughter. Several healers have said that they couldn’t cure her without knowing what caused the ailment, but Lorena hasn’t said a word since she fell ill. The story piqued the interest of Syvil Loganberry, an elderly Halfling Cleric from the nearby city of Brackenshire. But the roads between Brackenshire and Braeburn have become wild in the last century, and all manners of forest creatures have turned vicious against those who dare brave the roads. The upcoming harvest festival in Braeburn has increased security along the roads, but Syvil grew old by being careful and has hired your band of adventurers to keep him safe as he made the journey. The three days of travel go by without an incident, but those familiar with the woods may wish otherwise. The forest has been still, silent, without even so much as a bird’s song to keep you company. It’s as if the forest itself is waiting...

Many years ago, Evard came to Duponde to destroy his rival Vontarin, a powerful wizard who lived in a manor at the edge of town. The two mages met near the walls of the abbey of St. Avarthil and dueled all night long with black spells, laying the old monastery in ruins with their magic. In the morning, the surviving friars found Evard dead in the wreckage and buried him in the town’s graveyard. Vontarin was never seen again. Now, almost fifty years after his death, Evard’s final curse is about to descend on the town and everyone within it. Also available in Dungeon Magazine #219 Pgs. 30-90