
A quick-paced exploration of the magic tower, home to the great Solomon, the Master Conjurer, an expert in fiendology. Adventurers have to find Control Orbs to disable the tower's security system before it destroys them, and discover the secrets of the tower in the process. Their progress will be ushered by a seemingly helpful entity with nefarious intent - Zarloxar, the blue Abishai. The success of adventurers could also finally spell freedom to the fiend... or not if players, under stress, will realize the trickery in time. Part of "Detailed Encounter" series - each "Detailed Encounter" - features new monsters with unique stat blocks, new magic items, a custom battle map, and detailed NPCs. It also has story hooks and advice enough, to quickly turn it into a separate adventure!

The wizard Kavorquian is dead. But certain items belonging to his adopted son were in the wizard's keeping at the time of his demise. Now someone must venture into the silent vaults of Kavorquian's stronghold and recover the missing property. Queen's Harvest picks up its story where B11, King's Festival, left off. It can be played as a sequel to that adventure or as a complete adventure in itself. It is tailored for beginning Dungeon Masters and players and contains helpful hints on adventuring and the land of Karameikos. The story develops simply, but ultimately leads the player characters into the nether reaches of Penhaligon's politics to confront Ilyana Penhaligon, mad pretender to the throne! TSR 9261

In this prelude to the full Princes of the Apocalypse campaign book, adventurers face off against the influence of Elemental Cultists in the hills and canyons of the Dessarin Valley. The four mini-adventures within are only tangentially related to each-other, and instead serve as starting points and hooks for the plots of the complete Princes of the Apocalypse Campaign. Players start in the well-described town of Red Larch; first investigating a local necromancer, then uncovering cult influences within the town, and finally heading off to infiltrate or do battle with two small elemental cultist strongholds. All parts of this adventure can serve as great places to seed hooks for other campaigns.
This morning, the forces of Law and Chaos clashed at Castle Yennagor. The battle raged all day, but as darkness fell, a cataclysmic explosion destroyed most of the castle and leveled both armies. Now, as night claims the vale, flickers of life return. Survivors make camp, flee the field, or continue the fight. Scavengers creep over the dead. And one question remains unanswered: what happened inside the castle? This is a dark sandbox adventure. Players take the role of battlefield survivors. They can choose which side they are on (or neither), and they can choose their goal, such as to escape the field with their lives, to plunder the dead, or to reach the castle and finish the mission. ADVENTURE TYPE: Mid Level / Combat / Diplomancy / Battlefield / War / Dark Fantasy / Factions DESIGN NOTES This adventure is intended for mid-level characters around Level 6-7 Players navigate a battlefield full of competing factions and gruesome situations 30 unique encounter locations 70+ original magic items 30+ original monsters One map and multiple illustrations Estimated play time: 1-4 sessions (4-16 hours)

Once every decade, the tides of the Empyrean Ocean recede far enough to reveal the highest eaves of a mysterious undersea tower. Long ago this was an eldritch fastness of Sezrekan the Elder, the most wicked wizard ever to plague the Known World, but now the tower is known simply as the final resting place of the fabled Black Pearl – an artifact rumored to bring doom upon all who dare to posses it. Tonight the moon nearly fills the sky, and the tides have already begun to recede. Adventurers have eight short hours to explore the tower before the dark waters return. The fabled Black Pearl will be theirs for the taking…if they can survive the Pearl’s curse.

With the docks of Distant Turtle City behind them, the challenge of the city's castle still lies ahead. Ancient dwarven samurai were lords of the mighty estate, but now it has fallen to darkness. What secrets and horrors might be found there are disheartening enough, but with a city of the shadow dead at their backs, the adventurers have little choice but to put an end to Molo's corruptions once and for all. Come join the battle against legendary tortoise oni, stealthy gaint mantises, corrupted beasts, undead half-dwarven guards, and even a rumored shadow dragon! This adventure is formatted to both 1E & 5E gaming rules. Also available in PDF.

The battle against the slavers continues! You end your fellow adventurers have defeated the slavers of Highport, but you have learned of the existence of another slaver stronghold, and you have decided to continue the attack. But beware! Only the most fearless of adventurers could challenge the slavers on their own ground, and live to tell of It! Second part of Scourge of the Slavelords (A1-4) TSR 9040
Part 3 of the Shackled City Adventure Path "Wherein a tribe of the Sea Mother's children suffer for sparing the life of a mad prisoner they probably should have eaten." Synopsis: The adventure begins with an Umber Hulk attack in the middle of the city. The fame gained by assisting during the attack allows them to gain the notice of a representative of Davked Splintershield. The group is asked to rescue Zenith Splintershield from a Kuo-Toan temple in the Underdark. But to find it, they have to visit Crazy Jared to locate an entrance to it. Upon journeying to Crazy Jared's, they fight Hookface's offspring. After more travelling, they are able to descend into the Underdark. Once they find the Kuo-Toan temple, they must fight through many hard challenges, only to realize that Zenith is not a prisoner, but instead is a prophet. Zenith does not go willingly, and so must be captured. Pgs. 28-61
Wednesday's child... It's a blessed event only if you can end the curse in time. People have been disappearing form the town of Monetenapoleone and a swamp has appeared blocking the towns trade route. It is up to the players to find what is causing all of these strange events and to stop it. Pgs. 32-49

How dangerous is a wounded dragon? A black dragon has seized Ravenglade Keep, though not without resistance! Badly wounded in the fight, the Warriors of Sehanine have fled their home and now turn to the outside world for help. There’s no time to lose! Can you arrive at Ravenglade Keep in time and discern allies from foes on the way? Warriors of Sehanine is a Dungeons & Dragons adventure module for a party of four to five characters from 3rd to 5th level. • Experience the Wood of Sharp Teeth on the way to Ravenglade Keep in a 12 to 16 hour adventure of 38 pages, written by Mithral Best Selling creators Florian Emmerich, JVC Parry and DMsGuild Adept Ashley Warren • Rock the (virtual) table with four breathtaking maps by Dean Spencer & Erin Harvey that come with player and DM versions • Bring the adventure to life with stunning artwork and player handouts by Raluca Marinescu,Henrik Rosenborg & Nathalie Lehnert • Show the NPCs with selected exclusive Trash Mob Minis

Fresh-faced and more than a little hung-over our newly graduated mage of the great Dunromin College of Magic and his friends step into the tea-room next to the Porter’s Lodge and ask for something for a headache. Within minutes they find themselves accosted by the smiling figure of Malcolm Darkstar, Bursar of the College and owner of the tea-rooms, keen to ask them a favour… This is an introductory level set of scenarios designed to take a starting-level party on their first exciting adventures; The Lost Son; The Return of the Cauldron of Millent and the Murder at the Red Barn

Ages ago, the tower stood as a bastion against banditry and marauders. But civilization has long since retreated from this area, and a band of goblin thieves has taken up residence in the ruined tower. Local woodsfolk beg the PCs to rid the place of the bandits before they are victimized again by the goblins of the Broken Tower. Pgs. 18-23

The local nobles of the region have sent word to your group requesting a meeting. Later that day you find the Black Raven roadside tavern and are met at the door. After being escorted to a back room which has seen its share of shady dealings you are propositioned with an offer to investigate and depose a set of local nobles who are brothers. Rumor has it that the Ironrod brothers, who have been overtaxing the citizens, have now employed humanoids as guards. This is forbidden and if true, the brothers need to be brought to justice immediately!

Stop evil cultists of the Crushing Wave. The party rescues a member of the Brotherhood of the Cloak in Mulmaster (local mage guild); Drayson Fivestar. Drayson asks them to investigate the murder of his colleague. After some urban investigation, the investigation leads to a former guard tower of the Zhentarim, now occupied by elemental cultists. The tower was submerged in mud, but recently uncovered. The party faces of with the cultists. (Large page count, but feasible as a one shot after some editing, will probably take two sessions at most)
"Ruins of the Umbral Tower" is a shadow fey hunter lair suitable for four or five 8th-level characters. This adventure can be completed in a single session. The ruined Umbral Tower rests deep in the forest, in a marshy region avoided by all but songbirds. Long abandoned by its original occupant, the tower features a malfunctioning gate that connects this place and the Plane of Shadow. The site serves as a base for a group of shadow fey hunters and their entourage of hounds and guardians. The hunters used the gate to travel from their home plane, and they now attempt to bag as many trophies and as much loot as possible before returning home when the gate reactivates.
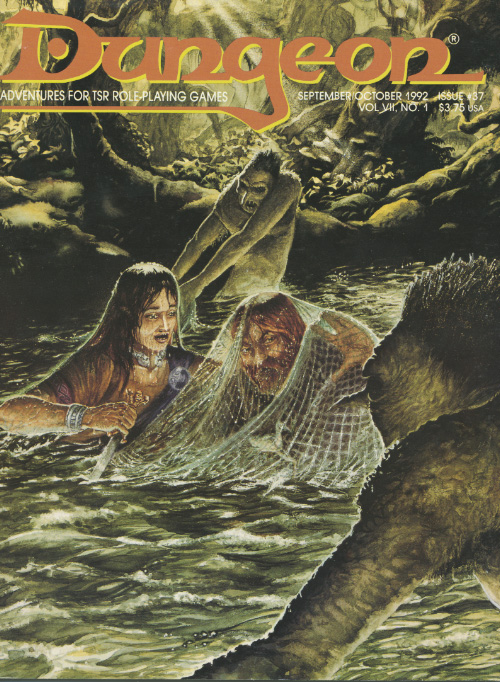
Everybody's a fool for a lost kid. He wanted power but settled for scraps - for now. The outcast wizard Lertol has adopted two leucrotta, and their team is ambushing passing travelers and robbing them with no-one the wiser. The players first fall into this trap when the leucrottas mimic a lost child and a search party in the middle of a night at camp. If the players leave to investigate the voices, the wizard loots the camp while they are gone. The players can then follow the wizard back to his lair and get their treasure back. Pgs. 48-49 & 28
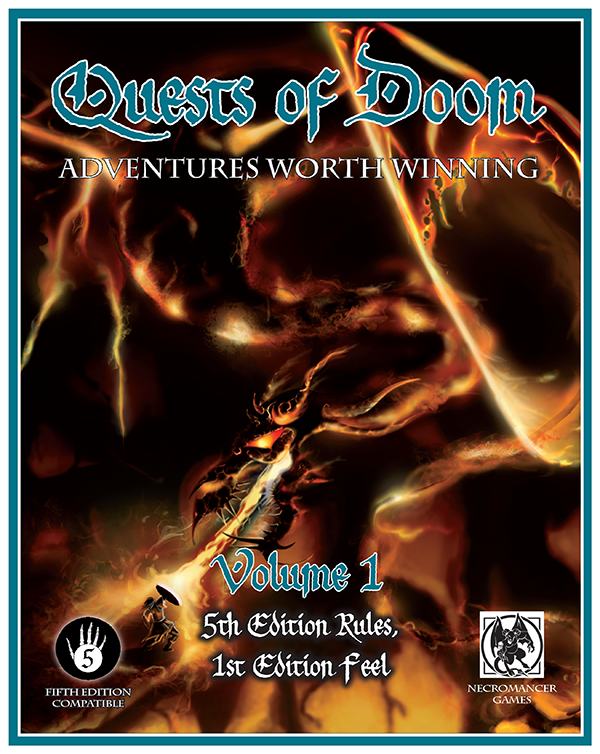
Dead from Above is intended for use with four to six player characters of levels 6 to 8. It will likely take two game sessions to complete. The adventure is set in (and above) a hilly region at the outskirts of civilization, presumably one near the base of a mountain chain. With a little work, the GM can place Dead from Above wherever he or she desires in the campaign world.

The Frog People were never a threat before, more of a nuisance really, they would show up once a year steal a few things and drink some ale. Then they would be gone. This year though they did not leave and now they are taking people! The town needs help and it has found it in you and your friends.

This material was originally published as three separate adventures: G1 (STEADING OF THE HILL GIANT CHIEF), G2 (THE GLACIAL RIFT OF THE FROST GIANT JARL), and G3 (HALL OF THE FIRE GIANT KING). Contained herein are referee notes, background information, maps, and exploration keys for three complete adventures using the ADVANCED DUNGEONS & DRAGONS rules. This module can be used alone or as the first in a series of adventures that includes Dungeon Modules D1-2 (DESCENT INTO THE DEPTHS OF THE EARTH), D3 (VAULT OF THE DROW), and Q1 (QUEEN OF THE DEMONWEB PITS). TSR 9058

You have been sent to watch over the destruction of an ancient artifact by your liege, but arrive to find the temple sacked and the item missing. You and the other abassadors must take the famed Pick of Zander across the Kamula Wastelands. There you must track down the agents of evil and, if possible, destroy the artifact...time to earn your hero status!