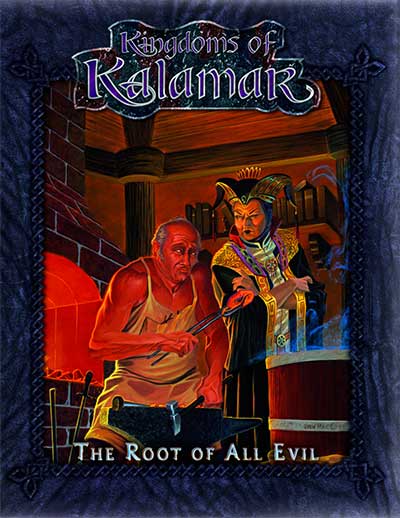
This was supposed to be a simple job! In the small town of Haanex on Reanaaria Bay, the wizard Veoden assembles the PCs to do a simple job: find the remnants of a meteor said to be made of the rare substance mithral. First they must find a map that local rumor tells is guarded by the spirits of the dead. Upon recovering the map and locating the crater, they uncover a plot to create a powerful magical item called the Coin of Power. This artifact is a tool for wickedness and the players soon find themselves on a quest to learn the means to destroy this evil item and its insidious master before she destroys them. Complicating matters is the fact that the one man who can help them was lost during an expedition to the Reelio Jungle months ago and is yet to return. Will the PCs be able to survive the rigors of the jungle and solve the riddle of the tribesmen who live there? The lives of innocents might depend on it! This accessory provides characters with an elaborate storyline and a chance for many varied types of adventure. You will take your PCs from the quiet village of Haanex in northern Reanaaria Bay to the Vry Naasu Headlands, the City-State of Zoa and finally the forlorn Reelio Jungle. The Root of All Evil fantasy game supplement is set in the popular Kingdoms of Kalamar Dungeons & Dragons campaign setting but can be adapated for use in any setting! This module can be used by itself, or as Part One of the Coin of Power trilogy (see also Forging Darkness and Coin’s End).

In Mulcrow, food - not music - soothes the savage beast. The adventure begins in the town of Griffondale whre the PCs encounter Jelmark, an emissary of the Duke of Mulcrow. Jelmark hires the party to help the witch Rudwilla prepare a special stew for a cantankerous bugbear chief who lives in the Rockforge Mountains. Bruggh the bugbear demans the stew once a year on his birthday.-- from the adventure. Pgs. 34-48
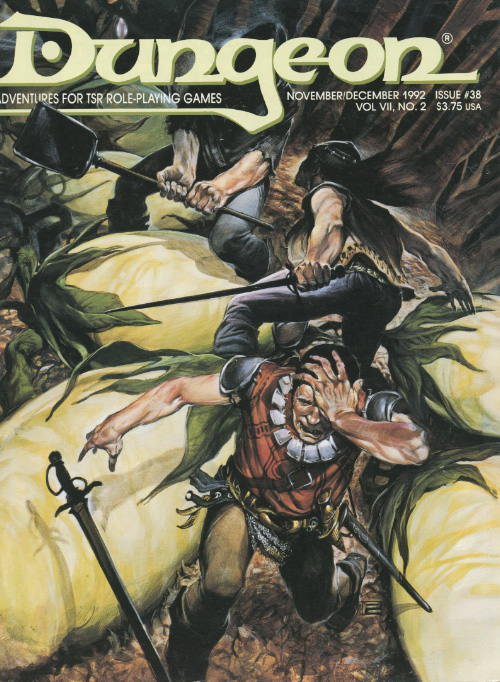
A boxful of trouble. Sugar and spice and everything nice, that's what little girls are made of - but not this one! Think of this short adventure as 'Home Alone' meets AD&D. An apprentice to the town's wizard accidentally got into the cursed items while her teacher was away. Now she's acting strangely and playing a dangerous game of hide and seek with the party! Pgs. 44-47
Darwell Umbruskor has long been known around town as an eccentric but ultimately harmless old sage. From what you've heard, he keeps odd hours, rarely speaks a word to anyone, and lets no one enter his tower save for a few servants. Though quiet and mysterious, Darwell has done nothing to around undue suspicion. Sir Jeffers, a crusading warrior who just made your acquaintance, claims otherwise. According to evidence he recently came across, Darwell Umbruskor is both a necromancer and a dedicated priest of an evil power. Published by Fantasy Flight Games

Barbarian forces are handing out trouble to the combined forces of the Inydo Federation and your assistance has been requested! You have been told that the aggressive forces are being bolstered by a rumored, powerful wizard. The general of the military has asked you to skirt around the major engagement areas and attempt to locate and capture/kill the troublesome wizard. A major windfall will be given to the PCs as Xalo Mendas, leader of Helvana is known to add treasure to agreements if handled “effectively”.
The town of Sandpoint, Varisia, Inner Sea Region has put out a bounty on the nearby tribe of Licktoad Goblins in retribution for the goblins raiding traders and travelers near the quiet town. The party takes up the bounty and ventures into the swamp; eventually finding the goblin village in ruins and it's inhabitants scared in it's burned huts. The party finds out; either through investigation of the ruins or the goblins themselves; that a group of skeletons with eastern arms and armor had ransacked the village and took a stash of fireworks that the goblins stole from an old shipwreck. The party then makes it to this cave and finds it empty except for a half dozen skeletons. Further in past the skeletons is their leader, a skeletal samurai who fights the party in an attempt to defend his treasure. The treasure turns out to be a letter that reveals that secrets of the Kaijitsu family; the same family their good friend Ameiko who runs the Rusty Dragon inn belongs to; that lies in wait in the abandoned town of Brinewall to the northern boarder of Varisia. Ameiko along with several other important NPCs with a caravan north. It's recommended that GMs create encounters for the caravan trip north as it's essentially 3 weeks of travel with nothing in it. It's also recommended that GMs completely ignore caravan rules; they're not flushed out and they're not fun to run. The party and the caravan reaches the abandoned town of Brinewall where their friend Ameiko becomes possessed and is thrown into a coma; where the other NPCs agree to take care of her while the party explores the town and castle. The castle is a three floor behemoth of a dungeon populated by Dire Corbies, Troglodytes, and various other monsters all under the leadership of Kikonu, an Yamabushi Tengu Oni. The goal of exploring Brinewall Castle is to find the two keys to the vault; one of which is on the Yamabushi Tengu while the other is on a Half-Fiend Decapus that lives in the basement of Brinewall. Once the PCs enter the vault they find the Amatatsu Seal; one of the seals that cement authority to one of the ruling houses in Minkai of Tian Xia; as well as several visions that show that Ameiko Kaijitsu is the rightful heir to be ruler of Minkai and that they'll need to travel north to do so. Such ends the first book of six.
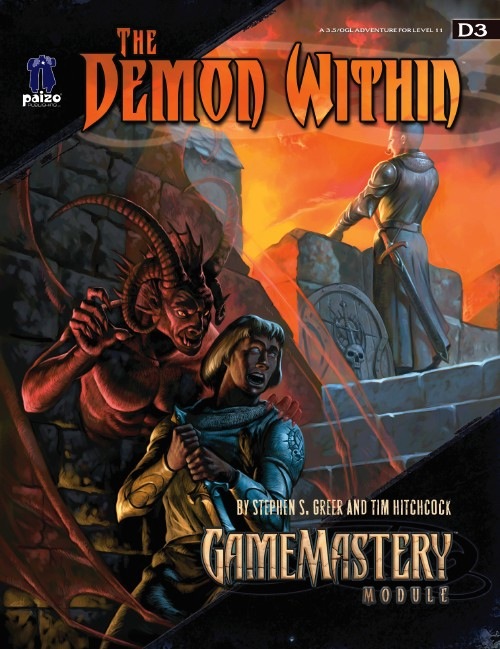
For years, the knights of Mendev have held back the evil locked inside the Worldwound, a vast, demon-tainted landscape. Every few years, they anoint a new protector, a sacred guardian charged with pitting his will against the teeming hordes bent on devouring the very souls of the living. This year, something has gone horribly wrong, and now a bloodthirsty demonic army has overrun the ancient fortress, and threatens to pour into the surrounding countryside.
Dead from Above is intended for use with four to six player characters of levels 6 to 8. It will likely take two game sessions to complete. The adventure is set in (and above) a hilly region at the outskirts of civilization, presumably one near the base of a mountain chain. With a little work, the GM can place Dead from Above wherever he or she desires in the campaign world.
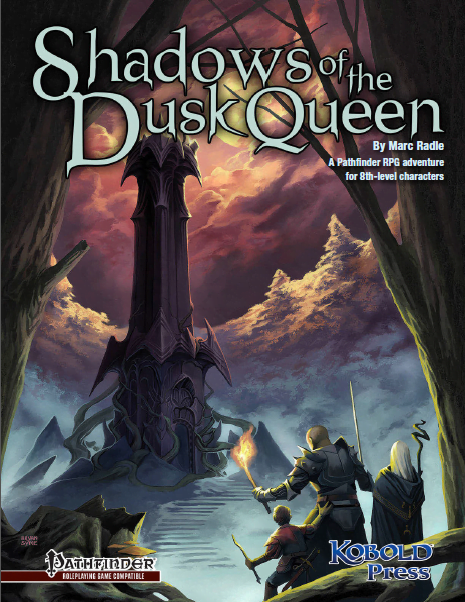
Throughout the land, legends of the Dusk Queen persist. They speak of a sometimes kind, other times cruel, yet always mysterious fey queen who ruled from her Dusk Tower—a tall spire of smooth, dark stone in the heart of a great, shadowy forest. Perhaps the most gripping legends, however, whisper of the Dusk Queen’s sudden and mysterious disappearance. Also available in 5e format.

Devastated in a war with a nearby wizards' school, the Fighters' Academy has since been surrounded by a foul and dank swamp - the Gloomfens. Since the climatctic battle between the wizards and fighters, the tower has decayed. The spirit of the head of the academy haunts the building, eternally plotting his revenge on the wizards who killed him. his loyal sutdents remain faithful to him even in death. Other foul undead have made their home in the rotting, spacious academy. From their lair, they make forays into farmsteads near the swamp in search of victims to feed their unspeakable appetites. The Problem of these terrible attacks by the savage undead will not stop until the evil that has found a home at the tower is burned from the face of the land forever. Will your party heed the call and help the town of Melinir? Will they be able to clear the former Academy of its undead? Towers of Evil is the second in a three part adventure, The Haunted Tower. Or, it can be ran as a stand alone adventure. The choice is up to you. Part of TSR 1081 The Haunted Tower
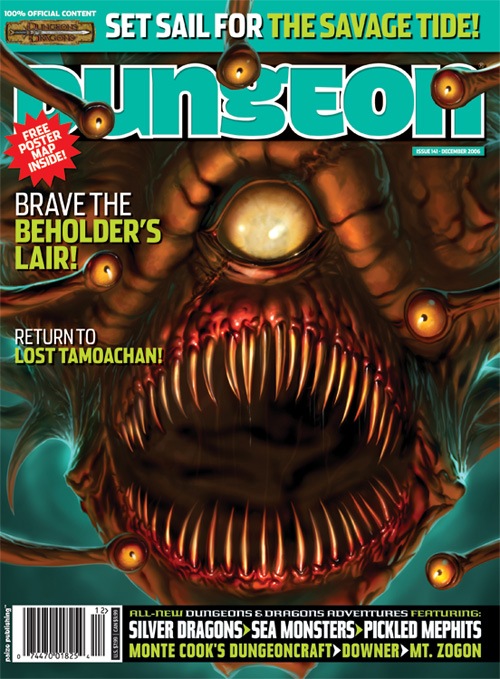
All ocean voyages are fraught with peril, yet a voyage to the infamous Isle of Dread might seem to some old salts to be a deliberate goading of the gods of the sea. Many of those who have attempted the voyage before managed to return to civilization often choose not to speak of the trials they experienced on that dangerous route, yet those whose lips can be loosened by a draught of grog whisper amazing stories... tales of pirates, sea monsters, terrifying storms, and perhaps most harrowing of all, of a strange and sinister land without land, a floating graveyard of dead ships mired in a sargasso the size of an island. This place has many names, but its most well-known may be it's most apt - Journey's End. "The Sea Wyvern's Wake" is the third chapter of the Savage Tide Adventure Path, a complete campaign consisting of 12 adventures appearing in Dungeon magazine. For additional aid in running this campaign, check out Dragon magazine's monthly "Savage Tidings" articles, a series that helps players and DMs prepare for and expand upon the campaign. Issue #350 of Dragon magazine features a regional guide to the seafaring environs the PCs can expect on the journey to the Isle of Dread. It’s time to bid farewell to the city of Sasserine as the PCs board the Sea Wyvern for a 3,000-mile voyage south into the uncharted waters of the Vohoun Ocean. Their destination: the Isle of Dread. Pgs. 16-48

This heist adventure that takes place almost entirely at Fort Bones. It is split into five scenes: Karrnathi Opening. The characters meet Vedim ir’Durna, a noble from the region who is willing to help the player characters infiltrate the Fort. Guild Handler Lhara introduces their prize: a necromantic artifact called the Queen of Night, tied to the plane of Mabar. Valenar Gambit. Whether by wit or stealth, the characters find their way inside the walls of Fort Bones. They might use the incoming Valenar attack as a distraction, find a secret entrance, or plant themselves on a visiting dignitary’s staff. Castling. Safely inside, the characters must figure out when the artifact is unguarded, and find their way into the castle’s inner sanctum. Check. The characters must navigate their way past a magical vault door, then descend into the crypts. The Queen of Night is guarded by a terrifying construct. Endgame. With the artifact in their hands, will the characters be able to escape with their lives?

In the Tower of Yladhra the Grim, a party of adventurers braves the dangers and puzzles of an enchanted wizard's tower, and finally confronts the wizard herself. The adventure is designed for a party of five adventurers between levels five and eight. It features: Encounters by Level - Varying types and quantities of creatures are suggested based on the party's actual level, allowing each encounter to present the appropriate challenge to the party. Encounter Notes - Suggestions for how to run combats are provided for game masters who place an emphasis on engaging, tactical battles. Inciting Action - Suggestions for ways to present the adventure to players are provided. Aftermath - Ideas for future adventures based on this one. Unique Magic Items - New magic items to introduce into a campaign. Ease of Use - The format and style of the document allows the game master to find information quickly while running the game at the table. Detailed Maps - What's an adventure without maps? Not much else to say here.
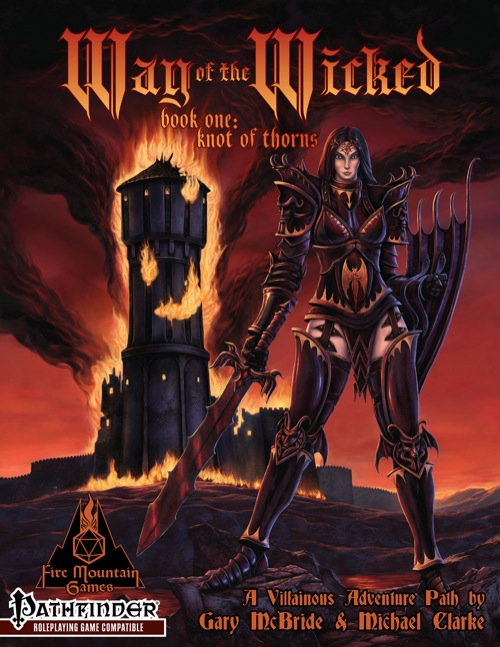
BE THE BAD GUY! The Kingdom of Talingarde is the most noble, virtuous, peaceful nation in the known world. Herein is the story of how you burned this insipid paradise to the ground. It's only fair. They burned you first. They condemned you for your wicked deeds. They branded you. They shipped you to the worst prison in the kingdom. In three days, you die. In three days, the do-gooders pray they'll be rid of you. They've given you three days. The fools, that's more than you need to break out. And then, it will be their turn to face the fire. Published by Fire Mountain Games.
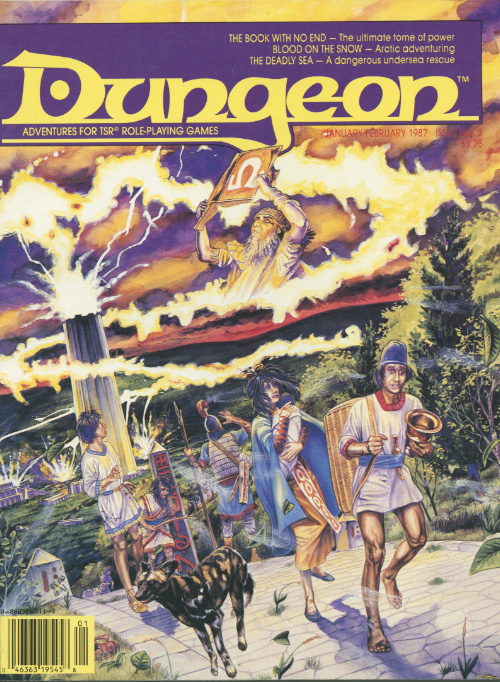
A desperate rescue beneath the waves. The Deadly Sea is an oceanic quest for 4-8 characters of 4th-7th level in the AD&D® game. The use of magical items or spells which aid undersea combat, movement, and breathing is strongly advised. The ability to open locks is also helpful, as are mariner skills and knowledge. See additional notes in the section ‘‘For the Dungeon Master.” The adventure begins at a seaport which the Dungeon Master should name and develop as desired, to fit the circumstances of his campaign. The names of other areas may be changed to fit the campaign as well. This module requires some detailing and planning prior to use.

While doing due diligence going over some dusty tomes you have discovered a scrap giving you a clue about some magical items in a strange obelisk somewhere in the vicinity. The adventure takes the PCs across the Torgoth’s Causeway into the frontier. A few coins to a local sage and you will have a better idea on where to go…or so it would seem.

Expand your game with this collection of 56 NPCs of various Challenge Ratings, thirteen of which include maps and details of their lairs. Add these NPCs as a side-quest, a main villain, a one-shot, a bounty for easy money, or however else you wish. Written by some of the best-selling authors on the Dungeon Masters Guild and outstanding podcasters, each NPC includes an image, a backstory, motives, flaws, and a stat block. Some even include new magic items!

Dracula, the Lord of Shadow and Darkness, has covered the land in shadow and dispatched armies of monsters and undead from his magical castle. His armies threaten to overrun major cities and plunge the world into a literal Dark Age. The last of the vampire-hunting clan that traditionally opposed him has disappeared, and still the armies advance. He must be stopped. If that's not enough motivation, it is well-known that his castle is full of magical items and great riches... but also great danger. If you've ever wanted D&D and Castlevania to meet, look no further. This adventure is exactly what you wanted. Every area of the castle poses different and unique challenges to keep the party engaged and on their toes. Written for the DM as a ready-to-run adventure, it is designed for four to six characters. The adventure starts at level 3 at the outer defenses of the castle, and ends with the party advancing to level 13 after defeating Dracula in an epic battle. The adventure includes documentation to help even a new DM succed, including suggestions for how to run each of the area "boss" monsters in combat. There are approximately 50 new enemies and over 3 dozen new magical items. It also comes with a list of suggested music for many areas of the castle, and a 25-page campaign log recounting an actual tabletop play-through of this adventure from the DM's perspective.

The Soulmonger is shattered and its pieces scattered across the peninsula of Chult. Dire forces seek those shards for their own nefarious purposes, and the Red Wizards are rumored to have found a number of them already. Can you wrest those necromantic artifacts from the hands of the dread mages? Part One of the Broken Chains Series. A Four-Hour Adventure for 17th-20th Level Characters.

"An army on the move, an ancient artifact, its purpose long forgotten, and the sinister plans of an unknown foe: When these elements combine, it's bad news for the good-aligned cities of the Blood Plateau. A massive band of orcs is marching on the Monastery of the Yellow Lotus, intent upon taking the "Flower That Does Not Bloom." The heroes must trek through goblin-infested tunnels and monster-filled woods ahead of the orcish horde, in a deadly Race to the Yellow Lotus." This adventure is the second in the "Tales from the Blood Plateau" series, but works well as a standalone or an intro to another campaign. Though the party does not actually engage the Death Knight/Blackguard antagonist, he is the primary driving force behind the events of the adventure. Published by MonkeyGod Enterprises and Highmoon Press