
The Sea Witch is a short adventure for four 10th-level characters. The difficulty of the adventure can be adjusted by changing the level of main antagonist (Black Molly, the sea hag pirate) or by altering the number of her ogre servants. To tailor the encounter to groups of different levels, refer to table 4-1 in Chapter 4 of the DUNGEON MASTER’S GUIDE. The adventure is set off a lightly populated coastline known as Misty Bay, but adapts easily to any coastal region in existing campaigns. The sea hag known as Black Molly is a notorious pirate who has plagued the coastal cities for the better part of a decade. A successful Knowledge (local) check (DC 15) will reveal that Molly and her ogre crew have a filthy reputation as merciless killers who delight not only in plundering vessels for their riches, but also in destroying the ships themselves and sending all hands to the bottom of the sea. Now the villain and her followers have seized control of the Old Lighthouse of Misty Bay located off a lightly populated coastline. For generations the lighthouse beacon has protected the fishermen of this region, warning them of the dangerous rocks that lurk just below the level of the high tides. Recently, the hag has put out the beacon, darkening the lighthouse; misery and destruction are sure to follow as ships start to blunder into the rocks. Blackmail is apparently Black Molly’s aim in this venture: She conveyed a message to the nearest shore community, the fishing village of Poisson, demanding the princely sum of 50,000 gp. Until she receives this ransom, she intends to hold the lighthouse and its beacon hostage. The fate of the human keepers who tend the lighthouse is unknown to the seaside communities at this time, but they fear the worst. The Sea Witch is ostensibly a rescue mission: The PCs are pitted against the evil of Black Molly and the brawn of her savage ogre crew. It is the heroes’ task to retake the lighthouse and, if possible, free its captives from the clutches of their jailer. What neither the PCs nor the shore communities yet realize is that while she 1would be pleased to have the gold, Black Molly is in fact after bigger treasure. Molly has no intention of giving up the lighthouse — at least, not until she finds what her master sent her here for. Lying on the sea floor practically at the base of the rock on which the lighthouse sits is the wreck of the war galley Flying Cloud, which according to popular legend was captained by a cleric who wore around his neck an amulet of the planes. Black Molly wants this prize, but so far she hasn’t been able to find it. She’s scoured the wreck without finding any sign of the magic item. Now she’s trying to determine where to search next, for the item might well be somewhere near the wreck. If she can’t find it, she’ll start torturing her captives to find out if they have any useful knowledge about the amulet.
The giants are only a half-mile away - straight up. Giants and humanoids that sail down from the heavens? Where could they be coming from? No base town or general area map has been provided, as this adventure can take place anywhere and can be easily integrated into any existing campaign.The DM should make sure that the town in which the PCs start is large enough to provide most anticipated supplies, spells, and services. This module is not a simple hack·and slay expedition. It also involves diplomacy and wit; if the PCs attack everything in sight, they may be destroyed. But the adventure is not entirely negotiation, for it has a good share of hearty dungeon exploration as well. Pgs. 4-23

This adventure is a prequel to the first ever stand-alone module published Palace of the Vampire Queen by Wee Warriors She is simply called the Vampire Queen. A being so powerful and evil that the mere mention of her title, raises shrieks of horror and anguish. Her reach is seemingly infinite and her machinations sinister beyond the un-derstanding of mortal men. But those very same mortals must stop her. The path to victory leads to only one place. A place of legend and mystery; the Palace of the Vampire Queen! For the first time the ruined Palace Keep is detailed and ready for exploration! The adventure includes one new monster and two new magic items. This module is designed for the First Edition game using six to eight characters of first level.
A wandering farm boy falls foul of an ancient trap and is plunged into a death-like sleep. The cure lies in a temple hidden in the green gloom of Merthington Woods, but to find it, the adventurers must brave a set of terrible traps laid by a forgotten sect of priests...
After successfully protecting the crown in Part 1, the city council asks you to find and stop the demonic force infecting the thieves guild. Continuation from part 1 found in Polyhedron #22 Pgs. 13-20

Hot on the trail of Selise Teshwave and Baron Rajiram, the adventurers must enter newly exposed mountain excavations in the Galena mountains. Swift action must be taken to prevent the Baron from obtaining a powerful weapon from this ruin. Meanwhile, the mysterious Teshwave siblings, Abigail and Char, are hot on the trail of their older sister. This is Adventurer's League legal adventure set near the Galena Mountains. This module first premiered at Carnagecon 2018. Part Two of the Storm Series.

The Characters come across an ancient wizard's tower. The nearby keep has been reduced to rubble over the ages, but the tower is in perfect condition. It is surrounded by an impenetrable force field that cannot be breached - not even by the ghost of the long-dead wizard, who has been trapped within for centuries. Surely there must be great treasure within this magical abode. But how to get to it?
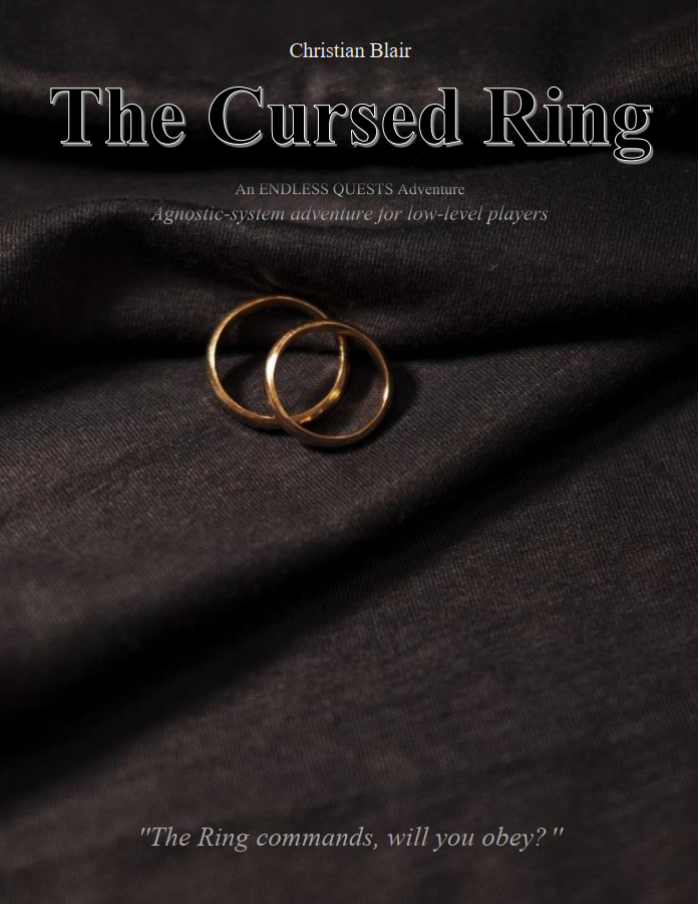
(EQ1) The Cursed Ring is a generic fantasy short adventure for low-level players, themed around puzzle hunting, traps, and monster combat. It is designed to be solved in approximately 5-6 hours, depending on the size of the party and skill of the players. This adventure takes place in a cursed fortress, where they must find a powerful mythical ring capable of granting great power, in exchange for enormous sacrifices. Players must recover the ring and get out of this dangerous place alive.

A mad necromancer imprisoned in a sanitarium has died. Now he has come back as a powerful undead wizard. His lunacy was only increased by his death and he has turned all the other inmates into his undead servants. Now the sanitarium is under his control. A traveling group of adventures must put a stop to the necromancer before his evil madness spreads.
Now bound to Queen Abrogail by infernal contracts, the villainous adventurers are tasked with destroying the Glorious Reclamation's headquarters in the former citadel of the Hellknight Order of the Godclaw, where they face a gold dragon ally of Iomedae herself! Only if they can survive the terrible onslaught of this fearsome foe and secure the citadel from the revolutionaries can the vile characters succeed at their quest—to perform an evil ritual, using the dragon's head to craft a legendary weapon capable of defeating the Glorious Reclamation's army of valorous knights once and for all.

In the Tower of Yladhra the Grim, a party of adventurers braves the dangers and puzzles of an enchanted wizard's tower, and finally confronts the wizard herself. The adventure is designed for a party of five adventurers between levels five and eight. It features: Encounters by Level - Varying types and quantities of creatures are suggested based on the party's actual level, allowing each encounter to present the appropriate challenge to the party. Encounter Notes - Suggestions for how to run combats are provided for game masters who place an emphasis on engaging, tactical battles. Inciting Action - Suggestions for ways to present the adventure to players are provided. Aftermath - Ideas for future adventures based on this one. Unique Magic Items - New magic items to introduce into a campaign. Ease of Use - The format and style of the document allows the game master to find information quickly while running the game at the table. Detailed Maps - What's an adventure without maps? Not much else to say here.
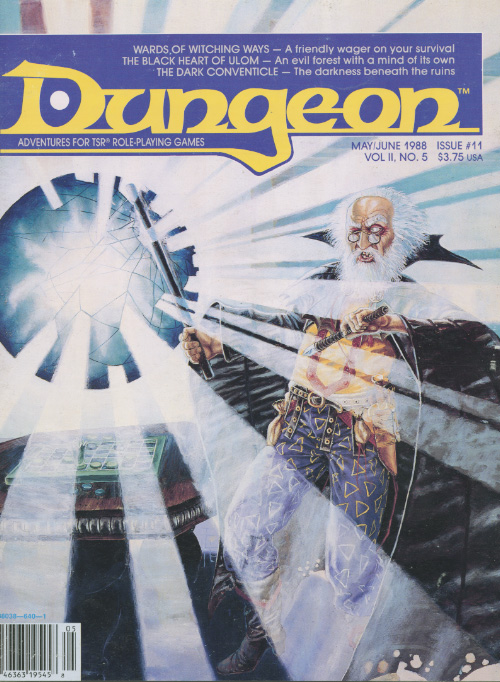
Surviving the shipwreck is easy; living through the wizardly bet afterward is not. Their game could mean your lives. A storm caused the PCs' vessel to sink and is now forcing them to seek shelter in the keep on the remote isle. Their goal is to locate a boat or some other means of transportation to return to the mainland after the storm has passed. But first, they must survive the tests and traps the island's inhabitants have set for them. Pgs. 45-64

Fresh-faced and more than a little hung-over our newly graduated mage of the great Dunromin College of Magic and his friends step into the tea-room next to the Porter’s Lodge and ask for something for a headache. Within minutes they find themselves accosted by the smiling figure of Malcolm Darkstar, Bursar of the College and owner of the tea-rooms, keen to ask them a favour… This is an introductory level set of scenarios designed to take a starting-level party on their first exciting adventures; The Lost Son; The Return of the Cauldron of Millent and the Murder at the Red Barn

High in the Stonecrown Mountains, a new source of dark magic stirs, wakes, and spreads its wings to shroud the land in shadows. The Warlock of the Stonecrowns, an awnshegh regent who is as evil as he is powerful, is draining other regents' sources of magical power, choking their ability to cast the most powerful form of magic of all - realm magic! If that isn't enough, the Warlock threatens to close the only pass connecting the trade-kingdom of Cariele to the rest of Anuire. An army of orogs and ogres is gathering to the Warlock's banner: Are your heroes equal to the challenge of the twisted magic of the Warlock of the Stonecrowns? This open-ended, "adjustable" BIRTHRIGHT adventure is suitable for use with either mid-level (4-6) or high-level (7-10) player characters. TSR 3110

"The adventure begins with the PCs lost in the streets of Sigil's Lower Ward." --from the module. The PCs are approached by a tiefling telling them about a job. The tiefling's employer wants the heroes to search for a child who is rumored to be some sort of chosen one from an ancient prophecy. Includes a map of Durkayle's Stronghold, a map of the Black Sail Tavern, a map of the Screaming Tower, and an isometric map of Zactar Cathedral.
Two thieves' guilds fight to the death - with you in the middle. Run silently; the Midnight Stalkers are after you. Escape from the Tower of Midnight is an AD&D* game module for 2-6 thieves of 2nd-4th level. The Dungeon Master may change the names of the thieves’ guilds, countries, deities, and so forth to fit the individual campaign. Note that all player characters are assumed to have been imprisoned at the start of the adventure; little or no equipment will be available at first. This module is well suited for tournament use. Adventure Background It must be assumed, for the sake of the adventure to follow, that the PCs have no way of avoiding capture by the Midnight Stalkers. However, the DM may find a way to play out this adventure and have some or all of the PCs captured, allowing any who escape to attempt to rescue their comrades. Pgs. 16-27

A new megadungeon from Three Castles Award Winner (2018) and Barrowmaze author Dr. Greg Gillespie! HighFell: The Drifting Dungeon is a 246-page classic megadungeon for use with any old school fantasy role-playing games/clone. The pages of HighFell are crammed full with new material, maps, and art, including a colour cover by Ex-TSR artist Erol Otus (that matches Barrowmaze Complete and The Forbidden Caverns of Archaia as sister-books). HighFell: The Drifting Dungeon will keep your players on their toes and your campaign going strong for years. HighFell is brought to you by the Old School Renaissance (so don’t forget your 10’ pole).

The adventurers are tasked with rescuing a group of heroes who vanished in the pearlescent fortress that manifested on the border between the Kroth Magg kingdom and the Varkonin empire in the Steppes of Thar.

"For untold eons, Eshebala ruled over Vulgarea, the 193rd Layer of the Abyss...content to revel in hedonism, corrupt the hearts of her dwindling followers and inflict petty cruelty. Yet, if there are days in the Abyss, there came one when she realized she despised her own province. She hated demonkind. She hated the Abyss. It had become unbearably tedious, spent...done. The burgeoning goddess decided she would dip her toe back into the lives of mortals, and quest to remember...to understand her own existence...But that was a lofty goal for a mind that had long ago begun to unravel. Instead...She is learning that all she has left is cruelty...and it was always cruelty that gave her power, so she now believes, to the woe of any who cross her path." Partly inspired by a scant notation by Carl Sargeant in 1992's TSR book Monster Mythology: "Eshebala is the foxwoman deity of vanity, charm, greed, and cunning. Her symbol is a female fox. Eshebala appears as a foxwoman, a shapely fur-covered female with a fox’s head, or as a beautiful young elf maiden. She is bedecked in rich clothing and jewels, and carries a silver mirror. Eshebala’s realm of Vulgarea can be found on the 193rd layer of the Abyss. She is wily and vain. She favors beautiful things and collects jewelry and art, the tackier and flashier the better. She prefers to overcome her opponents using subtlety rather than force, seducing and devouring out of boredom. She loves gossip, and always insists on being the center of attention. Eshebala is a patron of evil shapeshifters who use their wits and wiles before resorting to violence." Eshebala is a true chaotic evil demon goddess, behaving 100% true to form, and an extremely challenging opponent to take down for your players. An unforgettable 262 page jaunt for Levels: 15-17, with multiple possible modes of play, including Party Mode for up to 12 players. Profusely and paintstakingly illustrated over the course of several years by an award-winning professional illustrator. No stock illustration in this beast! A loving, dark & insanely detailed exploration of the 193rd Abyssal Plane An exuberant nod to the most grueling, deadly dungeons ever created Rich encounters that play out in a unique way each time 100 + NEW CREATURES 200 + NEW TREASURES (& possibly the most illustrated treasury ever provided) 82 BOOKS for PCs to discover 70 + NEW SPELLS & RITUALS, INCLUDING DETAILED OPTIONS FOR DEMON SUMMONING 50 + NEW TRAPS, HAZARDS & EFFECTS (guaranteed to run amuck) 4 RANDOM TREASURE TABLES, including a TABLE OF GEMSTONES that would be useful in any campaign 2 NEW CLASS SHIFTS: the Demonologist & the Exorcist!

Madness in Freeport, the final part of the Freeport Trilogy, details the final confrontation between the PCs, the Brotherhood of the Yellow Sign, and Sea Lord Milton Drac. In Part One, the Drac invites the PCs to the Grand Lighthouse Ball. Careful investigation can reveal the secret purpose of the lighthouse. In Parts Two and Three, the PCs must recover a powerful artifact to thwart the Brotherhood's plans. They must pass through an infamous pirate's hidden caves, then search a sunken temple of the serpent god Yig. In Part Four, the heroes must enter the Grand Lighthouse, AKA Milton's Folly, in a race against time to stop the Brotherhood's world-shaking master plan from coming to fruition. (Bibliographic note: This adventure was originally written for v.3.0, and later updated to the v.3.5 rules. The revised versions of Death, Terror, and Madness in Freeport were reprinted in an omnibus edition, along with two shorter filler adventures, as The Freeport Edition: Five Year Anniversary Edition.)