
This material was originally published as three separate adventures: G1 (STEADING OF THE HILL GIANT CHIEF), G2 (THE GLACIAL RIFT OF THE FROST GIANT JARL), and G3 (HALL OF THE FIRE GIANT KING). Contained herein are referee notes, background information, maps, and exploration keys for three complete adventures using the ADVANCED DUNGEONS & DRAGONS rules. This module can be used alone or as the first in a series of adventures that includes Dungeon Modules D1-2 (DESCENT INTO THE DEPTHS OF THE EARTH), D3 (VAULT OF THE DROW), and Q1 (QUEEN OF THE DEMONWEB PITS). TSR 9058

Players must prove their worth in this series of trials. Face the minotaur in his own maze, resist the allure of a crafty nymph, put on a show for the crowd as you face down an incubus / succubus duo in the arena, crawl through the muck and sneak past the demons that lie in wait, and finally use all of your creativity to navigate a glass golem through a gauntlet of traps. Another exciting blend of combat and puzzle-solving.

The heroes arrive at the eponymous Keep on the Borderlands, a fortress on the edge of civilization built to stave off the chaos and evil of the wilderness. Using it as a home base, a party can make forays into the surrounding wilderness, encountering monster and marauder alike. The centerpiece of the adventure is certainly the CAVES OF CHAOS, a network of tunnels and caverns found in the walls of a nearby but isolated ravine. It is here that hordes of evil humanoids have made their home. Through combat and negotiation, the players can try to explore and map out these caves, perhaps with the aim of accumulating valuable treasure or even cleansing the land of evil creatures. However, even the Caves are not all they seem. Beyond the goblins and kobolds lurk dark horrors: cults dedicated to fiendish chaos and a Minotaur's enchanted labyrinth await the unprepared adventurer. But for the hero who is brave, clever, and fortunate in equal and sufficient measure, great treasures and glory await in the Caves of Chaos that lie beyond the Keep on the Borderlands! TSR 9034

Having now realized that they require 4 Mithel Standards at the same time, the Ivory Scimitar will be faced with actually taking a Banner from another Mithel Company. This scenario pits the characters against the waning might of Men of Iron, and should allow them to claim the Banner for House Aldenmier, thus guaranteeing that they can clear the final level of Mithelvanr's Labyrinth. This adventure is formatted to both 1E & 5E gaming rules.
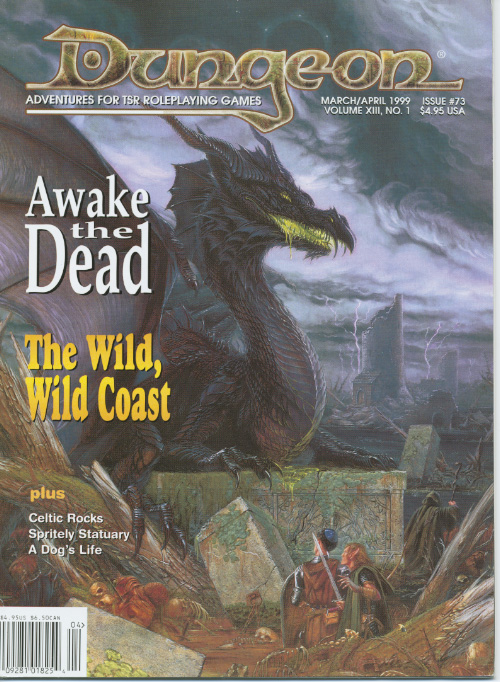
Retrieve the bones of a dracolich to save the life of a paladin. The epic conclusion of the Mere of Dead Men series. Set in the Mere of Dead Men region of the Forgotten Realms.

Beware of Baba Yaga and her infamous hut! Baba Yaga is an ancient crone who is said to have power over day and night itself. Many seek her out for her wisdom, which she has gleaned from centuries of travel through numerous worlds. Others, bolder and more foolish, search out the hut to plunder its treasures, which Baba Yaga has gathered from every corner of the multiverse. None, thief or scholar, who enter the Dancing Hut of Baba Yaga leave unscathed. How will you fare now that the great Baba Yaga is in your neighbourhood? TSR 9471

Will your party survive the frostbite Frostbite Gauntlet? A sequel to The Great Trial, this module is an arctic, highly challenging gauntlet focused on exploration and combat, planned for fours 10th-level characters. The adventure can be also run as a one-shot or as part of any campaign for that level. For more information on The Great Trial, see at the end of this page. The module is divided in two parts: Chapter 1 The gauntlet itself, the party will be taken to a demi-plane against their will and from there, they have a simple goal: leave. However, a powerful undead guardian will make things difficult. The party needs to find some of the sources of power of Deathwings, the guardian, to weaken it and have a chance against it. Chapter 2 After leaving, the group will arrive at a cave complex made of stone and ice. A ancient dracolich names Icingdeath will chase the party, squeezing through the tight tunnels, always on the party' heels. Once out, the party is greeted by Aenor and offered their rewards.

Civil War Unrest. Turmoil. Rebellion. As above, so below - the cataclysmic events of the Wrath of the Immortals echo throughout the Hollow World setting. The Milenian Empire, with its classical Greek culture, has not escaped. Already the streets are un-safe, and the omens are getting worse... The emperor is dead... long live the emperor! But is the new emperor a man of the people, or a tool in the hands of malevolent powers? Walk carefully, for no stranger is safe upon the streets these days, and adventurers least of all! The mood of the capital city is turning ugly. Minions of the new emperor look on uncaring, while citizens disappear and philosophers fall to heedless mobs. The old emperor's elite guards are disbanded and scattered. Disorder reigns, and restless citizens threaten open revolt. And yet... a whisper is heard. Civil war can be averted. An ancient artifact, the Milenian Scepter, can rally those who would serve the Empire best. But the Scepter has been lost for generations, and who can say where it might be? The trail leads into the depths of the city, and across a dangerous wilderness to a forgotten oracle. For the lucky and the bold, perhaps it will lead to... THE MILENIAN SCEPTER This stand-alone adventure is compatible with the Wrath of the Immortals boxed set and the accessory HWR3, The Milenian Empire. You will need the D&D Hollow World boxed set to play this adventure. Easily adaptable to the AD&D game. TSR 9378
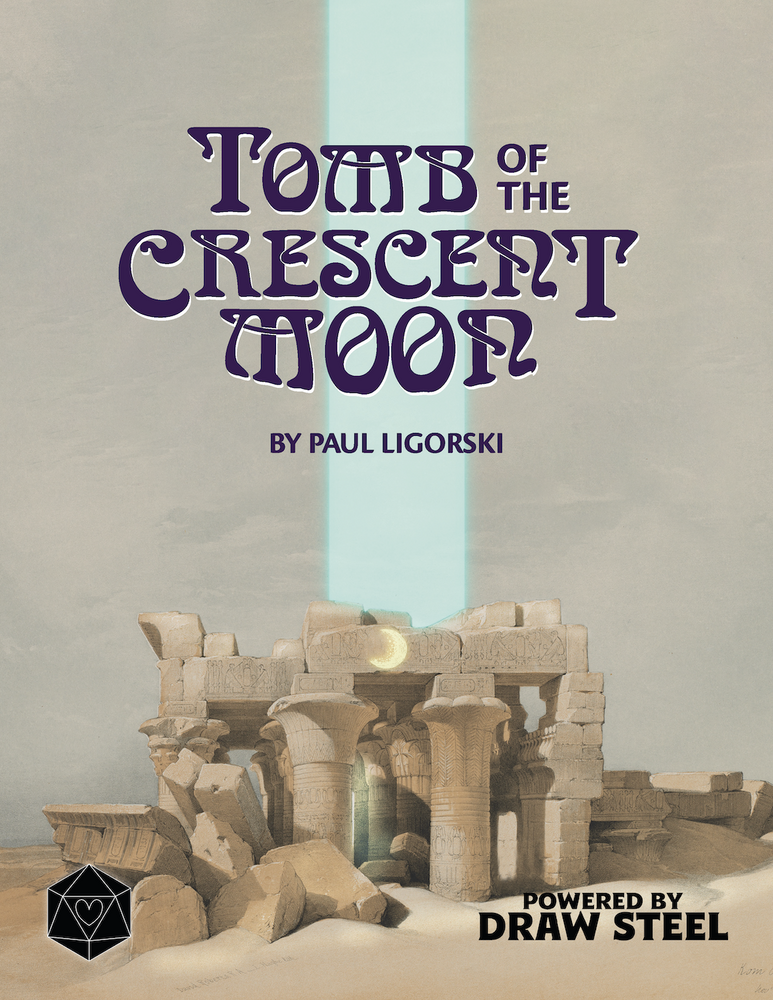
An adventure for the world’s most dangerous role-playing game, Draw Steel! Designed for a group of five 3rd-level heroes. An elementalist’s experimentations have disrupted the chrono-stasis seal on an ancient tomb containing a cadre of time raiders. Freed from their temporal prison, these visitors from the Sea of Stars now gather to plan their revenge—defeat them before they regain their strength! Dive into this adventure inspired by the actual tombs of the Valley of the Kings in Egypt to discover 5 unique treasures, several strange crystalline substances, 2 new kits, and 2 new monsters!

Lowharbor’s residents vanish when they die. A cloud of sour black smoke chokes their corpses and, when it clears, all that remains is a dusting of salt. Something or someone is stealing bodies through magic ritual, and the townsfolk won't stand for it! Send your party into the dank sewers below their feet to root out the necromancer's den of swirling filth! Why should you get this module? Skulking horrors and excitable clerics! Seven brand new monsters, including a low level mythic statblock! New disease rules! A mysterious threat! Six hours of play! Lavish presentation! A fantastic adventure for 5th-level players! Dead Ends is best for 5th-level players. It might be a little tough, but still winnable, for 4th-level, and should be fine for anything up to 8th-level.

Vault of the Blood Mage is a deadly one-shot dungeon adventure for 4-6 8th level characters. Player Characters find themselves locked in a dungeon room with no memory of how they got there. Inflicted with a magical disease that is slowly turning them into mindless zombies, the dungeoneers have to work quickly to find the antidote and escape the vault before succumbing to the deadly affliction. To do so, the characters must avoid deadly traps, fight unique monsters, and solve fiendish puzzles.

Things are not right at Du Sharid Manor. Months ago, a deranged parish priest and his most devout followers formed a heretical cult. These self-proclaimed “Seekers of the White Heart” chose the desolate Wild Hills to practice their secret rites; but the strange goings on at the Wild Hills did not escape the prying eyes of the more pious villagers who set out to confront the cultists. Once there, the villagers witnessed something terrifying and unexpected. Since the events of that night, the cultists have vanished, but the remaining serfs of Du Sharid now live in constant paranoia. Your party has been hired by the local bishop to to learn the truth about what happened at Du Sharid Manor. For use with Swords & Wizardry (or the like) and designed for the experienced Referee, Jewel of the Lunar Rift is a first-level campaign-starter and an introduction to the Messoria setting. Included as a bonus are campaign journals from the author's own sessions.

The first part of the Dreams of Red Wizards adventure path originally published for the D&D NEXT Playtest. Following the events Ghosts of Dragonspear Castle, a new set of adventurer's will see some of the repercussions of that adventure. This adventure is intended to be continued in the Dead in Thay adventure (Note that they Dead in Thay 5e adventure featured in Tales from the Yawning Portal is missing a significant portion of interlude that links Scourge of the Sword Coast to the events within the Doomvault). The adventurers arrive when Daggerford is crowded with refugees from outlying lands. Goblins, gnolls, and orcs have been raiding the countryside. Now, food is scarce and tension is high. Blame for a theft has fallen on the refugees, and the Duke of Daggerford has forbidden more of the displaced from coming into town. After overcoming difficulties to enter Daggerford, the characters learn more about the raids. As they fight against the humanoids and delve deeper in the darkness that encircles Daggerford, the characters learn of Bloodgate Keep. After a final fiendish ambush, they’re ready to confront the real threat to the area. DM Note: This adventure points the adventurers strongly towards Bloodgate Keep but that location does not appear until the Dead in Thay adventure; at several points the party may feel drawn to explore that location rather than continue their investigations around Daggerford. However, since Bloodgate Keep is only eluded to as a source of great evil power, it can serve to easily segue to an entirely different adventure path. As a NEXT Playtest adventure, Scourge of the Sword Coast uses milestone leveling and the included stat blocks for creatures do not necessarily match or even appear in the 5e Monster Manual, nor do they have XP values or challenge ratings. In some places it will reference rules used in the Playtest but dropped or changed in the 5e release, these are unlikely to substantially impact gampley with 5e rules.
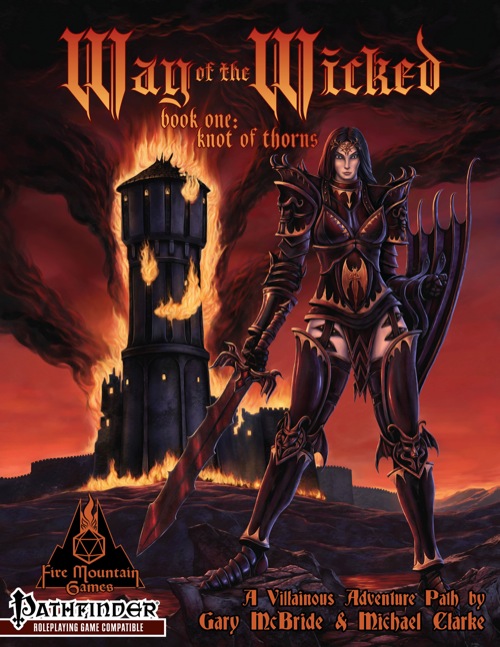
BE THE BAD GUY! The Kingdom of Talingarde is the most noble, virtuous, peaceful nation in the known world. Herein is the story of how you burned this insipid paradise to the ground. It's only fair. They burned you first. They condemned you for your wicked deeds. They branded you. They shipped you to the worst prison in the kingdom. In three days, you die. In three days, the do-gooders pray they'll be rid of you. They've given you three days. The fools, that's more than you need to break out. And then, it will be their turn to face the fire. Published by Fire Mountain Games.

Wanderers emerge out of the desert in the dead of night, bending low against the driving sandstorm. They are adventurers, heroes whose tale has yet to begin. And they are in trouble. For he last three days, a raging sandstorm has harried you. Your faces and hands are rubbed raw by the driving sand. Worse, not once has the sun risen in that time: 3 days worth of unbroken night. Finally, something rises out of the yellow-black haze. A massive structure, outlined in moonlight. The heroes are TRAPPED in a cursed land, harried by sandstorms. They stumble apon a ruined city and a DARK TOMB that lies beneath. Can they find a way to escape this land? Or are they doomed to be drowned in the SORROW OF THE SAND LORD?

The Full Campaign - Updated for 2020! On Shadowed Shores In a land few have heard of, and fewer still have visited, lies untold adventure, treasure and fame. The renowned Captain Farsail has sent out word that she will undertake an expedition to Serpent Isle, but is in need of a crew. Anyone able to hold a sword or cast a spell is welcome, but be warned, the island is as deadly as it is beautiful.
In this Adventure, the heroes explore the lair of an adult green dragon who has become a dracolich. She is served by living and undead minions and slaves. Pages 302-307

"Several small wagon trains have recently been overrun by a force of goblins and wolves while the former were camped out at night. Among the attackers was a titanic black beast on which some of the goblins rode, a monster so huge that it crushed whole wagons beneath its feet and flung horses and riders aside with its arms." --from the adventure. Includes an extensive narrative opening to the adventure and a map of the cave system.
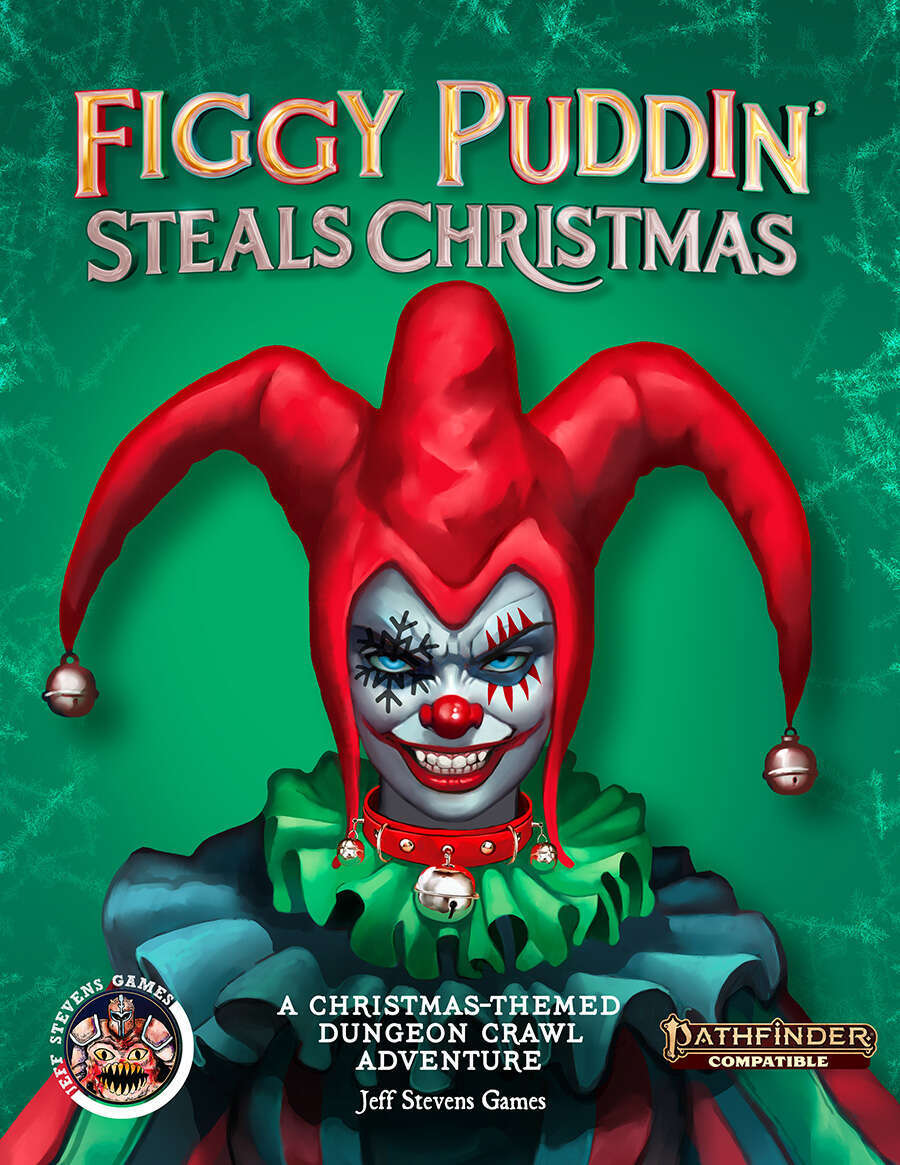
Figgy Puddin' Steals Christmas is a short adventure for three to six characters, and optimized for 2nd level characters. We also include Scaling Suggestions, allowing you to run this adventure for lower- or higher-level characters. We anticipate a run-time of 2- to 4-hours. There's a bit of roleplay in this adventure, which may extend the playtime. Adventure Background A traveling jester known as Figgy Puddin’ and her Coal Smudge Gang have stolen Christmas presents and now hold them for ransom. While safe and secure in her lair, she awaits either a payment of an outrageous ransom, or a crew of heroes to claim the presents after they navigate her not-so-festive lair. What's the Adventure? After you introduce the hook, the adventure occurs in Figgy Puddin's lair - a refurbished kobold bunker consisting of eight rooms. As the characters explore the linear dungeon, they encounter new creatures, complete challenges, and are tested about their Christmas knowledge. However, the final confrontation with the naughty Figgy Puddin' could make for a very Unhappy and Unmerry Christmas for our heroes, the children of Thistleton, and their parents. Who Is Figgy Puddin’? Figgy Puddin’ was once a happy jester who loved Christmas. For years she traveled the realm, bringing fun and festive cheer to villages and children while preparing the way for Santa. However, times have become tough, and entertainment doesn’t always pay as well as one would like. As Figgy prepares for retirement, she’s learned she doesn’t have enough gold to last. During this time, she’s also decided that Santa doesn’t know who she is, let alone appreciate the work she puts in every year. Using her savings, extortion, blackmail, and other nefarious means, she’s convinced several mechanical geniuses and arcane specialists to help her refurbish her underground bunker with wondrous effects, creatures, and tests. To fund her retirement, she’s taken extreme measures to make some quick gold — holding Christmas presents for ransom.
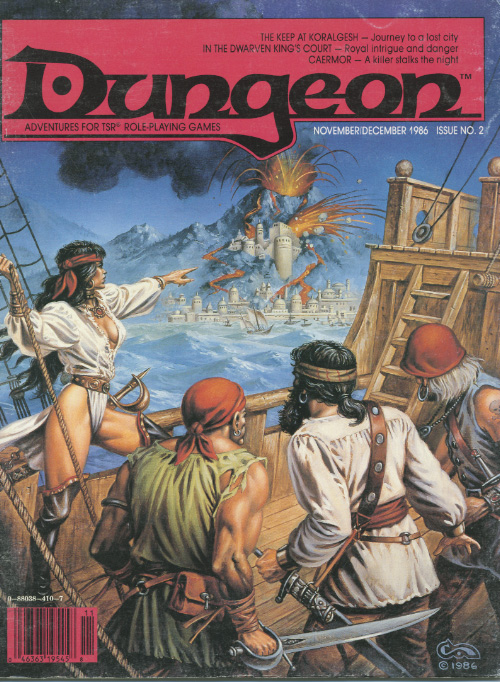
Buried in fire, but hardly dead. Only the Keep survived the destruction of Koralgesh, but few adventurers will survive the terrors that now stalk the lost Keep's halls. Players hear rumours of the Keep at Koralgesh and then traverse it to acquire the treasure within. Pgs. 45-64