
The Bloody Maul of Kord is a magic weapon protected by the priests of Kord, who occasionally allow a noteworthy hero to use it when going on a dangerous quest worthy of the storm deity’s blessing. Six months ago, Atrimos of Ardor took the Bloody Maul for a quest to the Caverns of Demise, hoping to end attacks to the realm being launched from the caverns. He never returned. Now, the clerics of Kord hire the PCs to go into the caverns to retrieve the Bloody Maul of Kord—and to find Atrimos, if possible. Pgs. 108-113

With your fame building in the Great Plains of Dorack you have received word of an abandoned temple that has been showing signs of life. Years ago the followers of the old deity Sobek built a temple to honor him. The cult died out after a successful raid by Plainsmen who looted the complex after killing off the monks who inhabited it. A few days after the temple sacking the chieftain responsible for the attack fell ill and died of a mysterious disease. As it was believed a curse befell the warlord, the area was abandoned and considered taboo. Lately strange lights have been seen near the old temple and a giant stone alligator has been spotted in the area. The Plainsmen cannot go to the area as the old taboo is still in place and have asked your party to investigate.

Faced with an unusual alliance of giants raiding the countryside, the party must venture into the steading of hill giant chief Nosnra and uncover maps to the locations of the other giant strongholds. “Steading of the Hill Giant Chief ” can be run as a stand-alone adventure, or you can play it as the first part of a four-part series that continues with “Warrens of the Stone Giant Thane” (Dungeon 198), “Glacial Rift of the Frost Giant Jarl” (Dungeon 199), and “Hall of the Fire Giant King” (Dungeon 200). The adventure is part of the Against the Giants series originally by Gary Gygax, hence the writing credit.

Save the village of Millvein! Prevent a war with the drow! In this 3-4 hour adventure for 4-5 characters of 2nd level, travel to a small chitine lair to prevent them from destroying the small village of Millvein and inciting a war between the surface and the drow. Includes: A 3-4 hour adventure for 2nd level characters Map of the village of Millvein 2 DM maps Stat blocks for all monsters the players might encounter. See where the adventure began in Into the Underdark - Part 1 A Family Affair The adventure continues in Into the Underdark - Part 3 They Call It A Mine
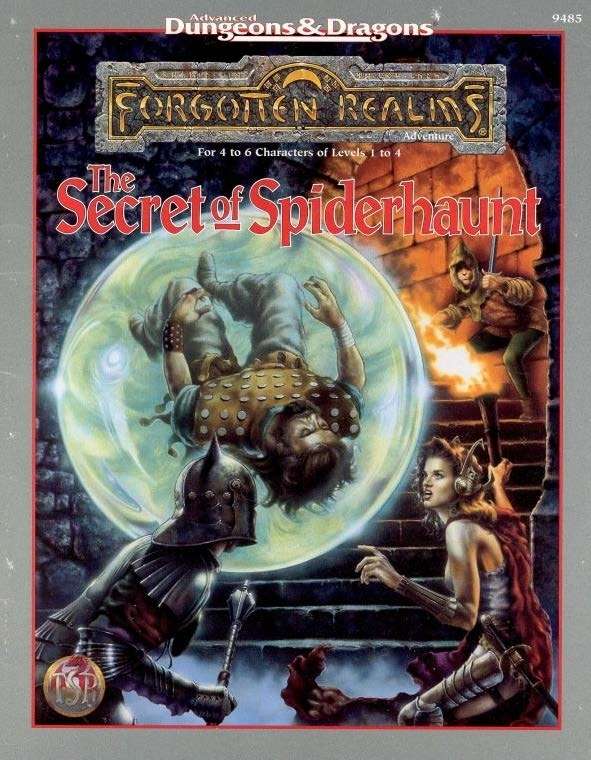
The infamous Sword of the Dales has always held a certain fascination in the eyes and hearts of the citizens of the Dalelands. Thus, it was no surprise when Randal Morn, rebel leader of Daggerdale, led an expedition into the crypt of a long-dead wizard to recover the weapon. Shaevyn the weapons-mage had created the Sword long ago, and it stood to reason that the blade would be waiting within his tomb. Perhaps the Sword of the Dales woulld allow Randal Morn to rule Daggerdale once again. But Randal Morn never returned from that fated party. Only tales of terror told by a lone survivor held any clues as to Randal's fate. A brave hand of heroes accomplished what Randal Morn's group failed to do in part one of this adventure trilogy, "The Sword of the Dales." Battling through the tomb's undead inhabitants, those heroes reached the burial crypt of Shraevyn. There, resting in the center of the coffin, was the Sword of the Dales, its azure glow filling the chamber. However, there was no sign of Randal Morn. Only a note signed by his hand held any clue as to his fate. "Seek me in Spiderhaunt," it proclaimed. "The fate of Daggerdale is in your hands." This is the second part of a trilogy of modules that began with "The Sword of the Dales." The saga concludes with "The Return of Randal Morn." TSR 9485

Deep within a forgotten temple lies the Storm's Eye, a powerful sapphire coveted by the monstrous Behir, Krykzor. In The Storm's Eye, adventurers must navigate deadly traps, confront ghostly knights and phase spider minions, and solve a lightning-powered puzzle, all while racing against time to escape a collapsing temple. Designed for a party of levels 6-7, this one-shot adventure offers thrilling combat, intricate puzzles, and dynamic challenges as players face the storm and claim the treasure—or risk being lost forever.

Since time immemorial, you and your people have toiled in the shadow of the cyclopean ruins. Of mysterious origins and the source of many a superstition, they have always been considered a secret best left unknown by folk of your hamlet. But now something stirs beneath the crumbling blocks. Beastmen howl in the night and your fellow villagers are snatched from their beds. With no heroes to defend you, who will rise to stand against the encircling darkness? The secret of Chaos are yours to unearth but at what cost to sanity or soul? An introductory adventure for the Dungeon Crawl Classics Role Playing Game, Sailors on the Starless Sea pits a mob of 0-level adventurers against legacy of the Chaos Lords and their corrupted hordes. Delving beneath the crumbling ruins, the characters discover ancient crypts, a starless sea, and an ancient ziggurat, where death and treasure await in equal measure!
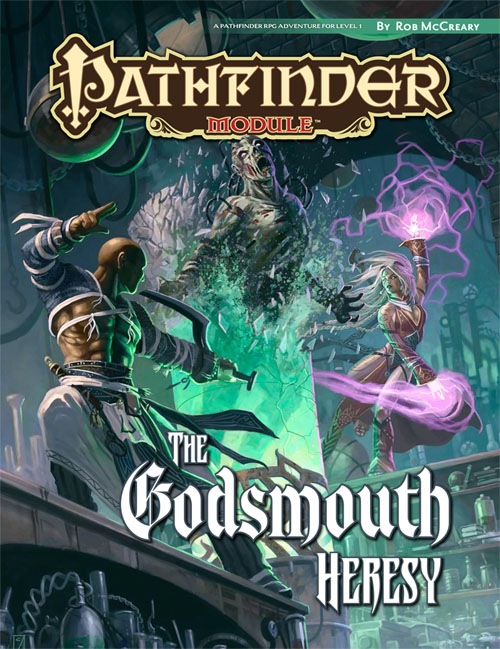
Deep below the anarchic city of Kaer Maga, someone—or something—has begun stealing corpses from the city’s most prestigious tomb, the Godsmouth Ossuary. Fearing the worst, the clerics of Pharasma in charge of maintaining the crypts quietly call for aid, not wanting to risk their own members in combating whatever horrors may have crept in from the tunnels and hidden chambers of the legendary Undercity. Beneath the infamous crypt lies a temple from an ancient empire devoted to sin, and a former Pharasmin cleric whose weathered his goddess’s wrath to create an army of undead minions, their dead flesh standing ready to support his heretical plans.

After resupplying equipment, health, and morale, you have heard of a job opportunity available at a nearby pub. After first missing out on the chance, your fortunes change and get the job. After boarding the Gnome airship, the “Marietta”, you head off across the sea to locate the captain’s missing brother. You find out you will be going into the jungles of the lost Pula Noa tribe. Rumor and legend surround these natives as having streets and buildings paved in gold, silver, and death! This adventure setting was designed for 5th Edition rules D&D for the Filbar Campaign for mid-level adventurers and DM. This adventure is easily adaptable to most any game and system. Save yourself some time and utilize it for a one shot adventure or a continuing campaign!

Do you want your players to feel like they are in a zombie movie, struggling against a deadly horde that tries to surround them, overpower them, and bear them down to the ground to be devoured? This is an adventure that can threaten even the stoutest of characters, and is not recommended for parties of levels 12 or below unless they are larger than normal. This module is designed to take 4-8 hours of play and cover a single day, depending on the party’s speed of play and how thoroughly they decide to explore. It includes suggestions and some plot hooks that can be used to tie this easily into a variety of long-running campaigns, or it can be run as an indepdent adventure. The players will come upon a sacked town, figure out what happened, track an item whose theft has ominious implications for the region, and explore a partly-flooded old temple to end the threat. It's primarily combat-focused, but there are a few areas where exploration and route choice makes a difference, as well as traps if the party goes for the optional temple treasury. The antagonists in this module are mostly ghasts and ghouls, but the module title and cover page are deliberately selected to not spoil this. These are greater ghouls and ghasts that can challenge higher-level characters, backed up by mobs of lesser ghouls that can surround, paralyze, and devour the weak and unlucky, led by a Warlord whose aura can drive even the stout-hearted into forgetting their plans in a moment of madness.

Captured! While trekking across a trackless wasteland, your stalwart band has fallen into the clutches of a nefarious gang of desert raiders. Imprisoned in a subterranean chamber, you are bereft of all of your equipment and magic items, save for a few tattered loincloths. But as chance would have it, an opportunity to escape the cell presents itself. To escape, you must head deeper into an ancient sealed tomb, armed with nothing but your wits and anything you can find along the way. Getting to the surface is just one of many challenges, as you still need to recover your precious equipment, and flee the Lost Oasis, which is surrounded by an inhospitable sea of solid glass!

This setting was used in the FN series and like the others in the FA series, it was used as an area for multiple adventure opportunities as well as a semi-safe haven. The main community in the area is the Village of Tomore. This community is offered as a free download! With a multitude of side adventures this area helps mid-level adventurers increase their experience point base. Close to this area is the previously published Sunken Temple of Bulu and the Ruins of Tarlac Keep.

Set to the west of Crystal Shores this old tomb is said to hold riches of untold value. Some say a magical healing item may be located within the secret rooms of the lost sanctuary!
From a ruined theater in the run-down Puddles district of Absalom, a goblin hero and self-styled king rules over the nearby goblins. Shifting foundations beneath the playhouse have revealed ruins from Absalom's early history, and the goblin king has put out a call for explorers to search the area and clear out its dangers. The Pathfinder Society has answered the call. They aren't the only group that is interested, however, and they must prove themselves to earn the right to enter these lost chambers.
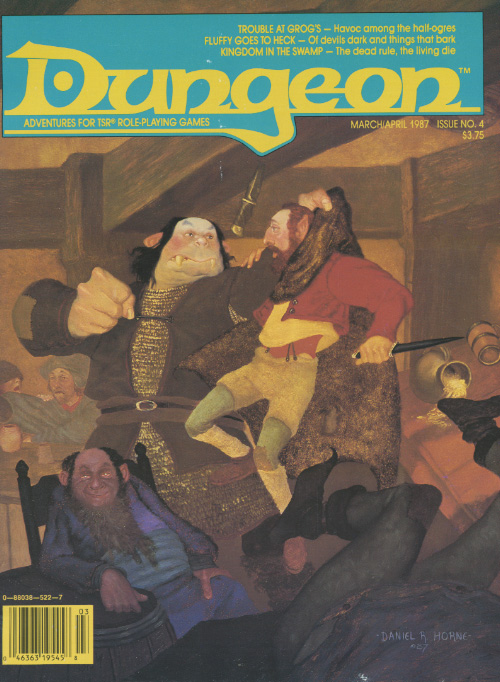
Follow a crazy halfling into a vampire’s castle. Kingdom in the Swamp is an AD&D adventure for higher-level characters; 6th to 9th level would be suitable. While it is necessary to have strong combatant characters and at least one cleric, it is more important that the players be ready to find solutions beyond the sword or spell book. Adventure Background A few days ago, Candor Pletten, a halfling thief known more for his urban exploits, returned from a journey to the southern jungles and rain forests (or so he says). Few people have believed him in the past -- usually they have been too busy taking inventory of their possessions to even listen to him — but some are guessing that he may actually be telling the truth (certainly, he’s got a good story). Candor left town a couple of months ago with some other adventurers, but has come back alone. Most tavern patrons are of the opinion that he took his companions’ purses and ran, but why would he come back to town? And why, then, aren’t his former companions hot on his trail? Candor may be a thief, but he’s not a murderer. He even gets nauseated by cockfighting. Maybe the halfling's tale is worth hearing...
Hezzrack the imp escaped a prison of stone only by entering a prison of words. His only chance now is for a helpful group of adventurers to rescue him from certain servitude as a goblin adept's familiar. When his wizardly master's tower collapsed ages ago, the imp Hezzrack found himself trapped in the basement for a long, long time. After spending many years playing chess with himself and arranging macabre passion plays with the animated skeletons that survived the collapse, he finally found a way to escape. Unfortunately, that escape required signing a contract with a particularly unpleasant goblin adept; Hezzrack had managed to escape his prison of stone by leaping into a prison of servitude. If only a group of adventurers were to come along and take care of the goblin and release him completely! Pgs. 18-28

Old-School Essentials Adventure A hole in an old oak tree leads characters down to a maze of twisting, root-riddled passageways, the chambers of an ancient wizard-complex, and the banks of an underground river where once a reptile cult built their temples. A classic expedition into the Mythic Underworld for characters of 1st to 2nd level. 60 keyed areas, rumour table, loot summary, dungeon background info, suggestions for expanding the dungeon. Keyed in a quick-reference, bullet point format. Unlabelled map included for VTT use. The Hole in the Oak can be linked with The Incandescent Grottoes to form a large, 3 level dungeon with over 115 keyed encounter areas!

The Temple of Draxion is an adventure with 2-3 encounters that uses clever tactics, trickery, and good defensive positions to make low-level monsters challenging. The defenders in the encounter try to deceive the PCs; groups willing to accept anything the DM says at face value will horribly misjudge the actual level of danger they are in. The adventure is set in a partially-collapsed dungeon that was once a temple to Erythnul, but is now the headquarters of a pair of aspiring bandits, and their kobold employees. Pgs. 12-15

The prince's godmother commissions you to retrieve the prince's jade crown, held in the tower of the vampire! The vampire's tower has three levels, and the three-level dungeon below 45 rooms. The party must be wary! Lethal traps abound. Marching order is important. A straight-forward dungeon crawl with many Gygaxian rooms and encounters. No roleplaying to speak of. Pgs. 4-18

His name has inspired fear in legions of heroes, and his cult has lurked in the dismal reaches of the world for countless ages. His minions are savage and feral, his worshipers vile and wretched. He is Demogorgon, and his temples are nightmare realms haunted by primeval menaces and hateful legacies from a time when the world was savage. And now, a vengeful death knight has discovered one of these lost temples—will the PCs aid him in his dark quest for revenge, or will they fall before the awakened host of the Prince of Demons? Pgs. 64-83