
Modrons, Mephits & Mayhem is a Dungeons & Dragons 5E tier 2 adventure for three to five characters of levels 5-8. It is primarily set in a modron-designed research facility that has been abandoned by its creators but retains guardians that are still active. Additionally, two groups have broken into the facility with their own goals in mind; the githyanki and their red dragon cohort are antagonistic and provide the main source of combat in this adventure, while a modron traveling with a few mephits may prove friendly although ultimately troublesome. Inspired by adventure games in which the protagonists explore baroque, esoteric technological fortresses, and seeded throughout with factions that sport competing and often bizarre goals, Modrons, Mephits & Mayhem is sure to test the mettle of any group of players, and will provide endless amusement for Dungeon Masters seeking something different from the typical hack-and-slash dungeon crawl. This 70-page adventure features: *Two wilderness areas, random wilderness encounters, and a massive, interlinking 3-level dungeon filled with bizarre puzzles. *Ancient machinery powered by elemental portals, all of which can be activated, turned off, or manipulated by the player characters and the various factions within the modron facility. *Planar creatures like githzerai and githyanki, modrons, mephits, and elemental guardians, skillfully placed into the High Moor area of the Forgotten Realms setting. *Monsters and NPCs that have detailed (yet easy to run!) personalities and goals that will provide tons of roleplaying opportunities. *Notes and sidebars on running the NPCs with added complexity, or simplifying the NPCs' motives to make the adventure more straightforward. *Tactics notes for every single encounter! *An appendix that features all monster stat blocks, and both tagged (DM) and untagged (Player) versions of the dungeon maps. *Wilderness hex map by Elven Tower Cartography! Three interlinked dungeon levels by Dyson Logos...and one of them is a flying fortress! Cover art by Patrick E. Pullen!

At the behest of Orcus, Demon Prince of Undeath, a mighty deathpriest hierophant has begun assembling a powerful strike force. He intends to launch the first of many assaults on the world, readying it for his master’s arrival. With the help of potent allies and grand rituals, the PCs have discovered a route to the Abyssal headquarters of this hierophant. This delve begins as the PCs teleport from the world to the first of a complex of interconnected chambers deep in the Abyss, linked only by portals. Pgs. 126-131
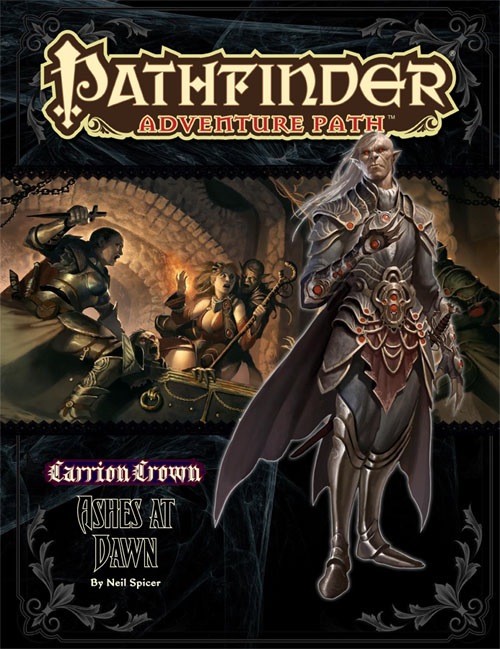
Part 5 of the Carrion Crown Adventure Path takes place in Ustalav's capital Caliphas. The heroes are in the city to follow the trail of evidence left by the neromantic cult The Whispering Way and strengthen their bonds with the mysterious Order of the Palantine Eye. Whilst in the city, they uncover a string of murders. When they discover that all the victims were vampires, they descend into the underground vampire city and have the possibility to form a tentative alliance with the vampire clans. If they help solve the murders, the vampire lord promises to help them on their quest. What role do the deadly necromancers have in the undead murders plaguing Caliphas? What secret grudge exists between the cult and the rulers of the night? And will the heroes be able to save the capital without sacrificing their very souls? This book includes: - “Ashes at Dawn,” a Pathfinder RPG adventure for 11th-level characters, by Neil Spicer - A gazetteer of fog-haunted Caliphas, the mysterious and deadly capital of Ustalav, by F. Wesley Schneider - A terrifying look into the blasphemous church of Urgathoa, goddess of gluttony, disease, and the undead, by Sean K Reynolds - Laurel Cylphra’s attempt to steal a soul stealer in the Pathfinder’s Journal, by F. Wesley Schneider - Six new monsters by Crystal Frasier, Patrick Renie, and Sean K Reynolds

Children and a cleric have been kidnapped from a small coastal town by undead creatures who crawled out of the sea. Defend the Captain's Folly Tavern, investigate the mystery, swim through underwater caverns, and fight the monstrous denizens of the deep in order to save the kidnapped civilians! This adventure includes: 4 New Monsters, 4 New Magic Items, A Seafaring Skill Challenge, & Complications for an Underwater Chase Encounter!

‘The Secrets of the Twisting Colossus’ is a tale of alchemy and transformation. The heroes are the material components in the creation of an addictive potion. The heroes are lured into the experiment by the alchemist Paricalus, and once the heroes understand the true purpose it will be too late. The only escape is to understand the subtle clues around them and to keep moving forward. At the end of the experiment lies salvation but also the grand finale. If the heroes escape the experiment, they can confront their tormentor. In this 5E module (suitable for level 4-6 & adaptable to any setting), you will find: • 40-page module. • 3 colored maps and downloadable options for FG, Roll20. • 3 Appendices covering NPCs, magic items, and alternative chambers. • Handouts containing visual depiction to entice players. • 2-3 sessions of gameplay. • A dynamic dungeon where chambers change position. • Rules for miniaturized game play. • Old-school play-style suggestions. • Possibilities to use the module as a springboard to planar adventures. If you enjoy this module please let me know. Any feedback is greatly appreciated. Have fun!

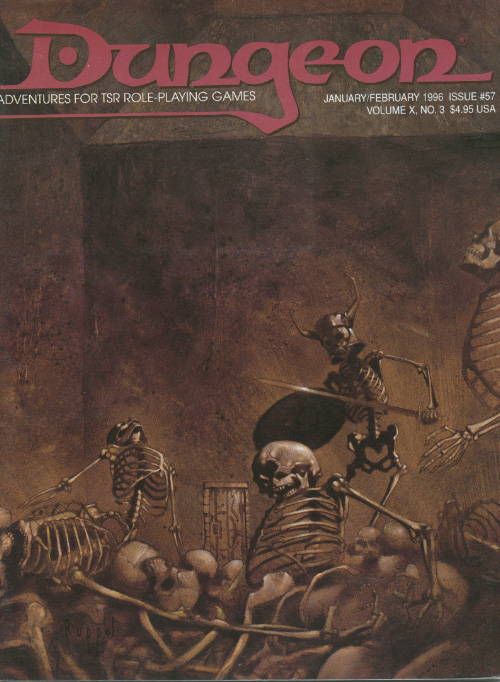
A mechanical man discovers his ancestral fortress has fallen to a lunatic derro, but something worse than mad derro haunts the Clockwork Fortress' gears. This adventure is a sequel to Dungeon Issue #115's "Raiders of the Black Ice," although you need not have run that adventure to enjoy "The Clockwork Fortress." Pgs. 42-61
By any other name A jewel rose has been stole and its up to the PCs to recover it in this arabain themed adventure. Pgs. 28-47 & 65

This 4 hour adventure for 3rd level characters begins in a prison cell where the adventurers must figure out a way to escape, acquire weapons and armor to defend themselves more effectively, and most importantly, escape a repurposed dwarven forge that has been appropriated by a fire giant who uses slave labor and even a captured red dragon wyrmling to smelt ore and forge an arsenal under the volcano Mt. Hotenow.

The Free City: a shining gem in the crown of cultured civilization. Beneath the surface of this bustling metropolis is a rot, festering in the darkness, manipulating the lives of those unaware of its presence. Now a small adventuring band from out of town may be in over their heads. Their actions in Diamond Lake have attracted the wrath of one of the city’s hidden masters. A gang of infiltrators and an enigmatic mastermind plot their destruction, and only tracing the rot to the root can stop the onslaught. "The Hall of Harsh Reflections" is the fourth installment of the Age of Worms Adventure Path, a complete campaign consisting of 12 adventures, several "Backdrop" articles to help Dungeon masters run the series, and a handful of poster maps of key locations. For additional aid in running this campaign, check out Dragon's monthly "Worm Food" articles, a series that provides additional materials to help players survive this campaign. Check out issue #336 of Dragon for five attractions to tempt your PCs to spend some of their hard-earned loot. This issue of Dragon also features an Ecology of the Spawn of Kyuss, one of the central creatures featured in this campaign. Pgs. 34-60
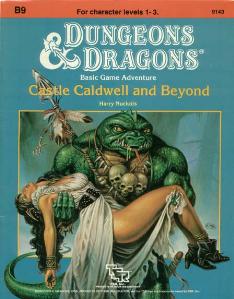
Five exciting short adventures to make your Basic campaign come alive! The Clearing of Castle Caldwell - A local merchant has recently purchased a small castle... but when he tried to move in, he discovered that the castle was already inhabited! Dungeons of Terror - A strange trapdoor in the floor of Castle Caldwell leads to a terrifying challenge! The Abduction of Princess Sylvia - On the eve of her wedding, the beautiful princess has been kidnapped! Can you save her in time? The Great Escape - Imprisoned in an enemy fortress, without armor or weapons, your situation seems hopeless. Yet there may be a way to freedom... The Sanctuary of Elwyn the Ardent - A mystical chime of great power has been stolen - but by whom? In the wrong hands, the chime can cause untold harm! But can you find and defeat this mysterious and powerful creature? TSR 9143

When a wizard makes a mistake, he makes a MISTAKE. Hirward the Wizard has a little problem on his hands - and it's destroying his fortress, followers and future. A good mix of character types is strongly advised, but paladins, rangers, dwarves, and gnomes may not be comfortable sparing the lives of Hirward’s kobold assistants. A generally neutral party composed of humans and half-orcs will stand the best chance of completing Hirward’s Task. This not a standard "hack-and-slash” adventure. The PCs will have to do some fighting to he successful in completing the module, but most of the time they must use their brains to figure out the best way to complete their mission. Pgs. 45-64
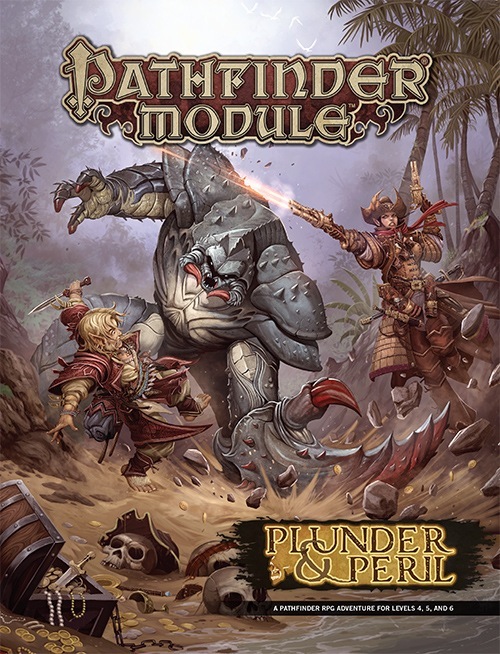
Tall tales of hidden riches are common in the pirate-infested taverns of the Shackles, but when Captain Varossa Lanteri claims to know the location of the secret treasure hoard of legendary Captain Jemma Redclaw, it seems she may be telling the truth. Captain Lanteri hires the PCs on as crew to help her assemble the magic key that will open the door to Redclaw’s treasure... and the ancient cyclops stronghold in which it’s hidden! Can the PCs survive long enough to claim their share of the lost loot, or will their enemies—or their allies—send them to a watery grave?
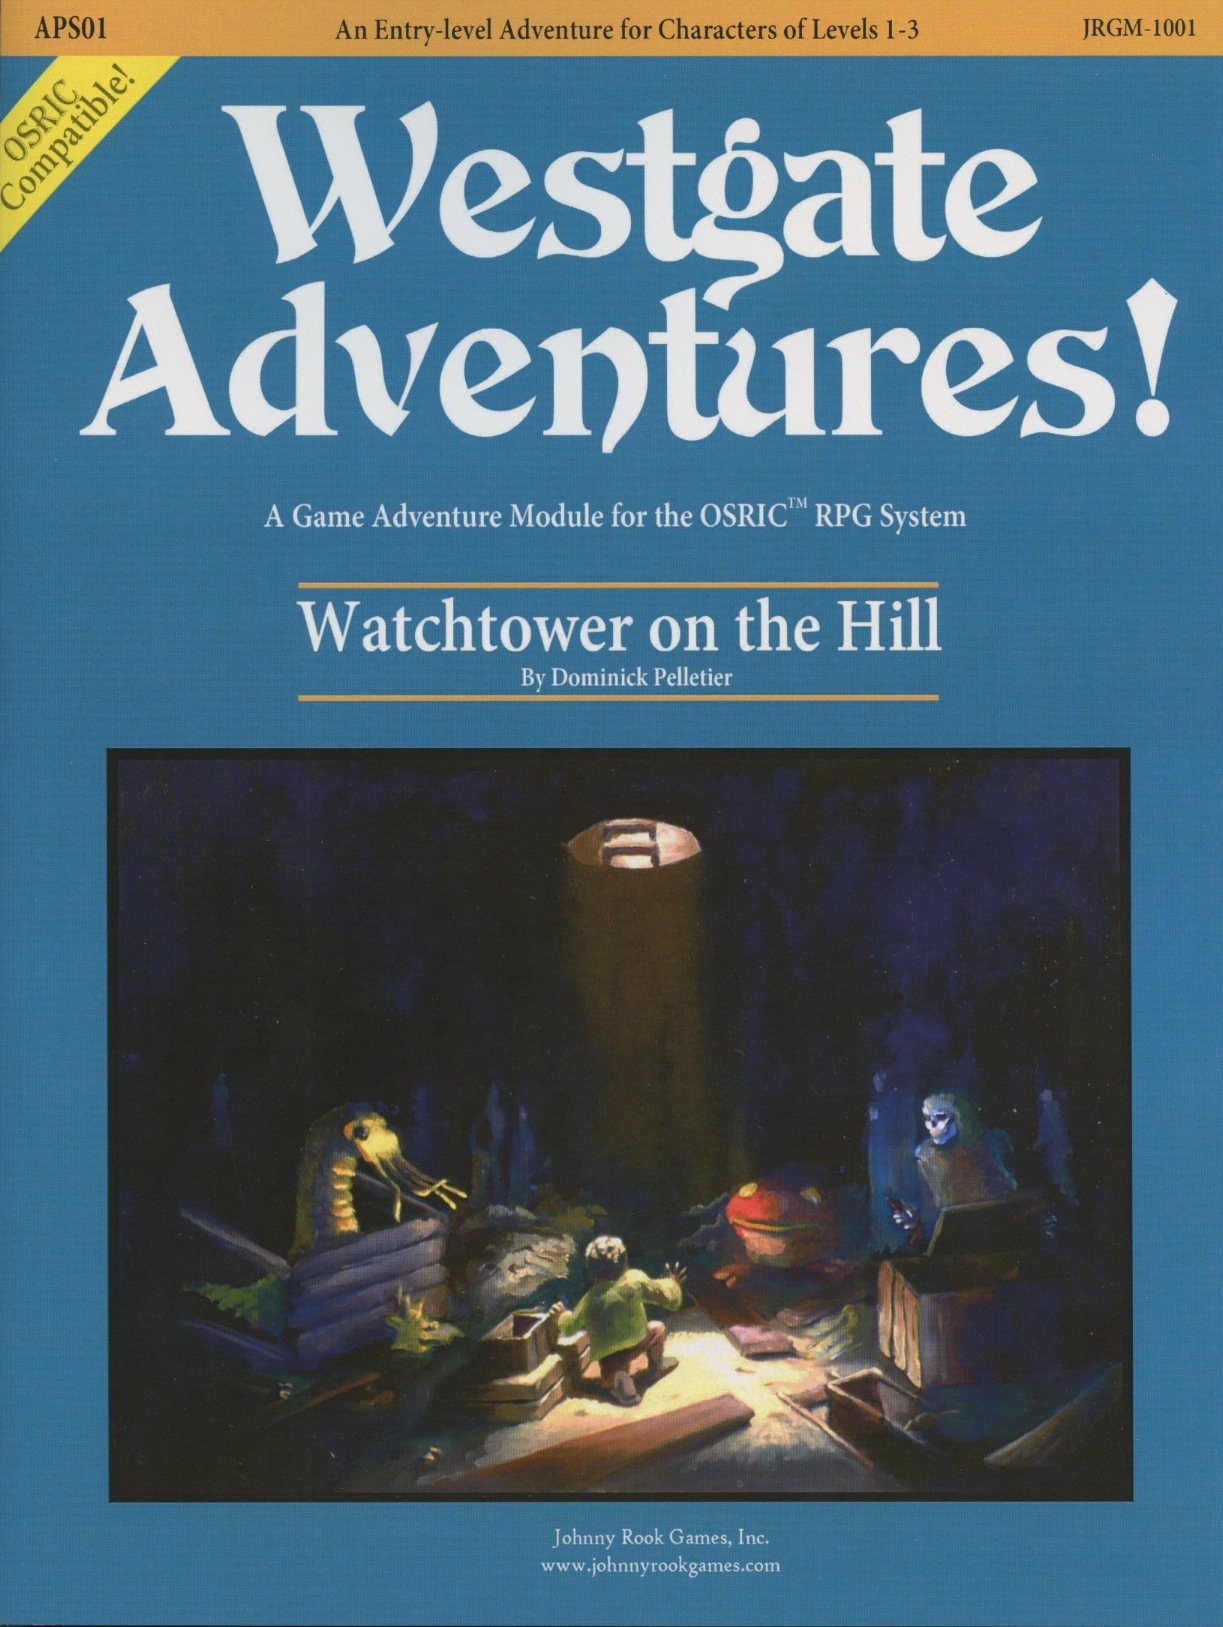
An Early-Level Adventure Game Module Suitable For The Osric Rpg System Or Any Other 1e Compatible System. A Shaft Has Been Discovered Below The Old Watchtower Outside Of Town. Worse Yet, A Boy Has Fallen Into It! Your Party Must Race Against Time To Save The Boy And Sift Through The Remains Of The Watchtower On The Hill!

A fiend lurks among the Black Blade goblins. A shapeshifting barghest fashioned by the General of Gehenna to exact revenge on all goblin-kind. It’s aim: to kill as many goblin leaders as possible… A masked goblin approaches the party asking for help. Two tribe leaders are dead. But a rival for chief has control of the crime scene. Will the party discover the barghest among the goblin ranks? Can they stop this imposter before it strikes again? Adventure Overview The adventure’s story is spread over 4 parts and takes approximately 4 hours to play. The adventure begins with a Call to Action scene. Part 1: Goblin Politics. Krill sends his emissaries to implore help from any strong intermediary. The party is asked to investigate the murder of Thrawn in Dringly’s lair. This is Story Objective A. Part 2: The Opposition. Gain entry into Dringly’s lair and investigate the murder of Thrawn. Gather enough evidence to find the killer. This is Story Objective B. Part 3: To The Lair! Now that the players have determined the barghest (Yeep) is to blame, they need to get to Krill’s lair quickly as he is in imminent danger. This is Story Objective C. Part 4: The Barghest.When the players arrive at the lair, they need to get to Krill and expose and defeat the barghest. This is Story Objective D. Adventure Background A barghest named Yeep has begun its onslaught of attacks against the Black Blade goblins. Starting with Chief Gnar, then his second in command Thrawn, the barghest is moving methodically down the line of command. Krill is now chief. But he has some problems: Two leaders of the Black Blades are dead. Who killed them and why? Is he next? Dringly, the next in command, has decided to take his lair for himself, declaring himself Chief of the Black Blades. Who are the Black Blades? The Black Blades are a tribe of goblins in the local area. They are known for dipping their blades in a dark black substance. It is rumored these blades are poisonous. The Black Blades regularly attack passersby on the road to rob them. The Black Blades have two lairs, one run by a chief who leads the whole tribe, and another overseen by a boss lieutenant. The Black Blades have a well-established pecking order which is how Krill stands to become chief. The next in line is Dringly, who has also declared himself chief and wants Krill dead. Krill suspects that there is something suspicious about two leaders being killed within a day of each other, but he has already burned Gnar’s body without any investigation. He needs to investigate the body of Thrawn, but it is in Dringly’s lair. Krill wishes to avoid direct confrontation with Dringly at the present for three reasons: 1) Any violence would only kill his own tribe members and further divide the lairs. 2) He believes there is still hope for negotiation to reunite the Black Blades. 3) He believes that if he were to attempt negotiations himself, Dringly would kill him. This adventure features: Two maps. Ready for your favorite Virtual Tabletop. A full color pdf. A black and white pdf. One custom monster, a reprint of barghest, all others available in the Monster Manual. Four hours of entertainment involving: roll playing a goblin bard, investigating a murder scene, tracking down a barghest before it strikes again. Applicable to any setting.

The Feystone Shards is an adventure for characters from levels 5-8, optimized for 4-6 player characters. This moderate length campaign should have 20+ hours of gaming, all focused around the Forgotten realms area of Red Larch. The Heroes are tasked to find five fragments of a shattered Orb, once worshipped by a faction of Elves. The search will take the party to a haunted Citadel, as they seek the scattered remnants of the Feystone. From a city of Stone Golems, to an alchemist's underground lair - the players will face obstacles and enemies that will challenge their very resolve. The Heroes will need to discover the secrets of the bauble's fey magic, finding the lost Elvin city where the Orb was once worshiped as a God. Join in the hunt for the Feystone Shards, and see if your characters are ready to transcend common Heroes...and become Legends.

This material was originally published as three separate adventures: G1 (STEADING OF THE HILL GIANT CHIEF), G2 (THE GLACIAL RIFT OF THE FROST GIANT JARL), and G3 (HALL OF THE FIRE GIANT KING). Contained herein are referee notes, background information, maps, and exploration keys for three complete adventures using the ADVANCED DUNGEONS & DRAGONS rules. This module can be used alone or as the first in a series of adventures that includes Dungeon Modules D1-2 (DESCENT INTO THE DEPTHS OF THE EARTH), D3 (VAULT OF THE DROW), and Q1 (QUEEN OF THE DEMONWEB PITS). TSR 9058

A black dragon’s treasure hoard has been located in the Twilight Marsh, and within it are secrets that hold interest to the factions. With the dragon marauding over the countryside, the horde is left unguarded. Now is the time to plunder its lair!
As the story goes, worshipers of Bahamut and worshipers of Gruumsh spent years warring. As the dead piled up, a Bahamut faithful crafted a weapon of devastating power. Most of the inventor’s peers balked at its use, but some felt it was justified. Those few who used the weapon were twisted into mad, dark beings by its corrupting power. The rest of Bahamut’s flock locked them and the weapon away in a dungeon prison. The dungeon and its terrible secret were long forgotten—until a group of rakshasas happened across the ancient tale. Now they seek the weapon for their own designs. Pgs. 132-137

Digging in the Dark People are vanishing from the village of Brookhollow. Can you solve the mystery in time to save your friends? Pgs. 12-29
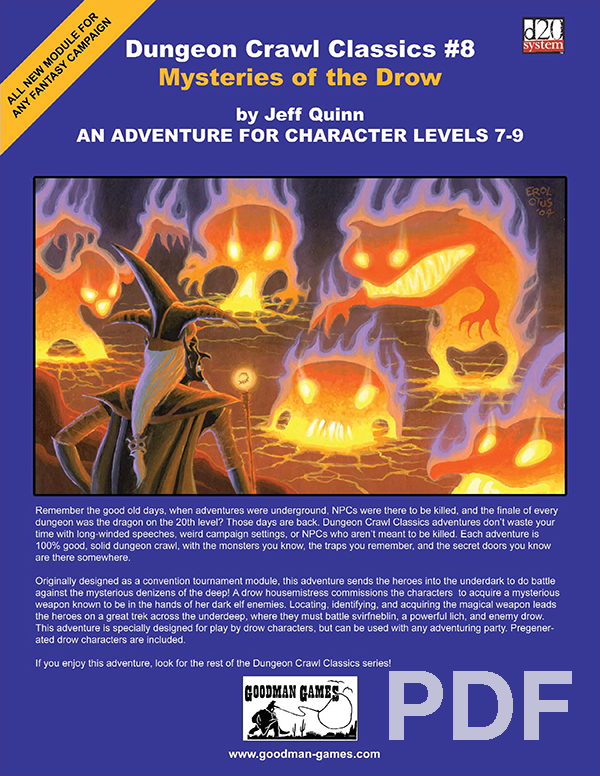
Originally designed as a convention module, this adventure sends the heroes into the underdark to do battle against the mysterious denizens of the deep! A drow housemistress commissions the characters to acquire a mysterious weapon known to be in the hands of her dark elf enemies. Locating, identifying, and acquiring the magical weapon leads the heroes on a great trek across the underdeep, where they must battle svirfneblin, a powerful lich, and enemy drow. This adventure us specifically designed for play by drow characters, but can be used with any adventuring party. Pregenerated drow characters are included.