The PCs are called on to assist in retrieving the legendary Scrolls of Thoth on behalf of Khemet III, the Ruby Prince of Osirion. Along the way, they discover the ultimate fate of the ancient Song Pharoah -- and potentially assist her in her journey through the Duat, the final series of tests that a Pharaoh must face in the afterlife. It was designed as a one-shot lasting approximately 5-6 hours, but could be run as a side-quest in the Mummy's Mask adventure path. See the site for notes on adjustments to make if you are using it in that way. It includes maps, handouts, stat blocks for all of the NPCs, and Hero Lab files for Hero Lab users. Because the adventure is born digital, the page count is a rough estimate based on print previewing the pages in the site. There is no source of a printed copy other than printing one yourself (which you are welcome to do). This adventure has not been published, and is made available under the terms of the Paizo Community Use License.

This adventure is designed for the D&D Adventures League Season 5 - Storm King’s Thunder campaign, and is meant to enhance your party’s connection to important events and NPCs. While it is intended for a party of around 6th level, the nature of the quest is such that it fits easily with a higher level as well. It will put your players in contact with Felgolos, the bronze dragon that is encountered in Chapter 9 of D&D Adventures League Season 5 - Storm King’s Thunder, as well as the ancient dragon Iymrith, who plays a prominent role in the main plot. Of course, you can also change names and locations to make this adventure fit into any other campaign world – as long as it has dragons and deserts. Enjoy!

To arms! To arms! The battle lines are drawn as desert men and inhuman tribes wait poised to strike on the fertile and rich lands of the east. The call has gone out through the civilized lands. The armies have been raised to match the invading foes from the west. Nobles and peasants have joined swords to greet the foes. But Fate or Chance has decreed another role for a small few. No glorious banners will wave on their march. No squadrons of knights will charge at their word. Instead, they will fight the war with stealth, secrecy, and cunning. The risks they will take are great, but the fates of both armies lie with them. It begins one night for your party far from the fighting. Suddenly you are entrusted with the most dangerous mission of the war. Can you cross the Sind Desert, occupied now by enemy armies, to find the Great Pass? Can you find the one known only as The Master? What will you do if you find him? So begins your adventure in The Master of the Desert Nomads, the first module of a two-part adventure that can be concluded in the exciting Temple of Death or played entirely on its own. Can your party do what must be done? TSR 9068

Buried in the desert sands of Mulhorand, near the city of Mishtan, lies an ancient stone statue of a sphinx queen. After a fierce sandstorm reveals a huge tablet etched with hieroglyphs between the statue’s paws, the PCs must translate the strange writing to find the secret entrance into the Temple of the Sphinx Queen. The conclusion offers three optional endings for DMs to choose from to suit their players, including a wicked trap, a twist that leads to further adventures, or a tough climactic combat suitable for a one-shot. Included are: Five new Egyptian-themed monsters: The Sphinx Queen, Black Lion Guardian, Zombie Scarabs, Snake of Set and Desert Spirit. A new weapon, the khopesh Four new magic items: Statue of Set, Guardian Khopesh of Set, Warded Puzzle Box and Minor Concoction of Healing Two hieroglyphic puzzle player handouts and a DMs translator sheet

Deep in the Osirian desert stands the blank-faced monument known as the Sightless Sphinx. In search of the stolen mummy of Chisisek, the architect of the flying tomb of the Sky Pharaoh Hakotep I, the heroes track the cult of the Forgotten Pharaoh to its secret headquarters inside the sphinx. There they must face monstrous mercenaries and servants of the demon lord Areshkagal before finally confronting the masked cultists and their leader, the Forgotten Pharaoh, who has been possessed by a fragment of Hakotep’s soul. This volume of Pathfinder Adventure Path continues the Mummy’s Mask Adventure Path and includes: - "Secrets of the Sphinx,” a Pathfinder adventure for 10th-level characters, by Amber E. Scott. - An exploration of the sinister world of curses, by Russ Taylor. - Two exciting additional encounters in Osirion’s wastes, by Greg A. Vaughan. - Reptilian rage and unexpected rescue in the Pathfinder’s Journal, by Amber E. Scott. - Five new monsters to challenge player characters, by Michael Kortes, David Schwartz, and Larry Wilhelm.

In the beginning, a pair of sphinxes — one male and one female — guarded a desert temple in relative peace. They watched over a vault that held a magical ring that could change the world. The androsphinx — Bazymoros — succumbed to corruption; he denounced the trickster god who created him. Bazymoros forged a pact with the demon god, Baphomet, becoming violent and sought to claim the item in the name of his patron. In an effort to save the world, the gynosphinx Asmuzi defeated him. She locked Bazymoros away, never again to see the light of day. The androsphinx remained as an example of what not to become. It has been so long since this battle that much of the knowledge of Bazymoros has disappeared from the collective memory of the races that inhabit the world. All that remains is the knowledge of the dangerous gynosphinx made from the flesh of human and creature. . . and the treasure she keeps.

Your sleek cloudskate skims across the Skysea. It is midnight. All day long, the glass sea soaked up the scorching desert sunlight. Now, that heat lifts your ship a few inches off the glass and fills its sails. The only sound you hear is the soft swish of the diamond-edged rudder as it cuts a path across the Skysea. One thousand years ago, the wizard Martek knew that you would come to find his Sphere of Power. Now, one of his glowing Star Gems shows you the way. The starlight, reflected in the glass beneath you, flickers peacefully. Suddenly, the Skysea before you bursts up into a thousand shards of splintered glass, showering into the moonlight! A horrible creature is silhouetted against the moon. You strain against the rudder to keep your ship upright. Too late! Your cloudskate tips onto one runner, and then tumbles over, skidding to a stop on the glass. As your companions struggle to right the ship, you turn and face the monster. You must hold the creature back to give them time. Without the ship, none of you can get off the glass before the sun rises in the morning. Martek's prophecy spoke of heroes, tests, and dangers. Are you the heroes? What are the tests? What dangers and riches lie ahead? This adventure can be played by itself, or as the third and final part of the Desert of Desolation series. For character levels 7-9. TSR 9054
Draconic adventures in the scorching sands! In the desert, the Wyverns gather and move in prides. Their power is fearsome alone, but together almost unstoppable. Their eggs are valuable and sought after by thrill seekers, culinary connoisseurs, and purveyors of exotic pets and mounts. Two large groups—big game hunters looking for trophies and native desert nomads whose culture practices conservation of the Wyverns—are set to clash at a Wyvern Nest. A Sorceress wishes to stop all exploitation of the bestial dragons. These three groups require adventurers to succeed. But who will the adventurers side with? And what of the ruthless mercenary group The Furious Few? This Tales of the Valiant Compatible Adventure Module Toolkit Provides: • one regional map and four location maps to adventure in • Desert Wyvern Ecology and statblocks for various stages of development • Details of the three major factions vying for control of the eggs • A ruthless party of rivals for your players' characters • Over 60 NPC bios to help populate the desert and craft your tale. • Desert Environment rules and hazards

Summoned from across the multiverse, a small group of heroes must enter an ancient pyramid and prevent the Elder God Nyarlathotep's return to power. A Lovecraft-themed oneshot.
A deadly curse known as the Feast of Dust spreads rapidly through the Meraz Desert, driving its victims mad with hunger and a burning desire to flee into the sands. To find the source of this strange affliction, the heroes must investigate the plagued city of Dimayen, challenging fearsome gnoll tribes, nihilistic daemons, and the walking dead to discover the secret of a long-forgotten evil—a powerful daemon harbinger called the Jackal Prince of Famine. Despite the efforts of an ancient secret society, this twisted, unholy monstrosity walks the world again, threatening to spread his apocalyptic curse across all of Golarion! To stop the demigod's return, the heroes must uncover his three vile siblings, now bound within malevolent artifacts, and use their combined powers to stop the Jackal Prince before the entire world feels his corrupting touch.

To Hell and Back Again is the perfect adventure for new players and veterans looking to experience Dungeons & Dragons in a new way! It's written as a solo adventure, where choices have gigantic consequences, but it also provides balanced rules to play with a group or a Dungeon Master as well! This 80 page adventure features: - A heart-pounding origins story that fits perfectly as either a prequel to Descent Into Avernus, a stand-alone adventure, or into your ongoing fantasy campaign. - Beloved characters like Lulu the hollyphant, Mad Maggie and her redcap gang, the archdevil Zariel, and many others brand new to this adventure. - Infernal War Machines, and exciting encounters with unique stat blocks. - Innovative Destiny and Traits mechanics that make your choices really matter. - A ton of possible outcomes that will fuel your character's many adventures to come! - Four gorgeous sample characters, with interactive character sheets designed to be new-player friendly so that you can jump right into the story if you'd like. - A community survey when you finish so that you can see how your outcomes and choices compared to other players!
When a Pathfinder Society Priest of Nethys disappears in northern Geb while studying the Mana Wastes, the Society sends you to uncover her whereabouts and find her journals. Arriving in the town of Bitter End, you find it deserted but for a few mysterious creatures never before seen on Golarion. Those creatures quickly lead to more and soon you're embroiled in a mystery that could effect the very fabric of reality. Will you solve the mystery of Bitter End or find yourself lost forever in the Mana Wastes?
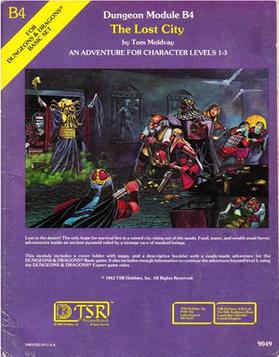
The Lost City is a low-level adventure, in which the only hope of the PCs' survival can be found in a ruined city slowly rising out of the sands. The adventure is set inside a huge step pyramid, with the lower pyramid only sketched out and the city itself described with a list of the major areas and a map. The adventure’s main villain is Zargon, a giant one-eyed monster and his minions. The entire double pyramid, not including the city, contains over 100 rooms. The module is designed to give novice Dungeon Masters experience fleshing out adventures and is only partially complete. Later TSR material hints that this adventure possibly takes place in Mystara, but the material is largely setting-neutral. TSR #9049
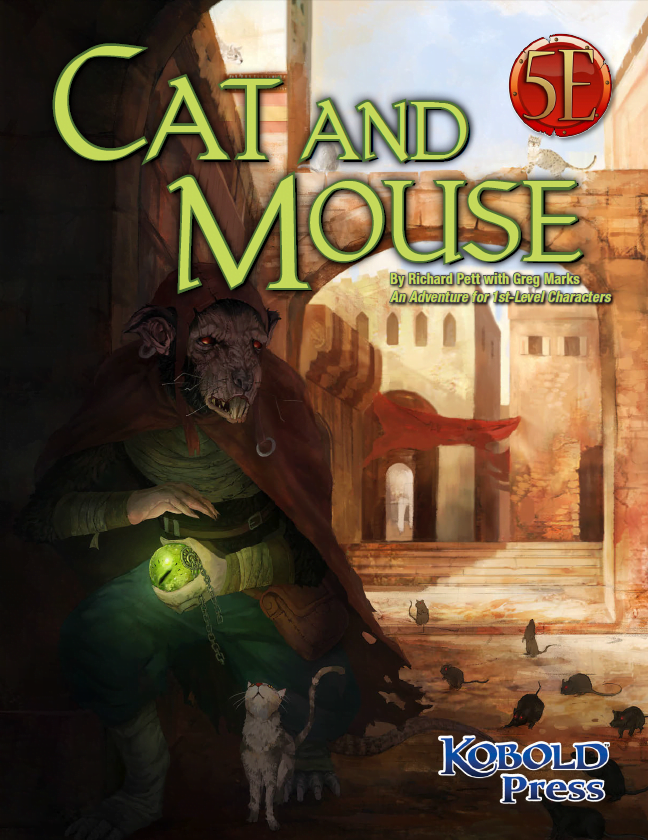
Who Do You Trust? In the cool streets and blazing bazaars, the word is out: a great treasure has gone missing in the Everlasting City of the Cat, and some very ambitious people have set their sights on it. Many paws and claws are out, and everyone is sniffing around for something rich and strange. It’s an odd time for a catfolk thief and a gnoll merchant to make very tempting offers to strangers in town. Or, perhaps it’s not odd at all. Get caught up in the hunt with Cat and Mouse by Richard Pett and Greg Marks! A perfect introduction to the Southlands campaign setting, and it fits neatly into any desert city where cats are sacred and rats are cautious and sly.
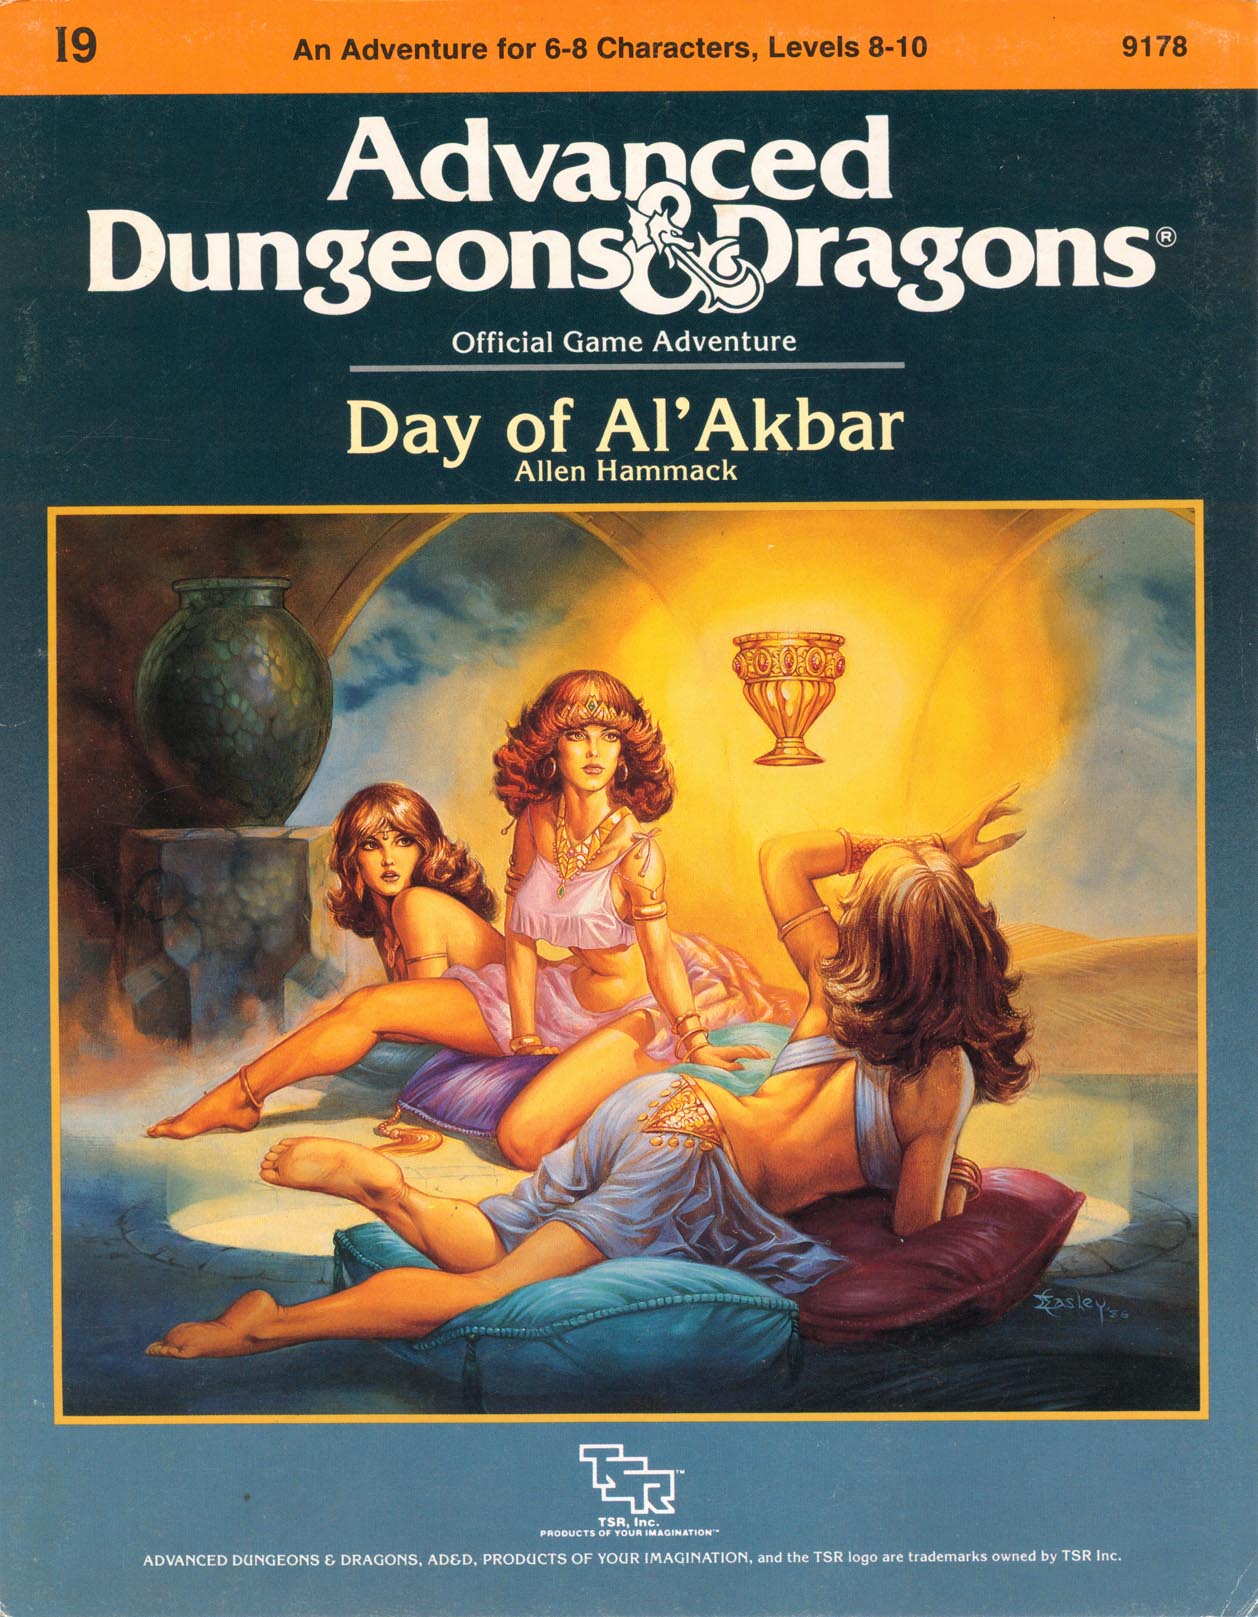
The land of Arir - a once peaceful desert country, dotted with oases, teeming with caravans - fell into the hand of infidels. The ruler, the dearly loved Sultan Amhara, was killed in the battle for the capital city of Khaibar. He left behind one of the greatest treasure stores ever amassed - jewels and coins, more than anyone had ever seen before or since - and in addition, the Cup and Talisman of Al'Akbar. A deadly plague sweeps your land. The holy men say that if only they had the Talisman, they could create cures for this dread disease. Many adventurers have tries and failed to find the Cup and Talisman. Now it is your turn. Find these treasures, and save your people! The journey is exciting, but treacherous. Do not be distracted by exotic sights and sounds, the strange foods. You must avoid being discovered by Al'Farzikh and his brigands, as you infiltrate the palace. Be wary - what is most beautiful may be most deadly, and what seems useless may be priceless. TSR 9178

Caravans are having a difficult time getting through to Parnast via the Black Road. Organized attacks by orcs and other monstrous humanoids working in concert with one another have folks baffled. Little do they know that an unusually intelligent hill giant, going by the name of Bad Fruul is to blame. SEER has sent her emissary Hsing, to task your group to accompany a caravan with a very special cargo destined for the Shrine of Axes in Parnast, and to figure out who is responsible. A Two Hour Adventure for 1st-4th Level Characters

A cloud of dust forms over the horizon as a titanic army of evil threatens the entire civilized world! The Master of the Desert Nomads and his legions are back, and they form the greatest threat that you have ever faced. You must persuade powerful rulers to join you cause, stave off threats to the alliance, and lead your armies to victory! This adventure contains a full-color map of the D&D Expert Set game world, 200 counters, and a special expansion of the War Machine mass combat rules that allows you to fight the entire war as a strategic wargame! Major battles and engagements can be fought using the BATTLESYSTEM Fantasy Combat Supplement for incredible tabletop action. Never-before-published information on all the nations of the Expert Set game world provides background and detail that will enrich your campaign. This adventure includes large-scale battles and uses an expansion of Douglas Niles and Gary Spiegel's warfare system, "The War Machine", developed as part of the D&D Companion Set (BECMI Ed.) from 1984. "Red Arrow, Black Shield" is more than just a follow-up to X4/X5; it's a lynchpin for the entire B/X/CM adventure sequence. The players travel through many lands that were home to past adventures, and their past interactions with those places could affect diplomacy in this new adventure. TSR 9160

For thousands of years a great and terrible secret has lain hidden in the depths of the Sea of Silt. In the heart of this vast dust basin, an endless storm of ash and shrieking wind guards the deadliest concentration of evil and power found on the dying world of Athas - The Valley of Dust and Fire Valley of Dust and Fire more than doubles the known portions of the world of Athas. Intrepid explorers will discover new wonders and perils within the deadly Sea of Silt, from the beautiful island of Shault to the savage Mountains of the Sun. New rules for traveling the dust basin and surviving its many dangers are included. With luck and determination, a skillful and well-prepared party just might pass through the Great Ash Storm and enter the Valley of Silt and Fire. But this realm of shattered badlands and awful monsters is so deadly that only one man has ever reached the valley and returned to tell the tale. TSR 2413

You have been sent to be an envoy for your country to a desert nation recently created. The area is known as a bandit haven and the new ruler ascended due to his overthrow of the others. As you open dialogue, Frito, the new leader, is willing to accept a trade agreement if the party resolves a few renegade issues for him. Designed for four, fourth level PCs!

The Doom Desert in the Decanter of Delirium is an exotic OSR romp through a mysterious world of riddles, puzzles, inscrutable denizens. 5e compatible, this love letter to psychedelia is as vivid and beautiful as exciting and surreal. Get wrapped up in conversation with the dead drunks at the last saloon on earth, solve the sphinx riddle and discover the secrets of the Ziggurat, or break bread and wine with whispering harpies or the sun itself. This compelling narrative is written by Austin Holm and captures the exploration, social, and challenge pillars of a great game with the deft prose of a poet. With art by Maya Bee that captures the essence of the adventures many stunning scenes and characters. Your players will thank you for this one.