The nearby jungle is growing at a disturbing pace -- overnight, whole villages have been swallowed up by creeping vines. Rumors say the source is a corrupt and powerful temple deep in the jungle. In reality, the blight lords of Talona created a monstrous corpse flower and imbued it with the power of a cursed gem from an ancient temple of their goddess. After the blight lords released it into the forest, the corpse flower bent the surrounding jungle to its semi-sentient whims, recreating the temple out of plant life -- with an insatiable hunger for expansion.

Something evil is devouring the souls of the living in Chult, but before the characters take on the horrors in Tomb of Annihilation, they must first uncover the death curse’s origin by braving a lich’s tower in the Cloakwood. This introductory adventure is designed for a party of four to six 1st-level characters, who should advance to 2nd level by the adventurer’s conclusion. It is a prelude to Tomb of Annihilation that should take about 2 to 3 hours. This product includes Fantasy Grounds files for the adventure. What Inspired Cellar of Death? The introduction of Tomb of Annihilation states Syndra Silvane learned about the Soulmonger from the Harpers, who “received their intelligence from a lich.” This adventure is the story of how the Harpers gathered that information. Cellar of Death has a second purpose: to give characters a greater stake in the outcome of Tomb of Annihilation by creating an NPC they love. The death curse kills this NPC, giving the characters a personal reason to go to Chult.
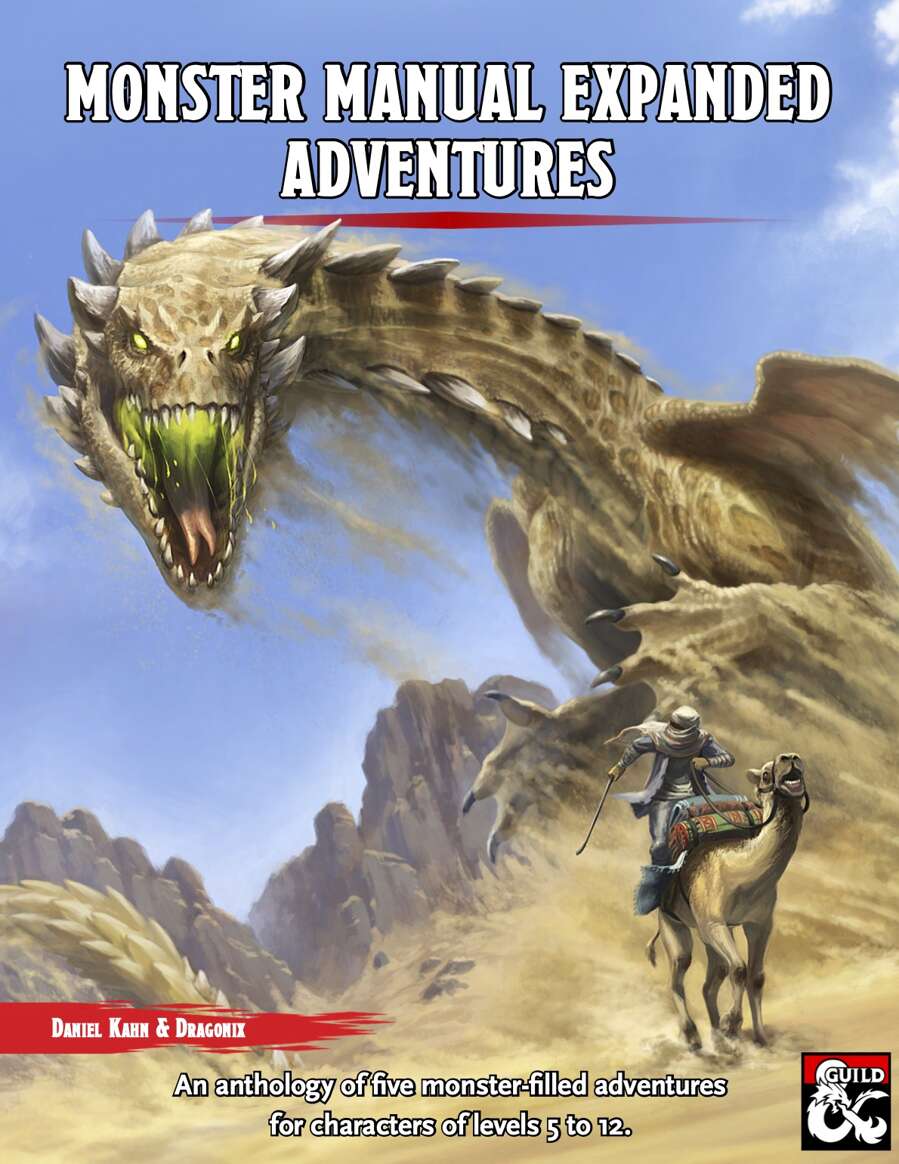
Draconic adventures in the scorching sands! In the desert, the Wyverns gather and move in prides. Their power is fearsome alone, but together almost unstoppable. Their eggs are valuable and sought after by thrill seekers, culinary connoisseurs, and purveyors of exotic pets and mounts. Two large groups—big game hunters looking for trophies and native desert nomads whose culture practices conservation of the Wyverns—are set to clash at a Wyvern Nest. A Sorceress wishes to stop all exploitation of the bestial dragons. These three groups require adventurers to succeed. But who will the adventurers side with? And what of the ruthless mercenary group The Furious Few? This Tales of the Valiant Compatible Adventure Module Toolkit Provides: • one regional map and four location maps to adventure in • Desert Wyvern Ecology and statblocks for various stages of development • Details of the three major factions vying for control of the eggs • A ruthless party of rivals for your players' characters • Over 60 NPC bios to help populate the desert and craft your tale. • Desert Environment rules and hazards

The door slams open so hard that the wall shakes and the hinges groan. To everyone’s astonishment, a goblin staggers in. He is badly wounded, with dried blood covering about half of his body. Only a moment before the air was full of the rattle of dice, the slap of cards, and cries of victory and defeat. Now the Gambling Golem is dead silent. The goblin lurches toward your table then collapses right in front of you. “Help me,” he croaks, looking up at you with bloodshot eyes. “I’ll make you rich!”

Thomepreus’ curse is a classic crawl with elements of exploration, mystery and time travel. A curse has befallen the heroes and the source of their predicament is located in a buried temple. Here a forgotten cult have used a magical sand clock to curse their enemies. The temple seem empty but the arrival of the heroes appear predetermined and soon the heroes are propelled through time to arrive in the past. Here clues and objects are required to solve the mystery and to break the curse. However, they must hurry before cult members complete the preordained curse on the heroes.

A thrilling space-based adventure setting for the world’s greatest roleplaying game. Spelljammer: Adventures in Space presents the Astral Plane as a Dungeons & Dragons campaign setting unlike any other. Home of the stars and gateway to the heavens, the Astral Plane teems with excitement and possibility. With the help of magic, spelljammers can cross the oceans of Wildspace, ply the silvery void known as the Astral Sea, and hop between worlds of the D&D multiverse.

City of the Dead A 4th Level adventure for 4-6 players A strange thief wandered into Waterdeep and stole from the wrong person. Now, he has died of “natural causes” on his visit to the City of Splendors. Having no known friends or relatives, he was hastily buried, along with his possessions, at Waterdeep’s Cemetery (The City of the Dead) in The Road’s End Tomb. While the PCs are dining in the taproom at The Dripping Dagger Inn, they are approached by a stranger who claims that the unknown man had stolen a necklace from his employer, and he needs the adventures to reclaim it. Unfortunately, the thief’s fresh corpse has been pilfered by a dire evil with unknown motives. What starts off as a simple recovery mission, turns into a fight for survival in the City of the Dead. The Adventurers must solve the mystery and destroy the evil that lurks beneath the cemetery, if they are to succeed in their quest and escape with their lives!
Fall into heroism! The young heroes from Exallizar Preparatory Academy are back for their second adventure – and this time, there’s no safety net. A nearby town has sent out a call for aid after a mad hermit has promised to spread untold misery during their yearly harvest celebration. Your group has been selected by the administration to answer that call, and act as representatives for the entire school! You dare not fail. “A Frightful Time” includes: The second leg of the adventure started in BASIC-1 The return of Ronus, Willow, Meeris, and Kale, fully upgraded to level 2 A new breed of monster that is sure to be an instant seasonal classic A grading system to let you know how well you’ve done at the end of the adventure Part of a series of seasonally thematic modules, BASIC-2 can be run to completion in 3-6 hours

The Director of the precognitive mages puts out a call to the Guilds for assistance in investigating a new threat which would disrupt an upcoming annual celebration along the Transguild Promenade in Precinct Four and cause the deaths of many Ravnican citizens. The Adventurers must find the evidence pointing to the perpetrators and stop the oncoming riot during the celebration in 24hrs. This is a One shot adventure for a group of four, at 3rd level. It could possibly be the first of many other adventures you might run in Ravnica!

Dr. Rudolph Van Richten and his network of investigators have hunted and put an end to numerous creatures of the night across the Domains of Dread. But some foes are more elusive than others, and will require the aid of heroes to put an end their reign of terror and close out these open cases. A gathering of the Keepers of the Feather turns deadly when murderous birds overwhelm a seaside town. "An Unkind Nature" is the introductory adventure for the villainous wereraven, Nathaniel Hoken. and provides the basis for an extended campaign that will find adventurers aiding the Keepers of the Feather and traveling across the Sea of Sorrows and its island domains. This chapter also introduces a new magical item: Bluebeard's Tear. Content Warning: Murder, Abduction, Bird Attacks, Stormy Weather.

Located at the division of land between the Duchy of Starryshade and the famed Horselords is the historic Mystic Wood. Home to the site where the peace treaty was signed between the two countries this area is rumored to have a strange effect on magic. Information has reached the local thane that a gathering, or conclave, of humanoids is to occur this weekend. He has dispatched his military but they are too far to be of use. He has heard of your growing fame and asked your party to investigate this rumor and take appropriate action.
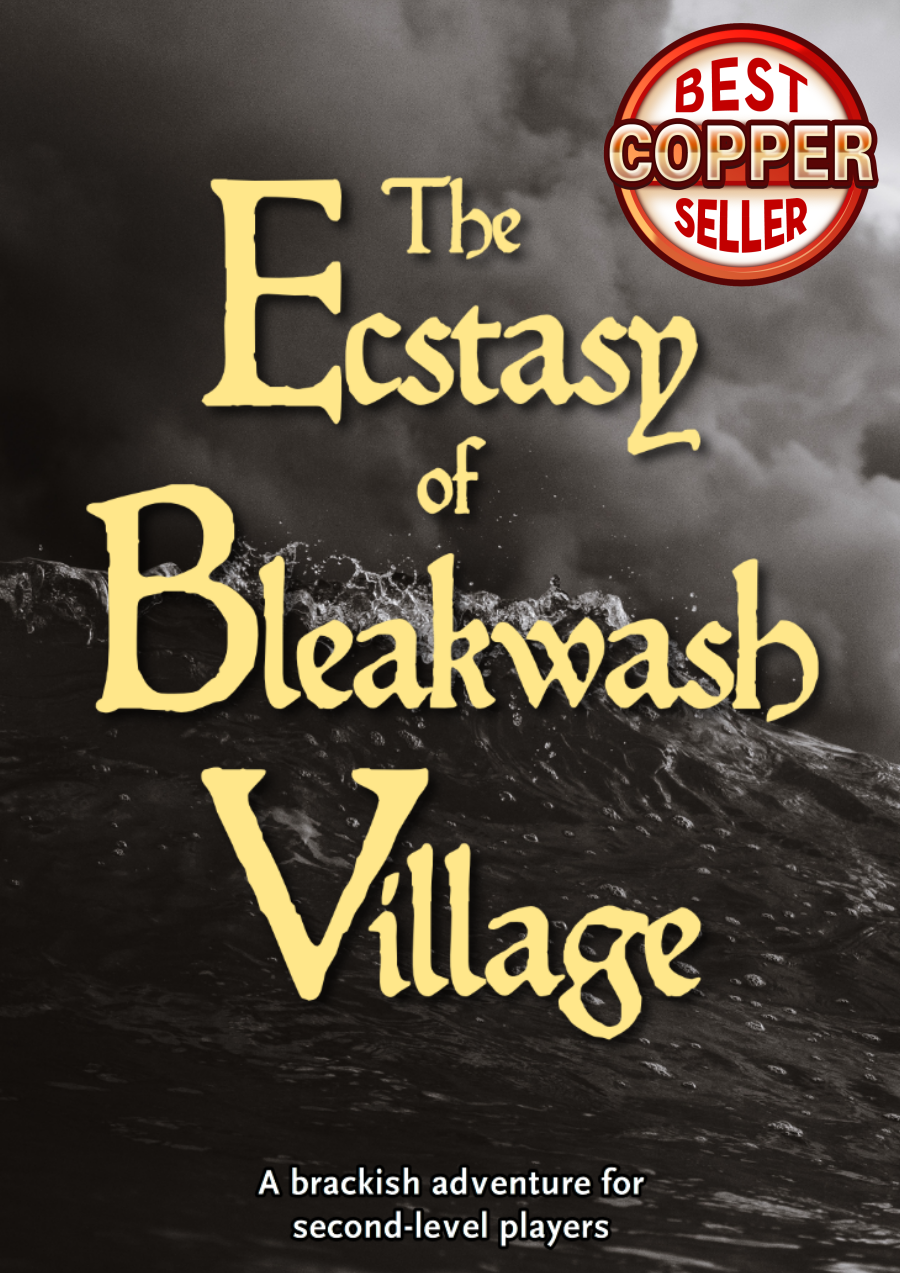
Explore a cult-ridden village in this adventure for 2nd-level characters set in the world’s greatest roleplaying game! Syra Fallbrook, a talented blacksmith, is due to be executed. Her only crime was trying to prevent the Cult of the Engine from taking and sacrificing her daughter, Ariadne, in a dark ritual beneath the town. The party find Bleakwash a closed off and inhospitable town, with zealous cultists and downtrodden citizens so tightly entwined that nobody trusts anybody else, and nobody can be trusted. Eventually, the quest takes them to the dungeon beneath the town, a dank, sodden crypt where the cult’s enigmatic leader seeks to awaken The Engine Of Salvation. This second-level adventure is perfect for new DMs and players alike. Visit the grim portside town of Bleakwash, save Syra and her daughter, investigate a dark cult, and do battle in the salt-crusted catacombs! Included in this adventure: A quest to clear a town of corrupting influence. An open-ended investigation in a full town map. Broken, sea-washed catacombs. 5 random encounters to support you during travel. Approx. 4 hours of fun. A gripping adventure for 2nd-level players. Visit the grim shores of Bleakwash for a holiday you'll never forget!

Sky Stairs of Beldestan is a vampire warlock lair suitable for four characters of 14th level. It can be a lead-in to Citadel of the Void Dragon, or it can be played independently. For as long as any dragon can remember, the stairs of Beldestan have been a site of pilgrimage, a direct route from dusty earth up to the heavens, where enormous creatures soar and carry sacrifices up to the gods. Its base is well known for the efficacy of the invocations offered there, but very few other than the most faithful dare venture up the stairs themselves: enormous eagles, howling winds, and various inimical undead make the stairs a place that few find congenial for long.

Beneath the moorlands of Thar, hidden from all for centuries, lies the Broken Halls of Goldahroud. It seems to have been inhabited until recently as the blood marks on the walls are only a few weeks old. What mysteries lie beyond the doorway from the Tomb of Kered? Fear of the markings have forced the SALT Consortium to turn again to hiring adventurers to face what horrors await them in the Broken Halls of Goldahroud.

While sitting around your favorite tavern, a loud explosion shatters the serene mood of Moscow. You sprint to the source and discover the distillery has exploded. The glum populace grumble loudly. With winter setting in and nothing to do the citizens rely on the libations from this business to cheer them up. You are approached to scour the canyon area before the winter sets in to find a few extra kegs for the people.

Omens speak of an old and forgotten power located within a played-out diamond mine in the foothills of Thar, and some believe that might be a solution to the current problems facing Melvaunt—or possibly the cause of them. With danger closing in, someone has to investigate. The adventures converse with a drunken gnome, from a previous installment, and decent the gnome's diamond to rescue his kidnapped family and confront the cultists of Cyric. Part Two of the Misaligned Trilogy
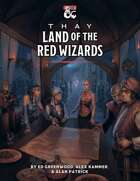
Known to the wider Forgotten Realms® as a sinister land of Red Wizards, slavers, and marching undead armies, Thay is the distant—or uncomfortably close—menace that “may become our doom if Szass Tam turns his attention in our direction.” And Thay is that, but it is also so much more. A truly magical land (thanks to a secret that even the goddess Mystra helps to keep) of rich culture, a rising middle class, ambitious nobles and Red Wizards who fear Szass Tam more than they hate him, but may soon be forced to defy him, and wealth beyond the imaginings of even wealthy and proud realms elsewhere. This tome is your guide to the Thay of right now, a valuable resource for Dungeon Masters and players alike. It sets forth the people and places of the Land of Red Wizards, what life is like, and seeds, hints, and secrets sufficient to spur adventures for years of enjoyment at your gaming tab.
A local monolith which is the nearby town's good-luck charm and tourist attraction is taken as a lair of a wandering wind harp devil. Will the heroes banish the devil, or come up with a dark bargain?

A spirit is attacking a town — no one knows why, but they’re determined to be rid of her. The adventuring party is recruited to investigate. However, what appears to be a simple haunting turns into a story of justice. Pgs. 43-59

Aumvor is aware of the intruders and sends a warning with a powerful fire ball. Satisfied that the party has lost interest, Aumvor returns to his vault where he can safely leave his remains and travel the planes in search of greater power. Perhaps the PCs that survive the blast may have the upper hand. Growing closer to the final chapter, the party of adventurers will find that the only way out is into the tank for a swim. Aumvor the Undying has hidden here in this dungeon for centuries, waiting for his chance to resurface as the emperor of Netheril. The time has passed slowly and Aumvor’s powers are waning. He has hidden phylacteries well, but what use will they be if he has no vessel I which to dwell. Aumvor makes a final effort to kill the party before returning to his vault to wait in ambush for them. In “𝐏𝐚𝐫𝐭 𝟓 The Lower Tower”, you will find the secret at the bottom of the tower, 16 exciting and deadly encounters, and a lot of zombies floating in cadaver soup. Ever fight zombies while swimming and dodging specters? Here is your opportunity. Also coming soon, Roll 20 Map Pack for The Tower of Bondage.