
Though small, Seawell is a prosperous trading town with a good location on the coast. Next to it is a long peninsula that features mostly swamplike terrain. The inhabitants of this peninsula include tribes of lizardfolk, plus several kinds of reptiles and amphibians. Most of these creatures don't bother the town, and Seawell's militia is experienced at repulsing raids by the more aggressive lizardfolk. A large reef extends the entire length of the peninsula on the side away from Seawell. This great wall of coral is a favorite site for fishermen, but it has always presented a serious hazard to ships approaching from that direction. Thus, about 45 years ago, the people of Seawell built a lighthouse on a small promontory near the reef, about 200 yards from the shoreline. Operated by a family that lived inside it, this lighthouse ensured that ships could easily steer clear of the reef. A few weeks ago, ships stopped arriving from that direction. Three ships are now overdue, and the people of Seawell have begun to suspect foul play. Thus far, however, they have not been able to investigate because of increased raiding by the lizardfolk. Something has stirred them up, and the town militia has been too busy repulsing raids to mount an expedition to the reef. Wreck Ashore is a short D&D adventure for four 1st level player characters (PCs). The scenario takes place on and around a swampy peninsula that juts out from a longer stretch of coastline. Along one side of this peninsula stretches a dangerous reef. Just offshore on the reef side stands a lighthouse built to warn ships of the danger. At the base of the peninsula on the side away from the reef is a small port town called Seawell.
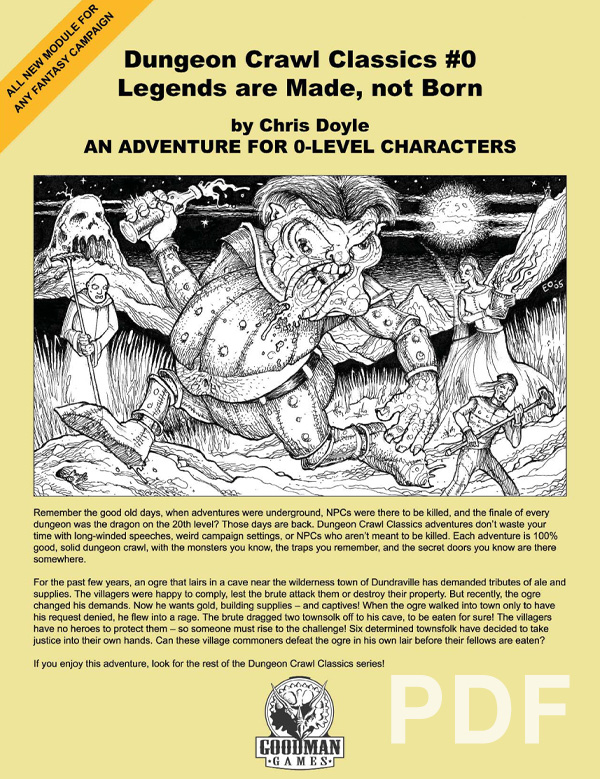
An Adventure for 0-Level Characters Remember the good old days, when adventures were underground, NPCs were there to be killed, and the finale of every dungeon was the dragon on the 20th level? Those days are back. Dungeon Crawl Classics don’t waste your time with long-winded speeches, weird campaign settings, or NPCs who aren’t meant to be killed. Each adventure is 100% good, solid dungeon crawl, with the monsters you know, the traps you fear, and the secret doors you know are there somewhere. For the past few years, an ogre that lairs in a cave near the wilderness town of Dundraville has demanded tributes of ale and supplies. The villagers were happy to comply, lest the brute attack them or destroy their property. But recently, the ogre changed his demands. Now he wants gold, building supplies — and captives! When the ogre walked into town only to have his request denied, he flew into a rage. The brute dragged two townsfolk off to his cave, to be eaten for sure! The villagers have no heroes to protect them — so someone must rise to the challenge! Six determined townsfolk have taken justice into their own hands. Can these village commoners defeat the ogre in his own lair before their fellows are eaten?
Something's not right in the hamlet of Verdinica. Why do the locals wear such thick clothing, even in the midst of a heart and muggy summer? And what sort of "prisoners" could make the strange, sloshing noises that are heard some nights coming from the gaol? Pgs. 38-57

This adventure takes place in the Moonsea of Faerûn. The players have been brought to Melvaunt to search for the missing scions of the city's great families. To the north, in Thar the orc tribes converge on the ruined fortress of Xul-Jarak, flocking to the banner of a charismatic warlord. There, he intends to sacrifice the scions of the great families of Melvaunt in a bloodritual to Gruumsh. The players will escape Melvaunt, search along the wilderness of Thar for the Fortress of Xul-Jarak, and then explore the dungeons of the ruined fortress and hopefully rescue the scions before they are sacrificed. There also is a Web Enhancement by Eric Cagle on the archives of wizards of the coast's website designed to scale the adventure to level 8. For example, it replaces the Owlbear with a Tyrannosaurus. This is an easy to scale adventure with much of the player's difficulty coming from intelligently avoiding problems, choosing how to approach each floor in the most tactical way, and quickly adjusting when something goes wrong. The adventure has sidebars including common orc battle cries (In Orc!), ready to use orc names, weather and random encounter table in Thar, a description of what happens if the party fails or partially succeeds, and suggested minis for each of the encounters. There is even an extended description of the bloodspear ritual, an event the party is not meant to encounter in a normal run. The appendix is detailed for all the humanoid characters including the scions and their equipment, the named villains, and variety of unnamed orcs the party will encounter. The fortress also offers an opportunity to introduce the players to the Underdark and the Zhentil Keep. There is a passage to the Underdark the players can accidentally explore, and return to later. Emissaries from Zhentil Keep have come to watch the ritual and have their own motivations. These npcs provide an opportunity for exposition and role playing at a point which otherwise might be combat heavy, acting as a valve for the first floor - helping or hurting the party with subtle magic should the difficulty be off.

In this all-new adventure, the characters acquire a treasure map tattooed on tanned human skin. It shows the location of famed pirate Bloody Jack’s last haul, where hundreds of thousands of gold coins lie waiting to be taken. But exploring his long-abandoned island hideaway isn’t as easy as it first seems. Bloody Jack didn’t leave his treasure unguarded — and the best way to keep the undead legions well-stocked is to lure treasure-hunters to their death…

This sequel to issue #87’s ”Raiders of Galath’s Roost” takes the PCs back to the Dales region, where they must uncover a plot to destabilize the region. Zhentarim agents from Zhentil keep are disrupting trade along the Moonsea Ride, while drow from the forests are slaughtering merchants and taking their goods to sow discord between the humans of Misteldale and the elves of Cormanthor. The PCs must embark on a convoluted investigation to uncover the mystery behind the attacks. Pgs. 48-68

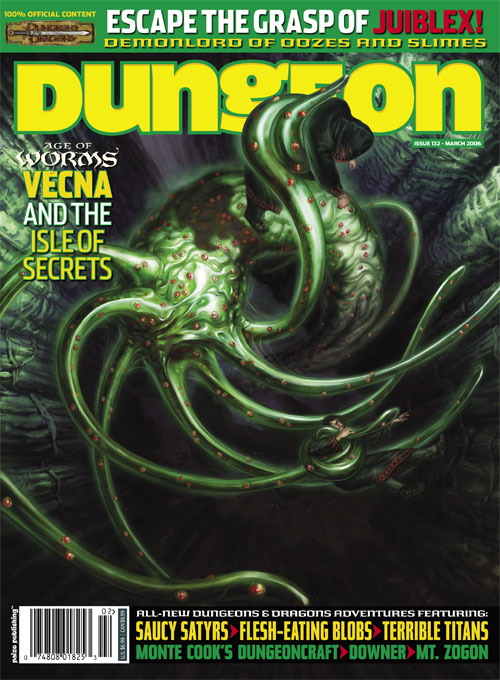
Dragotha's phylactery lies hidden somewhere in the ruined city of Kongen-Thulnir, a ruin now inhabited by tribes of giants and besieged by an army of dragons desperate to claim the phylactery for their undead master. "Kings of the Rift" is the tenth installment of the Age of Worms Adventure Path, a complete campaign consisting of 12 adventures, several "Backdrop" articles to help Dungeon masters run the series, and a handful of poster maps of key locations. For additional aid in running this campaign, check out Dragon's monthly "Worm Food" articles, a series that provides additional materials to help players survive this campaign. Issue #342 of Dragon presents several magical items that the PCs can construct using Item Creation feats that fit into the mythos of the Age of Worms Campaign. Pgs. 52-86

Zhentish soldiers, Maerimydran drow, and Sharran cultists have forged a dark alliance to subjugate the peaceful land of Shadowdale. Elminster's tower lies in ruins, Lord Amcathra governs at the sufferance of the dale's conquerors, and the very Weave of magic in this embattled land seems to fray with each passing day. The Zhentish yoke lies heavy over Shadowdale—but the Dalesfolk are ready to fight for their freedom, if only they can find true heroes to lead the way!

I am the Set Rahotep No man was more potent when I was amongst those dwelling in the land of Khemit. In death I am greater still! Do you not fear serpents? I am the Aepep Rahotep! Who does not tremble before the monsters of the Duat? I am one! Does your flesh not crawl at the sight of a terrible wyrm? I am the Deathwyrm Rahotep! Does your blood run cold before the face of a fiend? Know then that I am Rahotep the Fiend! Who shuns not demons? Shun me, for I am the demon Rahotep, the Red Devil. And which fool listens? That one is wise! Praise Set and the Set Rahotep, that one, and pity the rest! An Epic Adventure and Sourcebook Gary Gygax's Necropolis is a vast campaign scenario that sweeps the characters into an epic adventure across the magical desert kingdom of Khemit. From a hidden evil in a desert village, to the secrets of ancient tombs, Necropolis takes the characters on a dangerous mission to thwart the plans of an undying archpriest-wizard who would be a god! Necropolis is also a campaign sourcebook, detailing the lands of Khemit, new classes and prestige classes, new spells and more than 60 monsters unique to the desert lands. This book also details over 50 new gods and new cleric domains, allowing DMs to run extended campaigns in the desert kingdom.

Lost within the ruined House Cannith citadel of Whitehearth, an arcane workshop somewhere in the perilous Mournland, is the key to constructing a terrible magic weapon. Agents of the Emerald Claw will stop at nothing to recover the ancient device. As malevolent forces hunt for the artifact, only the most resourceful heroes will reach Whitehearth first and discover the secrets that lie within. "Shadows of the Last War" is a stand-alone adventure for the Dungeons & Dragons game that will immerse your characters in the Eberron campaign setting. Designed to challenge 2nd-level D&D heroes, it pits them against one of Eberron’s most nefarious organizations.
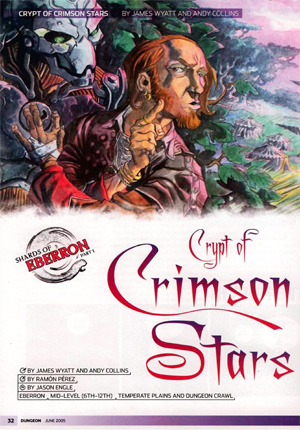
Rumors of an Eberron dragonshard of enormous size and power have reached the city of Sharn. Unfortunately, the shard is concealed winthin a Talenta Plains tomb located below a camp of cruel halfling nomads and their dinosaur pets. For centuries the Crypt of Crimson Stars has lain hidden in the vast expanse of the Talenta Plains. Now it has been found, and its legendary lost treasures draw adventurers from across the continent. Can you navigate deadly traps, fearsome guardians, and vengeful nomadic halflings to claim the prize? "Crypt of the Crimson Stars" is part one of the three-part "Shards of Eberron" Campaign Arc. Pgs. 32-41

Sarkt is an illithid sorcerer. It was cast out of its community for its heretical studies (Sarkt was in fact, lucky to escape alive). It didn't take the cunning creature long to pick up a few thralls and find a new place to live, safe from the murderous intentions of its companions. Sarkt dwells in the subterranean ruins of an ancient shrine to Blibdoolpoolp, the crustacean-headed deity of the kuo-toas. This shrine lies on the fringe of a region controlled by kuo-toas, but since Sarkt's arrival, the fishmen avoid the area. A few unfortunate kuo-toas now serve Sarkt as thralls and maintain the illusion that the shrine serves Blibdoolpoolp. Pgs. 82-88
The PCs follow the trail of some particularly competent kobold thieves to the lair of a dragon cult deep in the swamp. There they discover efforts underway to grant sentience to the skeleton of a powerful red dragon once named Flame. Eventually the PCs determine that trouble has returned to the Western Mountains in the form of a band of fire giants ruled by a clone of the original red dragon named Flame.
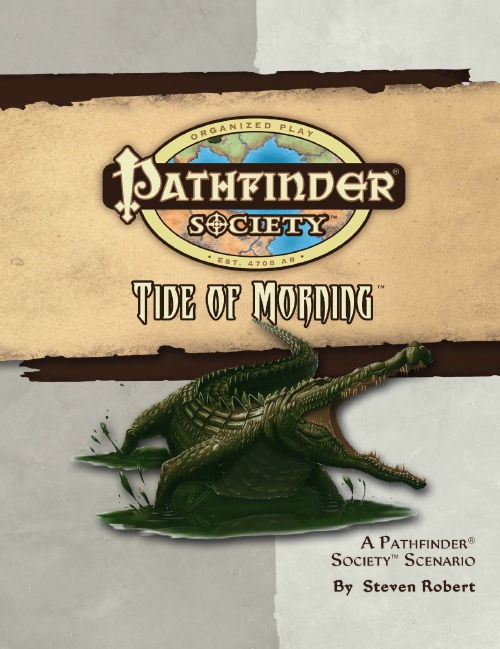
Venture-Captain Dennel Hamshanks sends you to convince an Andoren druid named Hemzel to allow the Pathfinder Society to study his recently discovered lorestone, a minor magical item that unlocks some of the mysteries of the ancient Andoren druid circles. When you arrive and find Hemzel murdered and the lorestone missing, you must race against time to recover the lorestone and stop Hemzel's murderers from using it against the druids of Andoran.
The sleepy forest town of Aulbesmil has seen better days. Orcs and monsters lurk in the woods now, but the real menace hides in the town itself. The PCs arrive in town to investigate a mysterious tragedy that has befallen the townsfolk. As they explore the town, they learn of other strange happenings and must assemble the puzzle to figure out who is responsible for the thefts and disappearances. Eventually, they track down the baron's culprit and bring him to justice, as well as liberate the captive nephew of the Baron. Pgs. 16-28
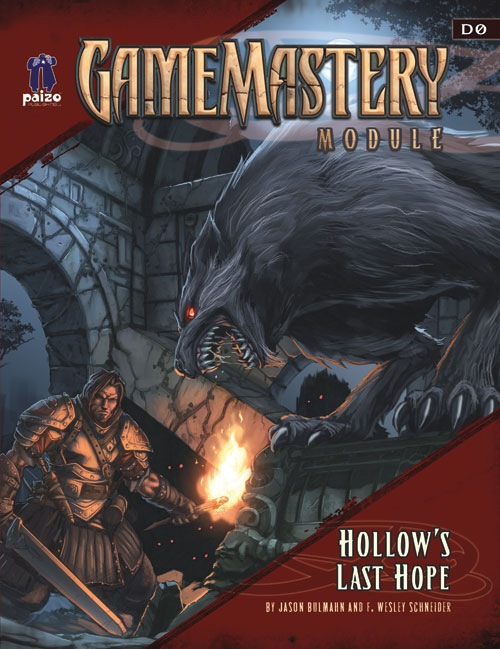
The town of Falcon's Hollow needs a miracle. The plague has come to the town of Falcon's Hollow, and not even the town's priest can abate its wretched course. With the coughs of the sick and the wails of the dying echoing through town, the local herbalist uncovers a cure, but she needs some brave heroes to retrieve the ingredients. Finding the cure means risking the dangerous Darkmoon Vale, infiltrating a witch's haunted hut, and delving the ruins of an abandoned dwarven monastery.
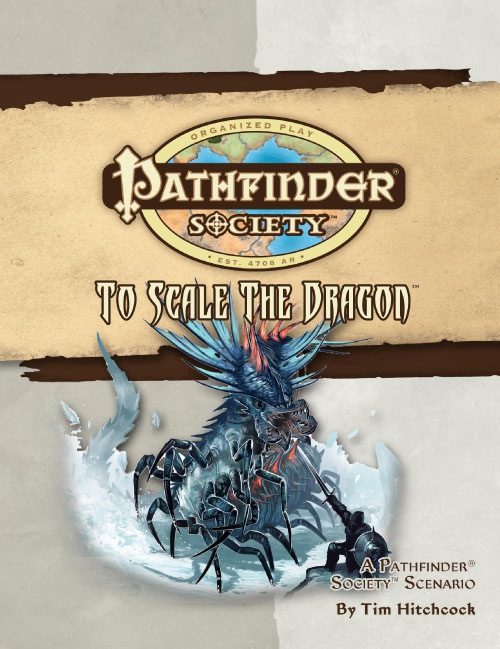
The last remains of a sage from an age long past rests high atop the snow-covered tips of the Fog Peaks in Southern Galt and the Society wants his bones in order to study them and learn from them. They've sent you into a wintry wilderness of primordial beastmen and snow creatures not seen below the snow line to do just that. With the Aspis Consortium also seeking the bones, the race is on to beat them to the top and, once the bones are recovered, to make it back down alive.

When the priestess of Ehlonna was murdered by a werewolf, the townsfolk of Deepwood lost no time in meting out justice, even though the shapechanger turned out to be a trusted friend and neighbor. But his journal has the town worried. Written in an unknown tongue, it seems to contain important pieces of information. Is it a list of other werewolves? Is the threat to Deepwood over, or has it only just begun? Cries of "Murder!" brought the villagers of Deepwood running to the temple to witness a grisly sight. The priestess of the Temple of Ehlonna lay murdered on the floor, savaged by some vicious beast. Above her body stood a large wolf. Then, before their horrified eyes, the wolf turned into a man -- their friend and neighbor Trammil! The villagers lost no time in giving Trammil the justice he deserved at the end of a rope, even over the objections of those few who thought he deserved a trial. But Trammil's death has not made the villagers feel safe. No one suspected his dark secret until the day of the crime. Could there be others? Can anyone in town be trusted? Only someone who can translate Trammil's journal and fully investigate the murder can solve the mystery.

The Fortress of the Yuan-Ti describes a fortress build into a cliff side and the slave village outside. The Adventure is the third of three but can easily be played by its self. The adventure revolves around the players discovering the dark plot to revive the demon Sertrous and then stopping it. The adventure describes the outside, inside, and hanging towers of the fortress. The adventure concludes in a forth extra-planer tower were you fight the boss. It also includes 4 sidetracks from portals that explain how they get the materials for the ritual. Final part of the Barrow of the Forgotten King series.
When four statues of unspeakable power were found in a tomb in Osirion and then stolen, the Pathfinder Society assumed they were gone forever. When they appeared again in the illicit inventory of a Qadiran smuggler in the massive trade city of Sedeq, the Society wasted little time dispatching you there to recover them. Finding the smuggler dead and a familiar face from Absalom responsible, your task quickly becomes a race to retrieve the statues before their brutal power can be unleashed on the citizens of the Satrap. Can you find the statues in time or will Sedeq be swallowed in a plague like none Golarion has ever seen?