
It is Autumn. Most of the clans of the Great Valley have departed south with the herd animals they depend on for survival. But one small clan lags behind. For seven nights they have been unable to travel, plagued by a terrible monster known as the Night Thing, which has killed their people and wounded more. Your party answers the call of dwarf chieftain Skarna Two-Axe, begging hunters from neighboring clans to pursue and kill the monster that’s been attacking her clan, and that slayed her son. Starting at the chieftain’s clanfire, the characters uncover mysteries about the creature that can only be fully solved by tracking the awful Night Thing to its lair, which is full of frightening apparitions. As the party ventures deeper into the Night Thing's lair, they'll discover an even deeper menace, and a plot to overthrow the chieftain. Only they can save Skarna and her people from the grim machinations of their powerful enemies! Published by Atlas Games

"Terror by night! The village of Orlane is dying. Once a small and thriving community, Orlane has become a maze of locked doors and frightened faces. Strangers are shunned, trade has withered. Rumors flourish, growing wilder with each retelling. Terrified peasants flee their homes, abandoning their farms with no explanation. Others simply disappear. . . No one seems to know the cause of the decay -- why are there no clues? Who skulks through the twisted shadows of the night? Who or what is behind the doom that has overtaken the village? It will take a brave and skillful band of adventurers to solve the dark riddle of Orlane!" TSR 9063

The Wizard’s Amulet is a short, introductory adventure for six newly created good-aligned 1st-level characters. The adventure revolves around Corian, a fledgling Sorcerer. While an apprentice, Corian discovered a letter written by a wizard named Eralion, who it is said some years ago attempted to become a lich—and failed. Accompanying the letter was a mysterious amulet with strange markings. Joined by newfound companions, Corian set off in search of Eralion’s keep and his supposedly unguarded treasure. But Corian is not alone in desiring to unlock the mystery of Eralion’s fate. Darker, more evil forces have designs on the secrets reputedly hidden with Eralion—forces willing to stop at nothing to obtain… The Wizard’s Amulet.

The wizard Kavorquian is dead. But certain items belonging to his adopted son were in the wizard's keeping at the time of his demise. Now someone must venture into the silent vaults of Kavorquian's stronghold and recover the missing property. Queen's Harvest picks up its story where B11, King's Festival, left off. It can be played as a sequel to that adventure or as a complete adventure in itself. It is tailored for beginning Dungeon Masters and players and contains helpful hints on adventuring and the land of Karameikos. The story develops simply, but ultimately leads the player characters into the nether reaches of Penhaligon's politics to confront Ilyana Penhaligon, mad pretender to the throne! TSR 9261
In this level 1-5 adventure for 3-5 players the party is tasked with the rpg standard mission a.k.a. catching rats in a cellar, only in this case they are not rats but guinea pigs. However this is all a big ruse to get some test subjects together, because the mage who gave them the job actually wants to start a gameshow. People from around the world can compete here for prizes in front of a live audience. However the games will have to be tested and that's where your brave adventurers come in. This adventure contains 10 different puzzles, 10 different rewards and tips on how to adjust the encounters for players of higher and lower levels than the recommended level of 3.

A malicious and virulent force possesses the Vermyr Woods. The local wild-life has fled; known paths have mysteriously vanished or shifted; and locals have been found hanging dead from trees yet their eyes watch... they always watch. The hopes of the people are dwindling quickly. Believing that evil harpies have afflicted the woods, brave Captain Harkin set forth to serve them righteous justice! Even the mighty druid Algalor is nowhere to be found. Time passes and their worries compound. Why have the harpies attacked? What is the fate of Algalor and Captain Harkin? What is this mysterious evil that plagues the Vermyr woods? Who is Cartman's dad? The heroes will stumble into this mystery as they travel to Homid. They will discover the truth of the harpies as well as the fate of the heroes who safeguarded this region by delving deep into a forest labyrinth that feels alive! Will it consume them or will they be strong enough to defeat the evil at its core! Published by: Paper Dragon Tales

To stop a devastating rampage of giants across the land, the party must venture into the lair of the stone giant thane Arnak to uncover the truth about why he has broken his peace with the neighboring dwarves. In the process, they will have the opportunity to retrieve important symbols of the fight against the giants and uncover a dangerous excavation. The adventure is part of the "Against the Giants" series originally by Gary Gygax, hence the writing credit.

Written in celebration of Swords and Wizardry Appreciation Day 2017, Return to Fel’Valashar picks up where Dungeons of Fel’Valashar left off. In this book is a collection of mini dungeon adventures with a small region called Fel’Valashar that they take place within. Each of these adventures is written in such a way that they don’t have any ties to each other or to Fel’Valashar. This means you can easily drop them into your own world with no fuss. Includes: Details of the south-western region of Fel’Valashar. Four mini dungeon adventures. New monsters. New magic items.

Who could know what is hidden within the secluded mansion of the crazed mage? Well, now, when nobody has seen him here for more than a year, it’s the best time to find out! A 4-hour adventure for two 1st–2nd level characters. Small Party Adventure: Though the party size of 3–5 characters is considered optimal in D&D, there are times when you can only gather one or two players at most. This adventure is designed exactly for such occasions.

A fallen clock tower holds components from an ancient artifact. Upon discovery of the components, competing agents look to launch expeditions to uncover additional components scattered across distant places—and times. The now-lost Temple of Moloch and the construction site of the legendary Tomb of Horrors are two of those locations. However great the risks, finding the components demands the effort, for whoever does so can reassemble the fabled Infernal Machine of Lum the Mad!

*THIS IS A D&D NEXT/5E PLAYTEST ADVENTURE* Imani, a Turmishan wizard and former adventurer, seeks the aid of heroes to infiltrate Dretchroyaster’s lair and recover the Diamond Staff of Chomylla—the key to powerful magic and wisdom locked away for thousands of years. In addition to his own sagely interest in the lore of lost Uvaeren, Imani recognizes the dangers of such powerful magic falling into evil hands. The dracolich has secured the staff in his lair’s cen- tral chamber, using ancient wards of protection that can be bypassed only by four artifact-idols once belong- ing to a cult of Bhaal. Each group of adventurers enters the dungeon through a different section of the dun- geon—a forgotten temple of Bhaal, a vast underground lake, a troglodyte village, or Dretchroyaster’s vaults. Dretchroyaster’s lair is no simple set of caverns and ancient ruins. It sits atop a source of great power and energy, which the dracolich and his Cult of the Dragon allies hope to use to unlock the secrets of the staff. Only by undertaking a unified assault against Dretchroyas- ter’s lair can the adventurers hope to recover the Diamond Staff and survive the dracolich’s fury. The adventurers must make their way through the lair and recover the Bhaalite idols that will help unlock the Diamond Staff, all the while dealing with the lair’s creatures and avoiding the dracolich as he pur- sues intruders. Entering the Chamber of the Diamond Staff, the heroes must overcome its magical wards and claim the staff before being slain by the dracolich and his servants.
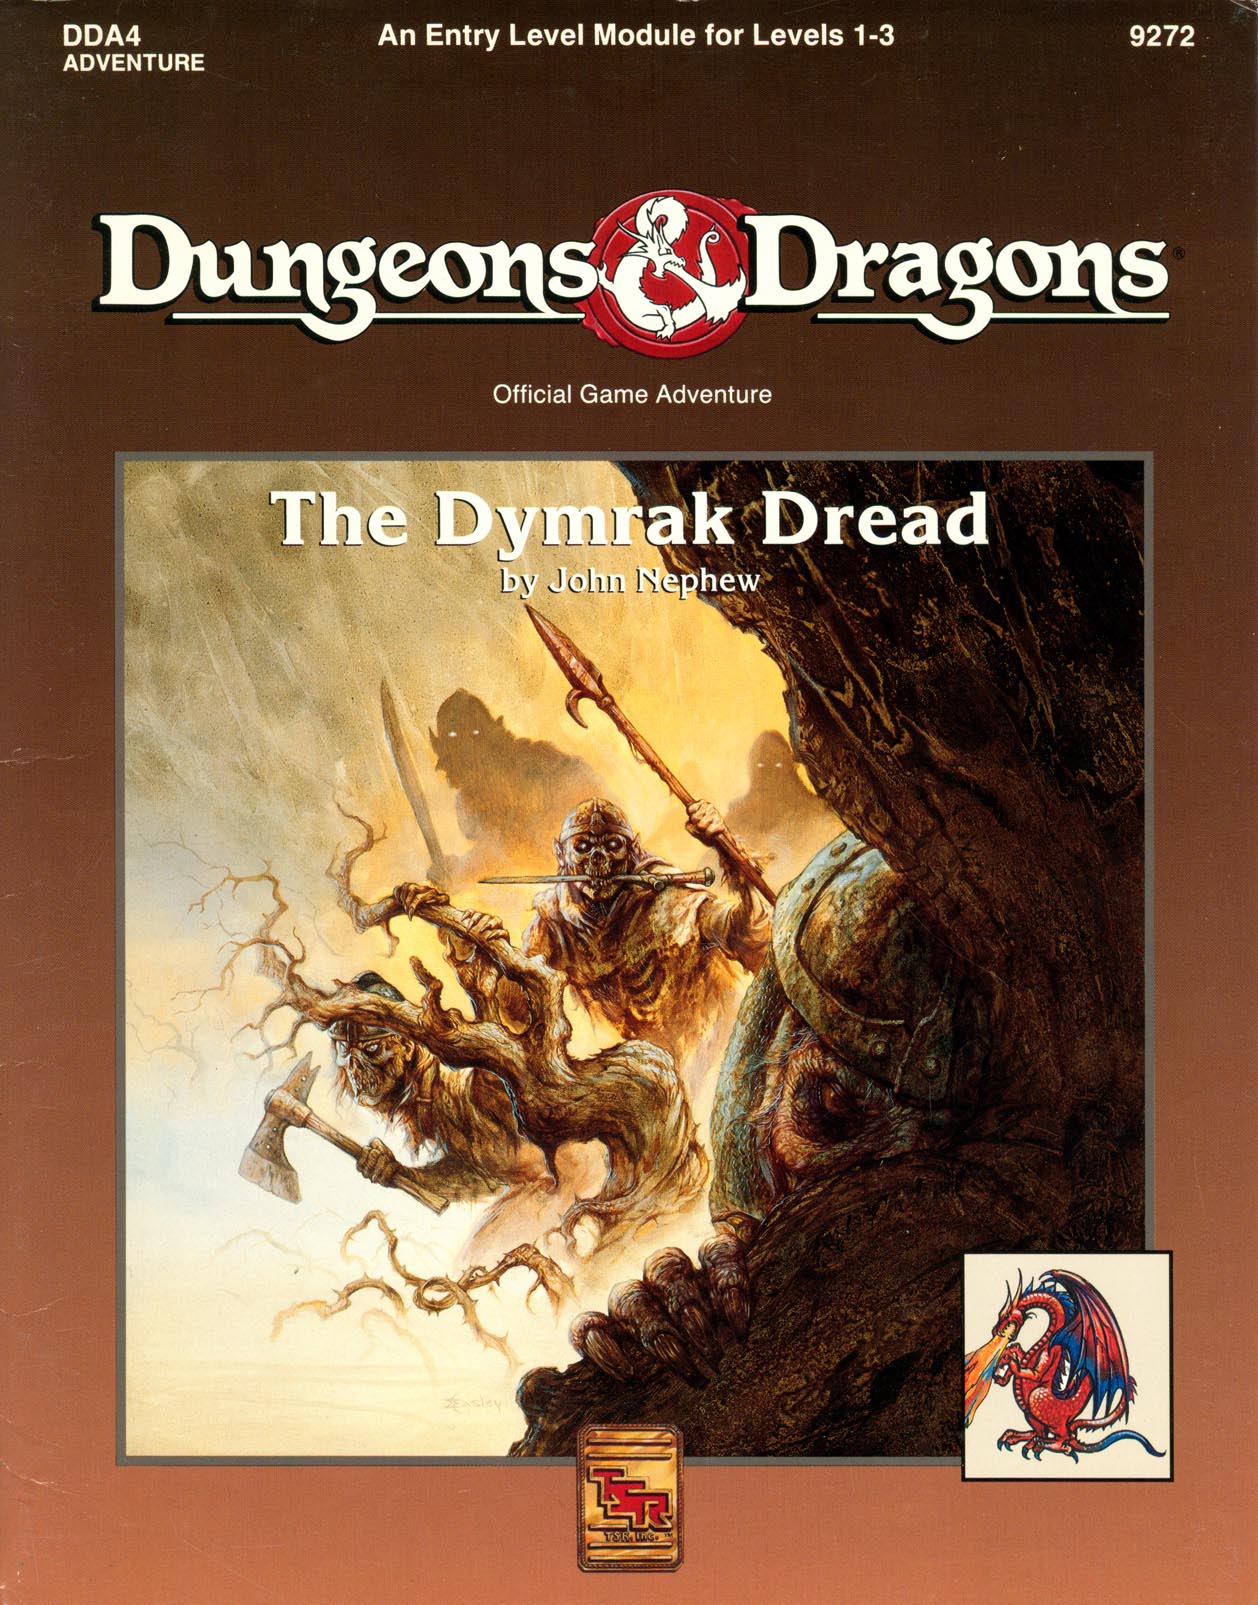
Adventure Lies Ahead, Deep in the Heart of the Dymrak Forest Are you ready to meet the Lord Forester's challenge: to put an end to needless death and destruction by doing away with the goblin war chieftain, Kosivikh, and his evil band of raiders? Eager to prove yourselves as new adventurers and to collect a sizable bounty, you travel to the goblins' dungeon in the Dymrak Forest - a place that has captivated your interest for years, a place where few have dared to venture. Only you and your fellow adventurers can put an end to the rampant bloodshed and return peace to the territory. This module is recommended especially for beginner Dungeon Masters and players who are interested in dungeon exploration. Can be used as a follow-up to the DDA3, Eye of Traldar module or it can stand alone Features easy-to-follow rules on dungeon adventuring in the heart of the Dymrak Forest. TSR 9272

"A great cat sits upon the northern grasslands, my friend, waiting to pounce on adventurers just like you." As you part the tall grass with your sword, the words of the tavernkeeper echo in your head. "He was the mightiest wizard we'd ever known, and that Lion Castle was his home." Your friends' voices mingle with the tavernkeeper's. "He's but a ghost now, haunting those halls, and waiting for an heir." The ground rises slightly. A strong wind rushes through the field. Suddenly, the grasses part, and Lion Castle rises majestically before you! "Magical riches await those who enter!" "Beware of man-beasts!" Voices flood your head again. Will you brave the haunted castle? Can you afford not to? It's all up to you in this D&D Solo Adventure. Ghost of Lion Castle is for one player only, but that one player makes all of the choices and enjoys all of the rewards. An entire castle and courtyard await your exploration. The adventure also includes a complete solo combat system. TSR 9097

"Gnolls have captured the heroes! After stripping the characters of all equipment except their armor and clothing, the gnolls drag them to an expansive briar maze known as the Twisted Thickets and set them loose. Then, armed to the teeth, the gnolls hunt down their prey. The characters must survive the hunt and outwit their pursuers. Stripped of your armor and weapons, you are cast into the Twisted Thicket and hunted like rabbits. If you want revenge, you must first survive Yeenoghu's evil Hunters. After dealing with the gnoll hunters, the heroes can try to reclaim their lost equipment and exact revenge on the tribe, which lairs in the caves beneath Dead Gnoll’s Eye Socket." Pgs. 2-14

This adventure focuses on a Zhentarim attempt to spread terror in Mistledale, although it is suitable for almost any lightly settled area northwest of the Sea of Fallen Stars. "The Raiders of Galath's Roost" is suitable for four 1st-level characters, but PCs should be at least 2nd level before tackling the adventure's second half, the Zhentarim Citadel. Even in the first half of the adventure, many of the encounters are quite formidable for 1st-level characters, and the PCs might find it necessary to withdraw and recover one or more times before completely exploring the ruins.
Wednesday's child... It's a blessed event only if you can end the curse in time. People have been disappearing form the town of Monetenapoleone and a swamp has appeared blocking the towns trade route. It is up to the players to find what is causing all of these strange events and to stop it. Pgs. 32-49

Important: The adventure is 1e but it has monster conversion notes for D&D 4th edition The town of Highport, once a human community overlooking Wooly Bay from its perch on the northern coast of the Pomarj, fell prey to hordes of humanoids swarming out of the jungle-covered hills surrounding the settlement. Though the orcs, goblins, kobolds, ogres, and gnolls razed much of the place in their ferocious rampages, the smoldering ruins they left behind soon became a new kind of community, a place of trade between the humanoid “locals” and the unsavory human traders who have no compunction about doing business with them. Slaves are a commodity in ready supply in Highport’s market, since many pirates raid up and down the coast of the bay, putting fishing villages to the torch and filling their holds with captured refugees. Slavery has become a thriving business in the town, and rumors abound of a cartel of Slave Lords who run things from behind the scenes, filling their coffers in secret from the buying and selling of human chattel. The trade has become so prolific that the good folk to the north have grown tired of these depredations and decided to fight back. Forces of righteousness and honor have recently descended upon Highport, some openly and others in secret, in various attempts to destroy the machinations of the Slave Lords and abolish the abominable enterprise that has taken far too many loved ones from home and hearth. One such doughty servant of goodness is Mikaro Valasteen, a cleric of Trithereon. Mikaro slipped unnoticed past the crumbling walls of Highport with a single mission: to rescue and transport as many slaves to their freedom as possible. Mikaro and a handful of faithful assistants located a number of escaped slaves—as well as rescued a few more not sufficiently restrained and guarded—and shepherded them through the gates and beyond the reach of their humanoid tormentors, returning them to their lands and homes. This covert freedom brigade enjoyed remarkable success early on, since the servants of the Slave Lords were often lax in their vigilance and sloppy in their efforts to prevent loss of the “merchandise.” After one too many shipments never made its destination, the humanoids stepped up their security and the normal channels of escape from Highport closed to Mikaro and his team. He cannot risk exposure by smuggling the freed slaves through the gates as merchandise any longer, since shipments of goods are now regularly stopped and checked. No longer able to free the slaves in that manner, Mikaro began hiding his charges in an abandoned villa in a particularly rundown part of the town. Although they are safe for the moment, their numbers have grown unmanageable, and the priest fears it is only a matter of time before someone slips up and brings slavers to their doorstep. Ever more desperate to find a new means of escape from Highport, Mikaro has started work on a plan that is both daring and dangerous. He intends to use a series of old sewers coupled with natural caverns running beneath the town as an escape route to the sea beyond the walls. But he needs someone to clear out the creatures and pitfalls he knows lie within. Pgs. 2-27

A hunt for a missing key leads the heroes from the streets of the city of Greyhawk to the Tomb of Blood Everflowing in the treacherous Cairn Hills. Pgs. 18-20, 22 & 24-39

The party is caught between warring goblin and kobold gangs, occupying an abandoned dwarven mine. Will the heroes ally with one of the sides in this quarrel, try to make peace between old enemies, attempt to eliminate both sides, or achieve their goal stealthily and unnoticed? The choice is completely theirs! Small Party Adventure: Though the party size of 3–5 characters is considered optimal in D&D, there are times when you can only gather one or two players at most. This adventure is designed exactly for such occasions.
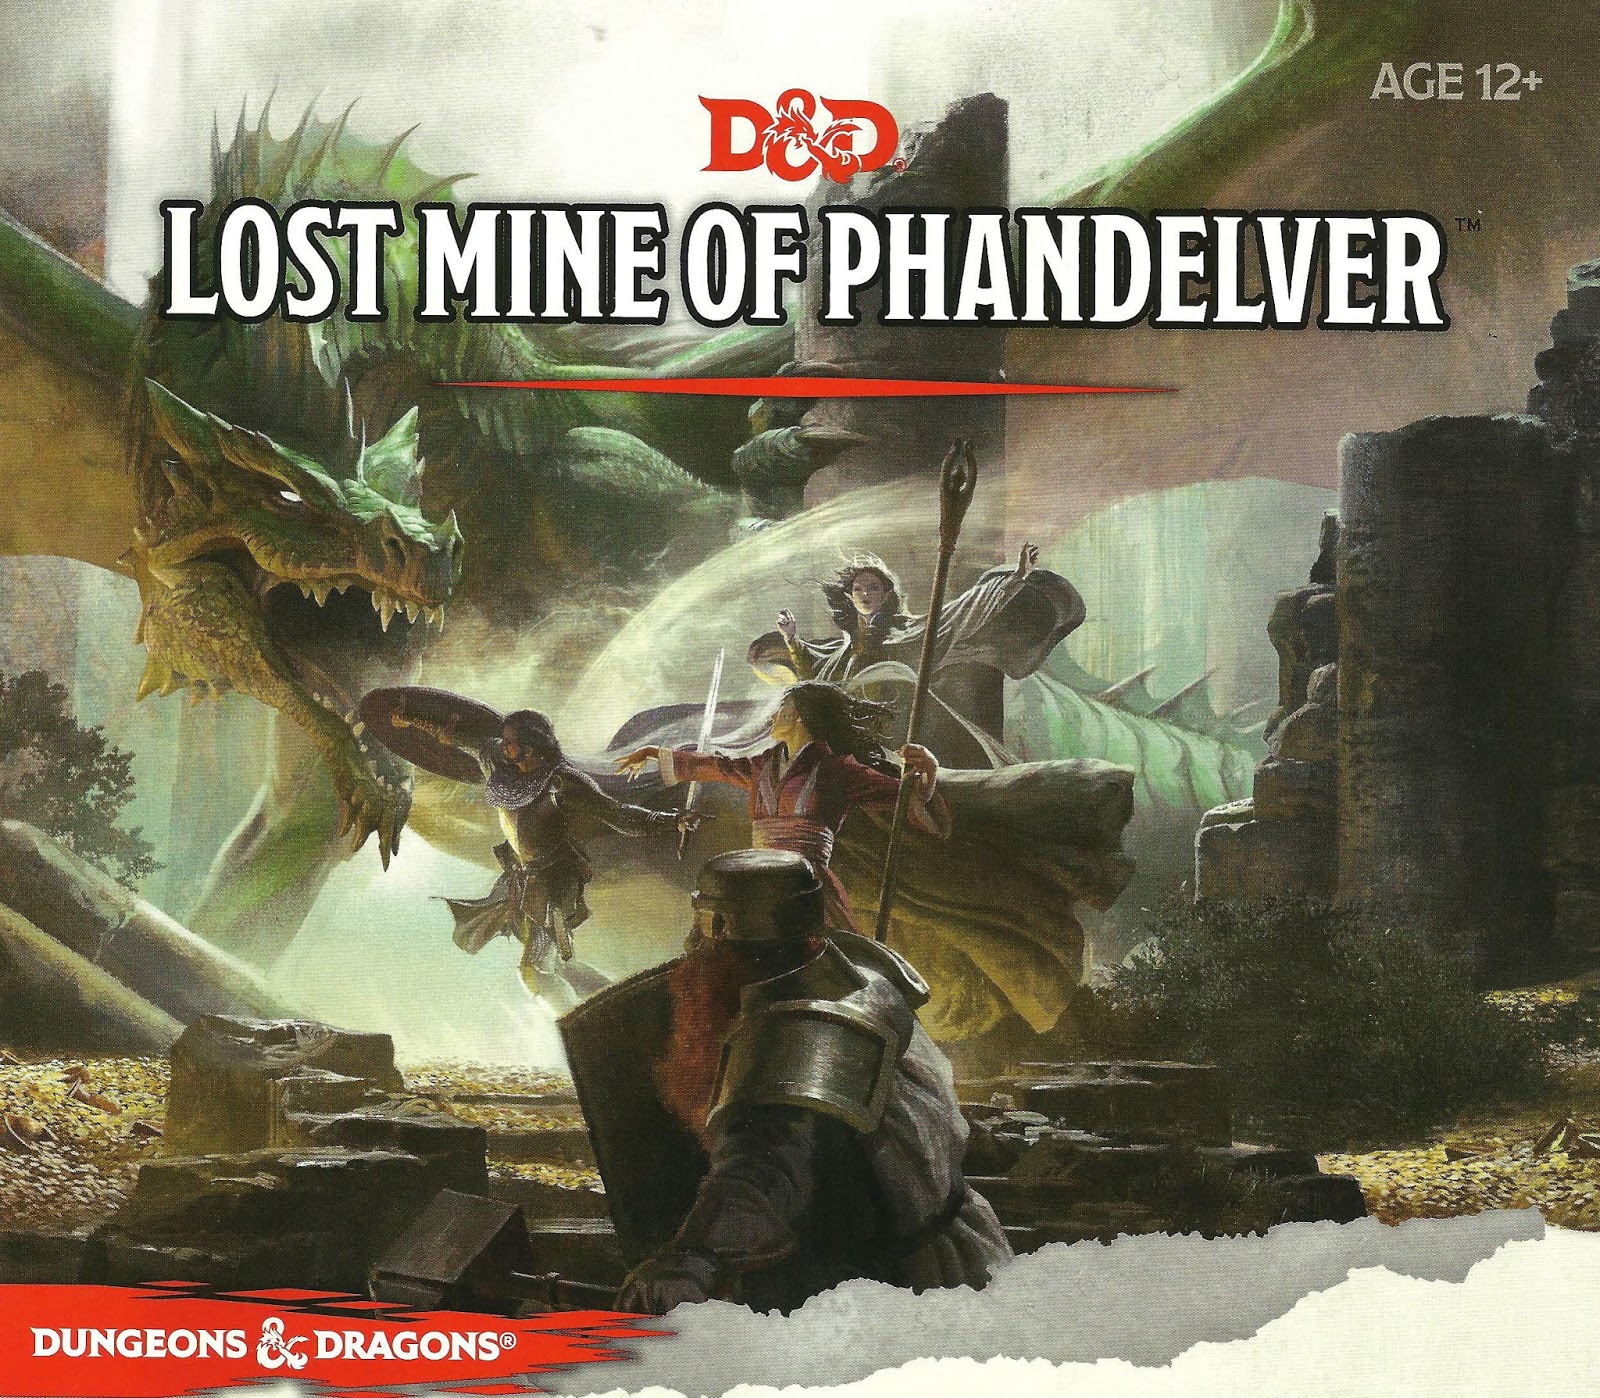
"More than five hundred years ago, clans of dwarves and gnomes made an agreement known as the Phandelver’s Pact, by which they would share a rich mine in a wondrous cavern known as Wave Echo Cave. In addition to its mineral wealth, the mine contained great magical power. Human spellcasters allied themselves with the dwarves and gnomes to channel and bind that energy into a great forge (called the Forge of Spells), where magic items could be crafted. Times were good, and the nearby human town of Phandalin (pronounced fan-duh-lin) prospered as well. But then disaster struck when orcs swept through the North and laid waste to all in their path. A powerful force of orcs reinforced by evil mercenary wizards attacked wave echo cave to seize its riches and magic treasures. Human wizards fought alongside their dwarf and gnome allies to defend the Forge of Spells, and the ensuing spell battle destroyed much of the cavern. Few survived the cave-ins and tremors, and the location of Wave Echo Cave was lost. For centuries, rumours of buried riches have attracted treasure seekers and opportunists to the area around Phandalin, but no one has ever succeeded in locating the lost mine. In recent years, people have resettled the area. Phandalin is now a rough-and-tumble frontier town. More important, the Rockseeker brothers - a trio of dwarves - have discovered the entrance to Wave Echo Cave, and they intend to reopen the mines. Unfortunately for the Rockseekers, they are not the only ones interested in Wave Echo Cave. A mysterious villain known as the Black Spider controls a network of bandit gangs and goblin tribes in the area, and his agents have followed the Rockseekers to their prize. Now the Black Spider wants Wave Echo Cave for himself, and he is taking steps to make sure no one else knows where it is." Extra Info from AL.com users: by @marcellarius. "There are a variety of locations in this adventure: the town of Phandalin, a gang hideout, a ruined keep in the forest, a destroyed village, and Wave Echo Cave (a dungeon crawl). The adventure is written in a sandbox style and relies on the players to choose their path. Phandalin offers several side-quests which could serve as hooks for continuing adventures. The premade characters have ties in their backgrounds to NPCs and locations. If you're not using these you'll need to consider other ways to introduce key NPCs."