
"Far be it from me to impugn the mettle of adventurers such as yourselves, but daring the depths of Undermountain merely for fortune's sake is more absurd than kicking a sleeping dragon in the nose for sport. Even so, you've returned for another trip to the Underhalls, so be prepared. You stand to enter the Lost Level this time: Gird yourselves for diplomacy as well as destruction. You'll find the last stronghold of an extinct dwarven clan: Do be good enough to extend the greetings of the Blackstaff to Bandaerl. There's also a dark vampiress who enjoys a good hunt, and be sure to mind the beholders: They're trained to keep you from escaping. "Enjoy, and don't say Khelben didn't warn thee." TSR 9519
:strip_icc()/pic530611.jpg)
Travelling long distances is the constant lot of the adventurer. This time, their quest will take them across the sea, and deep into the interior of a country they know little about, to retrieve an artefact stolen by one bunch of clerics from another. Now, we all know that meddling in the affairs of the Gods can be a hazardous affair, but this time the Gods haven't been worshipped for hundreds of years, and their clerics slaughtered each other in a great battle back in the distant past. Maybe this is that adventure we've all been waiting for, where the treasure is just sort of sitting there, and all we have to do is go and get it... A complete 40-page adventure, with stats for the D&D/AD&D games, and background information to use with the Pelinore campaign.

Civil War Unrest. Turmoil. Rebellion. As above, so below - the cataclysmic events of the Wrath of the Immortals echo throughout the Hollow World setting. The Milenian Empire, with its classical Greek culture, has not escaped. Already the streets are un-safe, and the omens are getting worse... The emperor is dead... long live the emperor! But is the new emperor a man of the people, or a tool in the hands of malevolent powers? Walk carefully, for no stranger is safe upon the streets these days, and adventurers least of all! The mood of the capital city is turning ugly. Minions of the new emperor look on uncaring, while citizens disappear and philosophers fall to heedless mobs. The old emperor's elite guards are disbanded and scattered. Disorder reigns, and restless citizens threaten open revolt. And yet... a whisper is heard. Civil war can be averted. An ancient artifact, the Milenian Scepter, can rally those who would serve the Empire best. But the Scepter has been lost for generations, and who can say where it might be? The trail leads into the depths of the city, and across a dangerous wilderness to a forgotten oracle. For the lucky and the bold, perhaps it will lead to... THE MILENIAN SCEPTER This stand-alone adventure is compatible with the Wrath of the Immortals boxed set and the accessory HWR3, The Milenian Empire. You will need the D&D Hollow World boxed set to play this adventure. Easily adaptable to the AD&D game. TSR 9378
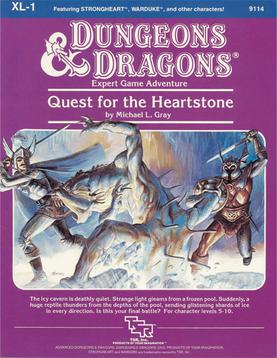
The King is dead! And the queen is in trouble. She has chosen you to find the fabled heartstone, which is buried somewhere deep in the Mountains of Ice. Is the gem I the hands of the corrupt Master Thief? Has he harnessed its powers for his own vile purposes? Or does it lie unguarded in the frozen ranges to the north, which teem with horrible creatures? This is your kind of quest! Quest for the Heartstone is a combined wilderness/dungeon adventure designed to be compatible with the Advanced Dungeons & Dragons Action Toys from LJN Toys, Ltd. and the Advanced Dungeons & Dragons Fantasy Adventure Figures from TSR, Inc. The adventure also includes complete maps, new monsters and players' illustrations. Will the heartstone be the key to peace in the kingdom? By her majesty's request... it's up to you to find out! TSR 9114

"The creatures are just too intelligent, too crafty, and too strategy-minded to "rampage." Rampaging brings the wrath of oath-bound knights, powerful mages, and divinely-protected priests. Why would a dragon want such attention, unless it had some special secret, or unless it was insane? Or both. The northern reaches of the Derideth Swamp were once plagued by a rampaging dragon. This black dragon, named Storamere, took a mad glee in attacking human villages, wiping out orc camps, driving off the lizardfolk, and decimating farmland. He met his untimely end, though, in an ambush devised by the monks of the Order of St. Chausle. Storamere died with a curse upon his draconic tongue: "you could not have defeated me in my lair," he told his slayers. "I am forever invincible in my lair." Now Storamere is back, with a horde of his misshapen half-dragon offspring, to have his vengeance. All that remains of the once-heroic monks are two old men driven mad by their last encounter with the black dragon, so it falls to a band of adventurers to again defeat the mighty dragon -- this time in his palace, where the boastful Storamere claims he is at his strongest." Includes maps and damage rules for navigating Storamere's lair, a semi-solid palace made of a dangerous, corrosive liquid five feet thick and located on the ethereal plane. Most of the monsters in the lair have the Half-Dragon template applied. Published by Atlas Games

In the Tower of Yladhra the Grim, a party of adventurers braves the dangers and puzzles of an enchanted wizard's tower, and finally confronts the wizard herself. The adventure is designed for a party of five adventurers between levels five and eight. It features: Encounters by Level - Varying types and quantities of creatures are suggested based on the party's actual level, allowing each encounter to present the appropriate challenge to the party. Encounter Notes - Suggestions for how to run combats are provided for game masters who place an emphasis on engaging, tactical battles. Inciting Action - Suggestions for ways to present the adventure to players are provided. Aftermath - Ideas for future adventures based on this one. Unique Magic Items - New magic items to introduce into a campaign. Ease of Use - The format and style of the document allows the game master to find information quickly while running the game at the table. Detailed Maps - What's an adventure without maps? Not much else to say here.

A Ravaged Land... Villains that really are larger than life... A time for heroes... A decade ago, the land of Geoff was overrun by a horde of giants, ogres, and evil humanoids, its people either slain, enslaved, or driven into exile. Now at last the tide has turned. The time to free the people of Geoff from their servitude to the giantish tyrants has come! But don't forget to watch your step when you confront the true masters behind the giant Clans! Contains the full text of three classic adventures by Gary Gygax: G1, Steading of the Hill Giant Chief; G2, The Glacial Rift of the Frost Giant Jarl; and G3, Hall of the Fire GIant King. Details Eighteen new encounter sites in the war-torn land of Geoff, linked together to form a grand campaign. Provides dozens of hours of gameplay as the heroes struggle to free an entire country from the grasp of giant overlords. TSR 11413

In this prelude to the full Princes of the Apocalypse campaign book, adventurers face off against the influence of Elemental Cultists in the hills and canyons of the Dessarin Valley. The four mini-adventures within are only tangentially related to each-other, and instead serve as starting points and hooks for the plots of the complete Princes of the Apocalypse Campaign. Players start in the well-described town of Red Larch; first investigating a local necromancer, then uncovering cult influences within the town, and finally heading off to infiltrate or do battle with two small elemental cultist strongholds. All parts of this adventure can serve as great places to seed hooks for other campaigns.

Sinister, twisting images...Horrific nightmares lurking at the corners of the mind...These are descriptions used to tell the tales of the Labyrinth of Madness. But these tales of the labyrinth are only legends, really, nothing more than stories used to frighten children at night - until a mysterious scepter is found, bearing within its crystal head a visage of insanity and terror, and also delivering a message: "Disturb not the Labyrinth of Madness again, and live a while longer." Now a powerful temple suffers from a tragic curse that is somehow linked to the labyrinth. Does there exist a group of heroes who can penetrate this dark and terrible place to life the curse...and survive? Labyrinth of Madness is a multiple-level, three- dimensional dungeon adventure, a puzzle within a puzzle, that commemorates 20 years of gaming with TSR. TSR 9503

The trees part before you, revealing the crumbling walls of the ruined keep. Only hours ago, you set off after the marauding orc band responsible for the destruction of the temple of Freya and the theft of its sacred crucible. But something else waits for you within the ruined walls. Something darker and far more sinister. Something that has hidden from the light for ages.
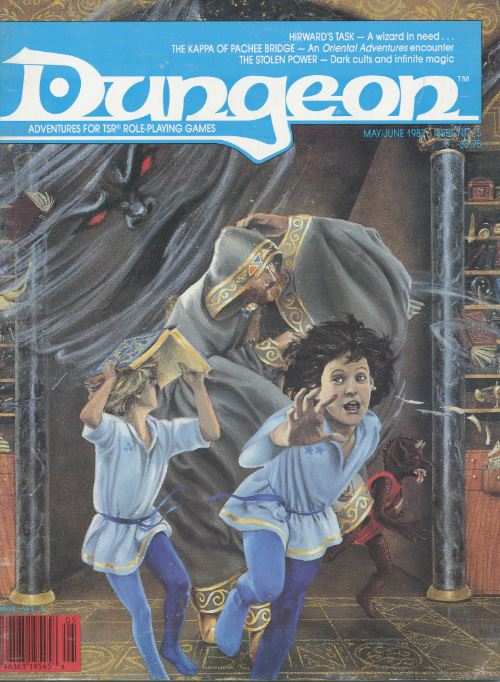
Conquest, not beauty, is in the eyes of this beholder. A promise of adventure and riches, with a hint of total annihilation. The party should also have several powerful magical items, since the challenge that it faces is great. The geographical background and the local population are left vague so that the adventure can fit any campaign setting. Pgs. 39-44

Giants have been raiding the lands of men in large bands, with giants of different sorts in these marauding groups. Death and destruction have been laid heavily upon every place these monsters have visited. This has caused great anger in high places, for life and property loss means failure of the vows of noble rulers to protect the life and goods of each and every subject -- and possible lean times for the rulers as well as the ruled. Therefore, a party of the bravest and most powerful adventurers has been assembled and given the charge to punish the miscreant giants. This module contains background information, referee's notes, two level maps, and exploration matrix keys. It provides a complete module for play of ADVANCED DUNGEONS & DRAGONS, and it can be used alone or as the first of a three-part expedition adventure which also employs DUNGEON MODULE G2 (GLACIAL RIFT OF THE FROST GIANT JARL) and DUNGEON MODULE G3 (HALL OF THE FIRE GIANT KING). TSR 9016
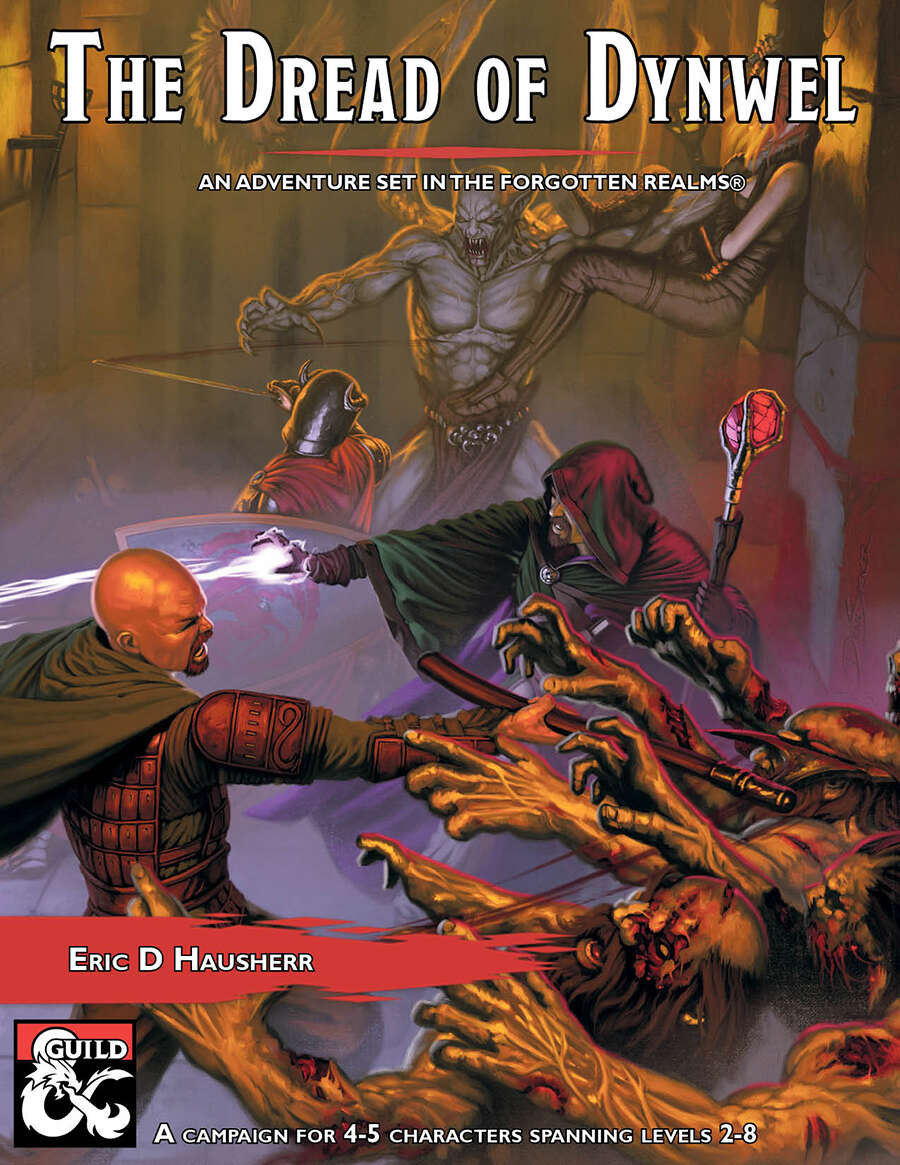
The Dread of Dynwel is an adventure set in the Forgotten Realms and optimized for 4-5 players. The characters start as a down on their luck but somewhat experienced crew of adventurers with a wanted poster which pays a much-needed gold reward. Soon, events in the Sunset Vale are revealed as more dangerous than they seem, sweeping the characters along with them. From the heights of the Sunset Mountains, the alleyways of Scornubel, and depths of the Reaching Wood: The Dread of Dynwel covers levels 2 through 8 and features material which can be played as a full campaign or dropped into an ongoing one.

Revolt of the Gladiators! The corrupt Thyatian senator, Helenites Osteropolus, his latest scheme smashed by the adventurers and their gladiator allies, hatches a new plot to destroy the influence of the Order of the Sands (even, perhaps, to attack the Emperor himself!) Yet greater dangers lie ahead. If his plot succeeds, it will remove the guardians that protect the city from the creatures that lurk in the caverns and catacombs below. Can the players block his gambit? Will the wheel of justice grind small, or will the greasy palm of political corruption reach out and save the senator once again? You decide, in the chaotic swirl of the Thyatian capital's politics. This module is designed especially for the DM who wants to sharpen his interactive skills. Recommended for four to six characters, levels 3-4 Includes map of a realistic catacomb complex below Thyatis City Unique role playing climax tests players' integrity and skill New information on the military Legions of Thyatis This module is a stand-alone sequel to DDA1 Arena of Thyatis. TSR 9296
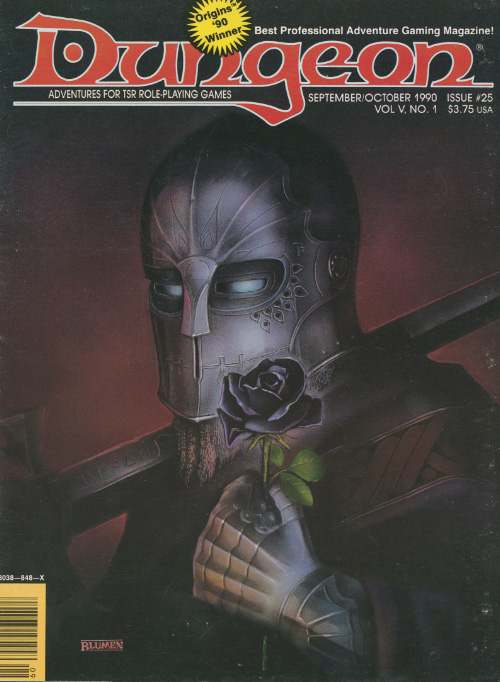
Red for love, white for purity, black for death. He was thoughtful, obedient, and trustworthy - the epitome of a traitor. All he needed were some heroes. A powerful undead knight, Agrovale, wants to be released from a necromancer named Talakara. He sets in motion an elaborate plan to get the players involved in overthrowing Talakara in her bid to become a goddess. He frames the necromancer for a kidnapping and murder and leaves a trail of clues to lead the players to her stronghold. The party travels through an extensive stronghold filled with many different monsters, finishing with a fight with the demigod Talakara and subsequently the freedom-seeking Agrovale. Pgs. 38-63

A vast, sprawling mega-dungeon beneath the ruins of a nearby castle. Reports have surfaced of stockpiles of wealth within the passages. Regions previously devoid of monsters are reported to teem with renewed activity. Magical and mundane traps have brought foolhardy explorers to their doom. Changes within the passages and chambers have rendered old maps and knowledge dangerously unreliable if not outright useless. To the bold and daring, only one message needs to be heard: the castle and its dungeons are once more ripe for exploration, and new legends are ready to be made. Note: This adventure requires three books for it to be complete (sold as a package): Adventure Book, Map Book, and Illustration Book. Published by BRW Games

Written in celebration of Swords and Wizardry Appreciation Day 2017, Return to Fel’Valashar picks up where Dungeons of Fel’Valashar left off. In this book is a collection of mini dungeon adventures with a small region called Fel’Valashar that they take place within. Each of these adventures is written in such a way that they don’t have any ties to each other or to Fel’Valashar. This means you can easily drop them into your own world with no fuss. Includes: Details of the south-western region of Fel’Valashar. Four mini dungeon adventures. New monsters. New magic items.

This adventure takes place in the Moonsea of Faerûn. The players have been brought to Melvaunt to search for the missing scions of the city's great families. To the north, in Thar the orc tribes converge on the ruined fortress of Xul-Jarak, flocking to the banner of a charismatic warlord. There, he intends to sacrifice the scions of the great families of Melvaunt in a bloodritual to Gruumsh. The players will escape Melvaunt, search along the wilderness of Thar for the Fortress of Xul-Jarak, and then explore the dungeons of the ruined fortress and hopefully rescue the scions before they are sacrificed. There also is a Web Enhancement by Eric Cagle on the archives of wizards of the coast's website designed to scale the adventure to level 8. For example, it replaces the Owlbear with a Tyrannosaurus. This is an easy to scale adventure with much of the player's difficulty coming from intelligently avoiding problems, choosing how to approach each floor in the most tactical way, and quickly adjusting when something goes wrong. The adventure has sidebars including common orc battle cries (In Orc!), ready to use orc names, weather and random encounter table in Thar, a description of what happens if the party fails or partially succeeds, and suggested minis for each of the encounters. There is even an extended description of the bloodspear ritual, an event the party is not meant to encounter in a normal run. The appendix is detailed for all the humanoid characters including the scions and their equipment, the named villains, and variety of unnamed orcs the party will encounter. The fortress also offers an opportunity to introduce the players to the Underdark and the Zhentil Keep. There is a passage to the Underdark the players can accidentally explore, and return to later. Emissaries from Zhentil Keep have come to watch the ritual and have their own motivations. These npcs provide an opportunity for exposition and role playing at a point which otherwise might be combat heavy, acting as a valve for the first floor - helping or hurting the party with subtle magic should the difficulty be off.
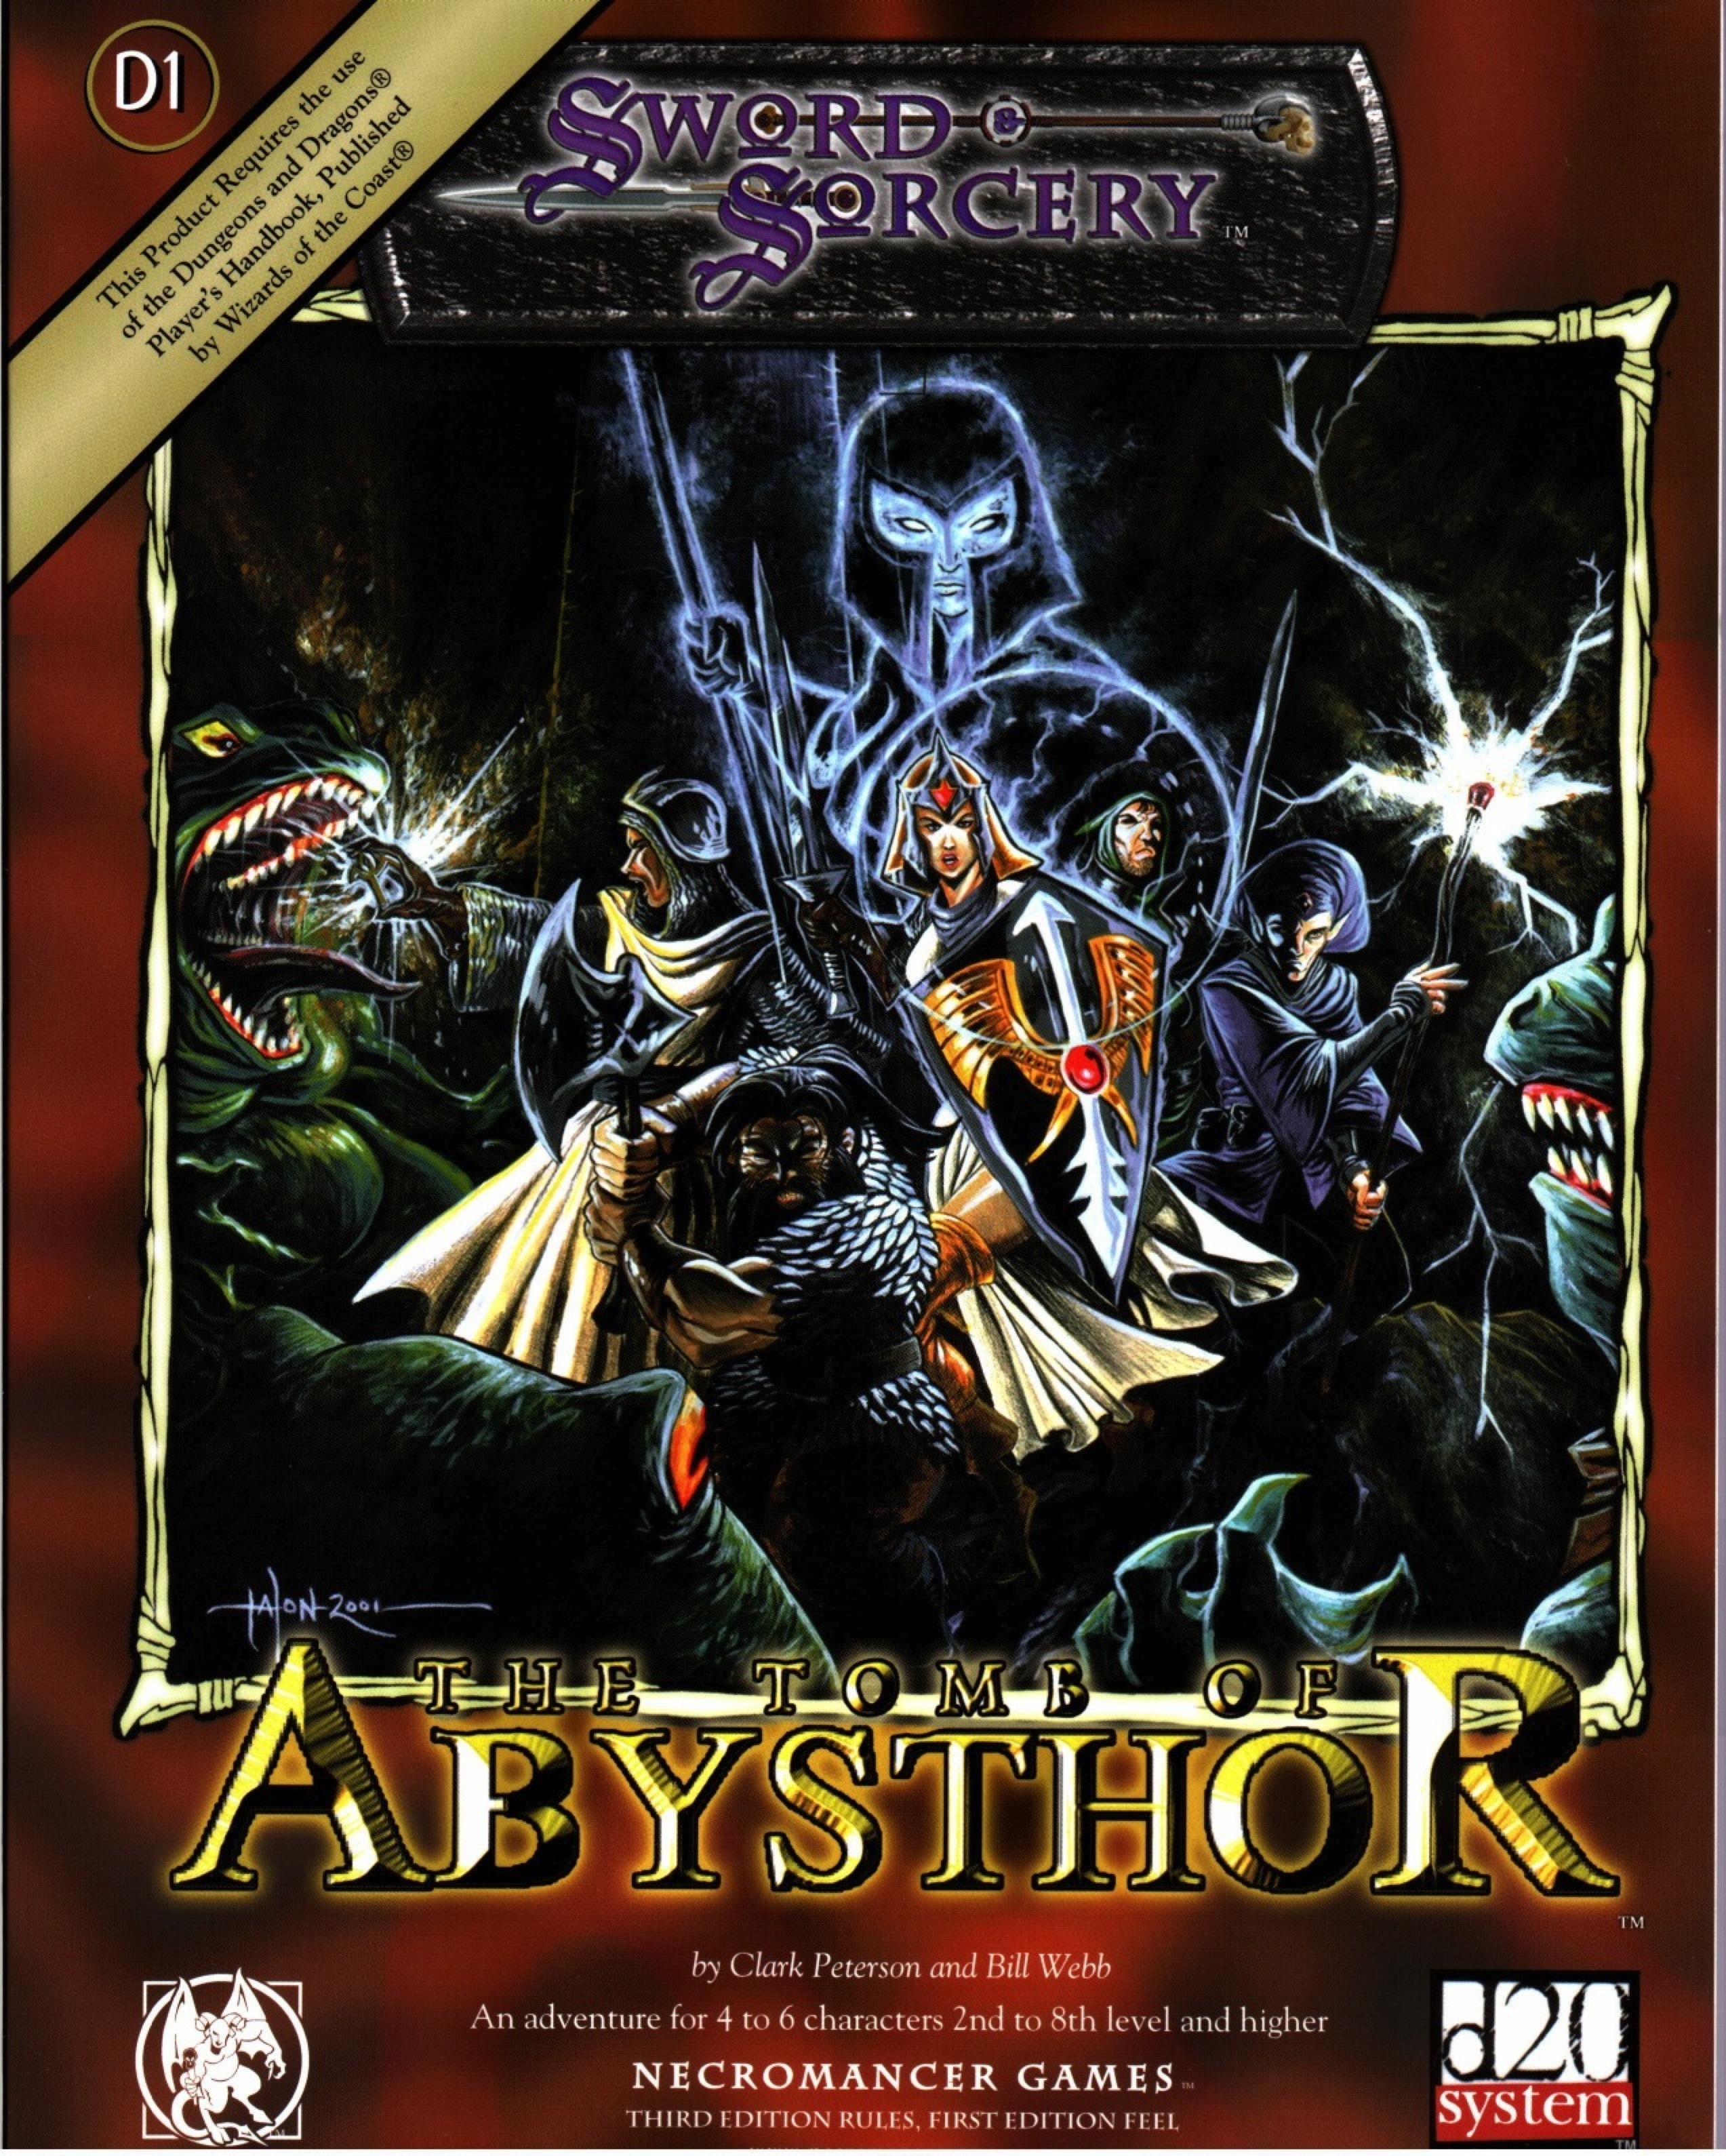
Restore an Abandoned Temple Enter the catacombs near the desecrated Temple of Muir, Goddess of Paladins, and search for the lost tomb of Abysthor. Will your party be able to cleanse the evil that now inhabits these once-sacred halls, and recover the Stone of Tircople? Can your characters survive the traps of an undead sorcerer? Will your players discover the chamber of Living Rock and the secret power it holds? Adventure awaits! Gold and Glory! A fantasy adventure published for the D20 system, The Tomb of Abysthor is the first module in Necromancer Games Dungeon series and can be played as a stand-alone story or in conjunction with The Crucible of Freya and the forthcoming city supplement Bards Gate. What secrets lie hidden in the tomb of Abysthor?
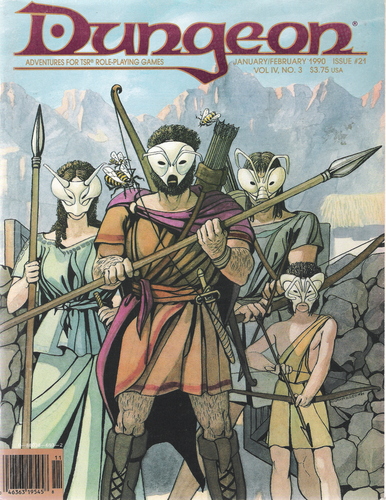
"It shines in the night. Ogres run in terror of it. It kills by sight and by touch. It never stops hunting - and it's hunting for you." Vengeance denied in life is reborn in death. Druida Glanadyl, a female elf adventurer, seeks aid from the PCs in avenging the mysterious deaths of her family members. The horror that haunts Elfswood can be attributed to a spirit (odic) of a vengeful cleric, Irkthorn Balin. Pgs. 16-28 & 64