
One of the original D&D classics, "The Isle of Dread" is a hex crawl wilderness adventure. It focuses on surviving primitive beasts, dinosaurs, and pirates while uncovering the mystery of the island's inland city, where a great treasure awaits. From the cover: "This module contains maps and background material for the Isle, fifteen new monsters, and suggestions for further adventures. In addition, The Isle of Dread contains a map and background information for a large continent, and eleven smaller maps for encounters on the island itself. In this module, players will push their way through dark jungles and treacherous swamps to discover the lost plateau, and the final secrets of - the Isle of Dread!" TSR 9043

"Proudfoot’s Trials“ is a D&D5e one shot adventure for 3 to 6 players on level 1-3. The playing time is about 3-6 hours. It is an adventure for beginners, so it contains a few tips for the DM on how to handle various situations. The adventure also offers: - Social interaction - Wilderness challenge - Combat encounters - Traps - Riddles - Adjustment suggestions for higher levels - Sketches - City map "Proudfoot’s Trials“ can also be adapted into an established group and campaign. It provides a varied, but not too complicated plot and can be used to create an enjoyable evening for your group.
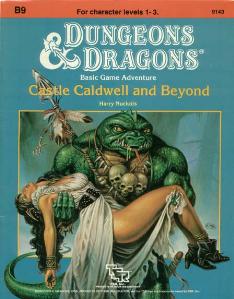
Five exciting short adventures to make your Basic campaign come alive! The Clearing of Castle Caldwell - A local merchant has recently purchased a small castle... but when he tried to move in, he discovered that the castle was already inhabited! Dungeons of Terror - A strange trapdoor in the floor of Castle Caldwell leads to a terrifying challenge! The Abduction of Princess Sylvia - On the eve of her wedding, the beautiful princess has been kidnapped! Can you save her in time? The Great Escape - Imprisoned in an enemy fortress, without armor or weapons, your situation seems hopeless. Yet there may be a way to freedom... The Sanctuary of Elwyn the Ardent - A mystical chime of great power has been stolen - but by whom? In the wrong hands, the chime can cause untold harm! But can you find and defeat this mysterious and powerful creature? TSR 9143

Not even memories of past glory live on in the gentle hills around the village of Kusnir. Today its people have more concern for commonplace things, like the harvest, trade, and the threat of death in the night! Kusnir is beset by a skulk. The attentions of such a creature are a curse on any community. Streets and alleys which ring to the voices of children by day become fearful, shadowy places by night. Men go abroad armed and in groups, while women and children stay behind locked doors and even there are not safe. But life goes on. The lot of the peasant is always hard, what cannot be prevented must be endured and, of course, things could be worse. Much worse. The skulk has begun to visit the village more and more often. Sometimes it kills, yet just as often it spares a victim, leaving clear signs of what it might have done had it wished. Its visits are now marked by strange and illegible symbols scrawled in blood on the walls of the buildings. The people are worried, helpless, and desperate. Desperate enough to welcome adventurers. UK2: "The Sentinel" (1983) is the second UK-series adventure, the fifth TSR UK adventure overall, the first solo effort by Morris, and the first half of the two-part Adlerweg series (whew!). It was run as a tournament at the GamesFair '83 Open, then published later in 1983. TSR 9101

A goblin warband has found the secret tunnel which leads from the dwarven keep of Hearth-Home to the nearby hills. The tunnel is intended to be a means of escape if the keep ever falls to attackers, but now it has provided goblins with an easy way into the Underkeep. So far, the goblins have confined their attentions to the various underground rooms that make up the Underkeep, but sooner or later they will find a way to the surface. They pose a serious threat to Hearth-Home - the goblins must be cleared out of the Underkeep so this breach in security can be repaired before the orcs hear of it and overrun the dwarven keep. This adventure is slightly more challenging than Red Hand Trail, and it is recommended that it is played after that quest and before Palace of Dread. However, the scenario in Trouble Below can easily be played independently from the rest. Part of TSR 1076 The Goblin's Lair
The Golem Master, creator of pricey artificial servants, hasn’t been seen around for some time. His house stands dark and silent. Dare you enter?

In the far reaches of the world, under a lost and lonely hill, lies the sinister Tomb of Horrors. This labyrinthine crypt is filled with terrible traps, strange and ferocious monsters, rich and magical treasures, and somewhere within rests the demilich. Remake of the original AD&D adventure.

This couldn’t get worse. The key you are searching for has fallen into the hands of the eye tyrant of Skullport himself. Now you just need to rob Xanathar without getting disintegrated. Part Three of the Skullport Shakedown trilogy. A 2-4 Hour Adventure for Tier 2 Characters. Optimized For: APL 8

Deep in the Marsh of Chelimber lie the ruins of a great wizard’s tower. SEER has received intelligence, which she imparts via her emissary Hsing, that deep beneath the marsh in the remains of an old tower is knowledge of older magics. This could be just what Parnast needs to resist the onslaught of Bad Fruul and his armies!
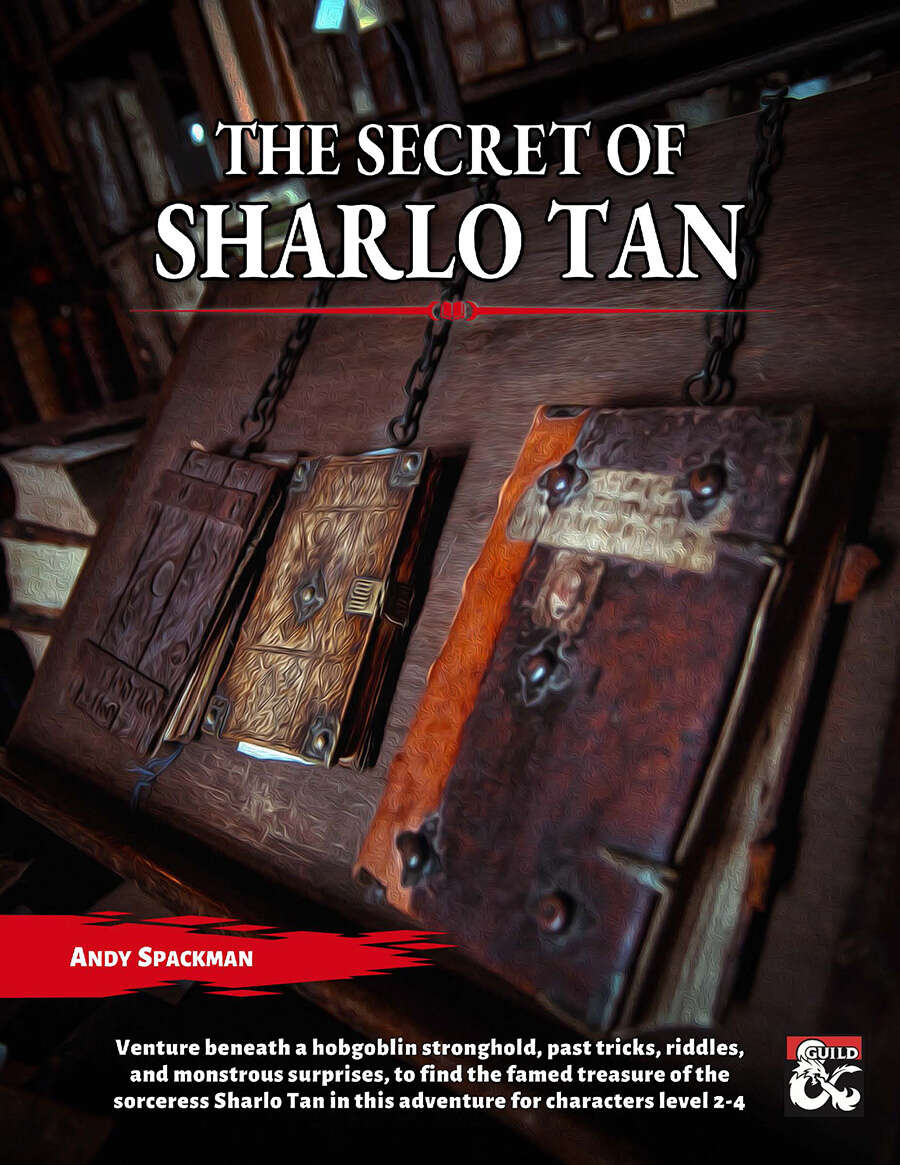
Sharlo Tan was a sorceress. She was a scholar. She was a spy. And she left behind a legendary trove of treasure, guarded by riddles, secrets, and the passage of time. But it isn’t an ancient rumor that has the people of Rivesby on edge. The hobgoblins of the Lamellar Banner have encamped less than a day’s march away, and no one knows what has brought them out of their stronghold. In this richly detailed adventure, players can choose whether to play peacemaker or treasure hunter, explorer or exterminator. But they won’t be the only ones playing games, as they encounter creatures and NPCs who have their own conflicts and motivations. The Secret of Sharlo Tan is a mid-length adventure for levels 2-4 that easily plugs into any 5e campaign. It’s particularly suited to those who love witty books, solveable riddles, and nuanced interactions, but it readily accommodates smash-mouthed impatience as well. Depending on playstyle, it can fill 2-4 play sessions of 3-4 hours. The adventure includes: * 40-page fully illustrated PDF with player handouts * 3 stat blocks * 4 dungeon maps in DM and unmarked versions * 11 all-new magic items

For months, the dreams of the people of Emystrell have become dark and terrible. It seems their nightmares have come to life as in recent weeks, people have mysteriously gone missing, vanishing in the night without a trace! Everyone is too paralyzed by their own despair to do anything or venture far from the safety of their homes. Emystrell is on the brink of collapse. The baron is offering a handsome reward to anyone who can show proof of the end of whatever evil curse that has taken hold of their town. This adventure is designed for a party of 3-5 heroic characters from the 2nd to 3rd level. It has elements of mystery and investigation in the first section which can be detailed and highly involved for groups that enjoy the process of searching for clues and solving mysteries or just as easily glossed over for groups that are more tactics focused. The second section of the adventure features the dungeon: a labyrinthine complex of an ancient elven crypt which the thieves guild has used as a base of operations for a decade...until the serpent worshipping cult arrived. The third section of this book is the detailed map and notes on the town and surrounding area of Emystrell. Roleplaying notes are kept light to allow for room for your own interpretations and details to NPCs remain as free to do with as you choose unless I felt inspired and hoped to give you a cool idea. This adventure has hooks for Dungeon Masters interested in a larger campaign involving the sinister plots of the Yuan-Ti (snake people) as well as other interesting adventure hooks (such as the giants in the nearby mountains or the stolen gem: The Eye of the Dragon). These plot points are intentionally left vague for you to fill in the gaps based on what your players seem interested in. You are invited to use this as a launch point adventure to lead your heroes on a larger adventure that might someday set them against an Anathema Serpent demigod, or it may simply be the adventure that begins their journeys and the evil of Yargoth stops here at Emystrell. If your campaign is set in a pre-published setting, this town of Emystrell can be replaced or fit into any campaign with a few tweaks to local gods and names. If you are playing in Dragonlance, you could replace Yargoth the Dread Serpent with Tiamat, or Dendar in Fearun. The local goddess, Tyr, could be the Tyr from the Forgotten Realms or even Norse myth if that is your campaign setting.

This deluxe adventure takes heroes into the ruins of Gardmore Abbey, a monastery that was once the base of a militant order of paladins devoted to Bahamut. According to legend, the paladins brought a dark artifact back from a far crusade and stored it in their abbey for safekeeping, and evil forces gathered to assault the abbey and take it back. What the legends don’t tell is that this artifact was actually the Deck of Many Things, a force of pure Chaos. This adventure brings characters into the extensive dungeons beneath the ruins - dungeons that are warped and twisted with the raw forces of Chaos surrounding the cards of the deck.

There is no particular overarching story here, just a prospect gate keep dungeon you can drop into your own sandbox and run as you see fit. This adventure is formatted to both 1E & 5E gaming rules.
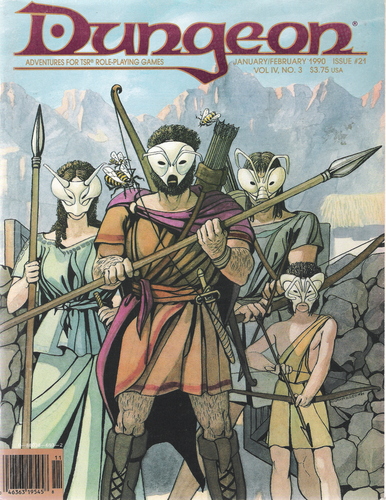
"It shines in the night. Ogres run in terror of it. It kills by sight and by touch. It never stops hunting - and it's hunting for you." Vengeance denied in life is reborn in death. Druida Glanadyl, a female elf adventurer, seeks aid from the PCs in avenging the mysterious deaths of her family members. The horror that haunts Elfswood can be attributed to a spirit (odic) of a vengeful cleric, Irkthorn Balin. Pgs. 16-28 & 64

Having put down a rising of giants, it was discovered that the motivating force behind their depredations was that of long-forgotten evil - the Dark Elves. Determined to seek out these creatures, a body of doughty adventurers mounted an expedition to learn the strength of the Drow and bring retribution to them (DUNGEON MODULE D1, DESCENT INTO THE DEPTHS OF THE EARTH). This module contains background information, a large-scale referee's map with a matching partial map for players, referee's notes, special exploration and encounter pieces, a large map detailing a temple complex area, encounter and map matrix keys, and an additional section pertaining to a pair of unique new creatures for use with this module and the game as a whole. A complete setting for play of ADVANCED DUNGEONS & DRAGONS is contained herein. This module can be played alone, as the second part of a series of three modules (with DESCENT INTO THE DEPTHS OF THE EARTH, D1, and VAULT OF THE DROW, D3), or as the fourth part of a continuing scenario (DUNGEON MODULES G1, G2, G3, D1, D2, D3, and Q1, QUEEN OF THE DEMONWEB PITS). TSR 9020, From 1978

*THIS IS A D&D NEXT/5E PLAYTEST ADVENTURE* Imani, a Turmishan wizard and former adventurer, seeks the aid of heroes to infiltrate Dretchroyaster’s lair and recover the Diamond Staff of Chomylla—the key to powerful magic and wisdom locked away for thousands of years. In addition to his own sagely interest in the lore of lost Uvaeren, Imani recognizes the dangers of such powerful magic falling into evil hands. The dracolich has secured the staff in his lair’s cen- tral chamber, using ancient wards of protection that can be bypassed only by four artifact-idols once belong- ing to a cult of Bhaal. Each group of adventurers enters the dungeon through a different section of the dun- geon—a forgotten temple of Bhaal, a vast underground lake, a troglodyte village, or Dretchroyaster’s vaults. Dretchroyaster’s lair is no simple set of caverns and ancient ruins. It sits atop a source of great power and energy, which the dracolich and his Cult of the Dragon allies hope to use to unlock the secrets of the staff. Only by undertaking a unified assault against Dretchroyas- ter’s lair can the adventurers hope to recover the Diamond Staff and survive the dracolich’s fury. The adventurers must make their way through the lair and recover the Bhaalite idols that will help unlock the Diamond Staff, all the while dealing with the lair’s creatures and avoiding the dracolich as he pur- sues intruders. Entering the Chamber of the Diamond Staff, the heroes must overcome its magical wards and claim the staff before being slain by the dracolich and his servants.

The Ruins of Alaxar is a companion adventure made to go along with the events unfolding in Folio #15 (WS2 The Forgotten Plateau). It contains the information needed to run a side adventure that will help characters in their exploration of the Sacred Plateau. Smoke still rises from the ruinds of the once mighty citadel of the Corsairs of Uthoria. Now, amid the ruins, the characters find that a deadly force still lurks, and they must end it if they are to find the new location of their quest's last hurdle, the Necrotic Pearl! This adventure is formatted to both 1E & 5E gaming rules.

The PCs are singled out by happenstance as prophesied heroes who will find and return a great wizard to his family. Once brought back to the the family chateau, they are brought on as paid companions and free to explore the location as they wish. This is a large sandbox style adventure with several plots going on, including assassination, a wedding, false accusations of murder, and many machinations of the nobles to solidify or gain power. Whole this is going on the PCs are dropped into dream sequences where they learn more about the missing wizard and learn how and where to find and free him

Evil Reigns in the Elven Ruins Where elves once built the shining city of Myth Drannor, demons and devils now prowl in search of prey. Ancient evil slumbers beneath mossy stones, waiting for those foolish enough to venture within its grasp. Bold swordsmen, stealthy rogues, and skillful wizards have all met their end within the walls of Myth Drannor. But the lure of the city's magical treasures still draws heroes and villains alike to tempt death—or worse. Drawn by the dream of limitless magical power, the Cult of the Dragon has carved out a secret stronghold in the heart of the ruins. Using the power of a corrupted pool of radiance, the Cultists stand poised to attain their goal of subjugating all of Faerûn... unless a group of brave heroes can stop them first.

The final confrontation with the giant, King Snurre, and the entry of mighty adventurers into the caverns under his stronghold (DUNGEON MODULE G3, HALL OF THE FIRE GIANT KING) discovered the Dark Elves, the Drow, had instigated the giant alliance and its warfare upon mankind and its allied races. This module contains background information, a large-scale referee's map with a matching partial map for players, referee's notes, special exploration and encounter pieces, a large map detailing a cavern area, encounter and map matrix keys, and an additional section pertaining to a unique new creature for use with this module and the game as a whole. A complete setting for play of ADVANCED DUNGEONS & DRAGONS is contained herein. This module can be played alone, as the first part of a series of three modules (with SHRINE OF THE KUO-TOA, D2, and VAULT OF THE DROW, D3), or as the fourth part of a continuing series of modules which form a special progressive campaign scenario (DUNGEON MODULES G1, G2, G3, D1, D2, D3, and Q1, (QUEEN OF THE DEMONWEB PITS). TSR 9019