
The promises of glory and the chance of riches draws you to Blasingdell, a small village near the infamous Stone Tooth. Within the rocky mountain lay the dwarven stronghold Khundrukar and the fabled Forge of Fury, to which a chance encounter provides you with the location of a hither-to unknown entrance. Are you brave enough to explore this mystery? Will it lead you to wealth or to your doom?
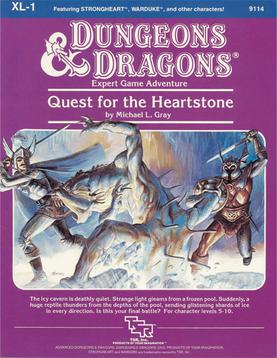
The King is dead! And the queen is in trouble. She has chosen you to find the fabled heartstone, which is buried somewhere deep in the Mountains of Ice. Is the gem I the hands of the corrupt Master Thief? Has he harnessed its powers for his own vile purposes? Or does it lie unguarded in the frozen ranges to the north, which teem with horrible creatures? This is your kind of quest! Quest for the Heartstone is a combined wilderness/dungeon adventure designed to be compatible with the Advanced Dungeons & Dragons Action Toys from LJN Toys, Ltd. and the Advanced Dungeons & Dragons Fantasy Adventure Figures from TSR, Inc. The adventure also includes complete maps, new monsters and players' illustrations. Will the heartstone be the key to peace in the kingdom? By her majesty's request... it's up to you to find out! TSR 9114

This is the first of the three adventures that comprise the Bleak House campaign. It brings the heroes into Ravenloft (if they aren't there already), introduces them to Rudolph van Richten, and starts them on the long trail that eventually brings them to the door of the manor knows as Bleak House Included in Bleak House: The Death of Rudolph van Richten TSR 1141

You are Erystelle of Dorneryll, famed elfin champion and magic-user. After years of adventuring, you have come home to the Emerlas - the hauntingly beautiful elfin woodland at the tip of Canolbarth forest. A place of legends and of peace. The journey has been long, but soon the winding forest track will bring you to Dorneryll, the majestic oak tree home of your childhood. Ahead, you glimpse a plume of smoke curling lazily into the sky. Dorneyll is close, and your mind floods with thoughts of home. Suddenly, your reverie is shattered! The thin plume of smoke is gone, an in its place a column of red flame leaps high among the trees. Dorneryll is under attack! Gripping your lance, you urge your mount into a gallop. Starbow surges forward; your war dogs close on her heels... Blade of Vengeance is an adventure for one player and one dungeon master, featuring a lone elf against the forces of evil. Can you save the Emerlas from destruction? The answer waits inside. TSR 9108

An expedition to the Amber Temple reveals another major minion of the enemy and uncovers a secret weapon that may help defeat them. Part Ten of Misty Fortunes and Absent Hearts.

Something strange is afoot within the Quivering Forest. So much so that even the elves of Greenhall have left their homes to seek out help from their newfound neighbors. But, their tales of a strange beast are not earning them any favors; especially among the Vistani, whom the elves suspect are to blame for their ills. Return once more to the Quivering Forest and learn the terrifying truth! Part Two of Misty Fortunes and Absent Hearts.

To a wizard, knowledge is power, and the wizard Lirdrium Arkayz wants to know the mysterious secret of The Rock. Many have tried to discover it - but The Rock keeps its secret well. The wizard offers a rich reward to anyone bold enough to solve this dark mystery. But the road to The Rock leads to danger and hidden peril - dangers that have claimed the lives of many brave adventurers. Rashness and folly will lead to quick death, but riches await the clever and brave. Have you the wits, courage and skill to survive the Journey to The rock? TSR 9106
Barovia has long suffered under the rule of Count Strahd von Zarovich, but the evil that plagues this land extends well beyond the walls of Castle Ravenloft. See what keeps the good citizens of Barovia awake at night.
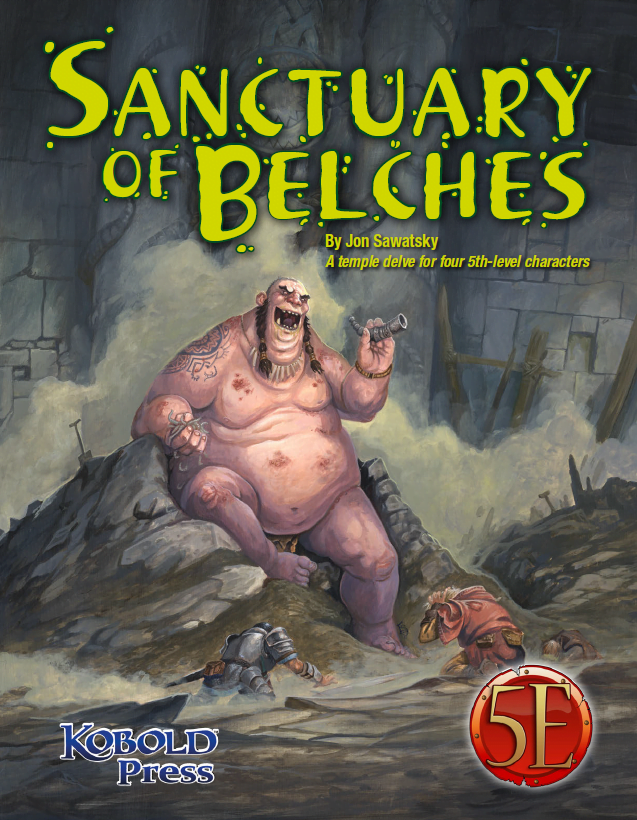
The trouble began several weeks ago when a duergar excavation team went to work in a long-abandoned temple. Drawn to the temple by stories of riches and artifacts, the duergar hired several giants as laborers before cracking the temple’s sealed doors. The largest of the giants, a loathsome Thursir mutant named Huppo, used his acidic vomit to expedite tunneling into the temple’s collapsed hall of worship. Then, Huppo found the horn—an unusual instrument made from a single piece of stone, with a mouthpiece so intricate only a master carver could have made it. The horn became the giant’s obsession. Seeing only the horn’s potential sale value, the dwarves demanded Huppo turn it over to them, but Huppo refused. To force compliance, the dwarves stopped feeding the gluttonous brute, but Huppo had already found his own source of food; in deep areas of the temple, worms were chewing out of the rocks, and Huppo ate them by the fistful. He also played the horn. Then, after several days of blowing the horn and devouring the strange worms, Huppo released a belch so noxious the dwarves had no choice but to lock him in a sealed chamber and carefully consider their next move. The horn’s call, however, had caught the attention of passing nomadic orcs. They set up camp outside the temple entrance in the hope of finding the horn and its player. That’s the current situation at the temple: the giant refuses to stop blowing the horn and belching out deadly clouds of stomach gas; the dwarves are frightened and edgy while their leader is obsessed with malevolent whispers; orcs are threatening to overrun the place; and the population of worms grows steadily as something awakens deep in the stone beneath the sanctuary of belches.

The village of Bad an Fithich is besieged by a monster and the villagers offer a reward for its head. Thus far none have succeeded, but the tales tell only of a large wolf, which seems like an easy bounty. The party’s first night in the village is marked by the cry of a banshee proclaiming their inevitable doom, but if they listen closely they may hear another story. Pgs. 119-127

Abominable Adventures - An Encounter Guidebook In The Frozen Tundra is a collection of 12 unique Tier 1 side stories filled with danger, horror, & mystery for Dungeons & Dragons 5th Edition. It can be easily integrated into your adventures set in the frozen lands of the North or during any Icewind Dale: Rime of the Frostmaiden campaign. Featuring ❄12 unique pre-adjusted Tier 1 encounters ❄38 pages filled with amazing artworks by artists from all around the World ❄A handy and image-free print-friendly version ❄Coloured battle maps that can be printed or used in your VTT platforms ❄New frightening creatures!

Special Basic/Expert Transition Module Barely one day's march from Kelven, the uncharted tracts of the Dymrak forest conceal horrors enough to freeze the blood of civilized folk. Those who have ventured there tell how death comes quick to the unwary - for the woods at night are far worse than any dungeon. But you are adventurers, veterans of many battles, and the call of the wild is strong. Will you answer the call, or are you afraid of the dark terrors of the night? The campaign adventure is for characters just beginning Expert play (levels 2-4) and hurls them into the exciting outdoor world which awaits in the Expert rulebook. With a 64 page booklet, 2 double-panel covers, a double-sided, fold-out mapsheet and 120 die-cut counters, this super module provides all you need for epic wilderness and dungeon adventuring. Journey across the Grand Duchy of Karameikos in a desperate race against time and the forces of evil. This adventure is for use with the Dungeons & Dragons Expert Set, which continues and expands the D&D Basic Rules. This adventure cannot be played without the D&D Basic and Expert rules produced by TSR inc. TSR 9149

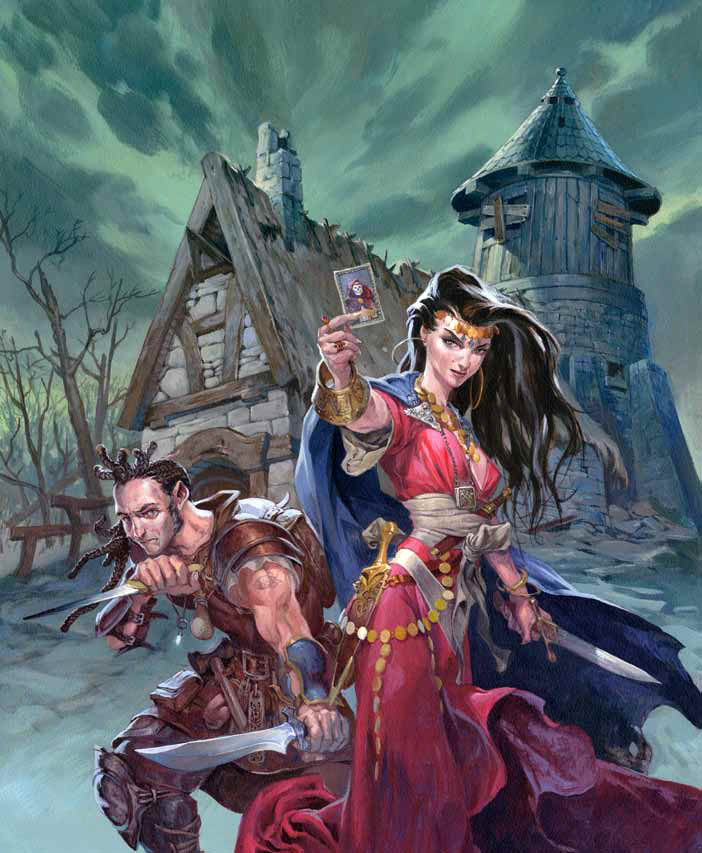
An omnious encounter with a fortuneteller sends a party of adventurers on a 200-mile journey across the Lands of Intrigue. While traveling throught the towns and terrain (detailed here for the first time) that lie in their path, they hear rumors and obtain clues about their mission. Their ultimate destination is Castle Spulzeer, a once proud stronghold that has become a den of terror. When the heroes enter the haunted keep, they meet a terrifying trio of residents: a madman armed with stolen magical power, a liche whose secret laboratory houses untold horrors and treasure, and a furious ghost bent on revenge. These three ensnare the party in their fight over an ancient weapon. Each will stop at nothing to keep it from the other two. The heroes must choose with whom they will ally - and the wrong choice could lead to their doom. Castle Spulzeer is an adventure complete in itself. However, as a crossover story, it offers every Dungeon Master a choice between two endings. The first leaves the party in the Realms. The second transports the characters to the Demiplane of Dread, where the plot continues in the Ravenloft adventure The Forgotten Terror. For 4 to 6 Characters of Levels 8-12 This conversion guide allows DMs to run the original module with 5th Edition rules. To use this conversion guide you will need a copy of Castle Spulzeer, originally available in hard-copy and now for sale in digital format on the DMs Guild. Visit Classicmodulestoday.com for instructions on creating your own classic module conversions and selling them on the DMs Guild. Castle Spulzeer was originally scheduled for publication by TSR in June 1997. Then, near-bankruptcy caused a total failure of TSR's schedule, resulting in no books being published from February through the very end of July. Some books would be delayed for over a year, and others would disappear altogether, but Castle Spulzeer was relatively lucky: it was just delayed four months, until October 1997. The reason may well have been its theming, and its crossover with the Ravenloft line, which made Castle Spulzeer a great Halloween release. Castle Spulzeer has an even more far-reaching connection: its ending can lead players to the demiplane of Ravenloft and The Forgotten Terror adventure. This was probably intended as a bit of advertising for Domains of Dread (1997), the third edition of Ravenloft which was released in August 1997. In other words: in their last days, TSR was working very hard to cross-market their products, but they didn't live long enough to see the success of the Spulzeer-Intrigue-Dread connection.

If the PCs are to avert the Age of Worms, they must invade the heartland of Kyuss' power, the Wormcrawl Fissure, and destroy one of the world's most powerful dracoliches before the Wormgod awakens. "Into the Wormcrawl Fissure" is the eleventh installment of the Age of Worms Adventure Path, a complete campaign consisting of 12 adventures, several "Backdrop" articles to help Dungeon masters run the series, and a handful of poster maps of key locations. For additional aid in running this campaign, check out Dragon's monthly "Worm Food" articles, a series that provides additional materials to help players survive this campaign. Issue #343 of Dragon presents statistics for some extraplanar entities the PCs may wish to call upon to aid them in the Wormcrawl Fissure. Pgs. 54-89

Part 1 of an Expert-level quest into a hostile wilderness. This adventure takes place in the Known World of the D&D game, as outlined throughout the D&D game rule books and modules. The DM may find it useful to consult the Companion and Masters Sets, as well as most of the X-series of Expert Set modules. D&D Expert Set module X9, The Savage Coast, would be especially helpful, as Tortles of the Purple Sage could easily serve and continue that module's direction and plot like, adding a previously undescribed area (the Great Northway) to the Known World. The DM may also place the areas and events of this adventure within an existing campaign setting, as long as the geographical areas of the campaign match those set forth here. Pgs. 40-62

Smoke still rises from the shattered buildings and ruined streets of the troubled town of Cauldron, yet if not for the actions of a band of heroes, it would not exist at all. A sinister cabal of cultists bent on plunging Cauldron into the prison plane of Carceri had awakened the volcano below the town, and amidst the attacks of dragons and fiends from the outer planes, these heroes were able to evacuate the city and then strike at the cultists in their lair near the volcano's heart. Now, this cult, the Cagewrights, lies shattered, their members put on the defensive for the first time. All that remains is to finish the job, but the surviving Cagewrights still have some surprises left in their mysterious stronghold under the snake-haunted ruins of Shatterhorn. "Strike on Shatterhorn" is a Dungeons & Dragons adventure designed for four 18tth-level characters. This adventure is part of the Shackled City Adventure Path that began with "Life Bazaar" (Dungeon #97) and continued with "Flood Season" (Dungeon #98), "Zenith Trajectory" (Dungeon #102), "The Demonskar Legacy" (Dungeon #104), "Test of the Smoking Eye" (Dungeon #107), "Secrets of the Soul Pillars" (Dungeon #109), "Lords of Oblivion" (Dungeon #111), "Foundation of Flame" (Dungeon #113), and "Thirteen Cages" (Dungeon #114). The Adventure Path concludes in Dungeon #116 with "Asylum." Pgs. 56-82

The characters are summoned by the Norse gods to track down two dwarves, one of whom has made a weapon for the giants to use against the gods. The mission takes the characters to Jotunheim, on the plane of Gladsheim, to take the god-slaying weapon from the giants.

Life on the Moonsea isn't easy. Bandits, pirates, and cruel lords dominate the land, threatening those who make an honest living there. Now, a new scourge is prowling the waters: A ghost ship has been striking small coastal villages, leaving its victims whispering about the "eye of the dracolich."

Devastated in a war with a nearby wizards' school, the Fighters' Academy has since been surrounded by a foul and dank swamp - the Gloomfens. Since the climatctic battle between the wizards and fighters, the tower has decayed. The spirit of the head of the academy haunts the building, eternally plotting his revenge on the wizards who killed him. his loyal sutdents remain faithful to him even in death. Other foul undead have made their home in the rotting, spacious academy. From their lair, they make forays into farmsteads near the swamp in search of victims to feed their unspeakable appetites. The Problem of these terrible attacks by the savage undead will not stop until the evil that has found a home at the tower is burned from the face of the land forever. Will your party heed the call and help the town of Melinir? Will they be able to clear the former Academy of its undead? Towers of Evil is the second in a three part adventure, The Haunted Tower. Or, it can be ran as a stand alone adventure. The choice is up to you. Part of TSR 1081 The Haunted Tower
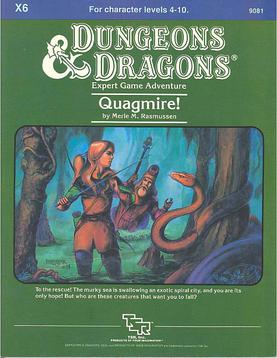
Swamp creatures! They surround you now as you move slowly through the gurgling muck. How will you reach Quagmire now? Each day, the hungry sea swallows more of the ancient port city. A fierce fever ravages its people, and now - these foul monsters! Their beady eyes glimmer from deep within the tangled vines. Are these the creatures that have blockaded the city, turning away the ships that are the city's lifeline? Are these the scum that are starving the people of Quagmire, threatening an entire race with extinction? These creeps? Let's clean this jungle out! Quagmire includes a large-scale map that expands the D&D world and introduces new areas to explore. The adventure also includes new magic items and a special, expanded monsters section. Hurry! Hoist your colors, saddle your horse - go, before the city by the sea becomes the city beneath the sea! TSR 9081