
Into the Drachensgrab Mountains! Hot on the trail of the marauding slavers, you and your fellow adventurers plunge deep into hostile hills. Spurred on by your past success, you now seek the heart of the slaver conspiracy. But hurry! Your must move quickly before the slavers recover from your previous forays and attack! This module was originally used for the official Advanced Dungeons & Dragons Tournament at Gen Con XIII and is the third of four in a series of related tournament modules. This module contains a challenging scenario, the tournament scoring system, plus nine pre-rolled, playtested tournament characters. Also included are large scale referee's maps, notes, and background information. A3 is a complete adventure in itself, but it is also a companion to A1 (Slave Pits of the Undercity), A2 (Secret of the Slavers' Stockade), and A4 (In the Dungeons of the Slave Lords). TSR 9041
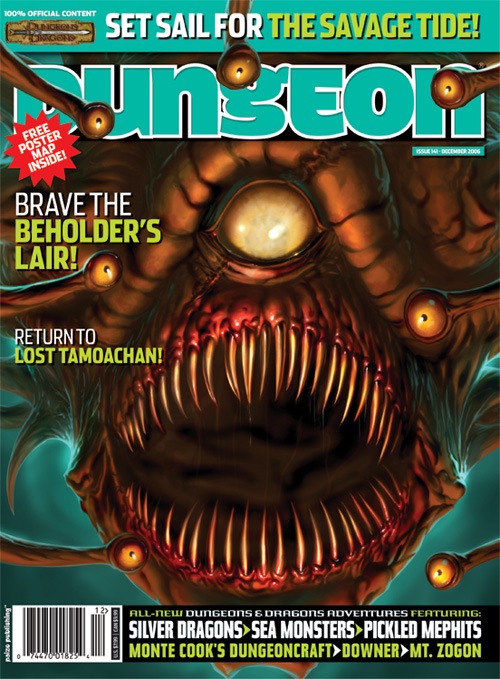
All ocean voyages are fraught with peril, yet a voyage to the infamous Isle of Dread might seem to some old salts to be a deliberate goading of the gods of the sea. Many of those who have attempted the voyage before managed to return to civilization often choose not to speak of the trials they experienced on that dangerous route, yet those whose lips can be loosened by a draught of grog whisper amazing stories... tales of pirates, sea monsters, terrifying storms, and perhaps most harrowing of all, of a strange and sinister land without land, a floating graveyard of dead ships mired in a sargasso the size of an island. This place has many names, but its most well-known may be it's most apt - Journey's End. "The Sea Wyvern's Wake" is the third chapter of the Savage Tide Adventure Path, a complete campaign consisting of 12 adventures appearing in Dungeon magazine. For additional aid in running this campaign, check out Dragon magazine's monthly "Savage Tidings" articles, a series that helps players and DMs prepare for and expand upon the campaign. Issue #350 of Dragon magazine features a regional guide to the seafaring environs the PCs can expect on the journey to the Isle of Dread. It’s time to bid farewell to the city of Sasserine as the PCs board the Sea Wyvern for a 3,000-mile voyage south into the uncharted waters of the Vohoun Ocean. Their destination: the Isle of Dread. Pgs. 16-48

A traditional "funhouse" dungeon, White Plume Mountain begins with the archmage Keraptis stealing three artifacts and leaving cryptic poems with their former owners. The players are hired to recover the items, and find a bizarre dungeon in the side of the eponymous volcano. TSR 9027
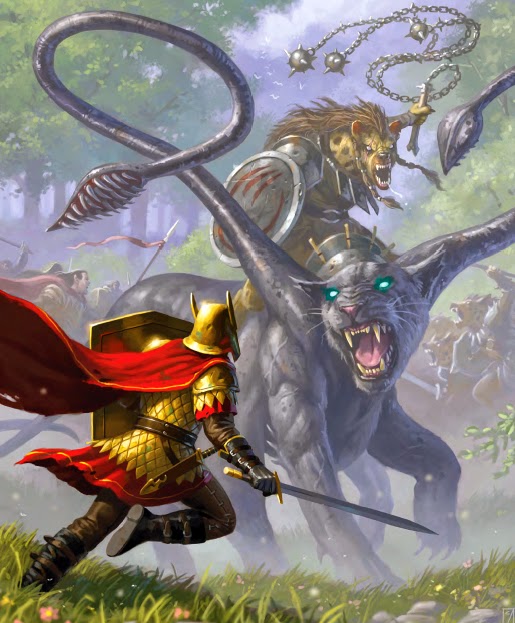
The party is enlisted to assist the Righteous Host, an army formed as a last resort to defend the world against the monsters of Elemental Evil. The host is greatly outnumbered. Its leaders send the party on a series of missions, each of which will give the Righteous Host an edge in the great battle to come. This epic adventure ends with the final push against the forces of Elemental Evil in the Meadows, and the outcome is informed by how effective the party is in their missions... and whether they are willing to risk putting themselves in the front lines. If the Righteous Host loses, players may decide to travel to Hommlet or other nearby towns to defend them. Whether the host is successful or not, players can decide to follow many different plot threads: exploring the Temple of Elemental Evil, finding the lich Kell the Eldest's lair and destroying his phylactory, or following the will of Bitbaern's Shield and discovering historical sites that were previously lost. Pgs. 44-69

"...the Ultimate Campaign Adventure..." A sinister force, long thought destroyed, stirs from the black hole that spawned it. Like an ebony darkness it prowls the land and safety is but an illusion, for it watches from every shadow and ponders possibilities. What began years ago with the introduction of the players to the quiet village of Hommlet and the amazing lands of Greyhawk, at last is complete. Here is the long awaited campaign adventure featuring the ruins of the Temple of Elemental Evil! Evil broods and grows beneath those blasted stones. This is your chance to drive it back and scatter its forces again. This product includes the village of Hommlet, the filthy shire of Nulb, and reveals the ruins of the Temple of Elemental Evil and the labyrinths that lie beneath, a warren of darkness. And beyond these ruins, even more is revealed. For the first time this product provides a complete campaign adventure which will take beginning characters from 1st all the way to 8th level and possibly beyond! Hours of adventure await you! TSR 9147

This material was originally published as three separate adventures: G1 (STEADING OF THE HILL GIANT CHIEF), G2 (THE GLACIAL RIFT OF THE FROST GIANT JARL), and G3 (HALL OF THE FIRE GIANT KING). Contained herein are referee notes, background information, maps, and exploration keys for three complete adventures using the ADVANCED DUNGEONS & DRAGONS rules. This module can be used alone or as the first in a series of adventures that includes Dungeon Modules D1-2 (DESCENT INTO THE DEPTHS OF THE EARTH), D3 (VAULT OF THE DROW), and Q1 (QUEEN OF THE DEMONWEB PITS). TSR 9058
Important: The adventure is 1e but it has monster conversion notes for D&D 4th edition The town of Highport, once a human community overlooking Wooly Bay from its perch on the northern coast of the Pomarj, fell prey to hordes of humanoids swarming out of the jungle-covered hills surrounding the settlement. Though the orcs, goblins, kobolds, ogres, and gnolls razed much of the place in their ferocious rampages, the smoldering ruins they left behind soon became a new kind of community, a place of trade between the humanoid “locals” and the unsavory human traders who have no compunction about doing business with them. Slaves are a commodity in ready supply in Highport’s market, since many pirates raid up and down the coast of the bay, putting fishing villages to the torch and filling their holds with captured refugees. Slavery has become a thriving business in the town, and rumors abound of a cartel of Slave Lords who run things from behind the scenes, filling their coffers in secret from the buying and selling of human chattel. The trade has become so prolific that the good folk to the north have grown tired of these depredations and decided to fight back. Forces of righteousness and honor have recently descended upon Highport, some openly and others in secret, in various attempts to destroy the machinations of the Slave Lords and abolish the abominable enterprise that has taken far too many loved ones from home and hearth. One such doughty servant of goodness is Mikaro Valasteen, a cleric of Trithereon. Mikaro slipped unnoticed past the crumbling walls of Highport with a single mission: to rescue and transport as many slaves to their freedom as possible. Mikaro and a handful of faithful assistants located a number of escaped slaves—as well as rescued a few more not sufficiently restrained and guarded—and shepherded them through the gates and beyond the reach of their humanoid tormentors, returning them to their lands and homes. This covert freedom brigade enjoyed remarkable success early on, since the servants of the Slave Lords were often lax in their vigilance and sloppy in their efforts to prevent loss of the “merchandise.” After one too many shipments never made its destination, the humanoids stepped up their security and the normal channels of escape from Highport closed to Mikaro and his team. He cannot risk exposure by smuggling the freed slaves through the gates as merchandise any longer, since shipments of goods are now regularly stopped and checked. No longer able to free the slaves in that manner, Mikaro began hiding his charges in an abandoned villa in a particularly rundown part of the town. Although they are safe for the moment, their numbers have grown unmanageable, and the priest fears it is only a matter of time before someone slips up and brings slavers to their doorstep. Ever more desperate to find a new means of escape from Highport, Mikaro has started work on a plan that is both daring and dangerous. He intends to use a series of old sewers coupled with natural caverns running beneath the town as an escape route to the sea beyond the walls. But he needs someone to clear out the creatures and pitfalls he knows lie within. Pgs. 2-27

Lost Tombs, Volume 2 The lich Lyzandred: a madman, an undead archmage, a survivor of the twin cataclysms that destroyed tow great empires. His name invokes fear in the hears of the smallest children, the bravest warriors, and the wisest sages. Like a malicious cat, the lich toys with all who stumble into his maze, tormenting them with strange puzzles and obscure riddles, monsters and demons, weird traps and dangerous magics. All who enter the crypt of Lyzandred find themselves scarred with his rune, proof of their visit -- and their folly. But there is a method to the madness of Lyzandred, a purpose to his twisted games. If you're lucky, you might even live to learn about it. The Lost Tombs series begins with Star Cairns (Volume 1) and concludes with The Doomgrinder (Volume 3). Each adventure is playable separately, or they can be linked to form an epic-length story. TSR 9580

"The longest, and perhaps strongest, AD&D adventure we've ever done." The fabled Mace of St. Cuthbert has been lost from the sight of both human and demi-human for many centuries. Some claim it lies at the heart of an active volcano, guarded by salamanders and flowing lava; others swear it lies buried deep inside the earth, warded by powerful magics raised by those who would see its power denied to the forces of Law and Good. A few assert that it has never left the possession of the Saint, and even now he holds it in his strong right hand. But a few claim that none of these are so that long before the Sainted Cuthbert rose to his exalted station, his mace was hidden away from those who would steal it before he returned for it, hidden away outside the bounds of normal time and space, in a place so outlandish that the Mace's power and destiny would be unknown and unknowable, and thus safe. Pgs. 45-54 & 56-57 & 59-68

Danger Lurks in the Lendore Isles. Bands of evil creatures prowl the hills overlooking the town of Restenford. Now you have come to this sleepy little village looking for adventure and excitement. You seek to fathom the unexplored reaches of Bone Hill and unlock the mysteries of Restenford. TSR 9045
His name has inspired fear in legions of heroes, and his cult has lurked in the dismal reaches of the world for countless ages. His minions are savage and feral, his worshipers vile and wretched. He is Demogorgon, and his temples are nightmare realms haunted by primeval menaces and hateful legacies from a time when the world was savage. And now, a vengeful death knight has discovered one of these lost temples—will the PCs aid him in his dark quest for revenge, or will they fall before the awakened host of the Prince of Demons? Pgs. 64-83
Alhaster is in flames, choking on the poison mists of the Wormgod's first tentative breaths on the Material Plane. The Age of Worms has begun, and unless the PCs can kill a god, this new age will be dark indeed. "Dawn of a New Age" is the final installment of the Age of Worms Adventure Path, a complete campaign consisting of 12 adventures, several "Backdrop" articles to help Dungeon masters run the series, and a handful of poster maps of key locations. For additional aid in running this campaign, check out Dragon's monthly "Worm Food" articles, a series that provides additional materials to help players survive this campaign. Issue #334 of Dragon presents some advice on rules specific to the Age of Worms to aid players (and DMs) in making the transition beyond 20th level. Pgs. 52-86

Some dozens of leagues to the north and west of the STEADING OF THE HILL GIANT CHIEF (Module G1 of this series), amidst the tallest mountain peaks, is the stronghold of Grugnur, Lord of Frost Giants. As frost giants have been amongst those who have been in the reaving bands, the party is to deal with them as the hill giants have been dealt with. Death and destruction are to be meted out to the frost giants in the same measure they gave to the peoples below. This module contains background information, referee's notes, two level maps, and exploration matrix keys. It provides a complete module for play of ADVANCED DUNGEONS & DRAGONS, and it can be used alone or as the second of a three-part expedition adventure which also employs DUNGEON MODULE G1 (STEADING OF THE HILL GIANT CHIEF) and DUNGEON MODULE G3 (HALL OF THE FIRE GIANT KING). TSR 9017

An expansion on the original Tomb of Horrors with plot and explanation. Contains a facsimile of the original adventure. The Dark Intrusion is causing the dead to rise from their graves. This is linked to a being known as the Devourer. Following the trail of Desatysso, a wizard who followed a similar quest, the players must enter the Tomb, and beyond that, the cursed City that Waits and the Fortress of Conclusion.
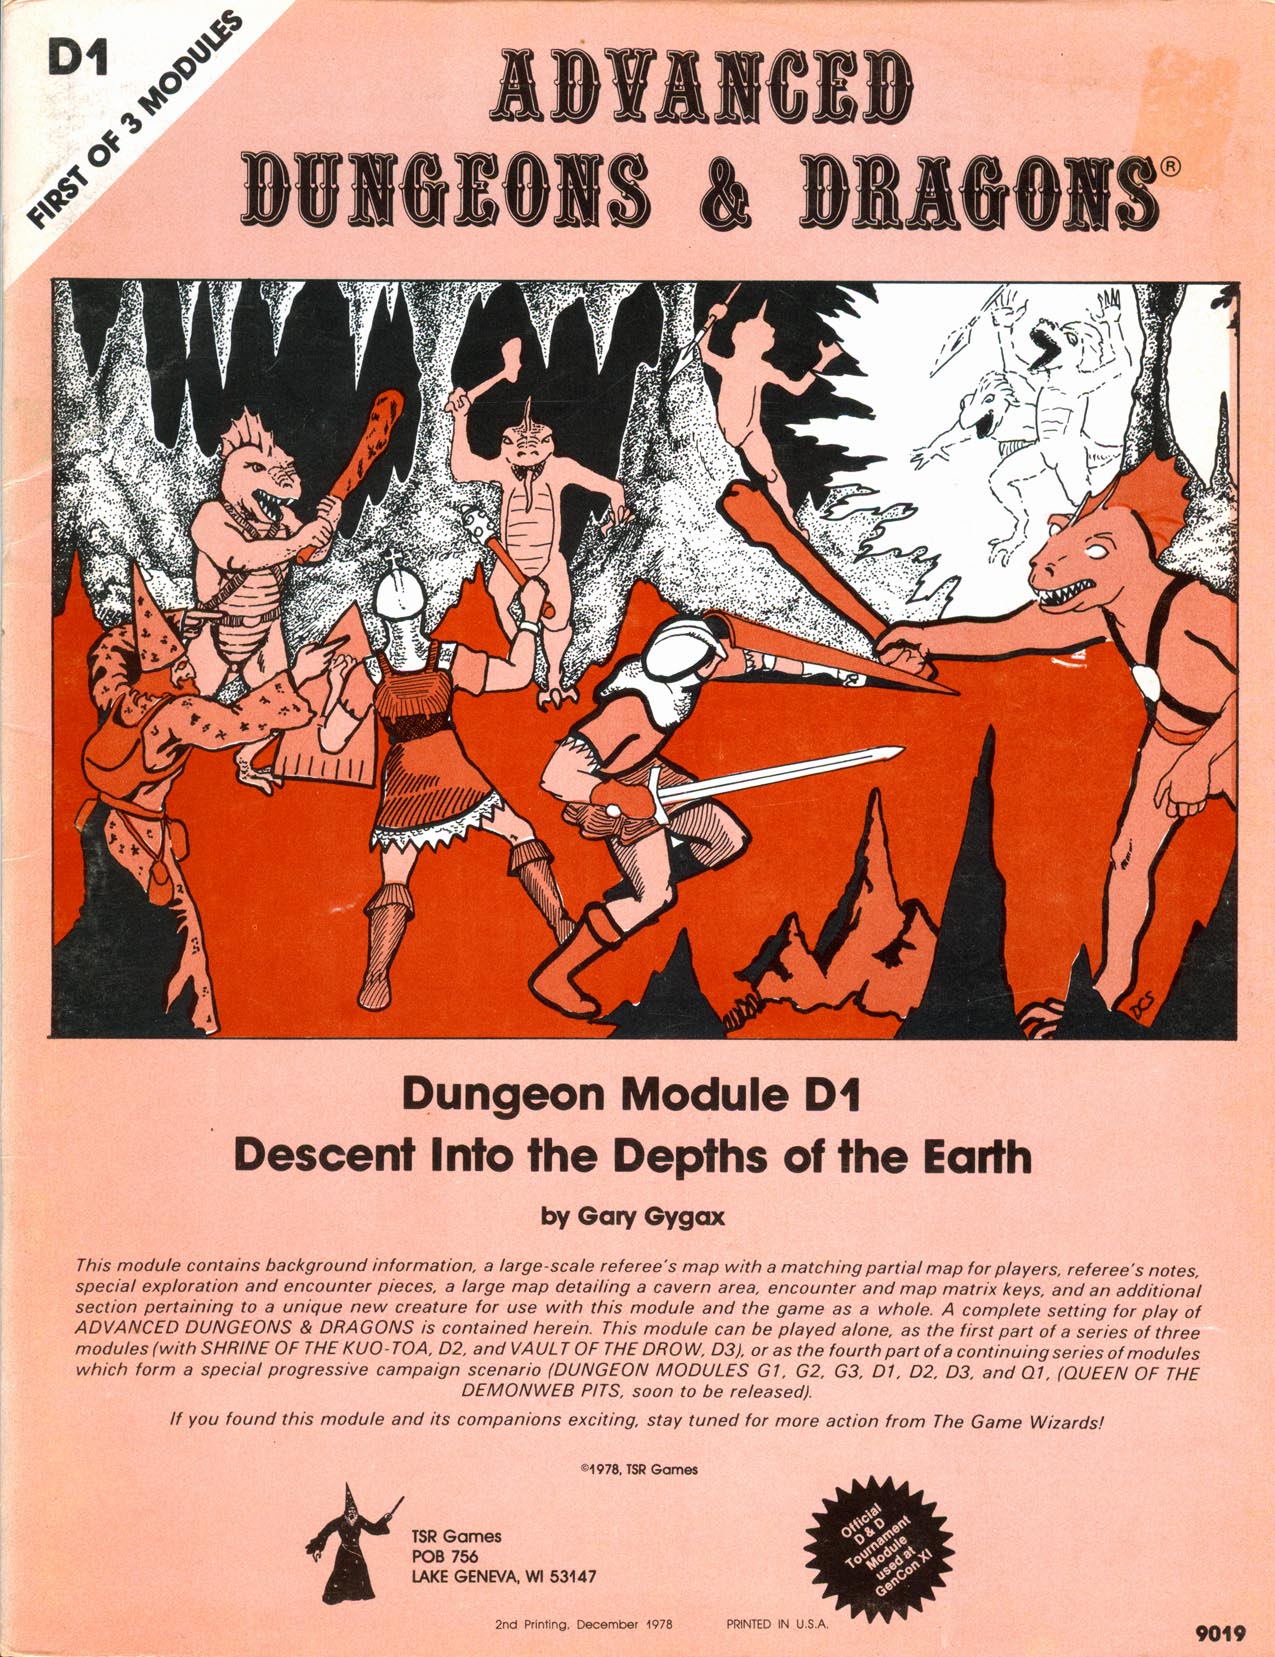
The final confrontation with the giant, King Snurre, and the entry of mighty adventurers into the caverns under his stronghold (DUNGEON MODULE G3, HALL OF THE FIRE GIANT KING) discovered the Dark Elves, the Drow, had instigated the giant alliance and its warfare upon mankind and its allied races. This module contains background information, a large-scale referee's map with a matching partial map for players, referee's notes, special exploration and encounter pieces, a large map detailing a cavern area, encounter and map matrix keys, and an additional section pertaining to a unique new creature for use with this module and the game as a whole. A complete setting for play of ADVANCED DUNGEONS & DRAGONS is contained herein. This module can be played alone, as the first part of a series of three modules (with SHRINE OF THE KUO-TOA, D2, and VAULT OF THE DROW, D3), or as the fourth part of a continuing series of modules which form a special progressive campaign scenario (DUNGEON MODULES G1, G2, G3, D1, D2, D3, and Q1, (QUEEN OF THE DEMONWEB PITS). TSR 9019
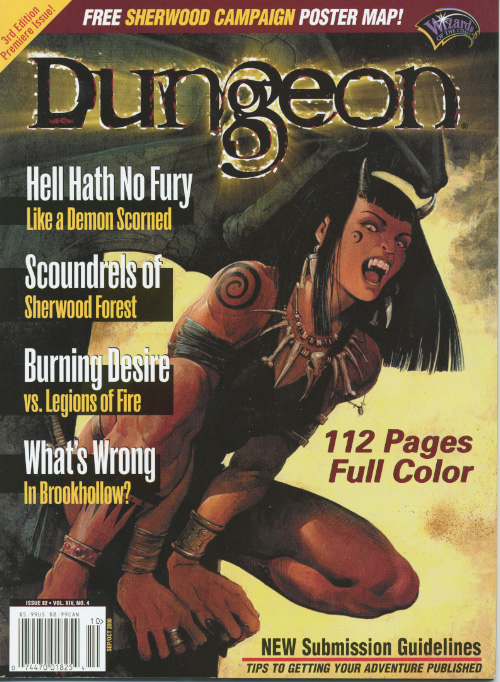
Don't Get Burned! Follow a half-forgotten legend to treasures untold and a fiery doom. Pgs. 30-41

Indomitable it stood for centuries, a symbol of order in a world of chaos. Bastion of the pass through the Kamph Mountains, the very stones of the Keep of Adlerweg were the stuff of legends. What evil power had strength enough to take it? How were its defenses swept aside? Fell creatures now attend the battlements that overlook the only pass between Berghof and the sea. This is not a pretty problem to be solved by the militia of the local villages. These and more may be needed to withstand the mayhem stirred up by the fall of the keep. Indeed, if the Keep is not retaken, and retaken soon, the Hold of the Sea Princes itself may not be secure. Now is the time for heroic action. Aided by the Sentinel, former protector of the legendary Guardians of Adlerweg, have you the courage and the determination to rid the keep of its sinister occupants? UK3: "The Gauntlet" (1984), by Graeme Morris, is the third UK-series adventure and the second half of the two-part Adlerweg series. It was run as the final round of the GamesFair 1983 AD&D Open (and won by a RuneQuest fan!). It was then published in 1984. TSR 9111
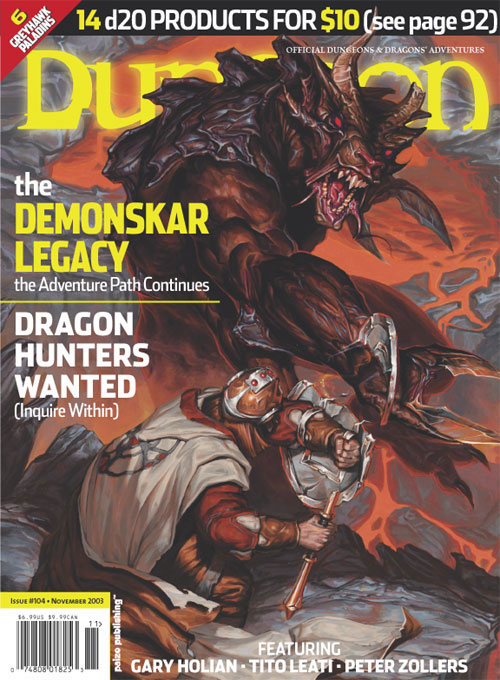
After a riot erupts in the streets of Cauldron, the PCs must track down a missing paladin before the mob tears the city apart. The PCs try to stop an assassin during the riot and get invited to a meeting, where they are tasked to search for the missing paladin. After some investigating they will travel to Vaprak's Voice, an ancient Spell Weaver laboratory, at the edge of the Demonskar. In the dungeon they will find the "Starry Mirror", a puzzle/travel device through which they have to travel, to find the missing paladin. Part 4 of The Shackled City Adventure Path Pgs. 44-82

A Ravaged Land... Villains that really are larger than life... A time for heroes... A decade ago, the land of Geoff was overrun by a horde of giants, ogres, and evil humanoids, its people either slain, enslaved, or driven into exile. Now at last the tide has turned. The time to free the people of Geoff from their servitude to the giantish tyrants has come! But don't forget to watch your step when you confront the true masters behind the giant Clans! Contains the full text of three classic adventures by Gary Gygax: G1, Steading of the Hill Giant Chief; G2, The Glacial Rift of the Frost Giant Jarl; and G3, Hall of the Fire GIant King. Details Eighteen new encounter sites in the war-torn land of Geoff, linked together to form a grand campaign. Provides dozens of hours of gameplay as the heroes struggle to free an entire country from the grasp of giant overlords. TSR 11413
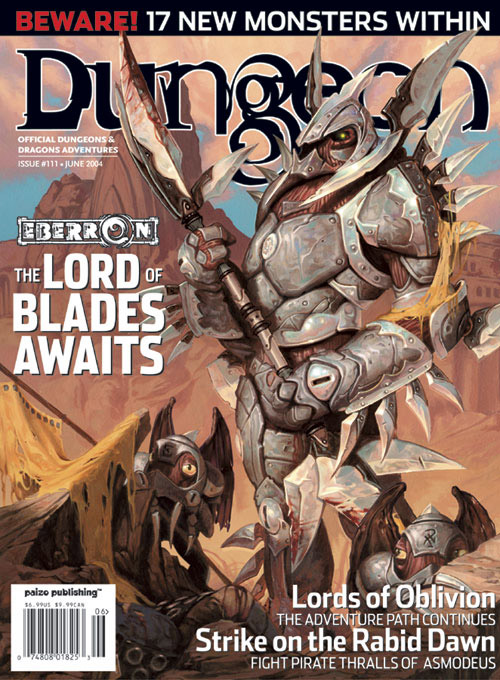
The Shackled City Adventure Path enters the home stretch as the forces of evil take direct action against the heroes of the Cauldron. Dangerous secrets are revealed, important NPCs bit the dust, and your heroes will never know who to trust again! This adventure is seventh part of the Shackled City Adventure Path that began with "Life's Bazaar" (Dungeon #97). Pgs. 36-67