
The Heroes are relaxing in an inn when they hear a scream, rushing outside they find that a local merchant has been kidnapped! The merchant's wife saw the assailants drag him into an alley, where the heroes give chase. Following the villains through a maze of natural fissures, tunnels, and ancient ruins they encounter a number of monsters, traps, and puzzles. Eventually they make their way to the kidnappers hideout, where they confront the kidnappers in a final climatic battle to rescue the merchant and uncover a criminal gang.
The heroes are sent to find what happened to a local druid, but discover his mind has been driven to madness and he is attacking the local villages. The heroes track down the druid's grove and find he was enchanted by a hag, and the heroes have to find a way to destroy the chimes she uses to enchant the druid.

For a long time you have heard legends about the Island of Vacros; when you were only a child, the stories about evil minotaurs were used to scare you into behaving. Now you are grown, and you no longer believe children's stories. But King Trueon of Cathos is worried: his daughter Princess Lydora has been kidnapped, and he has found clues that she has been taken to the ancient and evil island of Vacros. You have heard rumors that a large and dangerous mazework lies beneath the surface of the island - a mazework that is guarded by minotaurs. Of course many rumors are false, but then again... The Maze of the Riddling Minotaur is the second in a series of invisible ink modules: using the invisible ink pen included in this module, you may play the adventure by yourself. After you have played the solo version, you have not used up the module: instructions are provided as to how you may change the solo version into an exciting group adventure! TSR 9060

Gray Mountain lies deep in the lush elven forest. The temple there was a haven of meditation and learning - until taken over by an evil cleric known as the Rahib. Far under the mountain, he paces before the temple's great altar. A brown-robed servant rushes in and falls to his knees, trembling at the sight of the Rahib's black panther. "Rahib, adventurers came to the village as the sun rose - the strangers now protect Rahasia." A scowl crosses the Rahib's face. "I must have Rahasia! Attack again tonight." As the servant scurries away, a deep growl rises from the giant cat. Gripping the panther's leash, the Rahib paces again, speaking out loud. "We must dispose of these strangers quickly; the secret beneath the temple will not wait much longer." Note: the setting is unspecified, but certain tie-ins, like the wines, prefigure Ravenloft. See: https://twitter.com/chrisperkinsdnd/status/703751906703749120 TSR #9115
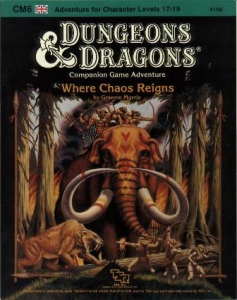
You have been chosen. Throughout the land, the omens of some cataclysmic change are clear for all to see. The flowers are blooming out of season, fish fall like rain, and a blue moon hangs in the night sky. Yet the danger is not of this land, nor even this world. Far away in the infinite planes lies Aelos, a world of peril. A world where time itself has been corrupted and where chaos reigns. Even the mighty Immortals who watch over the planes are powerless to help Aelos. Hope rests in you alone. Come then, journey through the swirling Nexus, to a world beyond the stars. You have been chosen, and Eternity beckons! TSR 9158
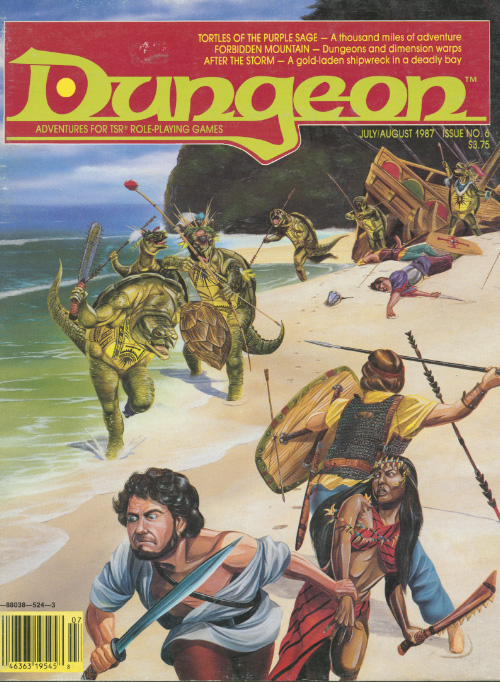
Part 1 of an Expert-level quest into a hostile wilderness. This adventure takes place in the Known World of the D&D game, as outlined throughout the D&D game rule books and modules. The DM may find it useful to consult the Companion and Masters Sets, as well as most of the X-series of Expert Set modules. D&D Expert Set module X9, The Savage Coast, would be especially helpful, as Tortles of the Purple Sage could easily serve and continue that module's direction and plot like, adding a previously undescribed area (the Great Northway) to the Known World. The DM may also place the areas and events of this adventure within an existing campaign setting, as long as the geographical areas of the campaign match those set forth here. Pgs. 40-62

To arms! To arms! The battle lines are drawn as desert men and inhuman tribes wait poised to strike on the fertile and rich lands of the east. The call has gone out through the civilized lands. The armies have been raised to match the invading foes from the west. Nobles and peasants have joined swords to greet the foes. But Fate or Chance has decreed another role for a small few. No glorious banners will wave on their march. No squadrons of knights will charge at their word. Instead, they will fight the war with stealth, secrecy, and cunning. The risks they will take are great, but the fates of both armies lie with them. It begins one night for your party far from the fighting. Suddenly you are entrusted with the most dangerous mission of the war. Can you cross the Sind Desert, occupied now by enemy armies, to find the Great Pass? Can you find the one known only as The Master? What will you do if you find him? So begins your adventure in The Master of the Desert Nomads, the first module of a two-part adventure that can be concluded in the exciting Temple of Death or played entirely on its own. Can your party do what must be done? TSR 9068

The PCs are looking to gain entry to the Glantri School of Magic, after the initial admission tests they are drawn into a commotion where one of the other students is being attacked by an evil sorceress. He tries to flee but but is killed, and the PCs are framed for the murder. The authorities are called and bribed to just kill the PCs, they flee and are chased and taunted by the evil sorceress. Eventually, during one of her attacks, she opens a weak spot in the ground and the heroes are dropped into the warrens under the school. They must navigate the warrens, which are shrouded in magical darkness, defend against further attacks, and find escape where they can prove their innocence.

The heroes arrive at the eponymous Keep on the Borderlands, a fortress on the edge of civilization built to stave off the chaos and evil of the wilderness. Using it as a home base, a party can make forays into the surrounding wilderness, encountering monster and marauder alike. The centerpiece of the adventure is certainly the CAVES OF CHAOS, a network of tunnels and caverns found in the walls of a nearby but isolated ravine. It is here that hordes of evil humanoids have made their home. Through combat and negotiation, the players can try to explore and map out these caves, perhaps with the aim of accumulating valuable treasure or even cleansing the land of evil creatures. However, even the Caves are not all they seem. Beyond the goblins and kobolds lurk dark horrors: cults dedicated to fiendish chaos and a Minotaur's enchanted labyrinth await the unprepared adventurer. But for the hero who is brave, clever, and fortunate in equal and sufficient measure, great treasures and glory await in the Caves of Chaos that lie beyond the Keep on the Borderlands! TSR 9034

Sent on a desperate mission into an unknown land, you must seek out the one called "the Master" and his Temple of Death. There is little time to waste, as you must act before the Master's armies destroy your homelands. But to complete your task, you must battle fearsome guardians, travel through a hostile kingdom, and discover the secret of the master. Can you survive his defenses and win? This module contains referee's notes, background, maps and detailed keys. It is the second adventure in the two-part Desert Nomads series begun in X4, Master of the Desert Nomads, but it can stand on its own as a seperate adventure. Wheter you play Temple of Death by itself or as part of a series, the adventure will offer you hours of excitement and fun! TSR 9069

A SOLO adventure for thieves level 1-3 or Group play level 1-3 The storm sweeps off the mountaintops without warning, as if conjured by some supernatural power. Within minutes, huge drifts of snow have halted the caravan, and the snow falls so hard it is impossible to see more than five feet. You huddle next to the sledge, trying to shelter for you numb face from the icy winds. A dozen half-human forms march into view out of the raging blizzard. The little man-things carry wooden spears or long, unsheathed swords in bony, gnarled hands. Their blood-red eyes quickly fall upon your sledge and the ugly creatures turn toward your hiding place. Will you survive to uncover the secret of Blizzard Pass? This module contains all you need to solve the riddle of Blizzard Pass, including 14 maps, an invisible ink marking pen, a complete solo adventure, a pre-rolled character, and an outline for group play! TSR 9067

One of four magical, snow white pearls protecting Tarylon has been stolen! And you, a Companion level elf, are responsible for its safe keeping. Now the very existence of your beautiful village is threatened unless you can find the powerful pearl. Milgor, the evil wizard with an evil sense fo fun, challenges you to find the pearl, and return it to Tarylon. This adventure uses a "Magic Viewer" - a piece of colored film - to reveal the hidden results of the player's choices. This includes encounters, puzzles, and traps. TSR 9128

To Find the Immortals! The all-powerful Immortals have vanished! The quest to locate them has led across the Atlass Ocean and the land of Shahjapur, where moguls hunt tigers, un-touchables respectfully avoid higher castes, and holy fakirs perch immobile for years on end. In this land of shrines and elephants and shapeshifting assassins, resolution may lie at the end of the mysterious "Emerald River." But no one knows the location of this river and no map shows its bed. Does the answer lie within the Temple of Eight Sweet Winds? Hopefully so, for time grows short. The Immortals themselves must be found and enlisted - to stave off the approaching cataclysm called: NIGHTSTORM! Nightstorm is the third adventure for the D&D Hollow World Campaign Set. The Hollow World boxed set is required to play. This 65-page adventure fits easily into your existing campaign, either as a stand-alone adventure or part of the history-spanning Blood Brethren trilogy. These three lined modules can be played in any order - but the adventure ends here! This adventure is designed for four to six characters of levels 8 to 10. Easily Adaptable to the AD&D Game! TSR 9311

Part of the First Quest Box Set TSR1105, this is an adventure designed to introduce new players and DMs to AD&D. Ever want to spend a night in a haunted house? Want to know what it would be like to meet a ghost? Well, doom creeps closer and closer with each hour your heroes spend in the old house on Harrow Hill! Are they brave enough to make it through the night? Or will the ghost claim some new victims? First Quest Adventure Book Pgs. 28-44

A cloud of dust forms over the horizon as a titanic army of evil threatens the entire civilized world! The Master of the Desert Nomads and his legions are back, and they form the greatest threat that you have ever faced. You must persuade powerful rulers to join you cause, stave off threats to the alliance, and lead your armies to victory! This adventure contains a full-color map of the D&D Expert Set game world, 200 counters, and a special expansion of the War Machine mass combat rules that allows you to fight the entire war as a strategic wargame! Major battles and engagements can be fought using the BATTLESYSTEM Fantasy Combat Supplement for incredible tabletop action. Never-before-published information on all the nations of the Expert Set game world provides background and detail that will enrich your campaign. This adventure includes large-scale battles and uses an expansion of Douglas Niles and Gary Spiegel's warfare system, "The War Machine", developed as part of the D&D Companion Set (BECMI Ed.) from 1984. "Red Arrow, Black Shield" is more than just a follow-up to X4/X5; it's a lynchpin for the entire B/X/CM adventure sequence. The players travel through many lands that were home to past adventures, and their past interactions with those places could affect diplomacy in this new adventure. TSR 9160

The king requests your presence in the honorable kingdom of Norwold. If you're worthy, you may be appointed lord of a dominion filled with friendly villages, sturdy fortresses, and raging band of monsters. Raging bands of monsters? Well, yes, and you may have to lead your forces into a war or two. But you'll be ready for the challenge. You'll be ready for treacherous spies who conspire to steal you land. You'll be ready for a foul band of giants that raids your dominions. And you'll be ready for the inevitable clash of empires, the outcome of which may alter the fate of millions. You'll be ready! Won't you? Test of the Warlords includes a complete campaign setting, several new NPCs, and dungeon and wilderness encounters, and guidelines for running a war between empires. TSR 9117
Powerful Magics are Loose in Karameikos! You and your companions are starting on your first adventure and you've been swept into the intrigues surrounding the infamous Black Eagle Barony. To prevent the evil Baron von Hendricks from gaining more power, you and your cmpanions must retrieve the magical Eye of Traldar from the wizard's tower at Fort Doom. Can you escapes the clutches of the armed garrison? Will the Baron gain the powerful artifact and use it for evil? You and your friends make the choices and affect the entire Grand Duchy of Karameikos. This module is particularly recommended for novice Dungon Masters and players who want to try their hand at overland adventuring. Recommended for four to six characters, levels 1-2 Handouts and pregenerated characters provided Suitable for use with the Dungeons & Dragons Game box and conventional D&D Game rules Features simple rules on outdoors travelling for exclusive players of the D&D Game box Adventure in the monster-filled caverns and dungeons beneath Fort Doom. TSR 9271

This module is especially for a party of elven PCs, level 8+. The Feadiel clan's Tree of Life is dying. As the bravest and strongest elves in the clan, you must undertake the challenge of the elders: seek out the source of the disease and destroy it. If you fail, the Tree of Life will surely perish, and all your family with it. The quest is great and you may die on the journey, never to find the cause of the disease. The journey will take you to the deepest part of ancient Selinar, Elvenhome, to find the guarded grave of the first Treekeeper... TSR 9166

X11 Saga of the Shadow Lord consists of two linked adventures as a mini-campaign: In the first adventure called Elvenstar, PCs try to steal a magic item from the Shadow Lord to thwart his planned invasion of a peaceful neighboring kingdom. Encounters in this adventure include a village populated by adventurers, and a cloud giant living in a small castle, before the party reaches the Shadow Lord's lair for the final encounter. In the second adventure, also enclosed in module X11, The Halls of Drax Tallen, the Shadow Lord returns more powerful than ever. His undead minions are searching for another magical item to give him immense power and the PCs must find this item before he does. Player characters must get past the undead army of the Shadow Lord and infiltrate his haunted fortress to retrieve the magical Elvenstar. TSR 9165
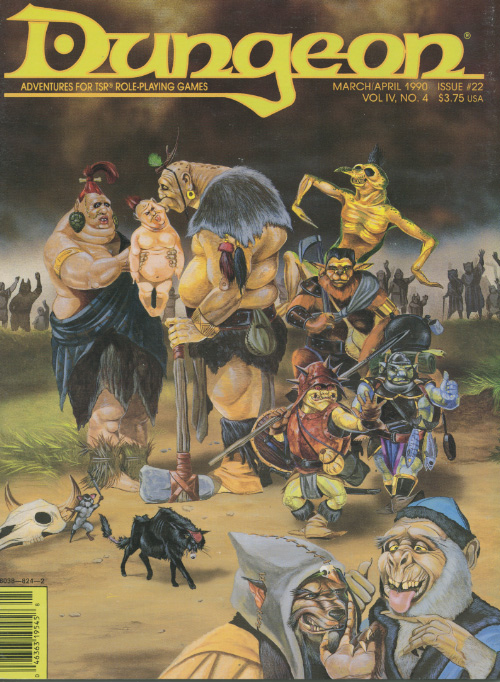
Somewhere ogre the rainbow.... You and your fellow humanoids are going to be diplomats! Can you say "disaster?" I knew you could. This module is made for humanoid monster PCs created with GAZ10 (The Orcs of Thar Gazetteer). That module is required to play through this adventure. The players start in the village of Flooshpragh, which acts as the horde center for the Rude Mongrel tribe of goblinoid races. Unknown to the players, the tribe has grown unmanagebly large, and the chief has marked the players as expendable individuals! Many subtle clues exist throughout the module to clue the players into this betrayal. The adventure proceeds through a town with roleplaying opportunities, a tower dungeon, and finishes by the players unknowingly pranking a human wizard. Pgs. 50-64