
Important: The adventure is 1e but it has monster conversion notes for D&D 4th edition The town of Highport, once a human community overlooking Wooly Bay from its perch on the northern coast of the Pomarj, fell prey to hordes of humanoids swarming out of the jungle-covered hills surrounding the settlement. Though the orcs, goblins, kobolds, ogres, and gnolls razed much of the place in their ferocious rampages, the smoldering ruins they left behind soon became a new kind of community, a place of trade between the humanoid “locals” and the unsavory human traders who have no compunction about doing business with them. Slaves are a commodity in ready supply in Highport’s market, since many pirates raid up and down the coast of the bay, putting fishing villages to the torch and filling their holds with captured refugees. Slavery has become a thriving business in the town, and rumors abound of a cartel of Slave Lords who run things from behind the scenes, filling their coffers in secret from the buying and selling of human chattel. The trade has become so prolific that the good folk to the north have grown tired of these depredations and decided to fight back. Forces of righteousness and honor have recently descended upon Highport, some openly and others in secret, in various attempts to destroy the machinations of the Slave Lords and abolish the abominable enterprise that has taken far too many loved ones from home and hearth. One such doughty servant of goodness is Mikaro Valasteen, a cleric of Trithereon. Mikaro slipped unnoticed past the crumbling walls of Highport with a single mission: to rescue and transport as many slaves to their freedom as possible. Mikaro and a handful of faithful assistants located a number of escaped slaves—as well as rescued a few more not sufficiently restrained and guarded—and shepherded them through the gates and beyond the reach of their humanoid tormentors, returning them to their lands and homes. This covert freedom brigade enjoyed remarkable success early on, since the servants of the Slave Lords were often lax in their vigilance and sloppy in their efforts to prevent loss of the “merchandise.” After one too many shipments never made its destination, the humanoids stepped up their security and the normal channels of escape from Highport closed to Mikaro and his team. He cannot risk exposure by smuggling the freed slaves through the gates as merchandise any longer, since shipments of goods are now regularly stopped and checked. No longer able to free the slaves in that manner, Mikaro began hiding his charges in an abandoned villa in a particularly rundown part of the town. Although they are safe for the moment, their numbers have grown unmanageable, and the priest fears it is only a matter of time before someone slips up and brings slavers to their doorstep. Ever more desperate to find a new means of escape from Highport, Mikaro has started work on a plan that is both daring and dangerous. He intends to use a series of old sewers coupled with natural caverns running beneath the town as an escape route to the sea beyond the walls. But he needs someone to clear out the creatures and pitfalls he knows lie within. Pgs. 2-27
A minion of chaos has come to the Prime Material Plane from the void of the Far Realms to terrorize and conquer in the name of its masters. The PCs must act quickly to assemble a legendary artefact powerful enough to weaken the minion so it can be defeated. Pgs. 20-47
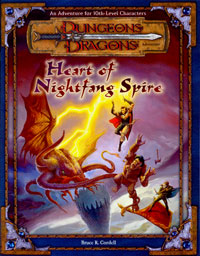
In Heart of Nightfang Spire, the player characters are drawn to investigate Nightfang Spire, a lonely stone tower in a barren land. The vampire lord Gulthias, servant of the great dragon Ashardalon, has returned to the tower which was once the main cult temple of Ashardalon. The vampire prepares for the dragon's return by awakening the other cultists who had preserved themselves as undead creatures. Gulthias is a vampire and a level 13 wizard.
Part 3 of the Shackled City Adventure Path "Wherein a tribe of the Sea Mother's children suffer for sparing the life of a mad prisoner they probably should have eaten." Synopsis: The adventure begins with an Umber Hulk attack in the middle of the city. The fame gained by assisting during the attack allows them to gain the notice of a representative of Davked Splintershield. The group is asked to rescue Zenith Splintershield from a Kuo-Toan temple in the Underdark. But to find it, they have to visit Crazy Jared to locate an entrance to it. Upon journeying to Crazy Jared's, they fight Hookface's offspring. After more travelling, they are able to descend into the Underdark. Once they find the Kuo-Toan temple, they must fight through many hard challenges, only to realize that Zenith is not a prisoner, but instead is a prophet. Zenith does not go willingly, and so must be captured. Pgs. 28-61

Not even memories of past glory live on in the gentle hills around the village of Kusnir. Today its people have more concern for commonplace things, like the harvest, trade, and the threat of death in the night! Kusnir is beset by a skulk. The attentions of such a creature are a curse on any community. Streets and alleys which ring to the voices of children by day become fearful, shadowy places by night. Men go abroad armed and in groups, while women and children stay behind locked doors and even there are not safe. But life goes on. The lot of the peasant is always hard, what cannot be prevented must be endured and, of course, things could be worse. Much worse. The skulk has begun to visit the village more and more often. Sometimes it kills, yet just as often it spares a victim, leaving clear signs of what it might have done had it wished. Its visits are now marked by strange and illegible symbols scrawled in blood on the walls of the buildings. The people are worried, helpless, and desperate. Desperate enough to welcome adventurers. UK2: "The Sentinel" (1983) is the second UK-series adventure, the fifth TSR UK adventure overall, the first solo effort by Morris, and the first half of the two-part Adlerweg series (whew!). It was run as a tournament at the GamesFair '83 Open, then published later in 1983. TSR 9101

Lost Laboratory of Kwalish explores an alternate expedition into the Barrier Peaks. The legendary inventor disappeared in the peaks eons ago… as it turns out, finding a crashed planar ship and studying its technology to fuel his own experiments—only now, Kwalish’s lost research is desperately needed! This adventure explores two locations within the Barrier Peaks, and includes new monsters, magic items, and spells, plus sci-fi trinkets, random encounters, and even rumors of the area submitted by the player community! Further featuring new art, maps (from Claudio Pozas), and even a cartoon (from Jason Thompson)—as well as the famed suit of powered armor, as edited by Jeremy Crawford on the Dragon+ livestream! Best of all, all monies that Wizards of the Coast receives from sales of this PDF are donated to Extra Life. Your purchase of this adventure goes to a truly great cause!
The long-forgotten monastery to the Lord of Winds hides a secret of immense evil. The PCs are tasked with delving into the abandoned ruins and discover if two Houses are related in some way. Scales from level 4 to level 10, but originally designed for characters of 7th level. Pgs. 17-39

Just as the trail led from the STEADING OF THE HILL GIANT CHIEF to the frozen wastes where was found the GLACIAL RIFT OF THE FROST GIANT JARL, so the adventure in the latter place has let (or transported) the intrepid party to what they hope will be their last challenge. They are about to venture into the hot and smoking barrens which are in effect Muspelheim, the home of fire giants. This module contains background information, referee's notes, three level maps, and exploration matrix keys. It provides a complete module for play of ADVANCED DUNGEONS & DRAGONS, and it can be used alone or as the last of a three-part expedition adventure which also employs DUNGEON MODULE G1 (STEADING OF THE HILL GIANT CHIEF and DUNGEON MODULE G2 (GLACIAL RIFT OF THE FROST GIANT JARL). TSR 9018

When Monsters threaten the village of Crystalbrook, it's up to adventurers to track down where they're coming from. The investigation leads them on a journey across planes. In the Feywild, the heroes must explore an enchanted island garden and unravel the plot of a foul hag, before she and her fiendish companion can perform a ritual to seize control of the island. "Beyond the Crystal Cave" is a Dungeons & Dragons adventure designed for the winter 2011 season of the D&D Encounters official play program. This season incorporates character options from Player's Option: Heroes of the Feywild, and it comes with three full-color maps, thirteen ready-to-play encounters, and information on the D&D Encounters program. Originally found in Dungeon Magazine #211 now available as a stand-alone adventure. Pgs. 63-122
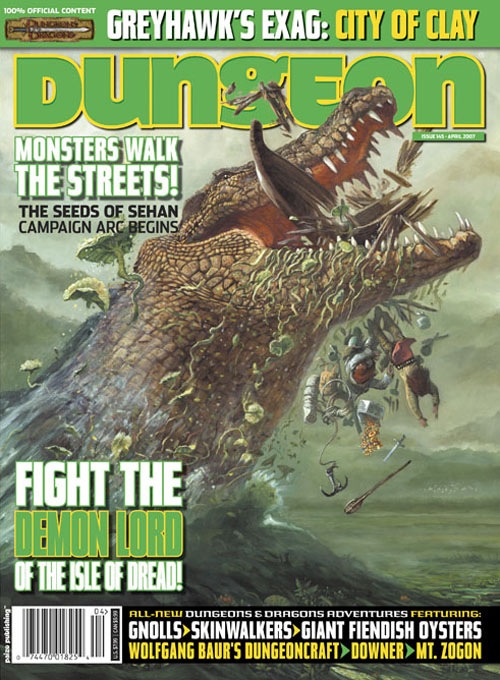
A horrific drug has seized the population of the strange city of Exag, yet confronting its source only reveals the true extent of a dire new threat. Part one of the Seeds of Sehan campaign arc, this is a D&D adventure for 8th-level characters.
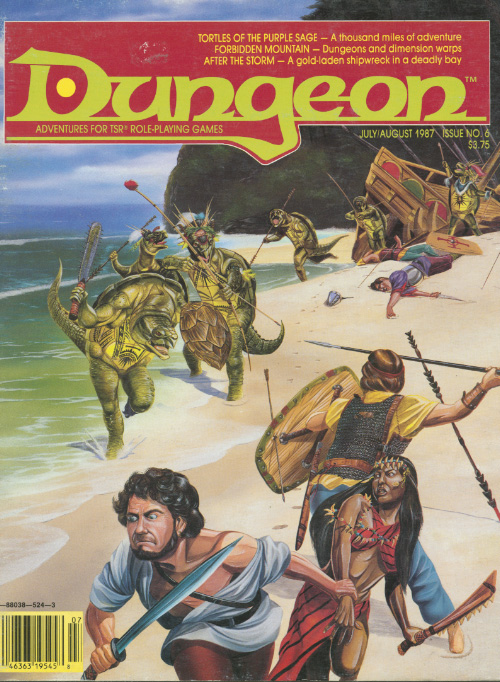
Old fog giants never die - they just slowly fade away. The House of the Brothers is an AD&D® game scenario for 3-6 characters of levels 6-10. Parties composed of less-experienced players should have higher levels, while seasoned players may be able to handle this adventure with lower-level characters. This scenario is designed to fit into the WORLD OF GREYHAWK™ Fantasy Setting. It takes place in hex M5-127 on the WORLD OF GREYHAWK boxed-set maps, three hexes north of Loftwick in The Yeomanry, on the border of the Jotens mountain range. If desired, this encounter may be used to expand a campaign using the supermodule GDQ 1-7 Queen of the Spiders, or it may stand alone. Of course, the scenario can be easily adjusted to fit into nearly any campaign world. The entire adventure may be dropped into a single evening's play. Pgs. 26-31
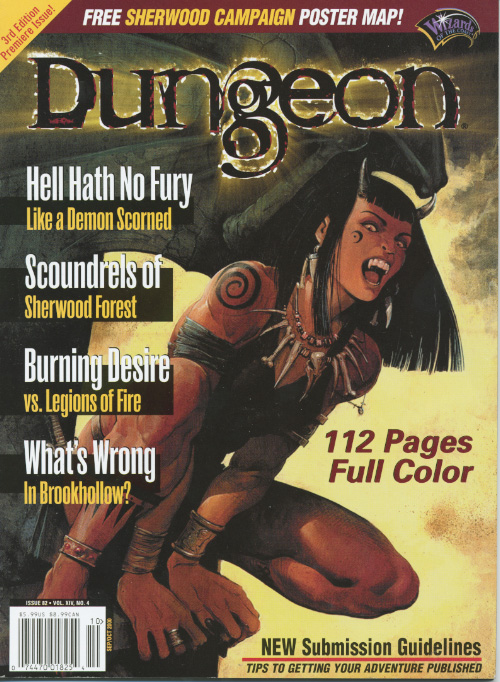
Digging in the Dark People are vanishing from the village of Brookhollow. Can you solve the mystery in time to save your friends? Pgs. 12-29

Sinister Forces Terrorize a Town The town of Brindinford is in the midst of its annual street fair. Joy and merriment abound - until calamity disrupts the celebration. Are rival gangs responsible? Is the government sliding into tyranny? Or is a nightmarish plot about to come to fruition? "The Speaker in Dreams" is a stand-alone adventure for the DUNGEONS & DRAGONS® game. Player characters are in for a wild ride in this river town. Leave the dungeon behind: the terrors lurking in Brindinford are more challenging by far! In The Speaker in Dreams, the town of Brindinford is besieged by evil forces under the command of Ghaerleth Axom. A street fair is interrupted by an attack, which serves as a distraction for the villain's forces to attack the keep of the local baron. This provides an entry point for the player characters into the main quest to discover the secret alliances trying to take over the town. The Speaker in Dreams is an event-based, rather than site-based, adventure.
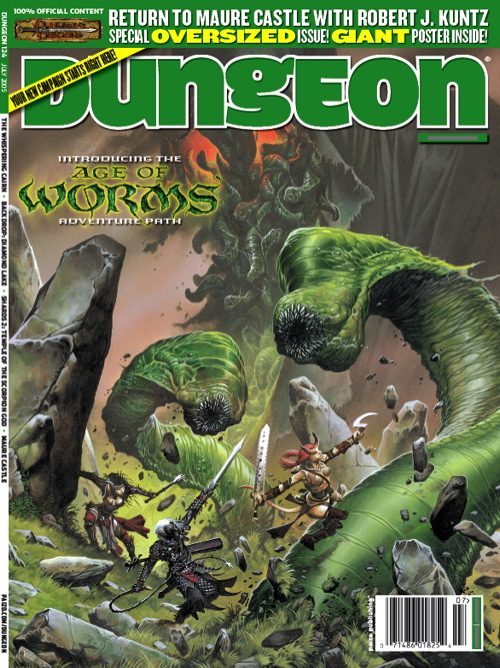
Deep under the ruins of Maure Castle lie the Chambers of Antiquities, vaults designed by ancient wizards to store magic items even they didn't quite understand. A continuation of last year's hit "Maure Castle." This adventure is set under the infamous ruins of Maure Castle, a monolithic edifice of night-black granite built by a powerful family of wizards. The Maures sealed themselves into the dungeons below their castle long ago, and today these dungeons have become one of the most infamous adventuring sites in the land. Although estimates have placed the number of monster-infested and trap-haunted dungeon levels below Maure Castle at 17, there may in fact be even more. This adventure presents one of those dungeon levels in detail. Pgs. 76-101

The corrupt town guard of the Styes refuse to help when a mysterious monster begins to slaughter the residents of Hopen'er Asylum, an old decrepit mental aslyum. A call is put out for any adventurers willing to defeat this mosnter and save Hopen'er before it falls any further into madness... From the author of Murder on the Primewater Pleasure comes The Horrors Beneath Hopen'er Asylum. If you enjoyed that adventure then you will love this! This horror adventure takes place in and below Hopen'er Asylum. Originally designed to serve as an introduction to the location known as The Styes frorm the Ghosts of Saltmarsh campaign book, this adventure can be easily transferred to any setting (advice is given on how to do this). The characters will explore an abandoned underground wing of the mental asylum, before delving into a forgotten cave system to face an unknown enemy, a Dubh. The adventure is designed for 6th - 7th level characters and takes anywhere between 4 - 6 hours to finish. The adventure contains full colour maps, as well as VTT versions of the maps.

A combination wilderness/dungeon module, first searching for then exploring the temple of Tharizdun. Tharizdun is long gone from the place, so there's no epic final fight. Rather, a mysterious Black Cyst waits at the bottom of the dungeon. The encounter with it is almost scripted, having no hazard except for careless/foolish players. Contains several monsters from the Fiend Folio. Loosely follows Lost Caverns of Tsojcanth. TSR 9065

Fleeing the rage that consumed their feuding families, Juliana and Orlando fled to the Cave of Echoes, where it is said every wish is granted. Two years have passed, and all attempts to return the lovers to their parents have failed, though some believe them lost in the enchanted garden beyond the cave. Many are the rescuers venturing into that enchanted park; a few have returned after long absences, their minds and memories curiously disturbed. Now, the handsome reward offered for the return of the lovers has tempted you, but who knows that lies beyond the Crystal Cave? TSR 9066
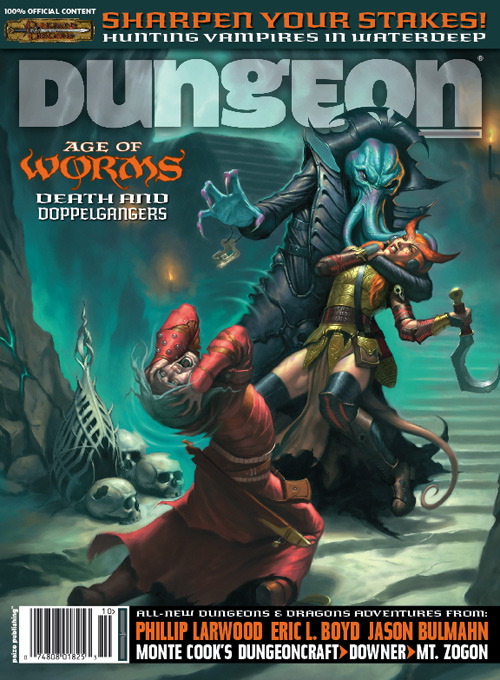
The Free City: a shining gem in the crown of cultured civilization. Beneath the surface of this bustling metropolis is a rot, festering in the darkness, manipulating the lives of those unaware of its presence. Now a small adventuring band from out of town may be in over their heads. Their actions in Diamond Lake have attracted the wrath of one of the city’s hidden masters. A gang of infiltrators and an enigmatic mastermind plot their destruction, and only tracing the rot to the root can stop the onslaught. "The Hall of Harsh Reflections" is the fourth installment of the Age of Worms Adventure Path, a complete campaign consisting of 12 adventures, several "Backdrop" articles to help Dungeon masters run the series, and a handful of poster maps of key locations. For additional aid in running this campaign, check out Dragon's monthly "Worm Food" articles, a series that provides additional materials to help players survive this campaign. Check out issue #336 of Dragon for five attractions to tempt your PCs to spend some of their hard-earned loot. This issue of Dragon also features an Ecology of the Spawn of Kyuss, one of the central creatures featured in this campaign. Pgs. 34-60

Barbarian legends tell of five magical blades of measureless power. The more civilized cultures of warmer climes believe these tales to be nothing more than delirious dreams of frost-bitten brains. "Those frozen louts- they're trying to scare respect out of us!" At least that's what they want to believe. Three of the legendary blades of Corusk have been unearthed, and their powers have proven to be all that the tales claimed. You have been given these to use in the quest for the remaining two blades. However, word has spread to the peoples of the neighboring areas, and two groups are working against you to prevent your securing these swords. Beware the Hold of the Stonefist and the Rovers of the Barren! Only so much time remains for you to locate the last two Blades of Corusk ... and your enemies are on the horizon. Find the blades, and reclaim your birthright of honor and respect; fail, and be outcast from your tribes for life. The choice is yours. TSR 9337

Danger Lurks in the Lendore Isles. Bands of evil creatures prowl the hills overlooking the town of Restenford. Now you have come to this sleepy little village looking for adventure and excitement. You seek to fathom the unexplored reaches of Bone Hill and unlock the mysteries of Restenford. TSR 9045