
A traditional "funhouse" dungeon, White Plume Mountain begins with the archmage Keraptis stealing three artifacts and leaving cryptic poems with their former owners. The players are hired to recover the items, and find a bizarre dungeon in the side of the eponymous volcano. TSR 9027

Stirrings of an ageless war between Law and Chaos are drawing you into an epic adventure! A Struggle More Savage than Good vs. Evil Imagine a time before the words Good and Evil had meaning, a day when the world was young. Discover an ancient conflict that predates the stars. It was in these days that Law and Chaos forged worlds out of nothingness; their war began while the cosmos was yet unfinished. The Rod of Seven Parts defines epic role-playing. The reappearance of the Rod has awakened the powers of Chaos, and their queen seeks to turn the whole world into a battleground. Bold heroes must undertake the enormous task of seeking out and assembling the pieces of the Rod, but even its power cannot stand alone. Ages ago, primal forces of Law stood fast against Chaos; now their champions must once more confront the Queen of Chaos and her foul spyder-fiends, lest the flame of civilization be extinguished. Follow the quest for the capricious Rod as it leads characters on a journey of high fantasy. The Rod of Seven Parts is designed for four to six heroes and heroines of levels 10 to 12. This boxed set includes: Initiation to Power, a 96-page book of grand adventure playable in any AD&D world, including original campaigns; The War Against Chaos, a 64-page book of world-crossing adventures pitting PCs toe to toe against the minions of Chaos; Might and Menace, a 32-page book detailing the mysterious powers of the Rod of Seven Parts: how it affects both its enemies and its friends; Monsters, a 16-page book of new villains, new monsters, and even a new race! 6 two-sided reference cards; 6 full-color poster maps portraying the key locations heroes can visit. Read about this ancient artifact in the epic novel The Rod of Seven Parts by best-selling author Douglas Niles! TSR 1145
Wherein a solid plan to ransom captured wands turns sour for three friends and their employees, and a local luminary loses his tongue.

Important: The adventure is 1e but it has monster conversion notes for D&D 4th edition The town of Highport, once a human community overlooking Wooly Bay from its perch on the northern coast of the Pomarj, fell prey to hordes of humanoids swarming out of the jungle-covered hills surrounding the settlement. Though the orcs, goblins, kobolds, ogres, and gnolls razed much of the place in their ferocious rampages, the smoldering ruins they left behind soon became a new kind of community, a place of trade between the humanoid “locals” and the unsavory human traders who have no compunction about doing business with them. Slaves are a commodity in ready supply in Highport’s market, since many pirates raid up and down the coast of the bay, putting fishing villages to the torch and filling their holds with captured refugees. Slavery has become a thriving business in the town, and rumors abound of a cartel of Slave Lords who run things from behind the scenes, filling their coffers in secret from the buying and selling of human chattel. The trade has become so prolific that the good folk to the north have grown tired of these depredations and decided to fight back. Forces of righteousness and honor have recently descended upon Highport, some openly and others in secret, in various attempts to destroy the machinations of the Slave Lords and abolish the abominable enterprise that has taken far too many loved ones from home and hearth. One such doughty servant of goodness is Mikaro Valasteen, a cleric of Trithereon. Mikaro slipped unnoticed past the crumbling walls of Highport with a single mission: to rescue and transport as many slaves to their freedom as possible. Mikaro and a handful of faithful assistants located a number of escaped slaves—as well as rescued a few more not sufficiently restrained and guarded—and shepherded them through the gates and beyond the reach of their humanoid tormentors, returning them to their lands and homes. This covert freedom brigade enjoyed remarkable success early on, since the servants of the Slave Lords were often lax in their vigilance and sloppy in their efforts to prevent loss of the “merchandise.” After one too many shipments never made its destination, the humanoids stepped up their security and the normal channels of escape from Highport closed to Mikaro and his team. He cannot risk exposure by smuggling the freed slaves through the gates as merchandise any longer, since shipments of goods are now regularly stopped and checked. No longer able to free the slaves in that manner, Mikaro began hiding his charges in an abandoned villa in a particularly rundown part of the town. Although they are safe for the moment, their numbers have grown unmanageable, and the priest fears it is only a matter of time before someone slips up and brings slavers to their doorstep. Ever more desperate to find a new means of escape from Highport, Mikaro has started work on a plan that is both daring and dangerous. He intends to use a series of old sewers coupled with natural caverns running beneath the town as an escape route to the sea beyond the walls. But he needs someone to clear out the creatures and pitfalls he knows lie within. Pgs. 2-27

The End of the World Is at Hand! A hideous death cult has seized control of an ancient artifact-monument known as Tovag Baragu. The power behind the cult is the Old One himself, Iuz the Evil, demonic master of an empire. He's on an all-or-nothing quest for supremacy over the world—and the heavens beyond. To stop him, heroes must face horrors never dreamed of, journeying to a shadowed city where Death rules and the living cower. Here, Iuz will achieve his mad dream by destroying the imprisoned master of that alien citadel: Vecna, the mightiest lich, an immortal demigod. Two items exist with the power to stop Iuz—the Eye and the Hand of Vecna—but using them carries fantastic risks. Not even the gods know what will be unleashed when these items are fully activated. Die Vecna Die! takes the heroes from the Greyhawk campaign to the demiplane of Ravenloft and then to the Planescape city of Sigil. However, none of the material from those settings is required for play. TSR 11662

Danger Lurks in the Lendore Isles. Bands of evil creatures prowl the hills overlooking the town of Restenford. Now you have come to this sleepy little village looking for adventure and excitement. You seek to fathom the unexplored reaches of Bone Hill and unlock the mysteries of Restenford. TSR 9045

This module was originally used for the AD&D Tournament at Origins '79. Your party is lost! You should never have abandoned the ship and struck out into the marshes, but your pursuers were closing on your trail, and it seemed the only way. Stumbling onward through the fens, your party makes for higher ground ahead. As you cross the ridge, you see a clearing before you. There in an ancient ruin - a worn and overgrown pyramid fills the courtyard, shining in the moonlight, seeming almost brighter than the moon itself. TSR 9032
"Terror by night! The village of Orlane is dying. Once a small and thriving community, Orlane has become a maze of locked doors and frightened faces. Strangers are shunned, trade has withered. Rumors flourish, growing wilder with each retelling. Terrified peasants flee their homes, abandoning their farms with no explanation. Others simply disappear. . . No one seems to know the cause of the decay -- why are there no clues? Who skulks through the twisted shadows of the night? Who or what is behind the doom that has overtaken the village? It will take a brave and skillful band of adventurers to solve the dark riddle of Orlane!" TSR 9063

The Village of Hommlet has grown up around a crossroads in a woodland. Once far from any important activity, it became embroiled in the struggle between gods and demons when the Temple of Elemental Evil arose but a few leagues away. Luckily of its inhabitants, the Temple and its evil hordes were destroyed a decade ago, but Hommlet still suffers from incursions of bandits and strange monsters. TSR 9026

Just as the trail led from the STEADING OF THE HILL GIANT CHIEF to the frozen wastes where was found the GLACIAL RIFT OF THE FROST GIANT JARL, so the adventure in the latter place has let (or transported) the intrepid party to what they hope will be their last challenge. They are about to venture into the hot and smoking barrens which are in effect Muspelheim, the home of fire giants. This module contains background information, referee's notes, three level maps, and exploration matrix keys. It provides a complete module for play of ADVANCED DUNGEONS & DRAGONS, and it can be used alone or as the last of a three-part expedition adventure which also employs DUNGEON MODULE G1 (STEADING OF THE HILL GIANT CHIEF and DUNGEON MODULE G2 (GLACIAL RIFT OF THE FROST GIANT JARL). TSR 9018
Part 3 of the Shackled City Adventure Path "Wherein a tribe of the Sea Mother's children suffer for sparing the life of a mad prisoner they probably should have eaten." Synopsis: The adventure begins with an Umber Hulk attack in the middle of the city. The fame gained by assisting during the attack allows them to gain the notice of a representative of Davked Splintershield. The group is asked to rescue Zenith Splintershield from a Kuo-Toan temple in the Underdark. But to find it, they have to visit Crazy Jared to locate an entrance to it. Upon journeying to Crazy Jared's, they fight Hookface's offspring. After more travelling, they are able to descend into the Underdark. Once they find the Kuo-Toan temple, they must fight through many hard challenges, only to realize that Zenith is not a prisoner, but instead is a prophet. Zenith does not go willingly, and so must be captured. Pgs. 28-61
All ocean voyages are fraught with peril, yet a voyage to the infamous Isle of Dread might seem to some old salts to be a deliberate goading of the gods of the sea. Many of those who have attempted the voyage before managed to return to civilization often choose not to speak of the trials they experienced on that dangerous route, yet those whose lips can be loosened by a draught of grog whisper amazing stories... tales of pirates, sea monsters, terrifying storms, and perhaps most harrowing of all, of a strange and sinister land without land, a floating graveyard of dead ships mired in a sargasso the size of an island. This place has many names, but its most well-known may be it's most apt - Journey's End. "The Sea Wyvern's Wake" is the third chapter of the Savage Tide Adventure Path, a complete campaign consisting of 12 adventures appearing in Dungeon magazine. For additional aid in running this campaign, check out Dragon magazine's monthly "Savage Tidings" articles, a series that helps players and DMs prepare for and expand upon the campaign. Issue #350 of Dragon magazine features a regional guide to the seafaring environs the PCs can expect on the journey to the Isle of Dread. It’s time to bid farewell to the city of Sasserine as the PCs board the Sea Wyvern for a 3,000-mile voyage south into the uncharted waters of the Vohoun Ocean. Their destination: the Isle of Dread. Pgs. 16-48
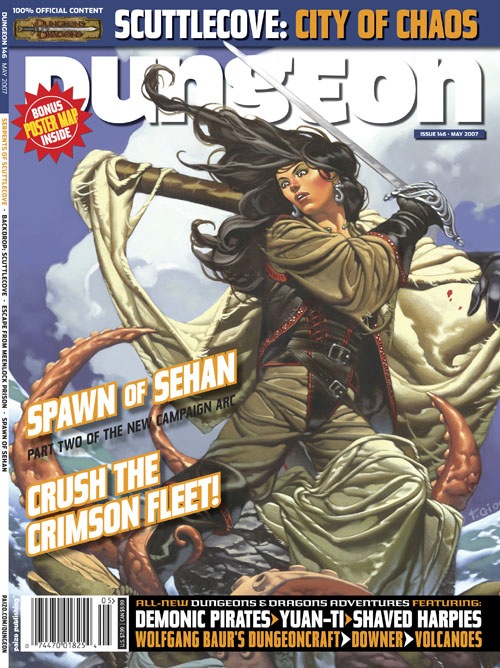
The vile city of Scuttlecove is the home of murderers, thieves, demon whorshipers, peddlers of vice, and monsters. Here, anyone can find a place to hide, provided they can survive the terrors and dangers that infest the city streets. Scuttlecove is also the home of the Crimson Fleet, a notorious band of pirates who have long held the Vohoun Ocean as their private looting grounds. The time has come to take the fight to these legendary pirates, to confront them in their own depraved lair. "Serpents of Scuttlecove" is the eighth chapter in the Savage Tide Adventure Path, a complete campaign consisting of 12 adventures appearing in Dungeon Magazine. For additional aid in running this campaign, check out Dragon magazine's monthly "Savage Tidings" articles, a series that helps players and DMs prepare for and expand upon the campaign. Issue #344 of Dragon magazine features several additional locations the PCs might wish to visit during their stay in the city of Scuttlecove. The characters once again board the Sea Wyvern, this time to sail for Scuttlecove – a hideous city of pirates, slavers, cannibals, and worse – in search of clues to the final Savage Tide and the rescue of their patron. Pgs. 42-75 Also see Pgs. 76-85 for Backdrop: Scuttlecove City of Chaos.
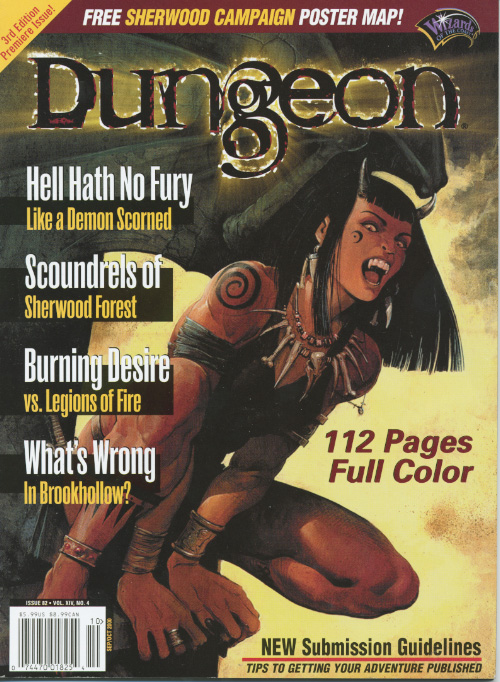
Don't Get Burned! Follow a half-forgotten legend to treasures untold and a fiery doom. Pgs. 30-41
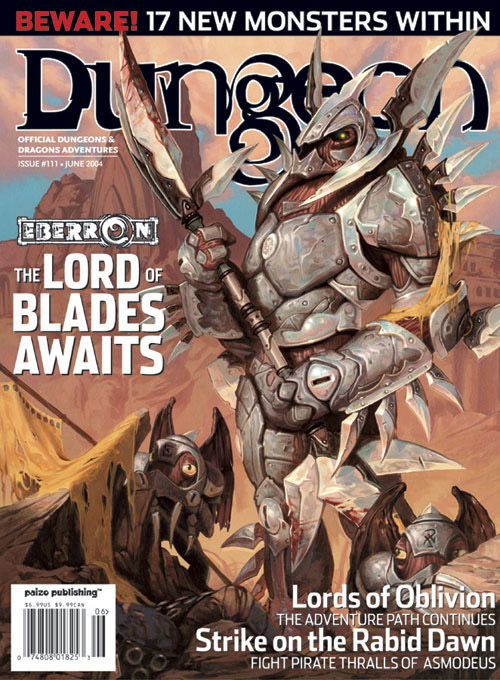
The Shackled City Adventure Path enters the home stretch as the forces of evil take direct action against the heroes of the Cauldron. Dangerous secrets are revealed, important NPCs bit the dust, and your heroes will never know who to trust again! This adventure is seventh part of the Shackled City Adventure Path that began with "Life's Bazaar" (Dungeon #97). Pgs. 36-67

The dreadful jails below the appalling City of Skulls, Iuz's nightmare capital, contain many wretched and desperate captives. Among them is Earl Holmer, Knight Commander of the Shield Lands. A brave spy in Dorakaa has shown the ay to find and free Holmer—is your party up to the job of freeing him? King Belvor IV of Furyondy believes so. In the way stand fearsome priests and mages of the Lord of Pain; ogres, giants, fiends, and worse hinder the struggle to defeat the traps and guardians of Iuz. Plucking Holmer from his grasp will bring great renown, knighthood, and treasure—for those who survive. None has ever escaped Iuz's jails. Who will you be the first to use stealth or storm to breach them? TSR 9405
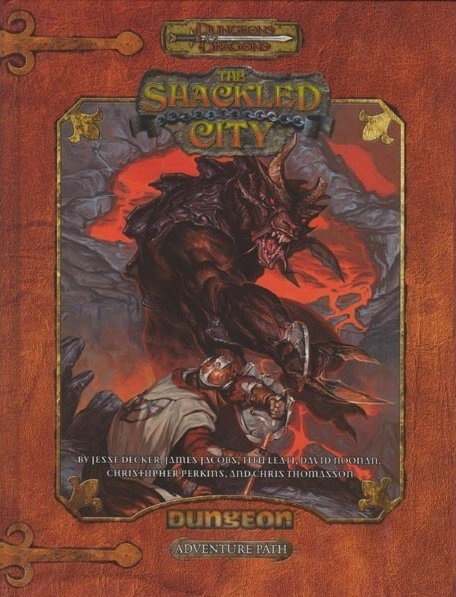
Wherein a tribe of goblins attracts too much attention and brings unwelcome guests to its master's den.
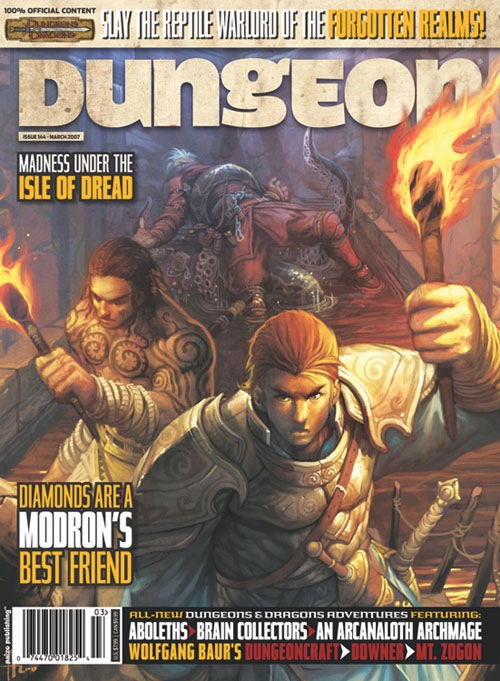
Deep beneath the Isle of Dread, in a place forgotten by the world of light, an ancient, unfathomable evil festers. Within the desiccated ruin known as Golsimorga, the debased kopru servants of Demogorgon work foul rites, steeping immature shadow pearls in pits of liquid insanity. None from the world above have yet fathomed what terrors lurk beneath the Isle of Dread, nor what mad scheme roils to profane life deep within the city's gangrenous corpse. "The Lightless Depths" is the sixth chapter of the Savage Tides Adventure Path, a complete campaign consisting of 12 adventures appearing in Dungeon magazine. For additional aid in running this campaign, check out Dragon magazine's monthly "Savage Tidings" articles, a series that helps players and DMs prepare for and expand upon the campaign. Issue #353 of Dragon features ways to improve the PCs' vessel, the Sea Wyvern, as they take their adventures back to the seas. When the PCs journey deep under the Isle of Dread to find the source of the shadow pearls, they discover horrors beyond imagining in a haunted underground city perched on sanity's razored edge. Pgs. 28-66
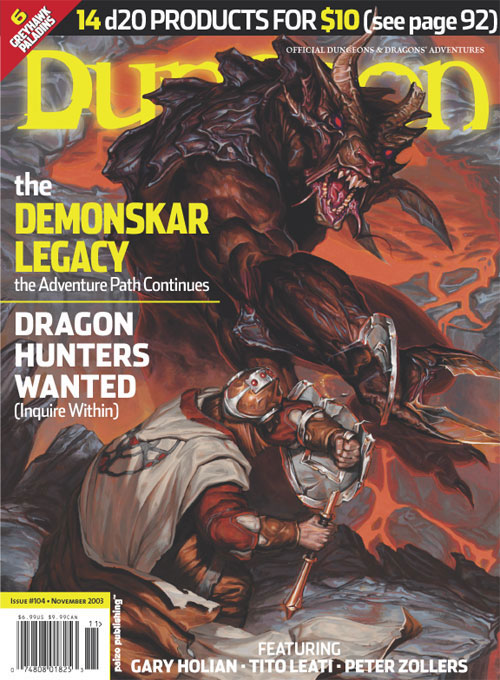
After a riot erupts in the streets of Cauldron, the PCs must track down a missing paladin before the mob tears the city apart. The PCs try to stop an assassin during the riot and get invited to a meeting, where they are tasked to search for the missing paladin. After some investigating they will travel to Vaprak's Voice, an ancient Spell Weaver laboratory, at the edge of the Demonskar. In the dungeon they will find the "Starry Mirror", a puzzle/travel device through which they have to travel, to find the missing paladin. Part 4 of The Shackled City Adventure Path Pgs. 44-82
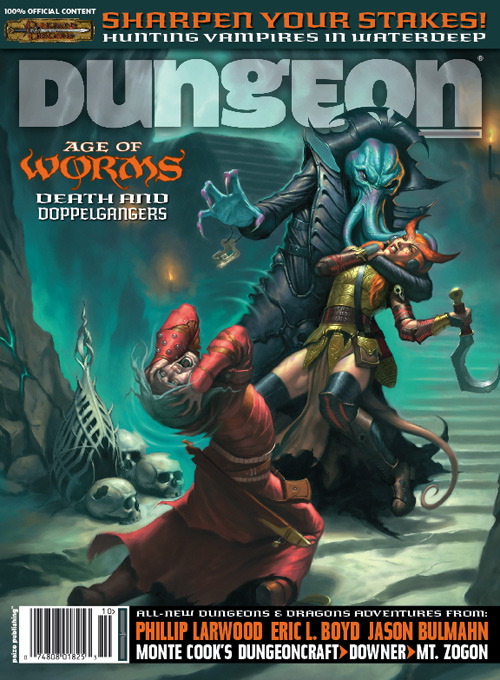
The Free City: a shining gem in the crown of cultured civilization. Beneath the surface of this bustling metropolis is a rot, festering in the darkness, manipulating the lives of those unaware of its presence. Now a small adventuring band from out of town may be in over their heads. Their actions in Diamond Lake have attracted the wrath of one of the city’s hidden masters. A gang of infiltrators and an enigmatic mastermind plot their destruction, and only tracing the rot to the root can stop the onslaught. "The Hall of Harsh Reflections" is the fourth installment of the Age of Worms Adventure Path, a complete campaign consisting of 12 adventures, several "Backdrop" articles to help Dungeon masters run the series, and a handful of poster maps of key locations. For additional aid in running this campaign, check out Dragon's monthly "Worm Food" articles, a series that provides additional materials to help players survive this campaign. Check out issue #336 of Dragon for five attractions to tempt your PCs to spend some of their hard-earned loot. This issue of Dragon also features an Ecology of the Spawn of Kyuss, one of the central creatures featured in this campaign. Pgs. 34-60