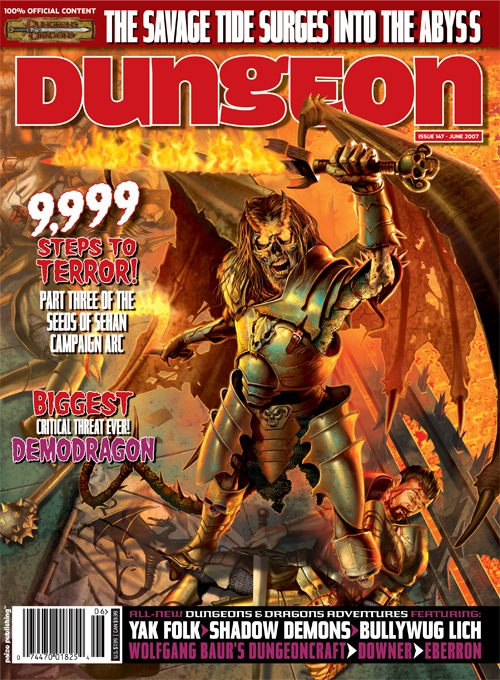
Few planes possess the raw malevolence of the Infinite Layers of the Abyss. It is a place of random violence, appalling cruelty, and pure, unadulterated wickedness. Here, unreasoning malice rules, and countless demons torture and murder for the joy of it. The Abyss is innovative in its wretchedness, with each fleeting moment birthing new and awful psychotic acts of utter evil. Those who brave its depths find no relief from its corrosive nature, nor respite from the cancerous seeds of evil blooming within all who tarry here; they find only anguish, pain and if they're lucky, sudden, abrupt death. "Into the Maw" is the ninth chapter of the Savage Tide Adventure Path, a complete campaign consisting of 12 adventures appearing in Dungeon magazine. For additional aid in running this campaign, check out Dragon magazine's monthly "Savage Tidings" articles, a series that helps players and DMs prepare for and expand upon the campaign. Issue #356 of Dragon magazine features an expanded list of strange and exotic magical items that could be purchased from the mercane merchants encountered during "Into the Maw." In order to rescue a friend, the PCs must sail into the Abyss and infiltrate a prison built by the Prince of Demons. Pgs. 48-85

Lost Laboratory of Kwalish explores an alternate expedition into the Barrier Peaks. The legendary inventor disappeared in the peaks eons ago… as it turns out, finding a crashed planar ship and studying its technology to fuel his own experiments—only now, Kwalish’s lost research is desperately needed! This adventure explores two locations within the Barrier Peaks, and includes new monsters, magic items, and spells, plus sci-fi trinkets, random encounters, and even rumors of the area submitted by the player community! Further featuring new art, maps (from Claudio Pozas), and even a cartoon (from Jason Thompson)—as well as the famed suit of powered armor, as edited by Jeremy Crawford on the Dragon+ livestream! Best of all, all monies that Wizards of the Coast receives from sales of this PDF are donated to Extra Life. Your purchase of this adventure goes to a truly great cause!
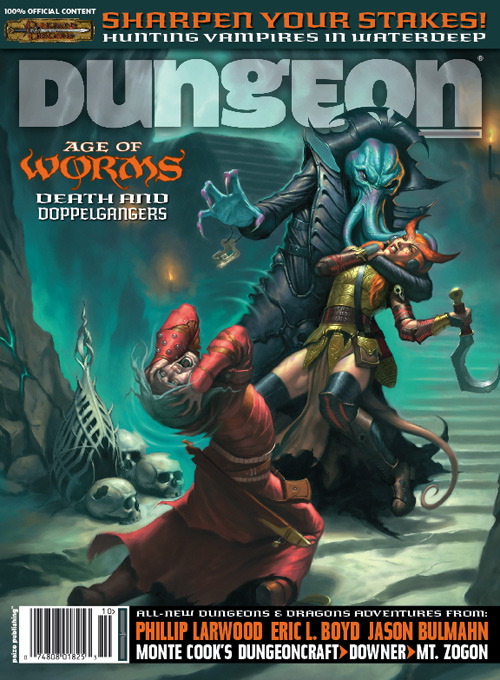
The Free City: a shining gem in the crown of cultured civilization. Beneath the surface of this bustling metropolis is a rot, festering in the darkness, manipulating the lives of those unaware of its presence. Now a small adventuring band from out of town may be in over their heads. Their actions in Diamond Lake have attracted the wrath of one of the city’s hidden masters. A gang of infiltrators and an enigmatic mastermind plot their destruction, and only tracing the rot to the root can stop the onslaught. "The Hall of Harsh Reflections" is the fourth installment of the Age of Worms Adventure Path, a complete campaign consisting of 12 adventures, several "Backdrop" articles to help Dungeon masters run the series, and a handful of poster maps of key locations. For additional aid in running this campaign, check out Dragon's monthly "Worm Food" articles, a series that provides additional materials to help players survive this campaign. Check out issue #336 of Dragon for five attractions to tempt your PCs to spend some of their hard-earned loot. This issue of Dragon also features an Ecology of the Spawn of Kyuss, one of the central creatures featured in this campaign. Pgs. 34-60

The party is enlisted to assist the Righteous Host, an army formed as a last resort to defend the world against the monsters of Elemental Evil. The host is greatly outnumbered. Its leaders send the party on a series of missions, each of which will give the Righteous Host an edge in the great battle to come. This epic adventure ends with the final push against the forces of Elemental Evil in the Meadows, and the outcome is informed by how effective the party is in their missions... and whether they are willing to risk putting themselves in the front lines. If the Righteous Host loses, players may decide to travel to Hommlet or other nearby towns to defend them. Whether the host is successful or not, players can decide to follow many different plot threads: exploring the Temple of Elemental Evil, finding the lich Kell the Eldest's lair and destroying his phylactory, or following the will of Bitbaern's Shield and discovering historical sites that were previously lost. Pgs. 44-69

The Lost Tombs, Volume 3 The Doomgrinder, a mysterious stone windmill many leagues east of the City of Greyhawk, has for centuries been a source of rumors, frustration and fear. The rumors say that vast treasures are stored inside-all cursed. The frustration belongs to hundreds of adventurers who over the years have attempted to enter the windmill and failed. The fear is felt by those who believe the world will end when the stone sails of the Doomgrinder turn again. In the City of Greyhawk, powerful spellcasters read bad omens for the future, and the Doomgrinder is part of them. Some see no future at all, good or bad. TSR 9581
Alhaster is in flames, choking on the poison mists of the Wormgod's first tentative breaths on the Material Plane. The Age of Worms has begun, and unless the PCs can kill a god, this new age will be dark indeed. "Dawn of a New Age" is the final installment of the Age of Worms Adventure Path, a complete campaign consisting of 12 adventures, several "Backdrop" articles to help Dungeon masters run the series, and a handful of poster maps of key locations. For additional aid in running this campaign, check out Dragon's monthly "Worm Food" articles, a series that provides additional materials to help players survive this campaign. Issue #334 of Dragon presents some advice on rules specific to the Age of Worms to aid players (and DMs) in making the transition beyond 20th level. Pgs. 52-86

A long-simmering merchant conflict has turned into a war of assassination, and the PCs are called in to prevent an attempt to murder the daughter of one of the merchants. They lead her yuan-ti would-be killer on an overland chase through a canyon called Ehlonna’s Scar, which contains surprises of its own.
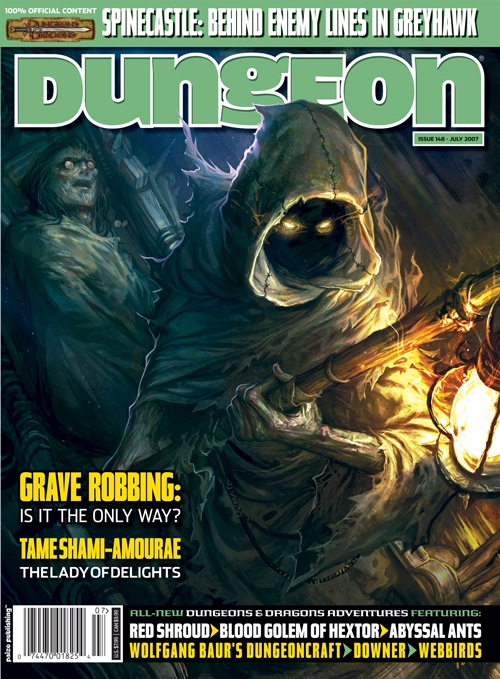
The PCs must infiltrate a city ruled by monsters to search for the spymaster that holds the key to saving a besiged nation. Pgs. 26-50
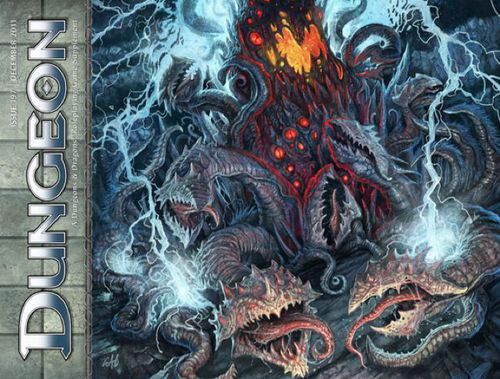
Faced with an unusual alliance of giants raiding the countryside, the party must venture into the steading of hill giant chief Nosnra and uncover maps to the locations of the other giant strongholds. “Steading of the Hill Giant Chief ” can be run as a stand-alone adventure, or you can play it as the first part of a four-part series that continues with “Warrens of the Stone Giant Thane” (Dungeon 198), “Glacial Rift of the Frost Giant Jarl” (Dungeon 199), and “Hall of the Fire Giant King” (Dungeon 200). The adventure is part of the Against the Giants series originally by Gary Gygax, hence the writing credit.

The battle against the slavers continues! You end your fellow adventurers have defeated the slavers of Highport, but you have learned of the existence of another slaver stronghold, and you have decided to continue the attack. But beware! Only the most fearless of adventurers could challenge the slavers on their own ground, and live to tell of It! Second part of Scourge of the Slavelords (A1-4) TSR 9040

Somewhere under a lost and lonely hill of grim and foreboding aspect lies a labyrinthine crypt. It is filled with terrible traps and not a few strange and ferocious monsters to slay the unwary. It is filled with rich treasures both precious and magical, but in addition to the aforementioned guardians, there is said to be a demilich who still wards his final haunt (Be warned that tales told have it that this being possesses powers which make him nearly undefeatable). Accounts relate that it is quite unlikely that any adventurers will ever find the chamber where the demilich Acererak lingers, for the passages and rooms of the Tomb are fraught with terrible traps, poison gases, and magical protections. Furthermore, the demi-lich has so well hidden his lair, that even those who avoid the pitfalls will not be likely to locale their true goal. In the far reaches of the world, under a lost and lonely hill, lies the sinister TOMB OF HORRORS. This Labyrinthine crypt is filled with terrible traps, strange and ferocious monsters, rich and magical treasures, and somewhere within rests the evil Demi-Lich. TSR 9022

Stirrings of an ageless war between Law and Chaos are drawing you into an epic adventure! A Struggle More Savage than Good vs. Evil Imagine a time before the words Good and Evil had meaning, a day when the world was young. Discover an ancient conflict that predates the stars. It was in these days that Law and Chaos forged worlds out of nothingness; their war began while the cosmos was yet unfinished. The Rod of Seven Parts defines epic role-playing. The reappearance of the Rod has awakened the powers of Chaos, and their queen seeks to turn the whole world into a battleground. Bold heroes must undertake the enormous task of seeking out and assembling the pieces of the Rod, but even its power cannot stand alone. Ages ago, primal forces of Law stood fast against Chaos; now their champions must once more confront the Queen of Chaos and her foul spyder-fiends, lest the flame of civilization be extinguished. Follow the quest for the capricious Rod as it leads characters on a journey of high fantasy. The Rod of Seven Parts is designed for four to six heroes and heroines of levels 10 to 12. This boxed set includes: Initiation to Power, a 96-page book of grand adventure playable in any AD&D world, including original campaigns; The War Against Chaos, a 64-page book of world-crossing adventures pitting PCs toe to toe against the minions of Chaos; Might and Menace, a 32-page book detailing the mysterious powers of the Rod of Seven Parts: how it affects both its enemies and its friends; Monsters, a 16-page book of new villains, new monsters, and even a new race! 6 two-sided reference cards; 6 full-color poster maps portraying the key locations heroes can visit. Read about this ancient artifact in the epic novel The Rod of Seven Parts by best-selling author Douglas Niles! TSR 1145
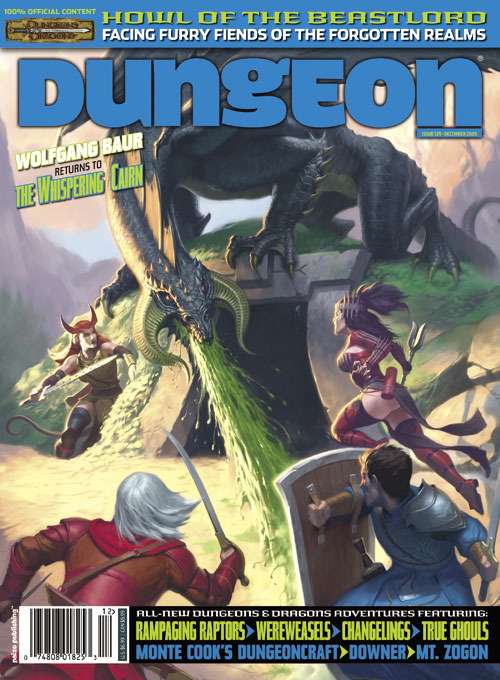
The PCs return to Diamond Lake to consult with the sage Allustan, they find the town in shambles and Allustan is missing. Locals tell tales of a terrible dragon's rampage through town. Unfortunately for the characters, the dragon is only the beginning. "A Gathering of Winds" is the sixth installment of the Age of Worms Adventure Path, a complete campaign consisting of 12 adventures, several "Backdrop" articles to help Dungeon masters run the series, and a handful of poster maps of key locations. For additional aid in running this campaign, check out Dragon's monthly "Worm Food" articles, a series that provides additional materials to help players survive this campaign. Those who have studied the cult of Kyuss and read through the Apostolic Scrolls they recovered in "The Champion's Belt" may qualify for the wormhunter prestige class, a highly customizable five-level prestige class detailed in Dragon #338's "Wormfood." Pgs. 38-66
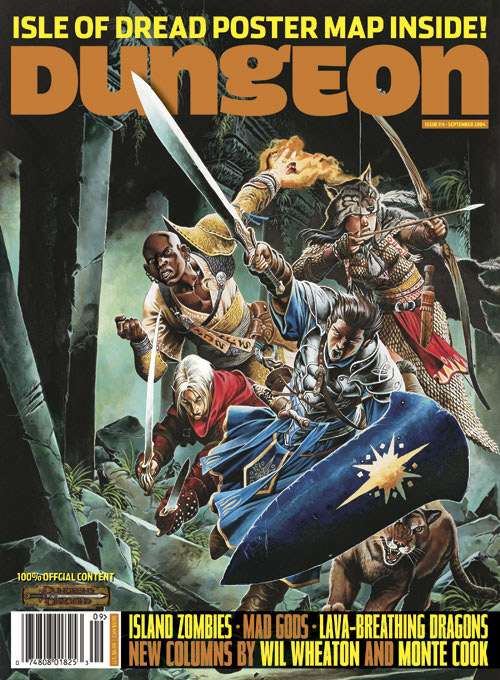
This adventure is the ninth part of the Shackled City Adventure Path that began with "Life's Bazaar" (Dungeon #97) Wherein a group of diverse and talented allies learns the folly of not working together against a common foe.

Deep beneath the keep of Castle Greyhawk, a really nasty device is creating mutated, unpleasant monsters that are running wild throughout the castle and the twelve-level dungeon beneath. The call has gone out for heroic, fearless, and perhaps foolish adventures to out-hack, out-slash, and sometimes even out-think hordes of doughmen, headless mice, manic bee queens, really bad dead things, burgermen, crazed chefs, and movie moguls. If they survive these and much odder obstacles, the characters still have to find the nasty monster creator and put it out of business. Castle Greyhawkcontains 13 detailed levels for adventuring and exploration. Each is a separate adventure written by different author and each has its own unique brand of baffling weirdness. Some levels involve solving puzzles and some require good old hacking and slashing. The adventure can be played separately or all together as a grand quest to free Castle Greyhawk from the evil, rotten hordes that are plaguing it. The common theme of this dungeon is that no joke is so old, no pun so bad, and no schtick so obvious that it can't be used to confuse and trip up PCs! 13 Adventures for Character Levels 0 to 25. TSR 9222

A shadow from the past, the Ghost Tower of Inverness has loomed ever larger in the mind of the great Seer of Urnst, Now he has convinced the Duke that an expedition should be organized to go to the ancient keep and recover its greatest treasure — the fabled Soul Gem. TSR 9038
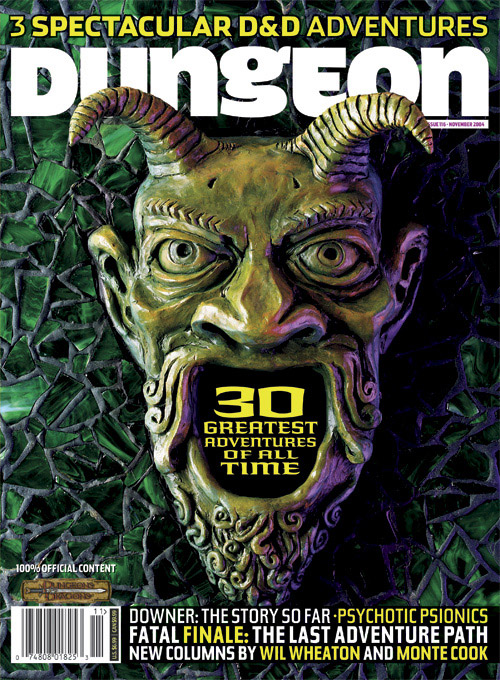
The Cagewrights are defeated. The Tree of Shackled Sould is no more. Lord Vhalantru has been exposed and put down for the menace he truly was. The town of Cauldron has been saved from volcanic apocalypse. The heroes of Cauldron have earned their place in history, and more than deserve a time of rest, yet fate is not so kind. For the true menace behind the curtain still lives. As long as Adimarchus, the demon prince of madness, continues to dream his haunted dreams and writhe away the years in torment in the fiendish asylum of Skullrot, Cauldron can never be truly safe. "Asylum" concludes the Shackled City Adventure Path that began with "Life's Bazaar" (Dungeon #97) and continued with "Flood Season" (Dungeon #98), "Zenith Trajectory" (Dungeon #102), "The Demonskar Legacy" (Dungeon #104), "Test of the Smoking Eye" (Dungeon #107), "Secrets of the Soul Pillar" (Dungeon #109), "Lords of Oblivion" (Dungeon #111), "Foundation of Flame" (Dungeon #113), "Thirteen Cages" (Dungeon #114), and "Strike on Shatterhorn" (Dungeon #115). Pgs. 40-65

"...the Ultimate Campaign Adventure..." A sinister force, long thought destroyed, stirs from the black hole that spawned it. Like an ebony darkness it prowls the land and safety is but an illusion, for it watches from every shadow and ponders possibilities. What began years ago with the introduction of the players to the quiet village of Hommlet and the amazing lands of Greyhawk, at last is complete. Here is the long awaited campaign adventure featuring the ruins of the Temple of Elemental Evil! Evil broods and grows beneath those blasted stones. This is your chance to drive it back and scatter its forces again. This product includes the village of Hommlet, the filthy shire of Nulb, and reveals the ruins of the Temple of Elemental Evil and the labyrinths that lie beneath, a warren of darkness. And beyond these ruins, even more is revealed. For the first time this product provides a complete campaign adventure which will take beginning characters from 1st all the way to 8th level and possibly beyond! Hours of adventure await you! TSR 9147
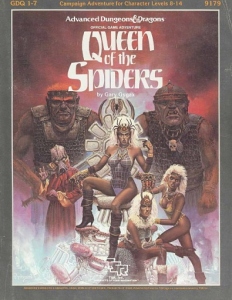
Ranked in 2004 as the single greatest adventure of all time by Dungeon magazine, this is a compilation of three series of modules: the G series "G1-2-3 Against the Giants" (G1 Steading of the Hill Giant Chief, G2 Glacial Rift of the Frost Giant Jarl, G3 Hall of the Fire Giant King), the D series (D1 Descent into the Depths of the Earth, D2 Shrine of the Kuo-Toa, D3 Vault of the Drow), and Q1 Queen of the Demonweb Pits. The characters begin by attempting to stop giant raids that have become prolific. They find out that the giant alliance is caused by the drow. They then descend into the Underdark in order to find the drow and stop their sinister plan. TSR 9179

At last- an opportunity to avert the threat to the little town of Saltmarsh! The real enemies have been identified-- evil, cruel creatures, massed in force and viciously organized. Can the brave adventurers thwart this evil and ensure the safety of Saltmarsh? The Final Enemy is the final part in the series of three modules designed and developed in the United Kingdom for beginning adventures with AD&D rules. Its plot follows directly from those of the first two parts (U1 - The Sinister Secrets of Saltmarsh, and Module U2 - Danger at Dunwater.) TSR 9076