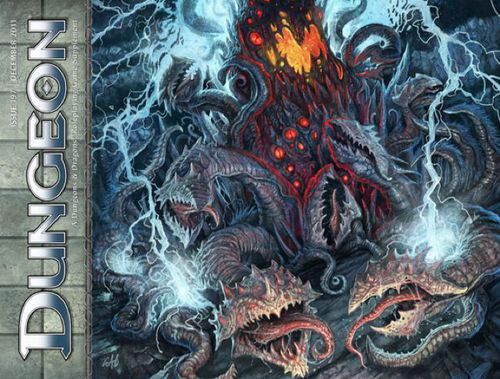
Faced with an unusual alliance of giants raiding the countryside, the party must venture into the steading of hill giant chief Nosnra and uncover maps to the locations of the other giant strongholds. “Steading of the Hill Giant Chief ” can be run as a stand-alone adventure, or you can play it as the first part of a four-part series that continues with “Warrens of the Stone Giant Thane” (Dungeon 198), “Glacial Rift of the Frost Giant Jarl” (Dungeon 199), and “Hall of the Fire Giant King” (Dungeon 200). The adventure is part of the Against the Giants series originally by Gary Gygax, hence the writing credit.

Sinister Forces Terrorize a Town The town of Brindinford is in the midst of its annual street fair. Joy and merriment abound - until calamity disrupts the celebration. Are rival gangs responsible? Is the government sliding into tyranny? Or is a nightmarish plot about to come to fruition? "The Speaker in Dreams" is a stand-alone adventure for the DUNGEONS & DRAGONS® game. Player characters are in for a wild ride in this river town. Leave the dungeon behind: the terrors lurking in Brindinford are more challenging by far! In The Speaker in Dreams, the town of Brindinford is besieged by evil forces under the command of Ghaerleth Axom. A street fair is interrupted by an attack, which serves as a distraction for the villain's forces to attack the keep of the local baron. This provides an entry point for the player characters into the main quest to discover the secret alliances trying to take over the town. The Speaker in Dreams is an event-based, rather than site-based, adventure.
Dragotha's phylactery lies hidden somewhere in the ruined city of Kongen-Thulnir, a ruin now inhabited by tribes of giants and besieged by an army of dragons desperate to claim the phylactery for their undead master. "Kings of the Rift" is the tenth installment of the Age of Worms Adventure Path, a complete campaign consisting of 12 adventures, several "Backdrop" articles to help Dungeon masters run the series, and a handful of poster maps of key locations. For additional aid in running this campaign, check out Dragon's monthly "Worm Food" articles, a series that provides additional materials to help players survive this campaign. Issue #342 of Dragon presents several magical items that the PCs can construct using Item Creation feats that fit into the mythos of the Age of Worms Campaign. Pgs. 52-86

The End of the World Is at Hand! A hideous death cult has seized control of an ancient artifact-monument known as Tovag Baragu. The power behind the cult is the Old One himself, Iuz the Evil, demonic master of an empire. He's on an all-or-nothing quest for supremacy over the world—and the heavens beyond. To stop him, heroes must face horrors never dreamed of, journeying to a shadowed city where Death rules and the living cower. Here, Iuz will achieve his mad dream by destroying the imprisoned master of that alien citadel: Vecna, the mightiest lich, an immortal demigod. Two items exist with the power to stop Iuz—the Eye and the Hand of Vecna—but using them carries fantastic risks. Not even the gods know what will be unleashed when these items are fully activated. Die Vecna Die! takes the heroes from the Greyhawk campaign to the demiplane of Ravenloft and then to the Planescape city of Sigil. However, none of the material from those settings is required for play. TSR 11662
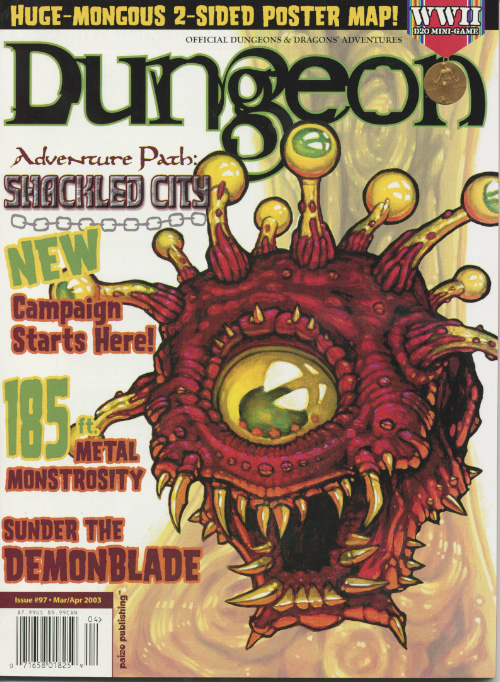
The player characters investigate recent kidnappings. The trail leads to a slaver operating from Underdark passages below the city. Also available at https://adventureaweek.com/product-category/rise-of-the-drow-ce/
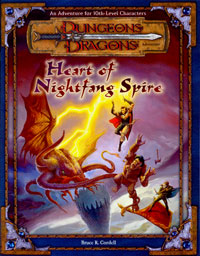
In Heart of Nightfang Spire, the player characters are drawn to investigate Nightfang Spire, a lonely stone tower in a barren land. The vampire lord Gulthias, servant of the great dragon Ashardalon, has returned to the tower which was once the main cult temple of Ashardalon. The vampire prepares for the dragon's return by awakening the other cultists who had preserved themselves as undead creatures. Gulthias is a vampire and a level 13 wizard.
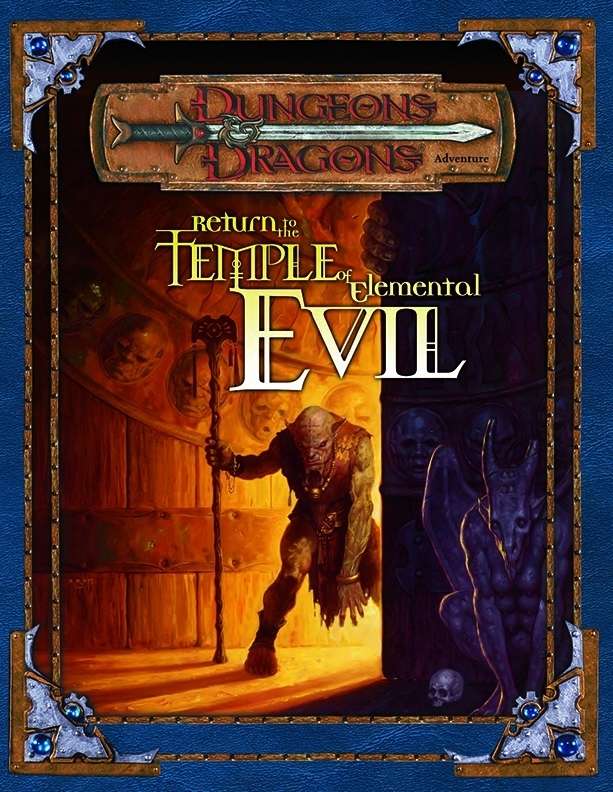
Years ago, brave heroes put the denizens of the Temple of Elemental Evil to the sword. Now, dark forces whisper again in the shadows of the once-deserted temple - forces far more insidious and dangerous than any sane person could dream. Evil has risen again to threaten the village of Hommlet. A continuation of the original AD&D Temple of Elemental Evil, made for a party of 4th-level adventurers, taking them up to 14th level.

Not even memories of past glory live on in the gentle hills around the village of Kusnir. Today its people have more concern for commonplace things, like the harvest, trade, and the threat of death in the night! Kusnir is beset by a skulk. The attentions of such a creature are a curse on any community. Streets and alleys which ring to the voices of children by day become fearful, shadowy places by night. Men go abroad armed and in groups, while women and children stay behind locked doors and even there are not safe. But life goes on. The lot of the peasant is always hard, what cannot be prevented must be endured and, of course, things could be worse. Much worse. The skulk has begun to visit the village more and more often. Sometimes it kills, yet just as often it spares a victim, leaving clear signs of what it might have done had it wished. Its visits are now marked by strange and illegible symbols scrawled in blood on the walls of the buildings. The people are worried, helpless, and desperate. Desperate enough to welcome adventurers. UK2: "The Sentinel" (1983) is the second UK-series adventure, the fifth TSR UK adventure overall, the first solo effort by Morris, and the first half of the two-part Adlerweg series (whew!). It was run as a tournament at the GamesFair '83 Open, then published later in 1983. TSR 9101
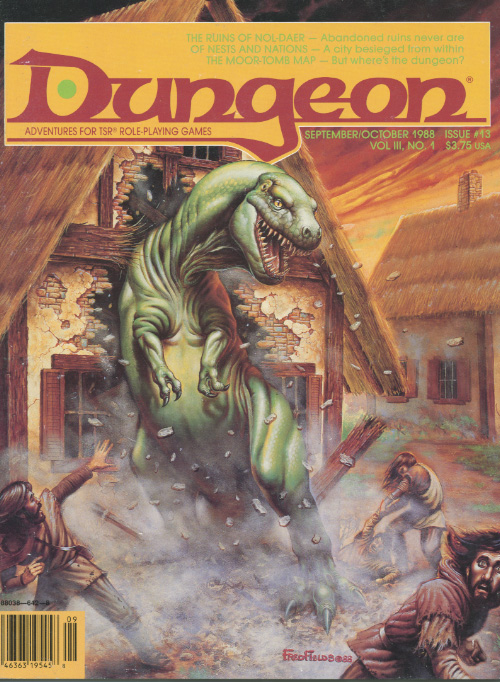
Abandoned and forgotten ruins never are. He left the Abyss to visit his human mother, not realizing he was a century too late. Still, there was a lot he had left to do... An ancient castle, Nol-Daer, has of late become the site of frequent strange occurrences. Gargoyles and Blood Hawks roost in the keep's ruined towers, Dwarves have been disappearing from the nearby area, and a Cambion controls it all from the shadows. Pgs. 3-17 & 64

To stop a devastating rampage of giants across the land, the party must venture into the lair of the stone giant thane Arnak to uncover the truth about why he has broken his peace with the neighboring dwarves. In the process, they will have the opportunity to retrieve important symbols of the fight against the giants and uncover a dangerous excavation. The adventure is part of the "Against the Giants" series originally by Gary Gygax, hence the writing credit.

An expansion on the original Tomb of Horrors with plot and explanation. Contains a facsimile of the original adventure. The Dark Intrusion is causing the dead to rise from their graves. This is linked to a being known as the Devourer. Following the trail of Desatysso, a wizard who followed a similar quest, the players must enter the Tomb, and beyond that, the cursed City that Waits and the Fortress of Conclusion.

It is time to put a stop to the marauders! For years the coastal towns have been burned and looted by the forces of evil. You and your fellow adventurers have been recruited to root out and destroy the source of these raids. But beware, hundreds of good men and women have been taken by the slavers and have never been seen or heard from again! First part of Scourge of the Slave Lords (A1–4) TSR 9039
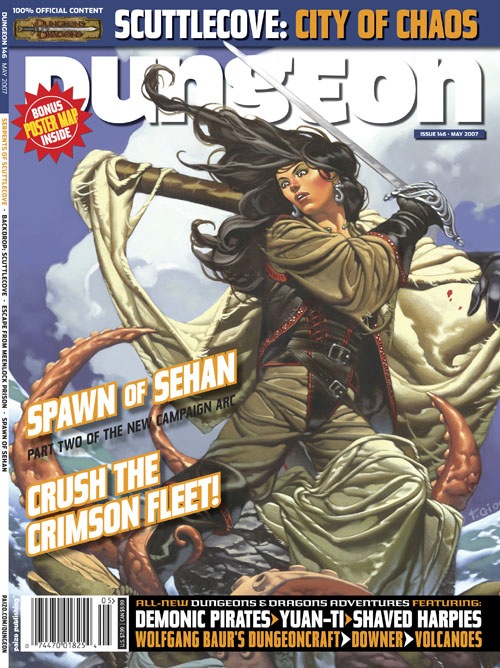
Within an ancient necropolis a pool of alien slime grasps the minds and bodies of the people of Exag with wispy tendrils of madness. Those transformed by its power invariably seek the crypt, but what fell power draws them there? Part two of the Seeds of Sehan campaign arc. Pgs. 26-41
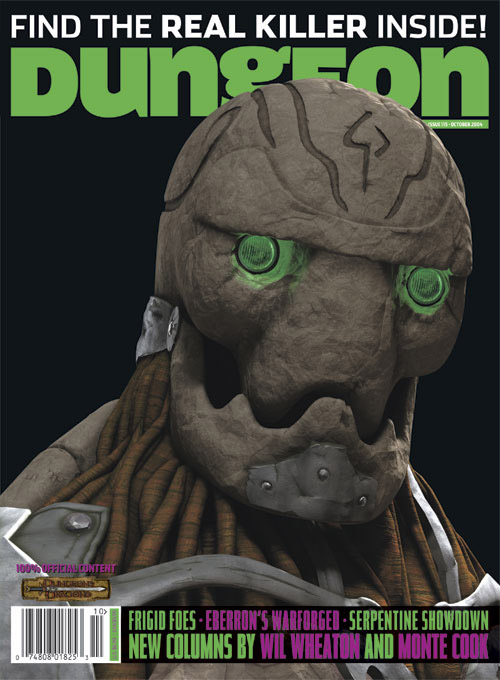
Smoke still rises from the shattered buildings and ruined streets of the troubled town of Cauldron, yet if not for the actions of a band of heroes, it would not exist at all. A sinister cabal of cultists bent on plunging Cauldron into the prison plane of Carceri had awakened the volcano below the town, and amidst the attacks of dragons and fiends from the outer planes, these heroes were able to evacuate the city and then strike at the cultists in their lair near the volcano's heart. Now, this cult, the Cagewrights, lies shattered, their members put on the defensive for the first time. All that remains is to finish the job, but the surviving Cagewrights still have some surprises left in their mysterious stronghold under the snake-haunted ruins of Shatterhorn. "Strike on Shatterhorn" is a Dungeons & Dragons adventure designed for four 18tth-level characters. This adventure is part of the Shackled City Adventure Path that began with "Life Bazaar" (Dungeon #97) and continued with "Flood Season" (Dungeon #98), "Zenith Trajectory" (Dungeon #102), "The Demonskar Legacy" (Dungeon #104), "Test of the Smoking Eye" (Dungeon #107), "Secrets of the Soul Pillars" (Dungeon #109), "Lords of Oblivion" (Dungeon #111), "Foundation of Flame" (Dungeon #113), and "Thirteen Cages" (Dungeon #114). The Adventure Path concludes in Dungeon #116 with "Asylum." Pgs. 56-82
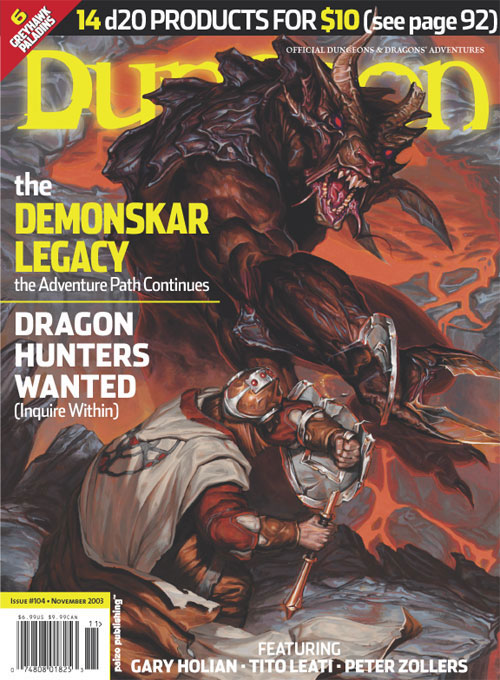
After a riot erupts in the streets of Cauldron, the PCs must track down a missing paladin before the mob tears the city apart. The PCs try to stop an assassin during the riot and get invited to a meeting, where they are tasked to search for the missing paladin. After some investigating they will travel to Vaprak's Voice, an ancient Spell Weaver laboratory, at the edge of the Demonskar. In the dungeon they will find the "Starry Mirror", a puzzle/travel device through which they have to travel, to find the missing paladin. Part 4 of The Shackled City Adventure Path Pgs. 44-82
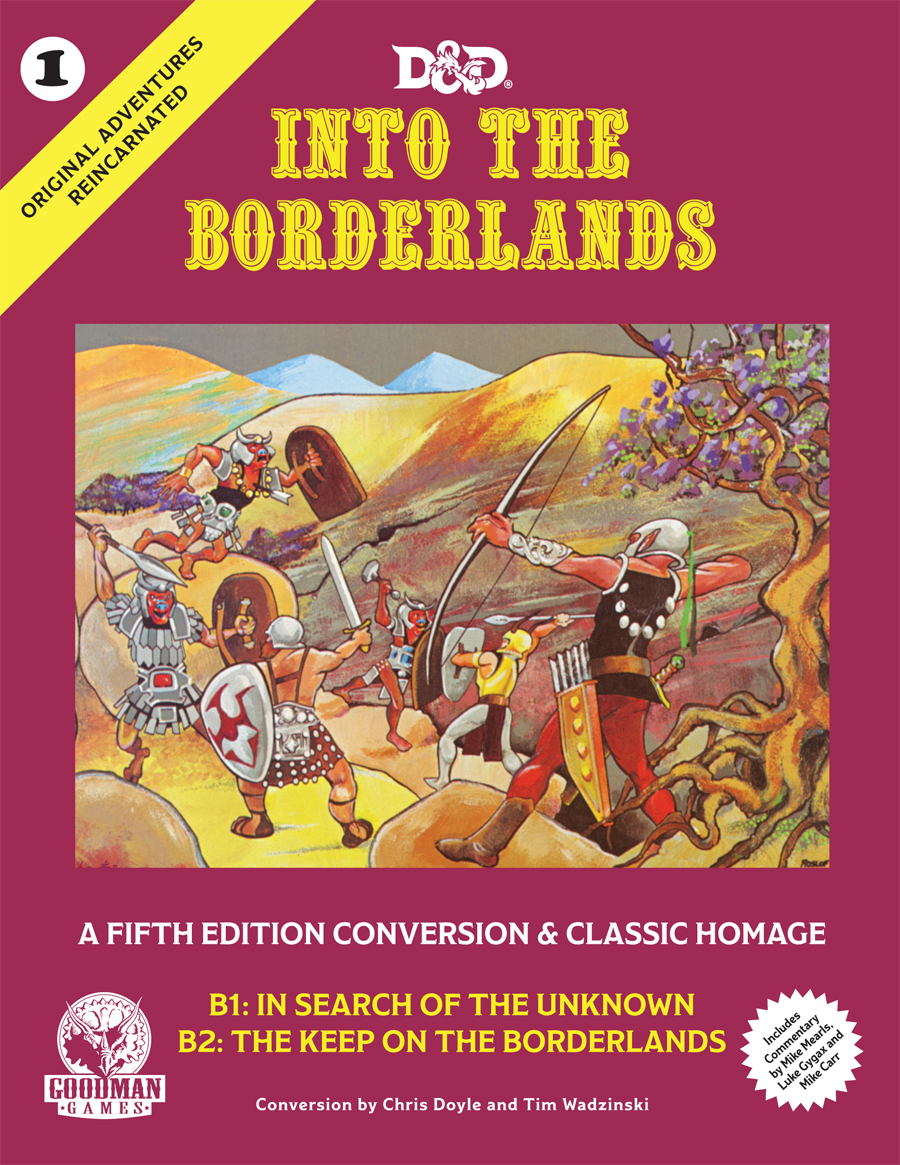
The Borderlands. An untamed wild region far flung from the comforts and protection of civilization. A lone fortified Keep is the only bastion of Good desperately striving to maintain the forces of Chaos at bay. But Evil is everywhere, lurking in dark caves, fetid swamps, forlorn forests. Bands of cutthroat brigands and ruthless tribes of humanoids eager to clash with the forces of Food rove the region. The Borderlands hold many secret wondrous locations, and opportunities for fame, prestige, and fortune are plentiful. But equally abundant are the perils, risks, and challenges to those brave enough to explore the wilds. Sharpen your swords and axes. Purchase your iron rations and tinderboxes. And Don't forget at least one 10-foot pole. Adventure awaits those with the mettle to confront Chaos in the Borderlands!

Greatwall is in peril - not from military forces of Iuz, but from lack of goods and supplies. Caravans from Willip have ceased thanks to increased dangers on the Willip Critwall Grabford Trail. As the key fort positioned to contain the Iuzian flood, Greatwall is a strategic necessity. Its failure would mean a major incursion along the border. Your characters are hired to escort a caravan from Greatwall to Willip; if its merchants are afraid to come to the fort, the fort will go to them. This should be simple, cut and dried guard job. Right? Of course not. There are many surprises in store for your little caravan, and your characters will need to keep their wits about them day and night in order to make it to the other end. Secret plans are afoot, conspiracies are brewing, and nothing is as it seems while on the Border Watch. This module uses information presented in the From the Ashes boxed set and the Iuz the Evil accessories. However, ownership of these two products is not necessary to play this module. TSR 9406
In the Yatil Mountains south of Perrenland there is rumored to be a magical hoard of unsurpassed value, a treasure of such fame that scores of adventurers have perished in search of it. Find the perilous Lost Caverns of Tsojanth and you may gain the hidden wealth of the long-dead arch-mage-- if you live. Module S4, this contains a brief wilderness journey to the caverns, but the bulk is underground. The caverns are noted as a previous lair of the Arch-mage Iggwilv- though she is long gone, her Demonomicon remains. This module marks the first appearance of several monsters and items that would later appear in the Monster Manual 2 and Unearthed Arcana. A labyrinth features in the caves. TSR 9061
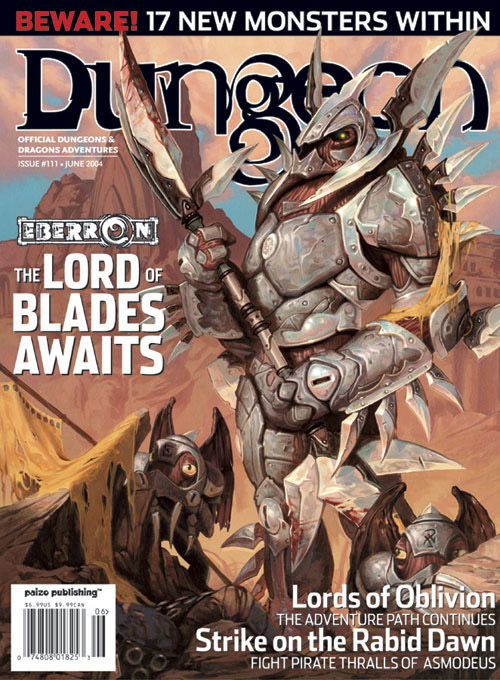
The Shackled City Adventure Path enters the home stretch as the forces of evil take direct action against the heroes of the Cauldron. Dangerous secrets are revealed, important NPCs bit the dust, and your heroes will never know who to trust again! This adventure is seventh part of the Shackled City Adventure Path that began with "Life's Bazaar" (Dungeon #97). Pgs. 36-67

The party is enlisted to assist the Righteous Host, an army formed as a last resort to defend the world against the monsters of Elemental Evil. The host is greatly outnumbered. Its leaders send the party on a series of missions, each of which will give the Righteous Host an edge in the great battle to come. This epic adventure ends with the final push against the forces of Elemental Evil in the Meadows, and the outcome is informed by how effective the party is in their missions... and whether they are willing to risk putting themselves in the front lines. If the Righteous Host loses, players may decide to travel to Hommlet or other nearby towns to defend them. Whether the host is successful or not, players can decide to follow many different plot threads: exploring the Temple of Elemental Evil, finding the lich Kell the Eldest's lair and destroying his phylactory, or following the will of Bitbaern's Shield and discovering historical sites that were previously lost. Pgs. 44-69