/pic2762974.jpg)
As an aspiring hero of Highfolk and the Flanaess, you are asked to come to a feast of small proportions to celebrate your deeds. A home-cooked meal, a warm cozy fire, a hearty tale from an old gnome, a journey deep in the Vesve again, where n one can hear you scream. This is an RPGA competition scenario. Four hours is allocated for its completion.
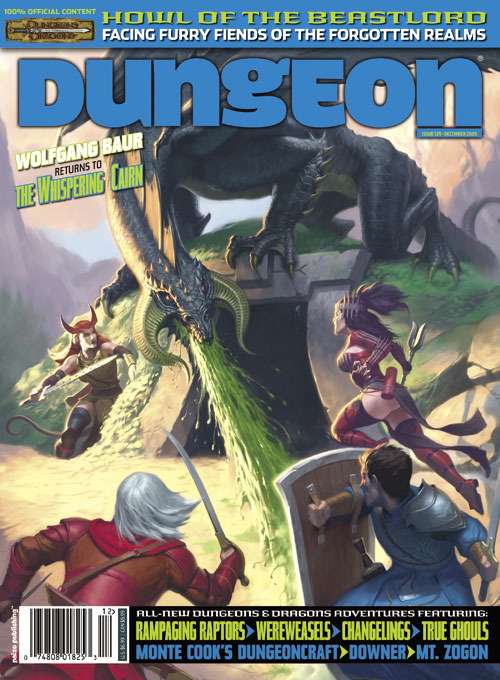
The PCs return to Diamond Lake to consult with the sage Allustan, they find the town in shambles and Allustan is missing. Locals tell tales of a terrible dragon's rampage through town. Unfortunately for the characters, the dragon is only the beginning. "A Gathering of Winds" is the sixth installment of the Age of Worms Adventure Path, a complete campaign consisting of 12 adventures, several "Backdrop" articles to help Dungeon masters run the series, and a handful of poster maps of key locations. For additional aid in running this campaign, check out Dragon's monthly "Worm Food" articles, a series that provides additional materials to help players survive this campaign. Those who have studied the cult of Kyuss and read through the Apostolic Scrolls they recovered in "The Champion's Belt" may qualify for the wormhunter prestige class, a highly customizable five-level prestige class detailed in Dragon #338's "Wormfood." Pgs. 38-66

In order to stop a series of devastating giant raids, the party must venture into the stronghold of the frost giant jarl Grugnur to both recover the giants' plans and eliminate Grugnur, who is the tactical head behind the operations. The adventure is part of the "Against the Giants" series originally by Gary Gygax, hence the writing credit.

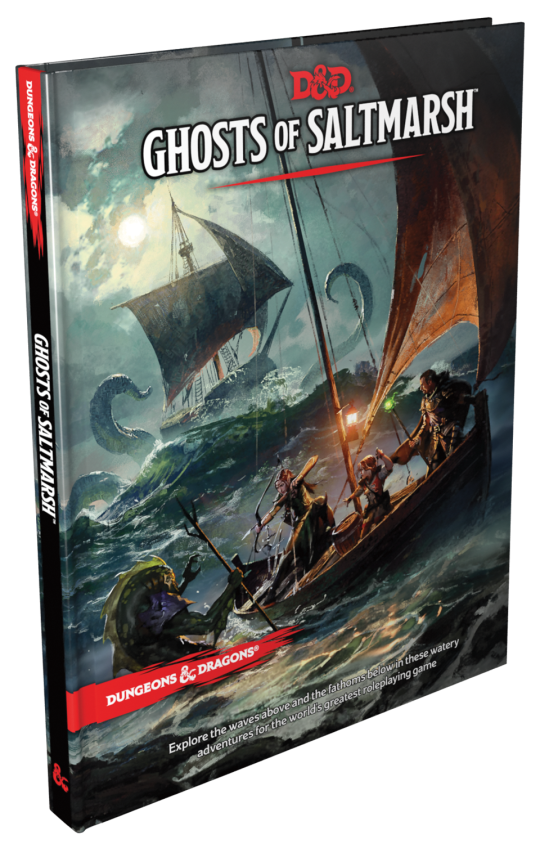
Nestled on the coast of the Azure Sea is Saltmarsh, a sleepy fishing village that sits on the precipice of destruction. Smugglers guide their ships to hidden coves, willing to slit the throat of anyone foolhardy enough to cross their path. Cruel sahuagin gather beneath the waves, plotting to sweep away coastal cities. Drowned sailors stir to unnatural life, animated by dark magic and sent forth in search of revenge. The cult of a forbidden god extends its reach outward from a decaying port, hungry for fresh victims and willing recruits. While Saltmarsh slumbers, the evils that seek to plunder it grow stronger. Heroes must arise to keep the waves safe! Ghosts of Saltmarsh combines some of the most popular classic adventures from the first edition of Dungeons & Dragons including the classic ‘U’ series and some of the best nautical adventures from Dungeon magazine: The Sinister Secret of Saltmarsh Danger at Dunwater The Final Enemy Salvage Operation Isle of the Abbey Tammeraut’s Fate The Styes All adventures have been faithfully adapted to the fifth edition rules of Dungeons & Dragons. Furthermore, this book includes details on the port town of Saltmarsh, as well as plenty of hooks to kick-off each adventure. Play through each story in a seafaring campaign leading characters from level 1 through level 12, or pull out sections to place in ongoing campaigns in any setting. The appendices also cover mechanics for ship-to-ship combat, new magic items, monsters, and more! “The Saltmarsh series consistently ranks as one of the most popular classic D&D adventures,” said Mike Mearls, franchise creative director of D&D. “With its ties to ocean-based adventuring, it was an obvious step to augment it with additional sea-based adventures and a robust set of rules for managing a nautical campaign.” Hoist your sails, pull up anchor, and set a course for adventure!
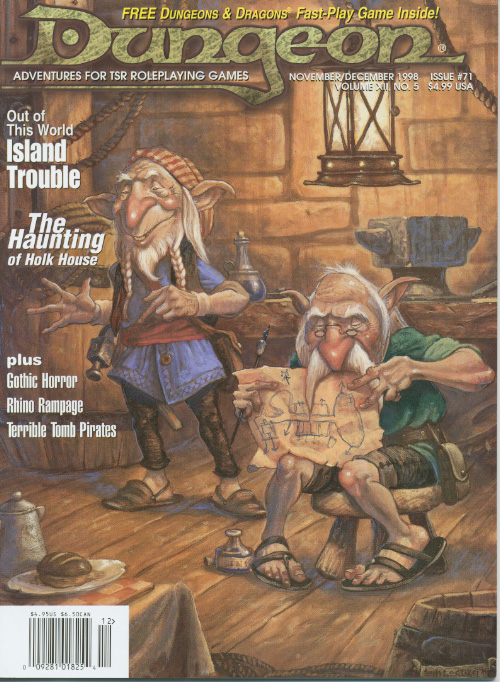
Something's rotten in Restenford! A plague of giant rats is the least of Restenford's worries. The adventure is set in the town of Restenford but with a little work can be adapted to fit almost any setting that features pirates (or once did). Pgs. 10-29

Some dozens of leagues to the north and west of the STEADING OF THE HILL GIANT CHIEF (Module G1 of this series), amidst the tallest mountain peaks, is the stronghold of Grugnur, Lord of Frost Giants. As frost giants have been amongst those who have been in the reaving bands, the party is to deal with them as the hill giants have been dealt with. Death and destruction are to be meted out to the frost giants in the same measure they gave to the peoples below. This module contains background information, referee's notes, two level maps, and exploration matrix keys. It provides a complete module for play of ADVANCED DUNGEONS & DRAGONS, and it can be used alone or as the second of a three-part expedition adventure which also employs DUNGEON MODULE G1 (STEADING OF THE HILL GIANT CHIEF) and DUNGEON MODULE G3 (HALL OF THE FIRE GIANT KING). TSR 9017
Ranked in 2004 as the single greatest adventure of all time by Dungeon magazine, this is a compilation of three series of modules: the G series "G1-2-3 Against the Giants" (G1 Steading of the Hill Giant Chief, G2 Glacial Rift of the Frost Giant Jarl, G3 Hall of the Fire Giant King), the D series (D1 Descent into the Depths of the Earth, D2 Shrine of the Kuo-Toa, D3 Vault of the Drow), and Q1 Queen of the Demonweb Pits. The characters begin by attempting to stop giant raids that have become prolific. They find out that the giant alliance is caused by the drow. They then descend into the Underdark in order to find the drow and stop their sinister plan. TSR 9179
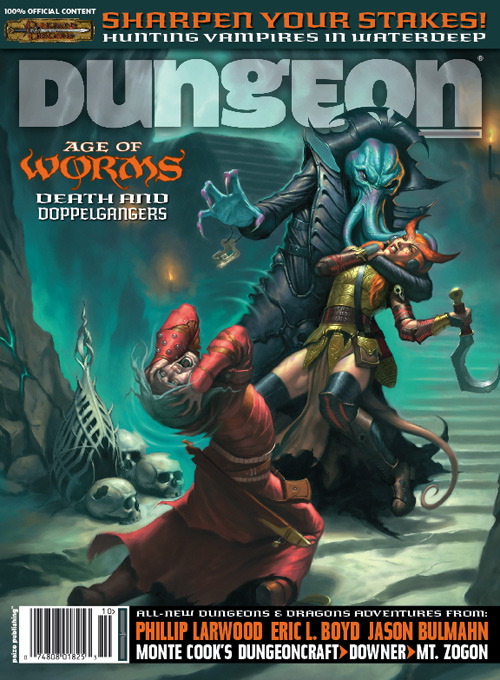
The Free City: a shining gem in the crown of cultured civilization. Beneath the surface of this bustling metropolis is a rot, festering in the darkness, manipulating the lives of those unaware of its presence. Now a small adventuring band from out of town may be in over their heads. Their actions in Diamond Lake have attracted the wrath of one of the city’s hidden masters. A gang of infiltrators and an enigmatic mastermind plot their destruction, and only tracing the rot to the root can stop the onslaught. "The Hall of Harsh Reflections" is the fourth installment of the Age of Worms Adventure Path, a complete campaign consisting of 12 adventures, several "Backdrop" articles to help Dungeon masters run the series, and a handful of poster maps of key locations. For additional aid in running this campaign, check out Dragon's monthly "Worm Food" articles, a series that provides additional materials to help players survive this campaign. Check out issue #336 of Dragon for five attractions to tempt your PCs to spend some of their hard-earned loot. This issue of Dragon also features an Ecology of the Spawn of Kyuss, one of the central creatures featured in this campaign. Pgs. 34-60

Adventure in the world of Greyhawk! Powerful forces are set in motion as your party searches for the legendary Blades of Corusk. Take them on the perilous journey from Rookroost to the Lair of the Shadow Dragon in the frozen northlands. Will they survive the ramifications of events that they have initiated? Those who hold the magical blades will not easily give them up. Plucking them from the grasp of a jealous dragon or stealing them from the center of the subterranean City of the Ore Horde will strain your adventurers to their limits! TSR 9317

It is time to put a stop to the marauders! For years the coastal towns have been burned and looted by the forces of evil. You and your fellow adventurers have been recruited to root out and destroy the source of these raids. But beware, hundreds of good men and women have been taken by the slavers and have never been seen or heard from again! First part of Scourge of the Slave Lords (A1–4) TSR 9039

A combination wilderness/dungeon module, first searching for then exploring the temple of Tharizdun. Tharizdun is long gone from the place, so there's no epic final fight. Rather, a mysterious Black Cyst waits at the bottom of the dungeon. The encounter with it is almost scripted, having no hazard except for careless/foolish players. Contains several monsters from the Fiend Folio. Loosely follows Lost Caverns of Tsojcanth. TSR 9065

As adventurers, you may think you have seen everything: certainly your skills have brought you through unimaginable dangers. But now you suddenly find yourself in a place unlike any through which you have traveled: astounding, dangerous, and even amusing things confront you as you journey, both indoors and outdoors, through unique and wondrous realm of Dungeonland. This adventure was first conceived by E. Gary Gygax as part of the Greyhawk Castle dungeon complex and has been the source of challenge and fun for many skilled players of the Advanced Dungeons & Dragons game. It is finally available to all players and can be added to your existing campaign with ease. "Dungeonland" is also designed so that it may be used along with its companion scenario, EX2: "The Land Beyond the Magic Mirror." Still, "Dungeonland" may easily be played on its own, and should offer hours of excitement in its strange landscape! TSR #9072

Lost Tombs, Volume 2 The lich Lyzandred: a madman, an undead archmage, a survivor of the twin cataclysms that destroyed tow great empires. His name invokes fear in the hears of the smallest children, the bravest warriors, and the wisest sages. Like a malicious cat, the lich toys with all who stumble into his maze, tormenting them with strange puzzles and obscure riddles, monsters and demons, weird traps and dangerous magics. All who enter the crypt of Lyzandred find themselves scarred with his rune, proof of their visit -- and their folly. But there is a method to the madness of Lyzandred, a purpose to his twisted games. If you're lucky, you might even live to learn about it. The Lost Tombs series begins with Star Cairns (Volume 1) and concludes with The Doomgrinder (Volume 3). Each adventure is playable separately, or they can be linked to form an epic-length story. TSR 9580

"The longest, and perhaps strongest, AD&D adventure we've ever done." The fabled Mace of St. Cuthbert has been lost from the sight of both human and demi-human for many centuries. Some claim it lies at the heart of an active volcano, guarded by salamanders and flowing lava; others swear it lies buried deep inside the earth, warded by powerful magics raised by those who would see its power denied to the forces of Law and Good. A few assert that it has never left the possession of the Saint, and even now he holds it in his strong right hand. But a few claim that none of these are so that long before the Sainted Cuthbert rose to his exalted station, his mace was hidden away from those who would steal it before he returned for it, hidden away outside the bounds of normal time and space, in a place so outlandish that the Mace's power and destiny would be unknown and unknowable, and thus safe. Pgs. 45-54 & 56-57 & 59-68

Somewhere under a lost and lonely hill of grim and foreboding aspect lies a labyrinthine crypt. It is filled with terrible traps and not a few strange and ferocious monsters to slay the unwary. It is filled with rich treasures both precious and magical, but in addition to the aforementioned guardians, there is said to be a demilich who still wards his final haunt (Be warned that tales told have it that this being possesses powers which make him nearly undefeatable). Accounts relate that it is quite unlikely that any adventurers will ever find the chamber where the demilich Acererak lingers, for the passages and rooms of the Tomb are fraught with terrible traps, poison gases, and magical protections. Furthermore, the demi-lich has so well hidden his lair, that even those who avoid the pitfalls will not be likely to locale their true goal. In the far reaches of the world, under a lost and lonely hill, lies the sinister TOMB OF HORRORS. This Labyrinthine crypt is filled with terrible traps, strange and ferocious monsters, rich and magical treasures, and somewhere within rests the evil Demi-Lich. TSR 9022
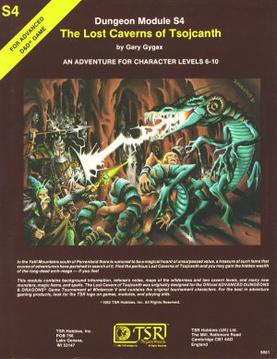
In the Yatil Mountains south of Perrenland there is rumored to be a magical hoard of unsurpassed value, a treasure of such fame that scores of adventurers have perished in search of it. Find the perilous Lost Caverns of Tsojanth and you may gain the hidden wealth of the long-dead arch-mage-- if you live. Module S4, this contains a brief wilderness journey to the caverns, but the bulk is underground. The caverns are noted as a previous lair of the Arch-mage Iggwilv- though she is long gone, her Demonomicon remains. This module marks the first appearance of several monsters and items that would later appear in the Monster Manual 2 and Unearthed Arcana. A labyrinth features in the caves. TSR 9061
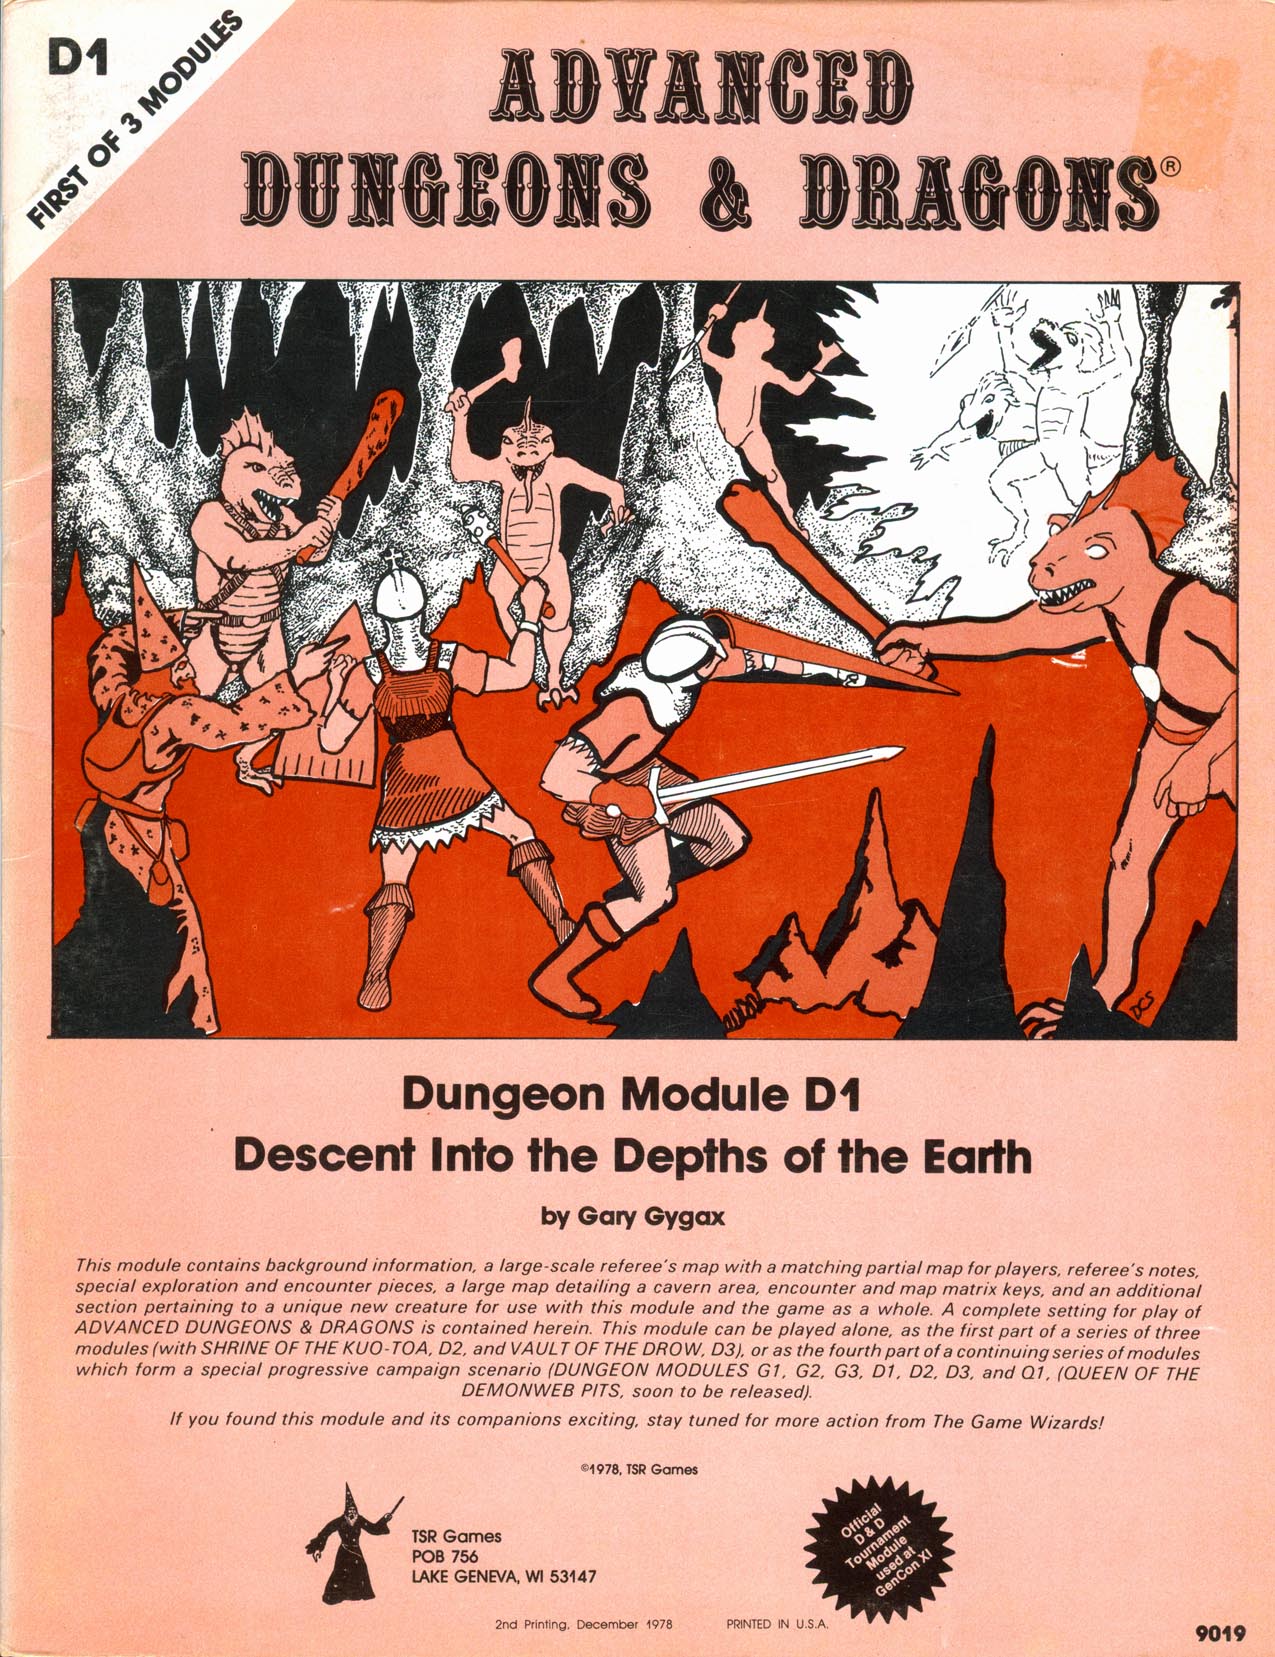
The final confrontation with the giant, King Snurre, and the entry of mighty adventurers into the caverns under his stronghold (DUNGEON MODULE G3, HALL OF THE FIRE GIANT KING) discovered the Dark Elves, the Drow, had instigated the giant alliance and its warfare upon mankind and its allied races. This module contains background information, a large-scale referee's map with a matching partial map for players, referee's notes, special exploration and encounter pieces, a large map detailing a cavern area, encounter and map matrix keys, and an additional section pertaining to a unique new creature for use with this module and the game as a whole. A complete setting for play of ADVANCED DUNGEONS & DRAGONS is contained herein. This module can be played alone, as the first part of a series of three modules (with SHRINE OF THE KUO-TOA, D2, and VAULT OF THE DROW, D3), or as the fourth part of a continuing series of modules which form a special progressive campaign scenario (DUNGEON MODULES G1, G2, G3, D1, D2, D3, and Q1, (QUEEN OF THE DEMONWEB PITS). TSR 9019
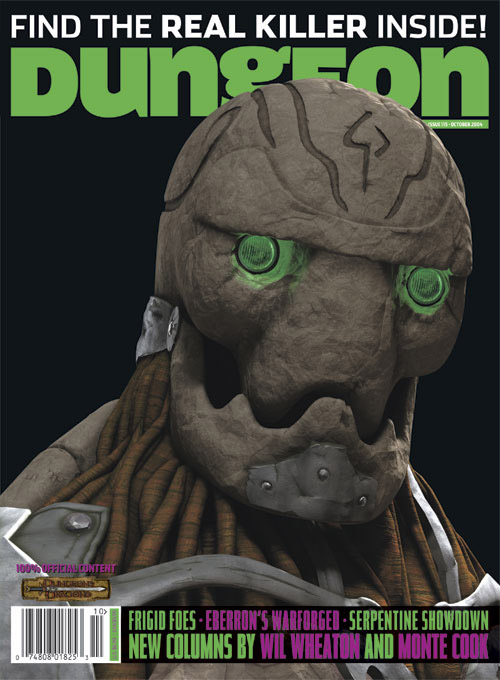
Smoke still rises from the shattered buildings and ruined streets of the troubled town of Cauldron, yet if not for the actions of a band of heroes, it would not exist at all. A sinister cabal of cultists bent on plunging Cauldron into the prison plane of Carceri had awakened the volcano below the town, and amidst the attacks of dragons and fiends from the outer planes, these heroes were able to evacuate the city and then strike at the cultists in their lair near the volcano's heart. Now, this cult, the Cagewrights, lies shattered, their members put on the defensive for the first time. All that remains is to finish the job, but the surviving Cagewrights still have some surprises left in their mysterious stronghold under the snake-haunted ruins of Shatterhorn. "Strike on Shatterhorn" is a Dungeons & Dragons adventure designed for four 18tth-level characters. This adventure is part of the Shackled City Adventure Path that began with "Life Bazaar" (Dungeon #97) and continued with "Flood Season" (Dungeon #98), "Zenith Trajectory" (Dungeon #102), "The Demonskar Legacy" (Dungeon #104), "Test of the Smoking Eye" (Dungeon #107), "Secrets of the Soul Pillars" (Dungeon #109), "Lords of Oblivion" (Dungeon #111), "Foundation of Flame" (Dungeon #113), and "Thirteen Cages" (Dungeon #114). The Adventure Path concludes in Dungeon #116 with "Asylum." Pgs. 56-82
Chapter 2: The Sinister Secret of Saltmarsh In this version of the adventure, the characters find navigational charts and logs aboard the Sea Ghost that implicate its crew as slavers. Ned Shakeshaft is a Scarlet Brotherhood agent. He makes an attempt to foil the characters, but his true intent is to surrender and implicate Gellan Primewater as a key villain. The distraction afforded by the lizardfolk and the looming sahuagin threat gives the Scarlet Brotherhood the opportunity to bring more agents into town. posing as mercenaries brought in by Anders to protect the town. If Gellan can be removed from the council, Solmor might ask one of the characters to take his place.

The Village of Hommlet has grown up around a crossroads in a woodland. Once far from any important activity, it became embroiled in the struggle between gods and demons when the Temple of Elemental Evil arose but a few leagues away. Luckily of its inhabitants, the Temple and its evil hordes were destroyed a decade ago, but Hommlet still suffers from incursions of bandits and strange monsters. TSR 9026