
Fleeing the rage that consumed their feuding families, Juliana and Orlando fled to the Cave of Echoes, where it is said every wish is granted. Two years have passed, and all attempts to return the lovers to their parents have failed, though some believe them lost in the enchanted garden beyond the cave. Many are the rescuers venturing into that enchanted park; a few have returned after long absences, their minds and memories curiously disturbed. Now, the handsome reward offered for the return of the lovers has tempted you, but who knows that lies beyond the Crystal Cave? TSR 9066
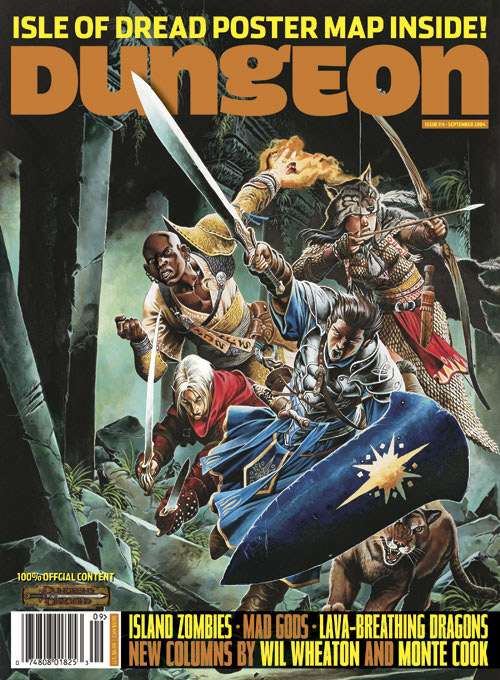
A hunt for a missing key leads the heroes from the streets of the city of Greyhawk to the Tomb of Blood Everflowing in the treacherous Cairn Hills. Pgs. 18-20, 22 & 24-39
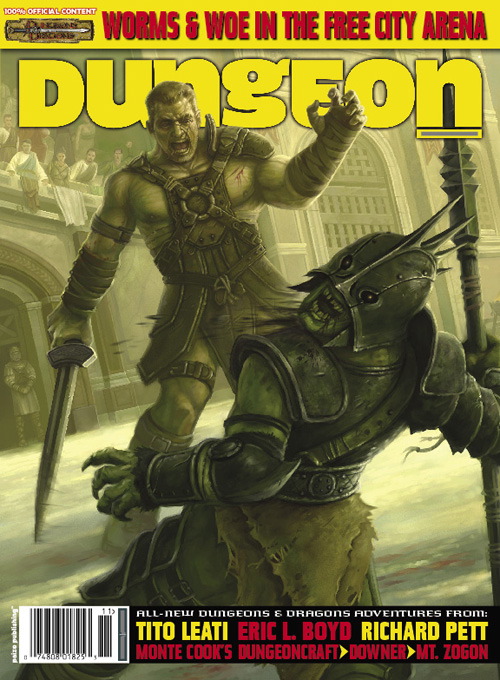
The hidden masters of the Ebon Triad have something special planned for the culmination of the Champion’s Games: a foul ritual designed to transform the arena into a stage of enormous carnage to honor their dark overgod. To stop them, the PCs must explore the dark complex of the arena’s master, and destroy his pet monster before it’s too late. An Age of Worms Adventure Path Adventure for 9th level characters. "The Champion's Belt" is the fifth installment of the Age of Worms Adventure Path, a complete campaign consisting of 12 adventures, several "Backdrop" articles to help Dungeon masters run the series, and a handful of poster maps of key locations. For additional aid in running this campaign, check out Dragon's monthly "Worm Food" articles, a series that provides additional materials to help players survive this campaign. Check out issue #337 of Dragon for guidelines on what they can purchase in the Free City. Pgs. 30-62
The Assassin's Knot is a sequel to The Secret of Bone Hill, picking up on themes from that module and shifts them to a new locale. The player characters must solve the mystery of who killed the Baron of Restenford, with evidence pointing to somebody from the town of Garrotten. The scenario describes the town and its castle. The Assassin's Knot module is different from most of its contemporaries in that it contained no dungeon or dungeon-like area. The longer the players take to find the murderer, the more unfortunate events occur in the village. The village, Garrotten, is reputed to be the place to go to have someone killed. The entire village shuts down when the Baron of Restenford is found dead, mutilated beyond the possibility of magical restoration. Three small clues are all the player characters have to unravel the mystery. TSR 9057

Stirrings of an ageless war between Law and Chaos are drawing you into an epic adventure! A Struggle More Savage than Good vs. Evil Imagine a time before the words Good and Evil had meaning, a day when the world was young. Discover an ancient conflict that predates the stars. It was in these days that Law and Chaos forged worlds out of nothingness; their war began while the cosmos was yet unfinished. The Rod of Seven Parts defines epic role-playing. The reappearance of the Rod has awakened the powers of Chaos, and their queen seeks to turn the whole world into a battleground. Bold heroes must undertake the enormous task of seeking out and assembling the pieces of the Rod, but even its power cannot stand alone. Ages ago, primal forces of Law stood fast against Chaos; now their champions must once more confront the Queen of Chaos and her foul spyder-fiends, lest the flame of civilization be extinguished. Follow the quest for the capricious Rod as it leads characters on a journey of high fantasy. The Rod of Seven Parts is designed for four to six heroes and heroines of levels 10 to 12. This boxed set includes: Initiation to Power, a 96-page book of grand adventure playable in any AD&D world, including original campaigns; The War Against Chaos, a 64-page book of world-crossing adventures pitting PCs toe to toe against the minions of Chaos; Might and Menace, a 32-page book detailing the mysterious powers of the Rod of Seven Parts: how it affects both its enemies and its friends; Monsters, a 16-page book of new villains, new monsters, and even a new race! 6 two-sided reference cards; 6 full-color poster maps portraying the key locations heroes can visit. Read about this ancient artifact in the epic novel The Rod of Seven Parts by best-selling author Douglas Niles! TSR 1145
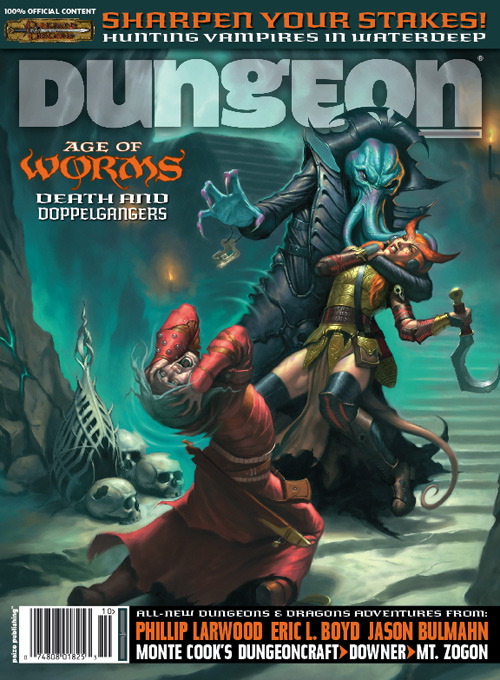
The Free City: a shining gem in the crown of cultured civilization. Beneath the surface of this bustling metropolis is a rot, festering in the darkness, manipulating the lives of those unaware of its presence. Now a small adventuring band from out of town may be in over their heads. Their actions in Diamond Lake have attracted the wrath of one of the city’s hidden masters. A gang of infiltrators and an enigmatic mastermind plot their destruction, and only tracing the rot to the root can stop the onslaught. "The Hall of Harsh Reflections" is the fourth installment of the Age of Worms Adventure Path, a complete campaign consisting of 12 adventures, several "Backdrop" articles to help Dungeon masters run the series, and a handful of poster maps of key locations. For additional aid in running this campaign, check out Dragon's monthly "Worm Food" articles, a series that provides additional materials to help players survive this campaign. Check out issue #336 of Dragon for five attractions to tempt your PCs to spend some of their hard-earned loot. This issue of Dragon also features an Ecology of the Spawn of Kyuss, one of the central creatures featured in this campaign. Pgs. 34-60
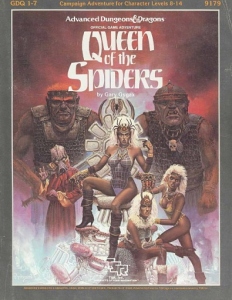
Ranked in 2004 as the single greatest adventure of all time by Dungeon magazine, this is a compilation of three series of modules: the G series "G1-2-3 Against the Giants" (G1 Steading of the Hill Giant Chief, G2 Glacial Rift of the Frost Giant Jarl, G3 Hall of the Fire Giant King), the D series (D1 Descent into the Depths of the Earth, D2 Shrine of the Kuo-Toa, D3 Vault of the Drow), and Q1 Queen of the Demonweb Pits. The characters begin by attempting to stop giant raids that have become prolific. They find out that the giant alliance is caused by the drow. They then descend into the Underdark in order to find the drow and stop their sinister plan. TSR 9179

In The Standing Stone, a tiefling sorcerer named Dyson discovers a circle of standing stones constructed centuries ago by druids to hold their annual rituals; the druid community was later destroyed by the great dragon Ashardalon. Dyson uses the magic of the stones to replace people with animals transformed into humanoid form, loyal to him. Dyson encounters the player characters in the village of Ossington and tries to manipulate them into eliminating the remaining enemies standing in his way.
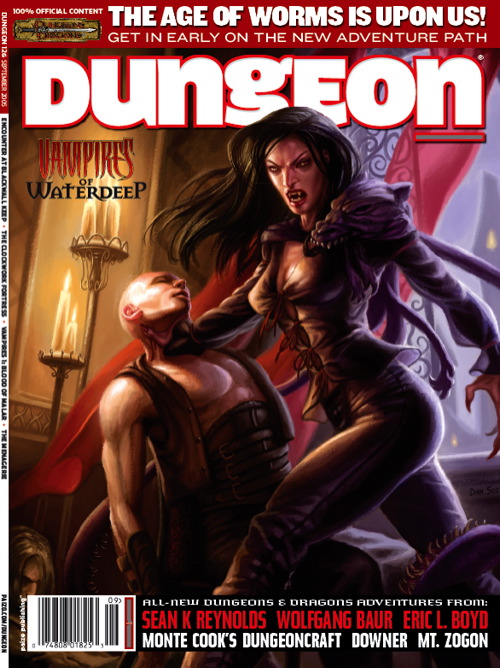
The wizard Allustan requests the party's company on a trip to Blackwall Keep, a militia outpost on the border of a treacherous swamp. But what of the green worms and unkillable zombies plaguing the region, and what fell secret is locked in the keep's forlorn basement? "Encounter at Blackwall Keep" is the third installment of the Age of Worms Adventure Path, a complete campaign consisting of 12 adventures, several "Backdrop" articles to help Dungeon masters run the series, and a handful of poster maps of key locations. For additional aid in running this campaign, check out Dragon's monthly "Worm Food" articles, a series that provides additional materials to help players survive this campaign. Check out issue #335 of Dragon for three sample cohorts that they might want to take on. Pgs. 16-40
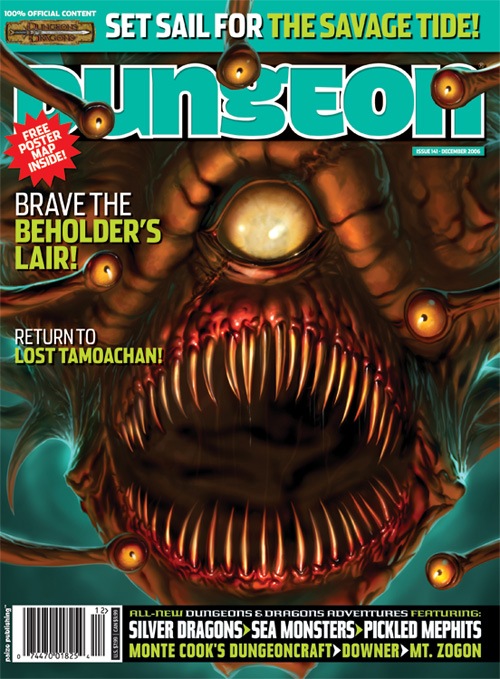
All ocean voyages are fraught with peril, yet a voyage to the infamous Isle of Dread might seem to some old salts to be a deliberate goading of the gods of the sea. Many of those who have attempted the voyage before managed to return to civilization often choose not to speak of the trials they experienced on that dangerous route, yet those whose lips can be loosened by a draught of grog whisper amazing stories... tales of pirates, sea monsters, terrifying storms, and perhaps most harrowing of all, of a strange and sinister land without land, a floating graveyard of dead ships mired in a sargasso the size of an island. This place has many names, but its most well-known may be it's most apt - Journey's End. "The Sea Wyvern's Wake" is the third chapter of the Savage Tide Adventure Path, a complete campaign consisting of 12 adventures appearing in Dungeon magazine. For additional aid in running this campaign, check out Dragon magazine's monthly "Savage Tidings" articles, a series that helps players and DMs prepare for and expand upon the campaign. Issue #350 of Dragon magazine features a regional guide to the seafaring environs the PCs can expect on the journey to the Isle of Dread. It’s time to bid farewell to the city of Sasserine as the PCs board the Sea Wyvern for a 3,000-mile voyage south into the uncharted waters of the Vohoun Ocean. Their destination: the Isle of Dread. Pgs. 16-48

"... an Adventure to Challenge the Bold..." Screams echo in the night, the charred remnants of a village are mute by day. From the decaying lands of the Pomarj, slavers have struck again! The adventure that began in the Temple of Elemental Evil now sweeps southward across the Wild Coast and into the desolate lands of the inhuman Pomarj. Slave raiders scour the countryside, leaving death and destruction in their wake. Daring adventurers strike into the heartland of the foe to harry the villains and bring retribution and justice to the land. This product contains the completely revised Aerie of the Slavelords series of adventures. Also included are new challenges and new scenarios detailing the Wild Coast, the city of Highport, the blasted lands of the Pomarj and the Drachensgrab Mountains. TSR 9167

The corrupt town guard of the Styes refuse to help when a mysterious monster begins to slaughter the residents of Hopen'er Asylum, an old decrepit mental aslyum. A call is put out for any adventurers willing to defeat this mosnter and save Hopen'er before it falls any further into madness... From the author of Murder on the Primewater Pleasure comes The Horrors Beneath Hopen'er Asylum. If you enjoyed that adventure then you will love this! This horror adventure takes place in and below Hopen'er Asylum. Originally designed to serve as an introduction to the location known as The Styes frorm the Ghosts of Saltmarsh campaign book, this adventure can be easily transferred to any setting (advice is given on how to do this). The characters will explore an abandoned underground wing of the mental asylum, before delving into a forgotten cave system to face an unknown enemy, a Dubh. The adventure is designed for 6th - 7th level characters and takes anywhere between 4 - 6 hours to finish. The adventure contains full colour maps, as well as VTT versions of the maps.
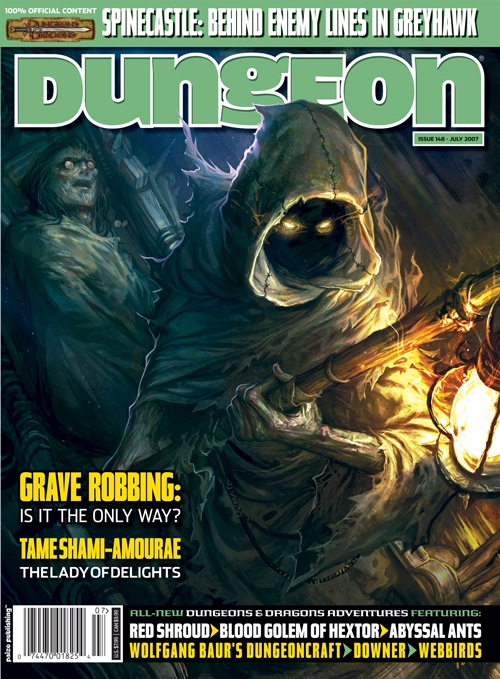
The Wells of Darkness is the seventy-third layer of the Infinite Planes of the Abyss, a prison used by demon lords and a graveyard for creatures the multiverse would rather forget. Imprisoned in one of these wells is Shami-Amourae, the Lady of Delights. This minor demon lord and former consort of Demogorgon is one of the few beings who knows the true secrets of Demogorgon's twin personalities and his plot to reconcile them, thereby growing immeasurably in power. "Wells of Darkness" is the tenth chapter in the Savage Tides Adventure Path, a complete campaign consisting of 12 adventures appearing in Dungeon magazine. For additional aid in running this campaign, check out Dragon magazine's "Savage Tidings" articles, a series that helps players and DMs prepare for and expand on the campaign. Issue #357 of Dragon magazine features rules for three new binder vestiges connected to the imprisoned demons within the Wells of Darkness. The Prince of Demons hides a secret, one that could well be the key to stopping the savage tide. Yet the only one who knows this secret is imprisoned on one of the most notorious realms in the Abyss. Will the price for rescuing her be too high? Pgs. 52-84

A shadow from the past, the Ghost Tower of Inverness has loomed ever larger in the mind of the great Seer of Urnst, Now he has convinced the Duke that an expedition should be organized to go to the ancient keep and recover its greatest treasure — the fabled Soul Gem. TSR 9038
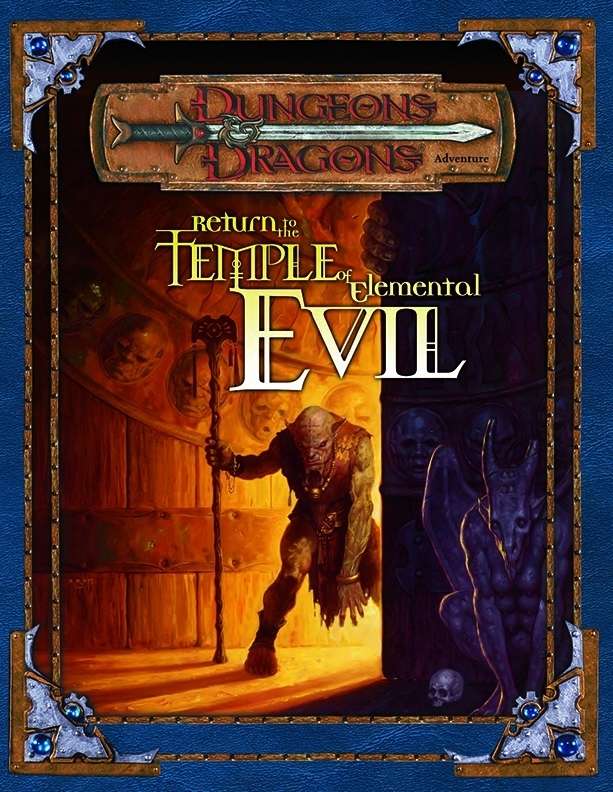
Years ago, brave heroes put the denizens of the Temple of Elemental Evil to the sword. Now, dark forces whisper again in the shadows of the once-deserted temple - forces far more insidious and dangerous than any sane person could dream. Evil has risen again to threaten the village of Hommlet. A continuation of the original AD&D Temple of Elemental Evil, made for a party of 4th-level adventurers, taking them up to 14th level.

When Monsters threaten the village of Crystalbrook, it's up to adventurers to track down where they're coming from. The investigation leads them on a journey across planes. In the Feywild, the heroes must explore an enchanted island garden and unravel the plot of a foul hag, before she and her fiendish companion can perform a ritual to seize control of the island. "Beyond the Crystal Cave" is a Dungeons & Dragons adventure designed for the winter 2011 season of the D&D Encounters official play program. This season incorporates character options from Player's Option: Heroes of the Feywild, and it comes with three full-color maps, thirteen ready-to-play encounters, and information on the D&D Encounters program. Originally found in Dungeon Magazine #211 now available as a stand-alone adventure. Pgs. 63-122

The Cagewrights are defeated. The Tree of Shackled Sould is no more. Lord Vhalantru has been exposed and put down for the menace he truly was. The town of Cauldron has been saved from volcanic apocalypse. The heroes of Cauldron have earned their place in history, and more than deserve a time of rest, yet fate is not so kind. For the true menace behind the curtain still lives. As long as Adimarchus, the demon prince of madness, continues to dream his haunted dreams and writhe away the years in torment in the fiendish asylum of Skullrot, Cauldron can never be truly safe. "Asylum" concludes the Shackled City Adventure Path that began with "Life's Bazaar" (Dungeon #97) and continued with "Flood Season" (Dungeon #98), "Zenith Trajectory" (Dungeon #102), "The Demonskar Legacy" (Dungeon #104), "Test of the Smoking Eye" (Dungeon #107), "Secrets of the Soul Pillar" (Dungeon #109), "Lords of Oblivion" (Dungeon #111), "Foundation of Flame" (Dungeon #113), "Thirteen Cages" (Dungeon #114), and "Strike on Shatterhorn" (Dungeon #115). Pgs. 40-65
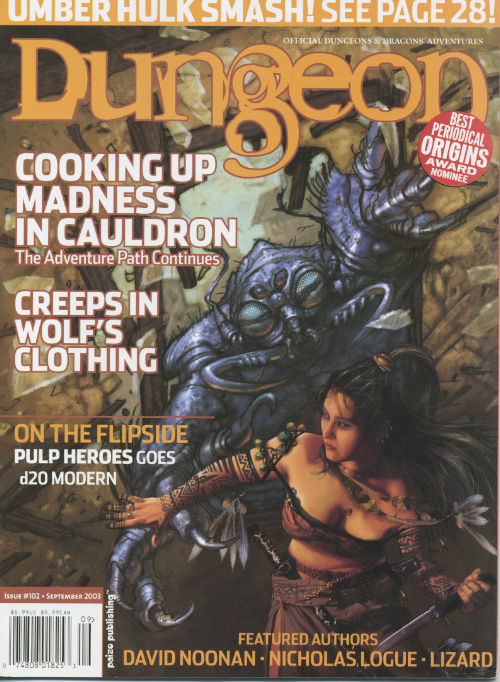
Part 3 of the Shackled City Adventure Path "Wherein a tribe of the Sea Mother's children suffer for sparing the life of a mad prisoner they probably should have eaten." Synopsis: The adventure begins with an Umber Hulk attack in the middle of the city. The fame gained by assisting during the attack allows them to gain the notice of a representative of Davked Splintershield. The group is asked to rescue Zenith Splintershield from a Kuo-Toan temple in the Underdark. But to find it, they have to visit Crazy Jared to locate an entrance to it. Upon journeying to Crazy Jared's, they fight Hookface's offspring. After more travelling, they are able to descend into the Underdark. Once they find the Kuo-Toan temple, they must fight through many hard challenges, only to realize that Zenith is not a prisoner, but instead is a prophet. Zenith does not go willingly, and so must be captured. Pgs. 28-61

Not even memories of past glory live on in the gentle hills around the village of Kusnir. Today its people have more concern for commonplace things, like the harvest, trade, and the threat of death in the night! Kusnir is beset by a skulk. The attentions of such a creature are a curse on any community. Streets and alleys which ring to the voices of children by day become fearful, shadowy places by night. Men go abroad armed and in groups, while women and children stay behind locked doors and even there are not safe. But life goes on. The lot of the peasant is always hard, what cannot be prevented must be endured and, of course, things could be worse. Much worse. The skulk has begun to visit the village more and more often. Sometimes it kills, yet just as often it spares a victim, leaving clear signs of what it might have done had it wished. Its visits are now marked by strange and illegible symbols scrawled in blood on the walls of the buildings. The people are worried, helpless, and desperate. Desperate enough to welcome adventurers. UK2: "The Sentinel" (1983) is the second UK-series adventure, the fifth TSR UK adventure overall, the first solo effort by Morris, and the first half of the two-part Adlerweg series (whew!). It was run as a tournament at the GamesFair '83 Open, then published later in 1983. TSR 9101
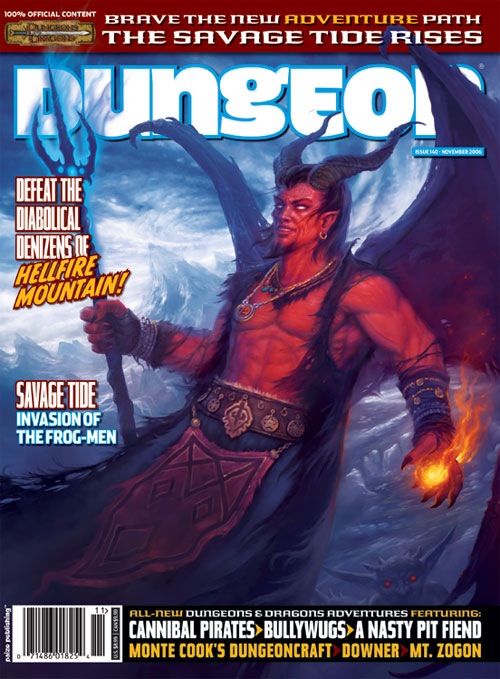
When an attempt to arrange an early inheritance backfires, a man of lesser ambition than Vanthus Vanderboren would no doubt withdraw into his sister's manse to hide under her skirts and pray that the truth of his patricide remain hidden. Fortunately for Vanthus, lack of ambition has never been a problem. Now the Vanderobrens' prodigal son slinks east along the coast of Blood Bay, lured by rumors of an incredible prize kept in a smuggler's hideout called Kraken's Cove. Yet what he is destined to find there is far more than a lucrative bit of banditry. What awaits him is the savage tide. "The Bullywug Gambit" is the second chapter of the Savage Tides Adventure Path, a complete campaign consisting of 12 adventures appearing in Dungeon magazine. For additional aid in running this campaign, check out Dragon magazine's "Savage Tidings" articles, a series that helps players and DMs prepare for and expand upon the campaign. Issue #349 of Dragon magazine looks into the region surrounding Sasserine, and provides useful information if your PCs wish to explore this area more thoroughly than they do in the course of this adventure. The hidden caves of Kraken's Cove have long served the pirates of the Crimson Fleet as a place to stage their smuggling operations. When their latest cargo backfires, the PCs find themselves faced with something far worse than murderous pirates. Pgs. 12-48