
A fast-paced one-shot from the bestselling author of The Secrets of Skyhorn Lighthouse! A shadowy force gathers inside the abandoned halls of Lastwatch Keep. Can the players defeat the drow invaders before they escape to the underworld with sinister intelligence about the surface? Shadows of Lastwatch Keep is a one-shot adventure for four or five 4th-level characters. It takes about 3-4 hours to complete and includes: -A drow strike team desperate to escape the keep’s surprise foe -A new monster, the drow commando -Combat cards for each monster, PC, and special treasure -A beautiful, hand-drawn map by Jake from Beware the Wizard

Wildspace is rife with tension as various factions seek to gain the upperhand against their rivals. When a highly advanced spelljamming ship is uncovered within the Doomspace system, the player characters are asked to claim it before other groups can take it for themselves. However, the party may soon come to realize that their greatest adversary might be the ship itself. What's included: 1 high-octane adventure divided into single-page sections for easy running 4 fully-colored reference maps with unlabeled battlemap versions for players (made with assets from 2-minute Tabletop) 4+ ending variations based on the player characters' decisions Content Warnings: Death, entrapment, mental manipulation, violence may soon come to realize that their greatest adversary might be the ship itself.
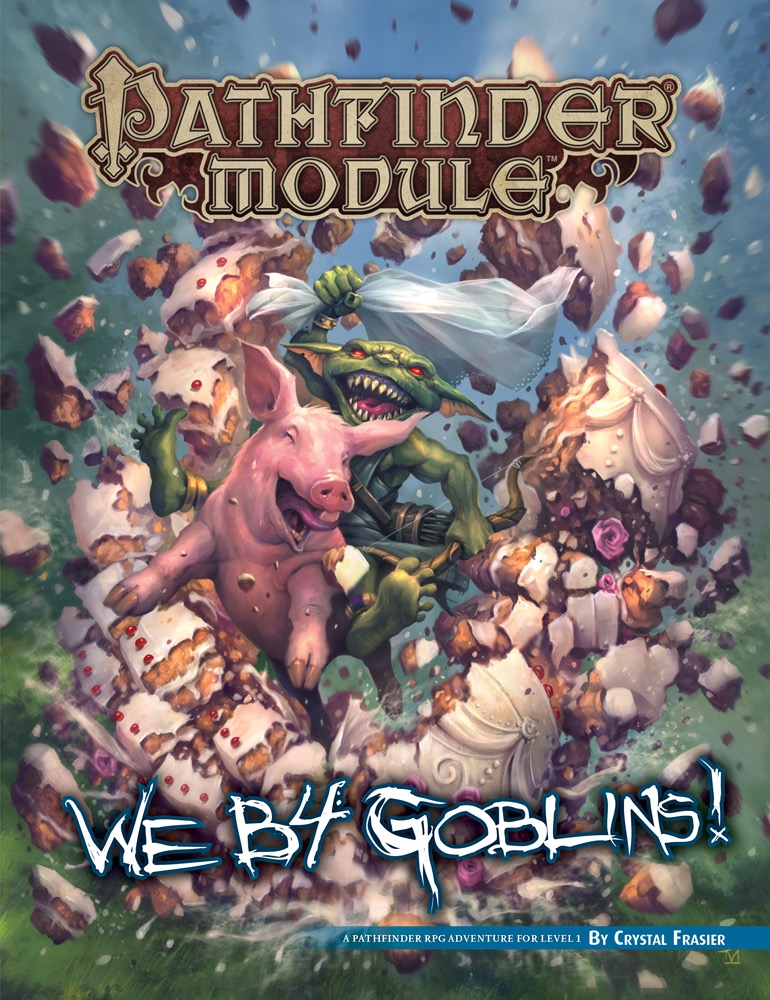
As whelps of the Licktoad tribe just out of their swaddling cages, the goblins Chuffy, Mogmurch, Poog, and Reta must prove themselves by undergoing a series of challenges, from tying a string to a large spider and shouting insults with hot rocks in their mouths to facing off against a goblin bully and his dimwitted minions. As a final test of their mettle, they must make a dangerous (and smelly) trek to claim a toad from the nearby swamp and present it to the terrifying presence that lurks within the Cave of Darkfear, only after which can they truly call themselves goblins! Part 4 of We be Goblins series

The promises of glory and the chance of riches draws you to Blasingdell, a small village near the infamous Stone Tooth. Within the rocky mountain lay the dwarven stronghold Khundrukar and the fabled Forge of Fury, to which a chance encounter provides you with the location of a hither-to unknown entrance. Are you brave enough to explore this mystery? Will it lead you to wealth or to your doom?

You hear rumours of an unclaimed wizard's tower, a worthy prize for any practitioner of the arcane arts! Do you have what it takes to face its challenges and claim it as your own? This is a one-to-one adventure designed for one player of the wizard class and one DM.

A force of orcs has taken over a small hilltop keep. The PCs are engaged by the local lord to rid his home of the intruders. Fortunately for the PCs, the keep’s main doors are still damaged from when the orcs took possession, and entry is relatively easy. Unfortunately, the orcs are determined to stay. Pgs. 24-29
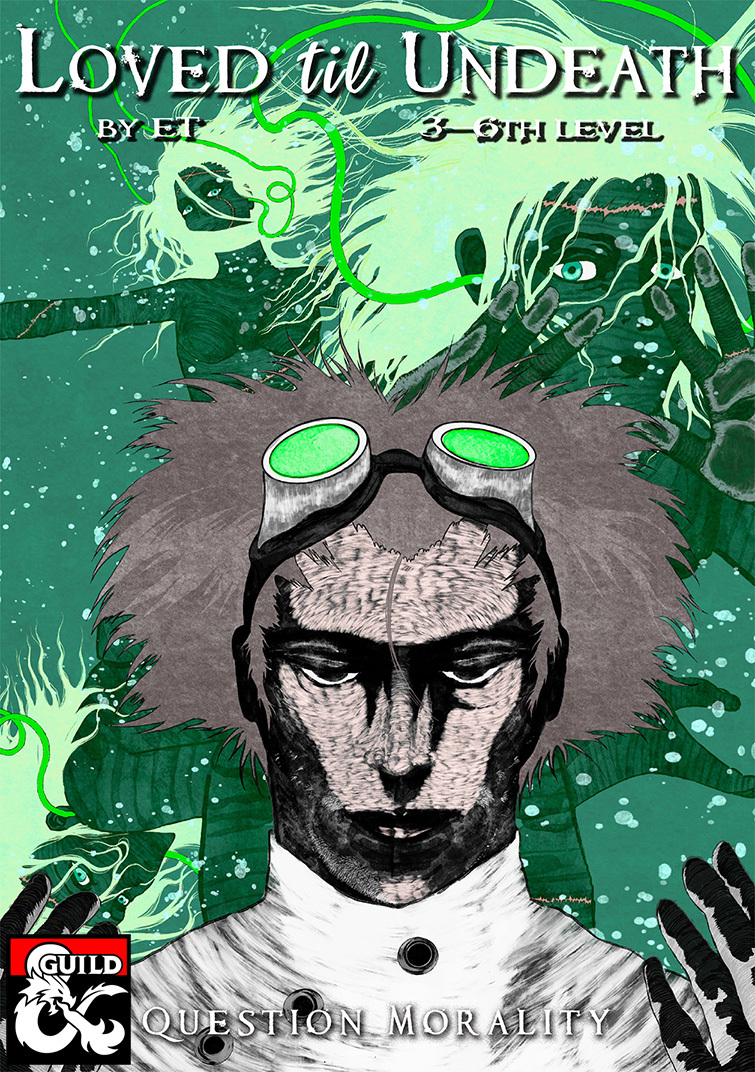
Clouds smother the sky, smoke fills your nostrils, and a shrill scream falls on deaf ears. The bonfire swells as the crowd surrounds. “Undead filth!” they shout, as she burns alive. What do you do? This Frankenstein inspired one-shot will have body horror, a murder mystery, undead constructs questioning the purpose of life and will make your characters question their morality. Designed for 3-6th level to be run in a single night of gameplay. All of ET’s adventures have been playtested at least three times, professionally edited and contains zero ai generated content. Click below for the video walkthrough. This adventure includes: 1 player handout, 5 maps including 2 battlemaps, 2 random tables, 6 secrets and clues, dramatis personae for the 5 main NPCs.
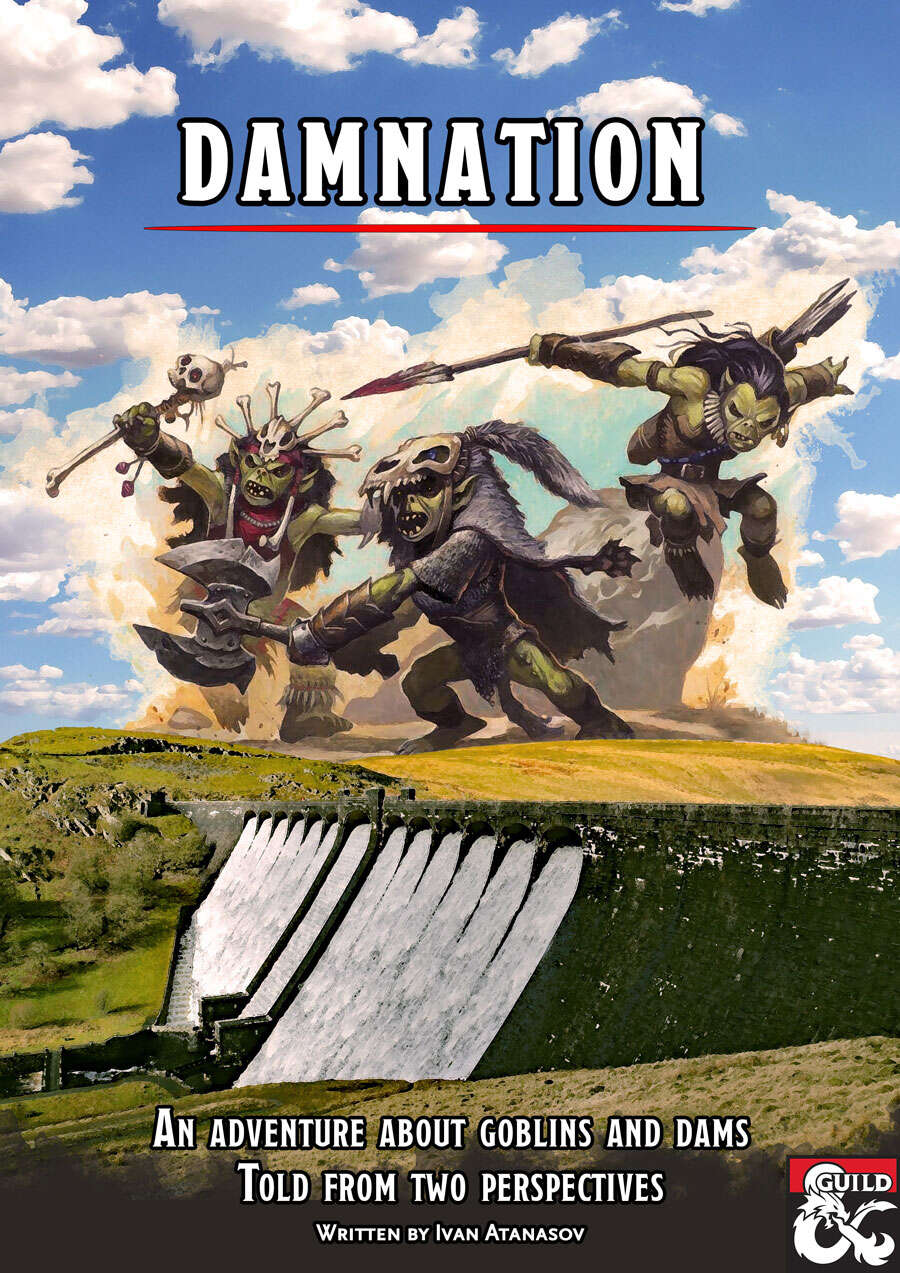
Twenty years ago, the humans built a dam and flooded Gormelin Valley. They drove the Cinderborn goblins away from their land. But now the Cinderborn are back and they want vengeance. The dam must fall and the human towns must drown! Damnation is a set of two parallel adventures that cover the same events, locations and characters. In The Heroes' Tale, the players control a traditional heroic party. They get to attend a wine festival, save a town from a flood, dive to the bottom of a lake, choose between retaliation and negotiation, and face a demon atop the dam as he attempts to demolish it. The Goblins' Tale tells the other side of the story, allowing players to take control of a party of goblins. As the Cinderborn, they must deal with human spies, sneak into a wizard's tower, trigger a catastrophic flood, choose between peace and vengeance, face their own demonic leader, or aid him in breaking the dam. Also included: maps and goblin pregens!

This adventure picks up where AS1 – Artifact of Gegios left off. You return to the city of Gegios to divide treasure and determine what the strange wand is. Your return trip may have given you a clue in that travel to the east causes it to vibrate less while moving in a western direction causes it to shake more. What is the significance of this anomaly? Is your party ready to find out? Bring your water wings folks you’re probably going for a swim!

In the fortified city of Port Nyanzaru the situation grows volatile. Reports of mysterious strangers from unknown lands, that are trespassing forbidden holy grounds far within the jungle, have caused great turmoil in the city’s foreign relations with the local tribes. The players must travel through the deadly jungles of Chult towards the ruins of ancient Mezro, and confront an ancient religious sect of gruesome practices, charged with keeping imprisoned the right-hand servant of a Primordial evil- Dendar the Night Serpent. Will the ancient evil be unleashed once more in the world, or will the heroes be victorious? The fate of the world lies on their hands.
Provost Faurious has procured an Aethervane, an astrolabe-like instrument tied to Kythri that's used to navigate manifest zones. Unfortunately for the Provost, the Riedran ship that was carrying the Aethervane across the Sea of Rage to deliver it to their agent in Regalport fell victim to piracy. The player characters are dispatched to Regalport to meet up with the Provost’s agent there and petition High Prince Rygar for more information about the stolen cargo. When the characters dock in Regalport, they meet the Provost’s contact and are ushered into a meeting with High Prince Rygar. Wishing to show his intolerance for piracy, Rygar charters one of his own ships for the party’s use as they investigate the stolen cargo. Upon arriving at the crash site of the stolen cargo, the party is set upon by a fleet of pirates known as the Wind Whisperers. When things turn sour, a new surprise reveals itself as an unnatural storm rolls in, a stolen airship at its heart. The Wind Whisperers have found a way to convert the Aethervane to serve their own purposes. Seeking aid from Rygar and House Lyrandar, the heroes chase after the pirates by sail and airship. As they do, they are bedeviled by the Chaos Fleet—strange ships sailed by an even stranger crew that are drawn to the Aethervane and the chaos it brings. In a final airborne confrontation, the party boards the rogue airship and retrieves the sought-after artifact, with a chance to salvage or sink the stolen vessel in the process…

Hot on the trail of Selise Teshwave and Baron Rajiram, the adventurers must enter newly exposed mountain excavations in the Galena mountains. Swift action must be taken to prevent the Baron from obtaining a powerful weapon from this ruin. Meanwhile, the mysterious Teshwave siblings, Abigail and Char, are hot on the trail of their older sister. This is Adventurer's League legal adventure set near the Galena Mountains. This module first premiered at Carnagecon 2018. Part Two of the Storm Series.

The trail leading from the Fane of the Whispered Fang has grown cold, but you can still taste the machinations of the yuan-ti in Chult’s humid, stagnant air. Because of this, you must venture deeper still into the jungle and petition the aid of an unlikely ally—the fabled Ramshackle King. His assistance is crucial to the effort to save Chult! A Four-Hour Adventure for 11th-16th Level Characters.

A city of burgeoning technology beset upon by intrigue and insurrection, Samon has been a thorn in Emperor Hitoshi's side since suffering in the rebellion against the Kengen Occupation, its wounds still fresh on the minds of its citizens. It is not beneath the notice of Hakaisuru Bengoshi however, and the adventurers are ordered by one such official to make certain that the Tazuki Rail company's doings are not curtailed by its increasingly aggressive laborers and their shadowy union, the Fangs. Little do they know that the bite of the fangs carries a far deadlier poison than any worker's ire! What you’ll find in Mists of Akuma: Fangs of Revenge: A complex cast of 20 NPCs beautifully illustrated by Nathanael Batchelor interwoven in an impressive tale of deceit, false trails, intrigue, and lethal adversaries The city of Samon, a settlement in the northern prefecture of Hakaisuru and home to Soburin’s most prosperous railroad company Four maps by cartographer Mike Myler: an isometric view of Samon, an isometric map of the Tazuki Rail Offices, a combat map of the Chujiang Gardens, and a combat map of the Tazuki Rail Basement The dangerous Mists of Akuma and the new misted condition The hengeyokai race and kitsune, nezumi, usagi, and (new!) hebi (snake) subraces The adeddo-oni and true hebi templates as well as a coterie of statblocks: adeddo-oni hunchling, adeddo-oni mage, adeddo-oni ninja, adeddo-oni samurai, factory worker, nuwa the brute (a true hebi), wajdet the charlatan (a true hebi), the many-faceted hengeyokai ninja, and the hebikontorora snake woman

A generic tomb usable for one off adventures or unplanned exploration discovery.

It's feeding time at the zoo and you could be the main course! Raven Aldritch, mysterious and beautiful, runs the Aldritch Research Centre and Zoo for her father, a powerful mage. He enjoys turning dangerous creatures into terrifying monstrosities. But daddy is away and the magical shields that hold the creatures in their enclosures have failed. These monsters are rampaging through the research centre endangering the lives of the innocent workers. Raven desperately needs help to regain control, and she’s willing to pay the right group of adventurers handsomely. Will you come to her rescue? An adventure for the world’s greatest roleplaying game. Fifth edition compatible. A one-shot for a party of Level 3 adventurers
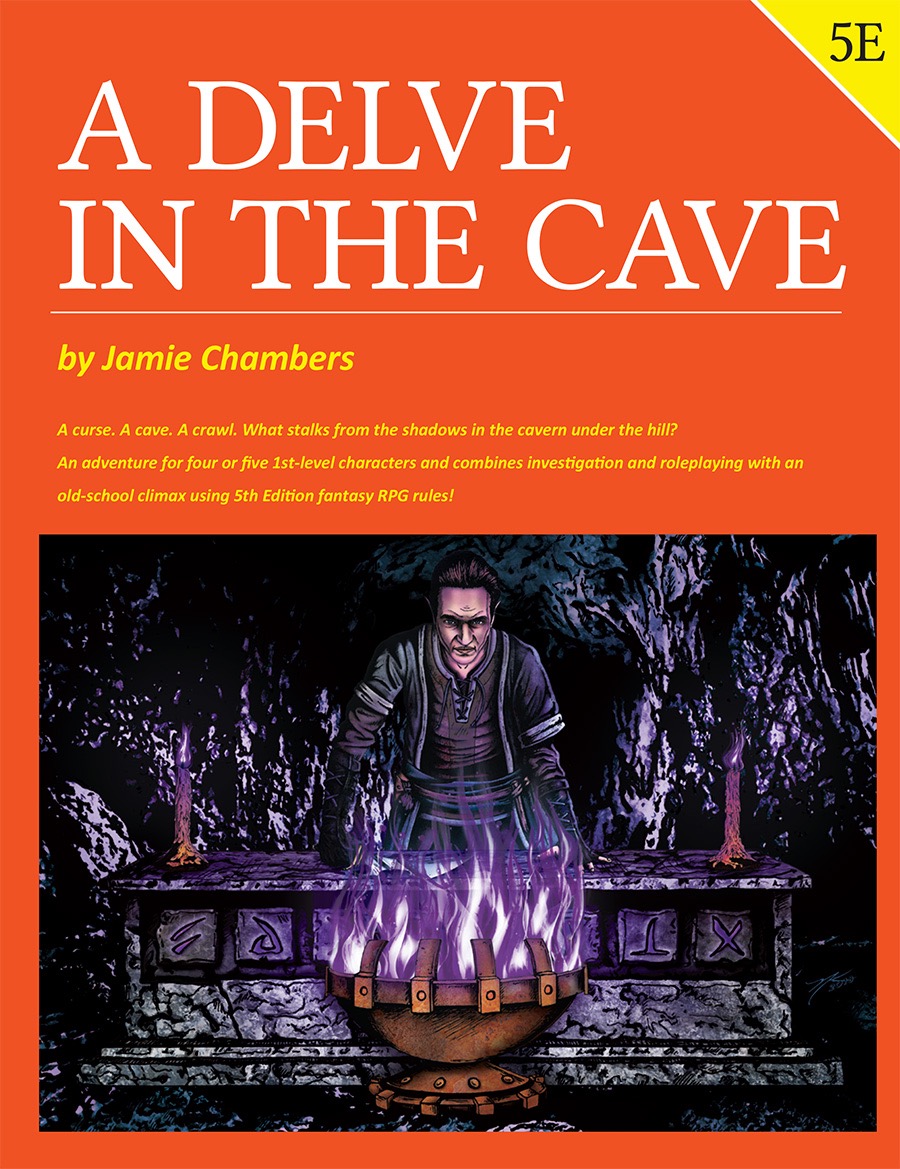
Something lurks in the shadows inside the caverns under the hill called Brin Brenin. Ancient enemies of mankind have returned for revenge, starting with the tomb of a long-forgotten hero. Somewhere inside are answers to forgotten questions, deadly monsters, and hidden treasures.

In an age obscured by mist and memory, Sir Galen the Brave and his knights struck down the Drake of Crestmoor with steel and flame. But as the years turned, and the heroes returned to dust, their deeds faded into myth. Doubt lurked where awe once dwelled, and in time, the bards sang of lesser deeds. In the hollows of the wilderness, the stones of their forgotten tomb crumbled beneath ivy and shadow. The Cursed Knights of Crestmoor is a short dungeon crawl for four characters of levels 1-2 using Shadowdark RPG ©. The adventure is designed to be easy to run for new game masters. Players should not be cavalier in their approach to this dungeon. There are threats in the tomb which could easily kill foolhardy player characters. Long ago a band of knights led by Sir Galen slew the black dragon known as the Drake of Crestmoor - a malevolent creature whose true name was Morghast the Black. With his dying breath, the dragon cursed Galen and his friends that they would never find rest in death. Today, the once well-kept tomb has fallen into ruin. Some time ago a band of kobolds moved into the subterranean mausoleum and began using it as a base of operations. More recently, a lizardfolk shaman named Kall’eth and his warband arrived and took over, pressing the kobolds into their service. Kall’eth came to Galen’s tomb to recover the knight’s Fireblade - a sword of dwarvish make used to slay Morghast long ago. The tomb is crawling with kobolds, lizardfolk, and the restless husks of Galen and his compatriots. A magic sword, a missing wedding ring, and plenty of adventure await you in…The Cursed Knights of Crestmoor!
A vibrant circus has just arrived, setting up on the edge of town. Run by the charismatic half-elf ringmaster, Marlow, the performers bring with them dazzling displays of magic and talent, artifacts with incredible powers to behold, and strange creatures most people would never get the chance to see close up. Behind all of the joy and revelry, the circus holds a dark secret, for Marlow keeps tyrannical control over his performers with both whip and word. As this latest performance reaches its height, two acrobats decide to take their chance at freedom, making use of a distraction to steal something valuable from Marlow and make their escape. Marlow will do anything to get the two back under his power, and so turns his significant charms upon a hapless band of adventurers attending his circus.

After carving out quite the reputation, you and your associates have been summoned to meet with the local regent. As you wait in the audience chamber you notice that the furnishings appear to be in the middle of an upgrade. After being introduced to the slovenly king, his vizier explains the task ahead of you. Apparently the monarch wants to decorate his throne room and wants a Giant Ape as the showpiece. As luck would have it, rumors point to a nearby island in the Jarteach Mere…