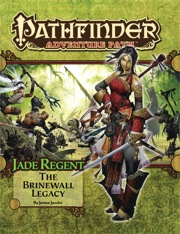
The town of Sandpoint, Varisia, Inner Sea Region has put out a bounty on the nearby tribe of Licktoad Goblins in retribution for the goblins raiding traders and travelers near the quiet town. The party takes up the bounty and ventures into the swamp; eventually finding the goblin village in ruins and it's inhabitants scared in it's burned huts. The party finds out; either through investigation of the ruins or the goblins themselves; that a group of skeletons with eastern arms and armor had ransacked the village and took a stash of fireworks that the goblins stole from an old shipwreck. The party then makes it to this cave and finds it empty except for a half dozen skeletons. Further in past the skeletons is their leader, a skeletal samurai who fights the party in an attempt to defend his treasure. The treasure turns out to be a letter that reveals that secrets of the Kaijitsu family; the same family their good friend Ameiko who runs the Rusty Dragon inn belongs to; that lies in wait in the abandoned town of Brinewall to the northern boarder of Varisia. Ameiko along with several other important NPCs with a caravan north. It's recommended that GMs create encounters for the caravan trip north as it's essentially 3 weeks of travel with nothing in it. It's also recommended that GMs completely ignore caravan rules; they're not flushed out and they're not fun to run. The party and the caravan reaches the abandoned town of Brinewall where their friend Ameiko becomes possessed and is thrown into a coma; where the other NPCs agree to take care of her while the party explores the town and castle. The castle is a three floor behemoth of a dungeon populated by Dire Corbies, Troglodytes, and various other monsters all under the leadership of Kikonu, an Yamabushi Tengu Oni. The goal of exploring Brinewall Castle is to find the two keys to the vault; one of which is on the Yamabushi Tengu while the other is on a Half-Fiend Decapus that lives in the basement of Brinewall. Once the PCs enter the vault they find the Amatatsu Seal; one of the seals that cement authority to one of the ruling houses in Minkai of Tian Xia; as well as several visions that show that Ameiko Kaijitsu is the rightful heir to be ruler of Minkai and that they'll need to travel north to do so. Such ends the first book of six.
A short adventure for the Midnight campaign setting from Fantasy Flight Games. On a mission to retrieve information important to the resistance, the adventures get caught up in struggles between factions of the Shadow.

The Bleeding Hollow was written as a tribute to the golden era of adventures. Danger lurks around every turn, and a great over-arching storyline ties everything together. There is much to discover and learn, and solving the woes of the adventure is entirely up to the players. They will choose how to deal with the myriad challenges put forth, and will probably run down a red herring or two. They might choose a very dangerous path unknowingly and pay the consequences fortheir actions. That is intended. Let the story lead your party, and your players lead the game. You won’t regret it. Published by Total Party Kill Games

Restore an Abandoned Temple Enter the catacombs near the desecrated Temple of Muir, Goddess of Paladins, and search for the lost tomb of Abysthor. Will your party be able to cleanse the evil that now inhabits these once-sacred halls, and recover the Stone of Tircople? Can your characters survive the traps of an undead sorcerer? Will your players discover the chamber of Living Rock and the secret power it holds? Adventure awaits! Gold and Glory! A fantasy adventure published for the D20 system, The Tomb of Abysthor is the first module in Necromancer Games Dungeon series and can be played as a stand-alone story or in conjunction with The Crucible of Freya and the forthcoming city supplement Bards Gate. What secrets lie hidden in the tomb of Abysthor?

This solo adventure is designed as an adventure to teach the PC that sometimes you need help in solving tough problems. The adventurer learns that Ortella the Druid is seeking assistance in obtaining spell components to help the local village. It seems that the community has a magical phantasm causing problems in its lake and they need help in the form of Ortella and Ortella needs your help!

Be Ready with the Snapping Line... Just about every community, big or small, civilized or seedy, has at least one popular tavern. Folks may go there to relax or to look for work, to celebrate or to mope, to learn the latest or to forget. And while some may be willing to travel far from the comfort of their favorite watering hole in search of adventure, in the seaside town of Saltmarsh, they may not have to. At the Snapping Line Inn and Tavern: * Enjoy food, drink, gossip, a darts competition, and maybe a rousing bar fight. * Participate in a gambling night. Watch out for pirates! * Stop a dark ritual to save an innocent—and yourselves. * Come to the rescue when there’s an accident by the pier—and the predators arrive. Four linked encounters around a pier-side tavern for characters of levels 5-10. Playable individually, scattered throughout another campaign, or together as a four-to-six-hour adventure.

An alternative way for the Directors to start their new Draw Steel campaign. Fight off the goblin bandits, survive the ravenous undead, and lift the curse from the town of Sour Falls. This short first-level adventure provides you with two possible combat encounters, a montage test, and a negotiation. From the Ashes is a short 3–4 hour adventure for Draw Steel, written for a group of three to six 1st-level heroes and the Director. This free adventure is an alternative way for experienced Directors to start a campaign. The adventure provides you with two possible combats, a montage test, and a negotiation. By the end of From the Ashes the heroes restore an abandoned town, gaining a base of operations that could lead them to future adventures.
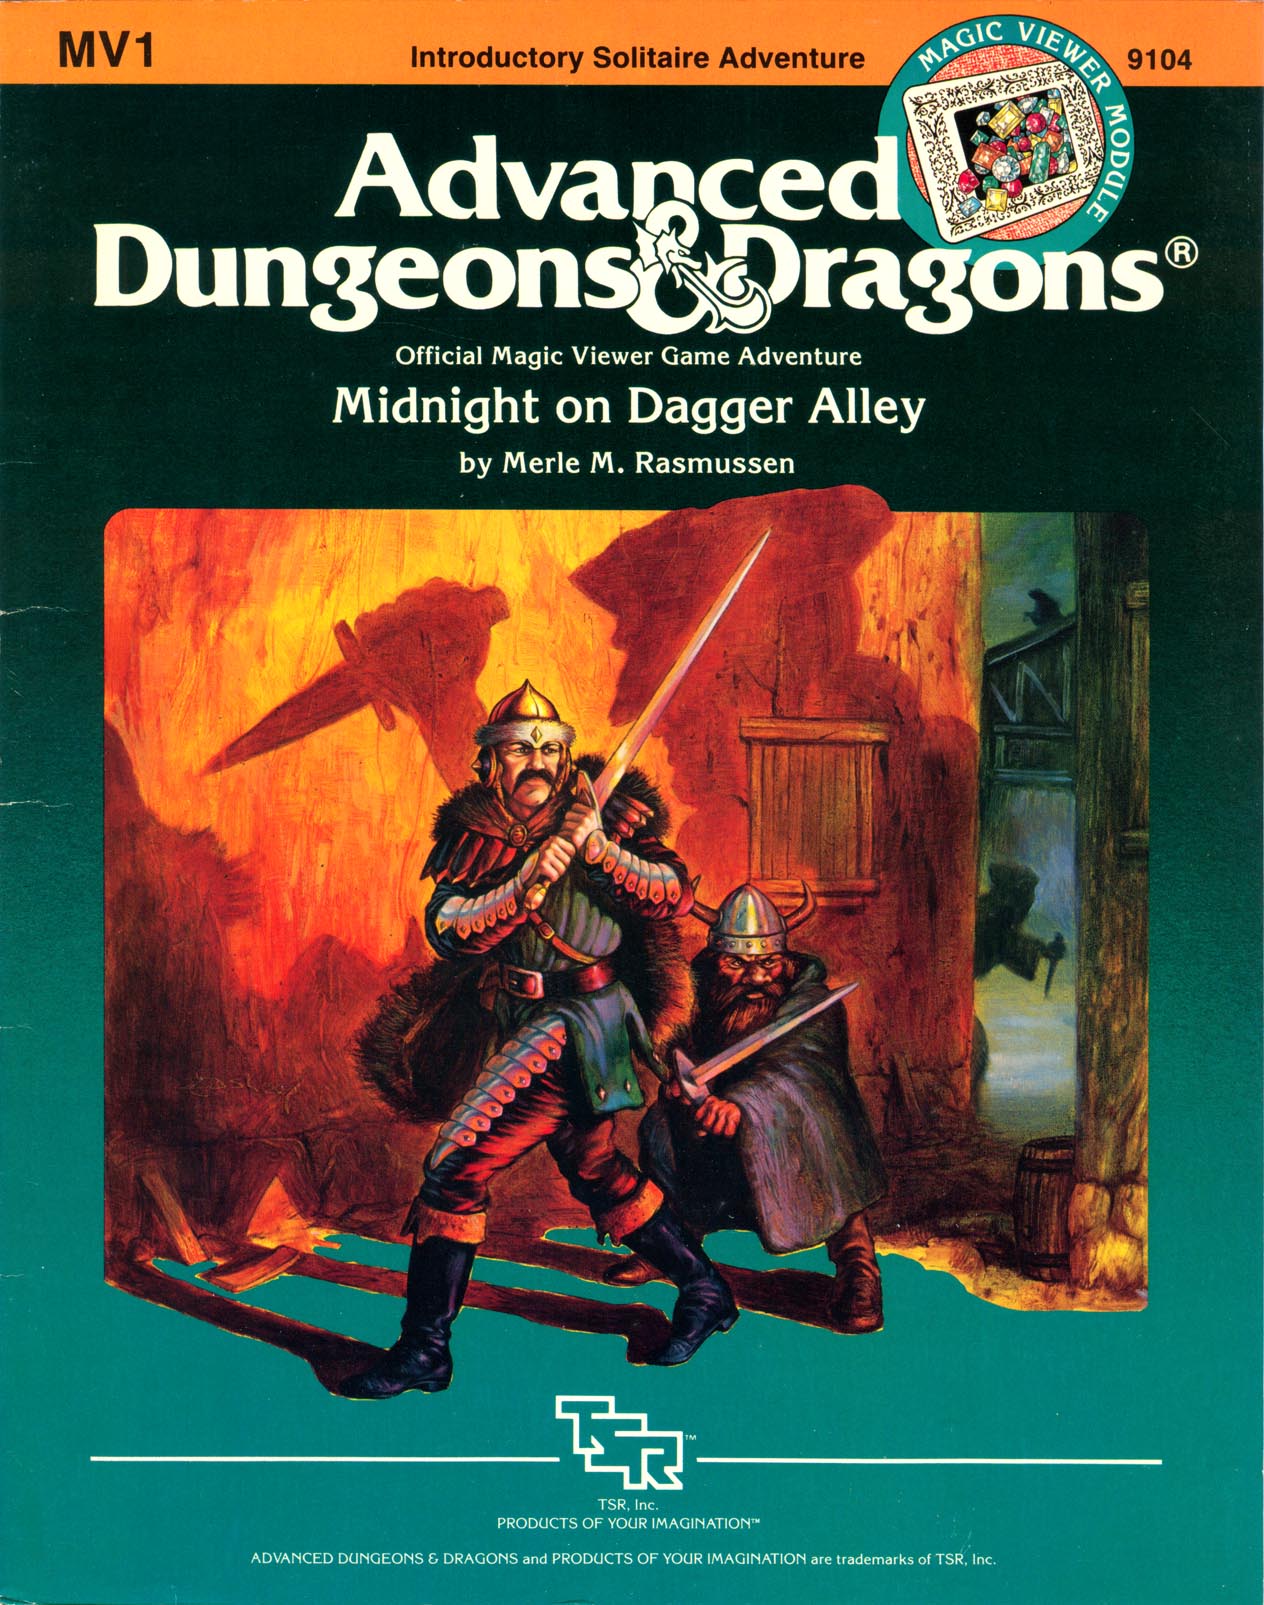
As darkness presses into the narrow, muddy alleys of Goldstar, silent shadows slip out of hiding. Now is the hour for cutpurses and cutthroats to creep into the night to do their work. Would-be victims bar their doors and lie sleepless in their dingy hovels waiting for dawn. Your task sends you into this dismal, dangerous place after sundown. No moon lights your steps as you scurry past yowling cats in smoke, fog-filled alleys. Above you and beneath you lurk unseen encounters. Somewhere ahead in the despairing gloom lies your goal, if you can survive Midnight on Dagger Alley. TSR 9104
The interrogation of the rogue wizard, Askalan, by the magocracy of Bemmea exposed his creation of unstable magical artifacts built in a ruined ley-line conduit. This Leystone, built by the mages of Vael Turog, had been dormant for centuries until Askalan discovered a way to power it. Now, after his untimely death, the Leystone's unstable power continues to grow at the edge of the Western Wastes. The magocracy hires the characters to find the awakened Leystone, uncover the mystery of this growing power, and return the source of the power to Bemmea for study.

While exploring for hints of the Kobolds lair, an unexpected plea changes everything. This is the fourth and final adventure in a miniseries with the following adventures being: A Chance Encounter The Mystic Circle An Urgent Rescue In addition to the adventure, there are a few of maps of the adventure area as separate jpeg files. There is also a printer friendly version of the adventure.

Your search for Volo’s key in Skullport has you playing a dangerous game between The Xanathar Guild, Bregan D’aerthe, and the Zhentarim. In the Port of Shadow, how do you know who you can trust when lives are on the line? Part Two of the Skullport Shakedown trilogy.
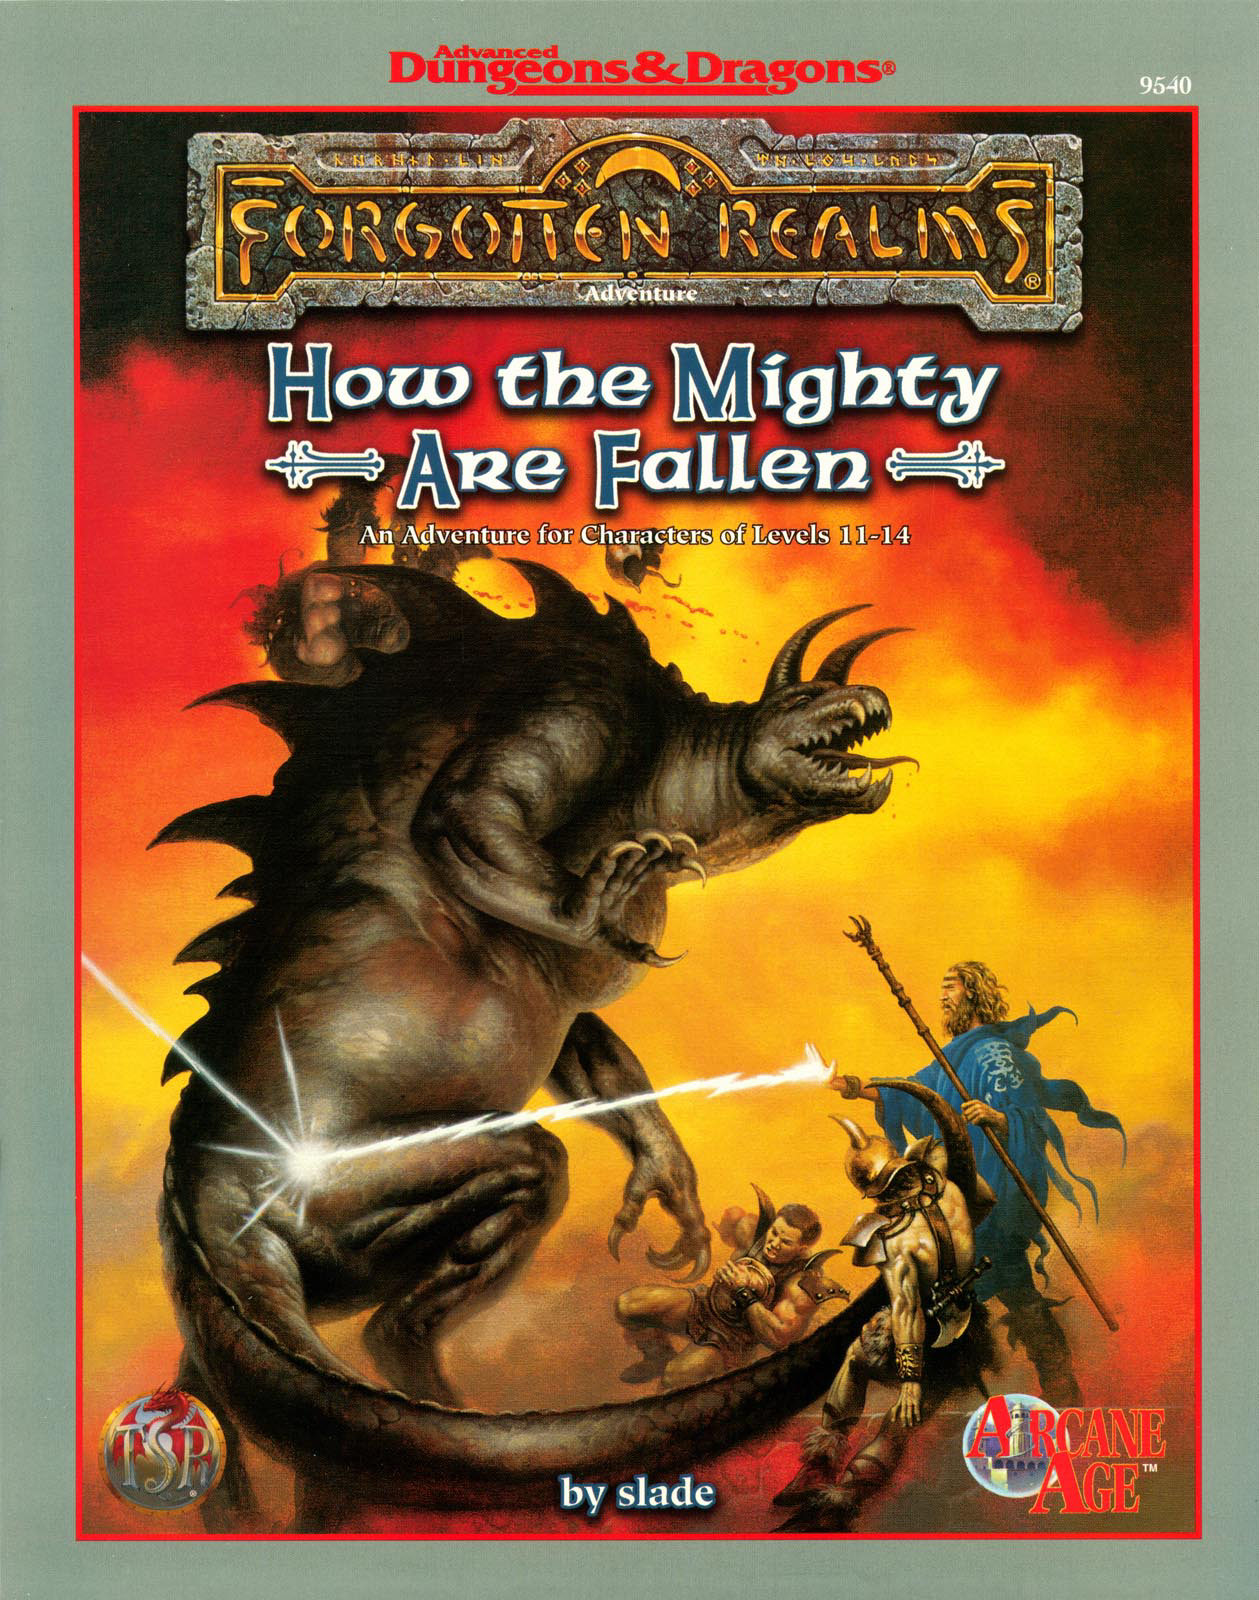
As the floating cities of Netheril hover peacefully in the air, the winds of intrigue boil all around them. The phaerimm continue to plot the downfall of the Netherese even as Karsus prepares for the casting of his greatest spell. Undead walk the land, driving orcs and humans before them. And somewhere below the greatest nation of Faerûn, the Tarrasque awakens from a long slumber. How the Mighty Are Fallen, is an adventure designed for use with the Netheril: Empire of magic boxed campaign setting (which is required to play this adventure). Within these pages, the final heroes of Netheril can : Gather the spell components, that Karsus requires for casting his "most wondrous" spell, the only 12th level spell ever known. He just needs a few body parts from two creatures - A gold dragon and the Tarrasque. Reuinte lost lovers after they have been separated by death. Nopheu's wife was killed in a magical explosions, and now he's finally saved enough money for her to be resurrected. Certainly a dead body couldn't pose a threat to a band of stalwart heroes?! Follow the winds of fate to wherever Tyche delivers them. Numerous side adventures allow players to take their characters to a variety of different locations. Some heroes might want to follow the trail of the missing nether scrolls, while others might want to join the resistance and fight Karsus and the other archwizards. But only the bravest hearts can take the first step... TSR 9540

"And they bade their slaves, 'Build unto us tombs to rival the palaces of the gods, for there shall we live or lives and sleep our deaths in splendor.' And the people of Maru-Qet wore their fingers down, broke their backs, burst their hearts to obey. Indeed they raised up great tombs to rival the palaces of the gods. And their masters were well pleased, for it was as gods they saw themselves." The brown dragon Urum-Shar lurks in a strange tomb, plotting schemes only a wyrm of incredible power could understand. Expanding on content from Draconomicon: Chromatic Dragons, this adventure takes the heroes into Urum-Shar’s dark and trap-filled lair, where they will eventually face the powerful dragon herself. The dungeon heavily employs the use of traps, with fewer monsters. The upper tomb consists of a great puzzle of twelve rooms, and the lower tomb contains the dreaded Urum-Shar, an ancient brown dragon and heir to the lost draconic empire of Maru-Qet. The dungeon has special protections against scrying and other divinations, as well as teleportation. Pgs. 55-90

Prince Zeech, the ruler of the town of Alhaster and lord of the domain of Redhand, is throwing a party. Bandits, slavers, pirates, and worse have been invited, along with a mysterious woman who holds the key to the coming apocalypse. "The Prince of Redhand" is the eighth installment of the Age of Worms Adventure Path, a complete campaign consisting of 12 adventures, several "Backdrop" articles to help Dungeon masters run the series, and a handful of poster maps of key locations. For additional aid in running this campaign, check out Dragon's monthly "Worm Food" articles, a series that provides additional materials to help players survive this campaign. Issue #340 of Dragon presents guidelines for what the PCs can do to dress to impress, and perhaps eke out a few precious bonuses on their Diplomacy checks. Pgs. 48-79

There is no night for faeries and the fey like Midsummer’s Eve, and the green woods hide many wondrous and magical things on the shortest night of the year. On this night, a group of curious villagers would be adventurers, perhaps wander into the forest and encounter the lonely rusalka, who asks for their help retrieving her lost heart before the night is done. Pgs. 7-14
:strip_icc()/pic2633965.jpg)
The Bunker transports the party from their starting hex to a destination 2 hexes away. It can be placed anywhere on the Purple Planet map that does not already contain a numbered encounter. It could be hidden beneath the fecund growth of the mushroom forests, lost in the broken lands, amid the Ancestor Peaks, or uncovered by a sand storm in the wastes.

Some games aren't played for fun. A friendly little gambling game - with the most bizarre players and rules! Pgs. 24-32

The fourth installment of the Filbar Dual (FD) series is The Hunt for Charon and picks up where the FD3 - Crisis at Marstan left off. Your pair of intrepid adventurers is off to find out who orchestrated the attack at Marstan. When the previous adventure concluded they discovered a note mentioning a “Charon” as behind the attack and the humanoid raiders. This adventure will see if the pair can find and defeat this person/humanoid and protect the area once and for all.

"... an Adventure to Challenge the Bold..." Screams echo in the night, the charred remnants of a village are mute by day. From the decaying lands of the Pomarj, slavers have struck again! The adventure that began in the Temple of Elemental Evil now sweeps southward across the Wild Coast and into the desolate lands of the inhuman Pomarj. Slave raiders scour the countryside, leaving death and destruction in their wake. Daring adventurers strike into the heartland of the foe to harry the villains and bring retribution and justice to the land. This product contains the completely revised Aerie of the Slavelords series of adventures. Also included are new challenges and new scenarios detailing the Wild Coast, the city of Highport, the blasted lands of the Pomarj and the Drachensgrab Mountains. TSR 9167

The Raiders’ Hideout is a series of underground chambers (or perhaps the interior of a pyramid) that serves as a base of operations for a band of gnoll desert raiders. The PCs have come to exact a measure of justice for recent brutal caravan raids. They’ve tracked the gnolls to their lair, where they intend to end the threat to desert trade once and for all. Pgs. 30-35