
At the request of a stranded djinni, you have three days to steal a diamond from the marbled, enchanted vaults of the Modern Artworks Museum. Investigate its defenses, disable magical wards, bamboozle the staff, battle a golem, and escape with the prize! A group that succeeds is rewarded with a single wish - the power to bring about almost anything you desire. Highlights of the adventure include (and are not limited to): - An alternate skill check system that keeps clumsy characters involved in the heist - A fight to the death with fantasy Botticelli's Birth of Venus - The Modern Artworks Museum, a trove of sculpture, frescoes and tapestries - Museum events: sketch and sip, a gala, seminars! - Museum brochure, including handy map and exhibit descriptions - A wish Clever and light-hearted, Diamond Heist adds brains and Renaissance style to any urban campaign. This adventure centers exploration, planning and roleplay. Players match wits against various spell effects, discovering and disabling magical wards to access their prize. A cumulative alarm level system replaces pass/fail steath skill checks, so one bad role doesn't ruin the heist. The artworks described are based on those of Renaissance Italy, with frescoes, marble sculpture, and haughty nobles aplenty. Content warnings: Death of a loved one, mentioned.

A fallen clock tower holds components from an ancient artifact. Upon discovery of the components, competing agents look to launch expeditions to uncover additional components scattered across distant places—and times. The now-lost Temple of Moloch and the construction site of the legendary Tomb of Horrors are two of those locations. However great the risks, finding the components demands the effort, for whoever does so can reassemble the fabled Infernal Machine of Lum the Mad!

Murder! Ripples of shock pour through the wee hours of the sleepy fishing shanty of Port Scuttle. An innocent young fishmonger, beloved by the locals, has been brutally murdered in her own shop. Stunned by the grisly act, the typically hardened townsfolk turn to powerful heroes to investigate the gruesome deed. Could the fishmonger’s recent discovery of a massive black pearl be a possible motive? The heroes’ goal is to not only bring the perpetrator to justice, but determine the twisted purpose behind the ghastly act. Concerned townsfolk decry that the evildoer must hang for his or her despicable crime. Yet when the heroes finally track down the murderer, he is already dead by the noose, and the investigation has truly only begun. Clues hint at even darker designs, as an ancient evil stirs to reclaim a once lost malevolent relic. Tackle the challenge of solving the despicable murder of an innocent, and thwarting the diabolical schemes of a powerful brine vampire. Th e adventure is set in and around a small fishing port located on the windswept craggy cliffs of an ocean. The author draws on two inspirations for this adventure: The Pearl, by John Steinbeck, and an unnamed adventure plot by the author’s astonishing wife, Lisa.
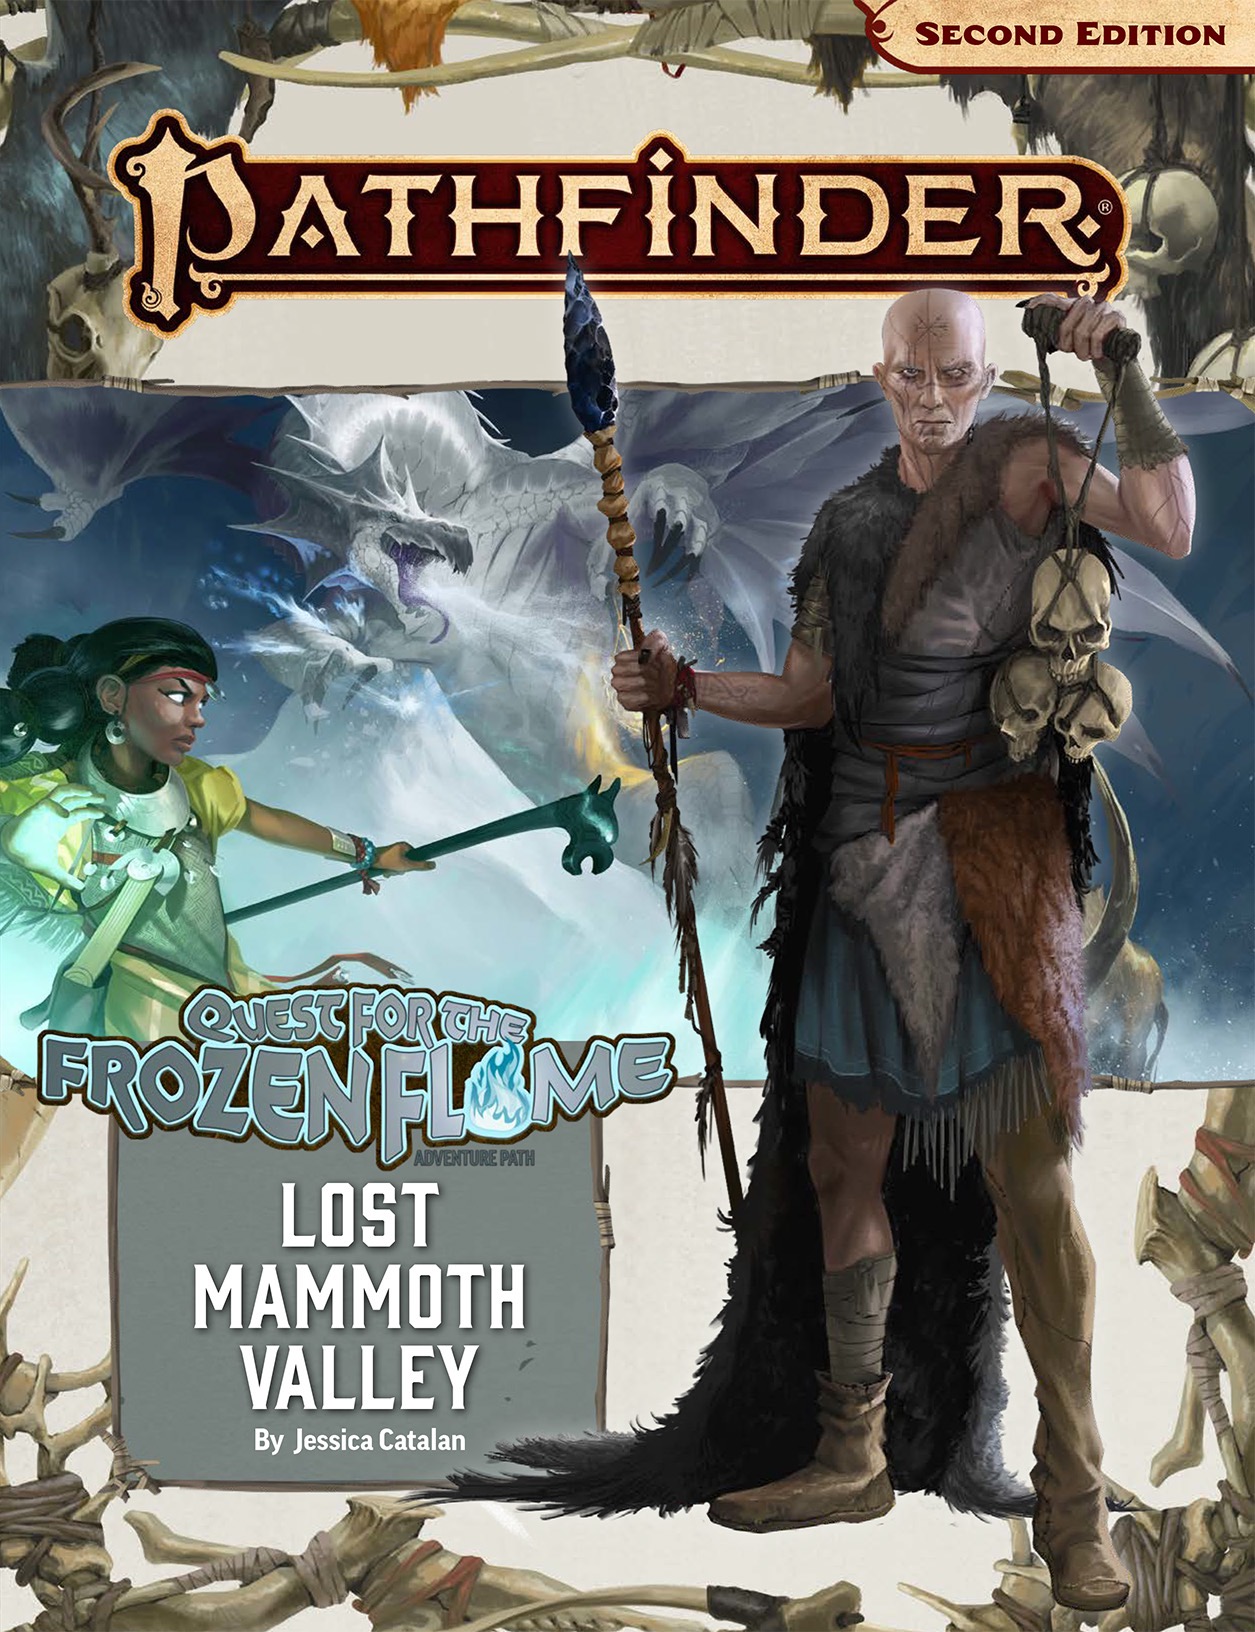
With danger close behind, the Broken Tusks journey through the bountiful but treacherous Lost Mammoth Valley in search of the Primordial Flame. The Tusks' scouts solve the riddles of the primordial valley and recruit a motley league of unlikely followers, all while evading the watchful gaze of the vale's villainous overlords. In order to fulfill their quest, the scouts must ultimately go toe to toe with these vile masters: a vicious white dragon, a sadistic necromancer, and a boarish beast-god. "Lost Mammoth Valley" is a Pathfinder adventure for four 4th-level characters by Jessica Catalan. This adventure continues the Quest for the Frozen Flame Adventure Path, a three-part monthly campaign in which the heroes lead a band of nomadic hunter-gatherers across a brutal primordial landscape. This adventure also includes an examination of megafauna, including advice and rules for creating your own new giant animals; a glossary of Mammoth Lords' depictions of Golarion's most popular deities; and new prehistoric creatures to befriend or bedevil your players. Each monthly full-color softcover Pathfinder Adventure Path volume contains an in-depth adventure scenario, stats for several new monsters, and support articles meant to give Game Masters additional material to expand their campaign. Pathfinder Adventure Path volumes use the Open Game License and work with both the Pathfinder RPG and the world's oldest fantasy RPG.

Zhentarim traders. Shadowy figures roaming the fields near Hillsfar. How do these all relate? Everything traces back to the recently unearthed grave-barrows. Rescuing a caravan from undead attackers, the adventurers learn of an ancient danger. An Adventurer's League Four-Hour Adventure for 5th-10th Level Characters.

The players get more than they bargain for when answering a night-time call for assistance from a mutual friend. Can they escape the githyanki prison known as the Crucible and find their way home from the Astral Plane? Designed for characters of 5th to 9th level, the Crucible can be played as a standalone one shot adventure, or as the first in a four part series of connected one shots that see the party fight their way to hell and back.
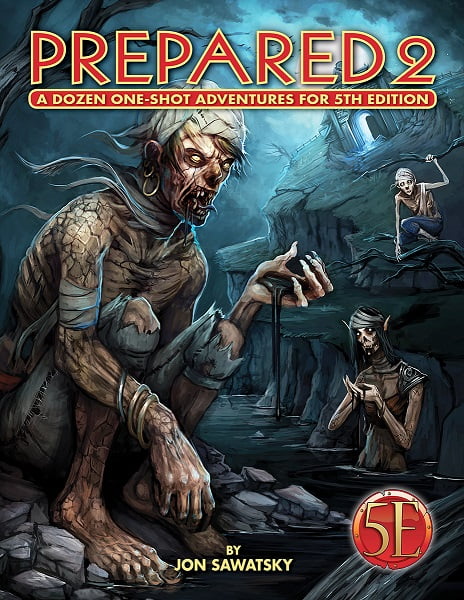
A small band of centaurs have seen their water source fouled by unknown magic. When word of their plight reaches the party, they embark on a day's travel to the centaur camp. Along the way, they encounter injured wildlife and panicked bugbears. Terrifying storms beset the region, raining down acid and oozes. Agreeing to investigate the small corrupted lake, the adventurers discover a long buried evil has awakened—bringing with it oozing undead. The party must navigate the wilds, face the ooze storms, and confront a reanimated warrior who betrayed her god.

Rumors of faceless demonic creatures have been steadily rising in the Hillsfar region, and it is said that far below the surface of Faerun, nestled in the bowels of the Underdark, ancient terrors are stirring. The imperiled drow of Szith Morcane have extended an intriguing offer, but can the drow be trusted, and for how long? An eight-hour adventure for 11th-16th level characters.

In this adventure for four to six 2nd level characters, you will search the Witchwoods for missing people, overthrow a tyrant, and bring peace and justice to a small frontier town by the name of Bromwich. The Biraven Chronicles are a series of three adventures linked together by an overarching plot. The campaign will take characters from 2nd level all the way to 10th level. FELL DEEDS IN FELFAIR GROVE revolves around the northern region of Biraven, a place called the Felfair Grove and will see the characters advance to 4th level. FELL DEEDS IN FELFAIR GROVE is a fully illustrated 54 PAGES adventure complete with maps, NPC portraits, and more. In it, you will find new monsters and new magic items. Furthermore, every creature encountered in this adventure is included in the appendix so you do not have to look elsewhere for monster stat blocs! FELL DEEDS IN FELFAIR GROVE is made for 5e. It is in its own self-contained setting, but can quickly be adapted to any setting.
What’s Included Gathering Darkness: Whisperwind is a self-contained 6-7 hour adventure for the 5e system and is meant for four or five 3rd-level characters. This premium module contains: A complete story, battle maps, and custom NPC stat blocks Random encounters for entering houses in a haunted village A new mechanic called Blight which affects creatures based on their exposure to the horrors of Whisperwind A table of Lingering Effects that reflect the influence of the Dark on Whisperwind’s inhabitants The is the first adventure in the Gathering Darkness Anthology. The Setting This adventure takes place in the cursed coastal village of Whisperwind, a place stuck in a perpetual state of twilight. Once a thriving hub for fishing and trading, Whisperwind now exists in a place beyond time and space. Those unfortunate enough to end up there can come from any plane and any period of time – past, present, or future. Not much is known about the cursed village. In fact, most people are not even aware of its existence, and those that have heard of it often believe it to be a fairytale created to scare children. What they do know is this: once you enter Whisperwind, you may never leave. What they may not know is that inhabitants of Whisperwind do not die of natural causes and may live forever if they are not killed by other means. Instead, prolonged exposure to Whisperwind can have radical effects on the body and mind. The strongest willed may be unaffected, while the weak may lose their minds or be consumed by the terrible sickness known only as blight… Your Mission Uncover the mysteries of Whisperwind, survive the horrors that attempt to drag you into the Dark, and escape alive with your sanity intact.

When a Thayan research expedition returns from the Glacier of the White Wyrm with only two survivors that are reduced to whispering about an ancient pyramid under the ice, perhaps it is time to discover just what scares the life out of a nation of necromancers. The events of DDEP2 Mulmaster Undone resulted in terrible geographic upheaval all around the southeastern region of the Moonsea. Massive landslides, earthquakes, tidal waves, and gnashing tornados devastated the land and the city of Mulmaster was nearly scrubbed from the face of Faerun. Fortunately, these events also revealed previously hidden artifacts—trinkets, mostly—from the ancient Netherese all around the city. The Thayans have long held an interest in the port city and wasted no time in assisting in the rebuilding efforts. They simply asked that a blind eye be turned to their archaeological interests, and in return they would continue to spend their own resources (at no expense to the Mulmasterites or even the High Blade) to rebuild the city, bigger and better than before. It wasn’t long before their interests paid off with the discovery of a research laboratory beneath the Glacier of the White Worm, far to the east of Mulmaster and nestled in the mountains. The Thayans sent a sizable expeditionary force but only two acolytes returned. The visiting Zulkir has found this particularly troublesome, and with the assistance of Rastol Shan, the head of the Cloaks, has arranged for a mercenary force to perform a more pointed investigation of the area. In return the Thayan noble has promised significant compensation. Upon arrival at the dig site, the characters are quick to discover that the laboratory hides ancient and palpable evil. The purpose of the facility can be discerned with careful investigation, and the effect of the still-active fragment of the Dark Obelisk has empowered (some may say attracted) servants of the Worm that Walks. Danger and death await, certainly, though the characters always have the option of running away and living to fight another day…

In the eastern desert stands the ancient tomb of Solomon III. Like all tombs, it is full of magical treasure and crawling with deadly creatures. But unlike other tombs, this one is screaming. Years ago, soldiers and wizards went in to silence the screams, and they succeeded, but they never returned. Now Solomon’s tomb is once again screaming out across the dunes, and no one knows why. Solomon’s treasure is still down there, but then, so is whatever is screaming. ADVENTURE TYPE: Small Linear Dungeon DESIGN NOTES: This adventure is intended for characters levels 5 to 7. It includes a desert wilderness area, an oasis, the tomb exterior, the tomb interior, and a cave system below the tomb to explore. Each area contains various NPCs, new monsters, old traps, shiny treasures, and strange magical items. There are many opportunities for (deadly) combat, and a few of them may be inescapable, but it is possible for players to have complex interactions and to experience very different consequences, depending on their choices. INCLUDES: Story hooks, dialogue prompts, creature stat blocks, dungeon overview map, and full-sized battle maps of each dungeon room that can be printed and used right on the table. KEYWORDS: Tomb, ghuul, ghoul, skeleton, ooze, demon, devil, thief, wizard, desert, sabercat, oasis, spider, viper

A slaver gang known as the Bloodreavers are terrorizing the countryside from their base deep in the labyrinth under Thunderspire Mountain. But these slavers are only the symptom of a larger threat in the bowels of Thunderspire.

Your search for Volo’s key in Skullport has you playing a dangerous game between The Xanathar Guild, Bregan D’aerthe, and the Zhentarim. In the Port of Shadow, how do you know who you can trust when lives are on the line? Part Two of the Skullport Shakedown trilogy.

Charasta, an old white dragon, has not reached her age by being unprepared or foolish she is, in fact, much more intelligent than most white dragons. Her lair is well defended and tailor-made to help her defend herself. Not only that, but when she leaves the caves to hunt she’s taken to using change self to disguise her exact color. This wily white makes a perfect foe for your party adventuring in the North of Faerûn or in almost any other campaign setting as well.
The party arrange for passage on a fast ship called the Silver Slipper. The good Captain Sara agrees to take them aboard for a reasonable fee. The voyage, however, is marred by strange events, and the crew begin whispering about a dark statue taken aboard as cargo. The statue is to be delivered to a port beyond the PCs' destination. When a fog rolls in one night, the ship is attacked by evil agents of a dark god come to claim the statue. In this nautical nightmare, the PCs must travel aboard the ship, interact with the crew, and save themselves from a boarding party of eldritch evil.

Jelendra, a tulani of summer, has gathered a small following of dark fey creatures to help her get revenge against the Highridge Arcane eladrin elders. When they had the nerve to question her interest (they called it “obsession”) in the destructive power of the Wild Hunt, Jelendra flew into a rage and stormed out of the Highridge Arcane. Now, she controls a fane to an ancient spirit of the Wild Hunt. Not knowing what became of her, the elders ask the adventurers to find Jelendra. “Let her know that she is missed, and we want her to return home,” one elder says. Pgs. 114-119

After beating back the forces of The Triad the party’s fame has spread. Jobs have come in droves but none seem to interest the group until a strange letter is delivered by a young courier. A historian named Nagel Littlestrom would like some bodyguards for a pending trip to a place called the Delo Ruins to the east. Certainly a few items can be located that would be of interest to the party…

Ever wanted to face the cold, dark, and dangerous unknown without the advantages of a fantasy hero? This is your chance! Fifth Edition Funnel puts a spin on character creation. In the Funnel, each participating player quickly generates several 0-level characters blessed with the abilities and low survivability of your average commoner. Those that survive will be promoted to 1st-level heroines and heroes. The Funnel bonds characters over common challenges they meet and (hopefully) overcome. The surviving 1st-level characters share a common origin as adventurers. Instead of merely rolling dice, there is a trial by fire where average people succeed against the odds to do something heroic (or hide under a table in a tavern).

Long rumored to be haunted by eerie specters, Kincep Mansion has stood for years, mostly untouched by nearby townsfolk. Now something is preying on the local villagers—something that comes from the house. Pgs. 46-69