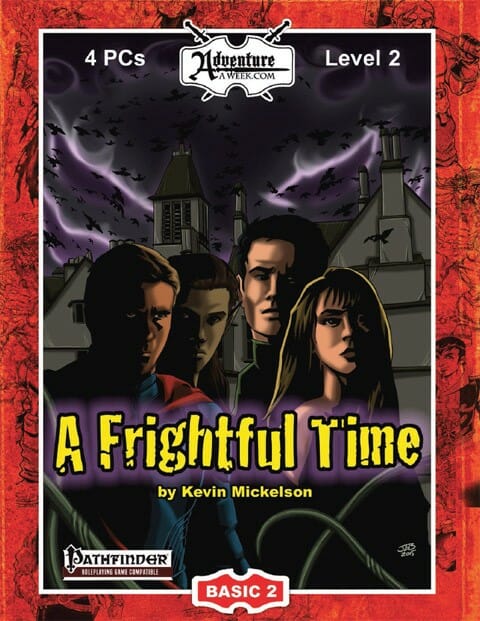
Fall into heroism! The young heroes from Exallizar Preparatory Academy are back for their second adventure – and this time, there’s no safety net. A nearby town has sent out a call for aid after a mad hermit has promised to spread untold misery during their yearly harvest celebration. Your group has been selected by the administration to answer that call, and act as representatives for the entire school! You dare not fail. “A Frightful Time” includes: The second leg of the adventure started in BASIC-1 The return of Ronus, Willow, Meeris, and Kale, fully upgraded to level 2 A new breed of monster that is sure to be an instant seasonal classic A grading system to let you know how well you’ve done at the end of the adventure Part of a series of seasonally thematic modules, BASIC-2 can be run to completion in 3-6 hours

Devastated in a war with a nearby wizards' school, the Fighters' Academy has since been surrounded by a foul and dank swamp - the Gloomfens. Since the climatctic battle between the wizards and fighters, the tower has decayed. The spirit of the head of the academy haunts the building, eternally plotting his revenge on the wizards who killed him. his loyal sutdents remain faithful to him even in death. Other foul undead have made their home in the rotting, spacious academy. From their lair, they make forays into farmsteads near the swamp in search of victims to feed their unspeakable appetites. The Problem of these terrible attacks by the savage undead will not stop until the evil that has found a home at the tower is burned from the face of the land forever. Will your party heed the call and help the town of Melinir? Will they be able to clear the former Academy of its undead? Lair of the Vampire Lord is the third in a three part adventure, The Haunted Tower. Or, it can be ran as a stand alone adventure. The choice is up to you. Part of TSR 1081 The Haunted Tower

Rumors of a rampaging sea monster have ground shipping traffic to a halt in the harbor. The players discover that the Jade Lionhas gone missing near Skyhorn Lighthouse and learn they must brave the open seas and cutthroat enemies in order to save the crew from a murky fate! The Secrets of Skyhorn Lighthouse is an adventure for 5th-level characters. It includes: Four new monsters: eelfolk, eelfolk hunter, eelfolk scourge, and eelfolk stormcaller Negotiations with pirates, underwater combat, and shark attacks! A carefully crafted format to make running the adventure easy and customizable Combat cards for each monster, PC, and special treasure Digital maps for use with Virtual Table Tops

Soburin’s human nobility are not the only rulers that are in need of outside agents since the corrupting fogs reappeared; even oni warlords have found the Mists of Akuma to bring challenges, obstacles, and threats beyond their ken. Yona, the undisputed master of the secret city of Tsukisasu, lost control of her throne only a few weeks ago to a strange creature that capered out of a storm intermingled with the supernatural haze, and her agent Xiqzoxix is keen to remove the usurper as soon as possible. The PCs are the group ze has chosen for this momentous task and should they accept the oni bengoshi’s offer, a deadly set of trials await them on top of the mountain—though the longer they dally, the more powerful their adversary grows. To defeat Obiemashita the party will have to first find Tsukisasu, covertly investigate the town, and then disrupt the yai sovereign of storm’s rituals and slay it before all hell breaks loose, spilling untold violence down onto the already embattled lands of the prefectures below! Will you conquer Tsukisasu or be subsumed by the storm? In The Yai Sovereign of Storms you’ll find… A monstrous adventure set in Mists of Akuma, an eastern fantasy noir steampunk campaign setting for the latest edition of the world's most popular roleplaying game The secret monstrous city of Tsukisasu and a collection of its oni citizens 2 maps by cartographer Mike Myler: the hidden settlement of Tsukisasu as well as Yona’s Fortress The Mists of Akuma themselves and the new misted condition 2 new attributes to posit the unique aspects of the campaign setting in the minds of your players: Dignity and Haitoku The adeddo-oni template and 10 new monsters: adeddo-oni hunchlings, adeddo-oni samurai, adeddo-oni ninja, gaki, hebikontorra, monsuthant, tikbalang, Xiqzoxix the oni bengoshi, the Katana of Rizushi Kantaro, and the Yai Sovereign of Storms Obiemashita

Your search for Volo’s key in Skullport has you playing a dangerous game between The Xanathar Guild, Bregan D’aerthe, and the Zhentarim. In the Port of Shadow, how do you know who you can trust when lives are on the line? Part Two of the Skullport Shakedown trilogy.

Burial in Baldur's Gate is a 6-8 hour Dungeons & Dragons adventure for characters of levels 1-2, for use as an introduction to Baldur's Gate: Descent into Avernus or as a standalone module. A simple errand to help a friend reveals a mystery that will lead the characters to a grisly charnel house and the cults of the Dead Three. This is why you never do anybody a favor in Baldur's Gate. The adventure has everything you need to start a new campaign in Baldur's Gate, including: - a new adventure hook for Descent into Avernus - two short introductory dungeon crawls in the Lower City - notes for transitioning into Descent into Avernus - new motivations for characters to continue on to Avernus - four creature and NPC stat blocks, including the carrion crawler larva - a map pack with two maps by Dyson Logos Burial in Baldur's Gate also includes suggestions for combining this adventure with Escape from Elturel if you want to run a mixed party of characters from Baldur's Gate and Elturel.

For the past 5 years this elven village has been plagued by undead creatures of the nearby swampland. The undead are consisted of unlucky elf villagers or travelers who were foolish enough to walk through the swampland. It is unknown how the undead appeared in the swampland in the first place, but it is rumored that a demonic entity has found shelter in a cave inside the dark forest next to the swampland and it is being worshipped by necromancer cultists. This adventure is for parties no larger than 5 characters and no higher than level 5.

Figgy Puddin' Steals Christmas is a short adventure for three to six characters, and optimized for 2nd level characters. We also include Scaling Suggestions, allowing you to run this adventure for lower- or higher-level characters. We anticipate a run-time of 2- to 4-hours. There's a bit of roleplay in this adventure, which may extend the playtime. Adventure Background A traveling jester known as Figgy Puddin’ and her Coal Smudge Gang have stolen Christmas presents and now hold them for ransom. While safe and secure in her lair, she awaits either a payment of an outrageous ransom, or a crew of heroes to claim the presents after they navigate her not-so-festive lair. What's the Adventure? After you introduce the hook, the adventure occurs in Figgy Puddin's lair - a refurbished kobold bunker consisting of eight rooms. As the characters explore the linear dungeon, they encounter new creatures, complete challenges, and are tested about their Christmas knowledge. However, the final confrontation with the naughty Figgy Puddin' could make for a very Unhappy and Unmerry Christmas for our heroes, the children of Thistleton, and their parents. Who Is Figgy Puddin’? Figgy Puddin’ was once a happy jester who loved Christmas. For years she traveled the realm, bringing fun and festive cheer to villages and children while preparing the way for Santa. However, times have become tough, and entertainment doesn’t always pay as well as one would like. As Figgy prepares for retirement, she’s learned she doesn’t have enough gold to last. During this time, she’s also decided that Santa doesn’t know who she is, let alone appreciate the work she puts in every year. Using her savings, extortion, blackmail, and other nefarious means, she’s convinced several mechanical geniuses and arcane specialists to help her refurbish her underground bunker with wondrous effects, creatures, and tests. To fund her retirement, she’s taken extreme measures to make some quick gold — holding Christmas presents for ransom.

This deluxe adventure takes heroes into the ruins of Gardmore Abbey, a monastery that was once the base of a militant order of paladins devoted to Bahamut. According to legend, the paladins brought a dark artifact back from a far crusade and stored it in their abbey for safekeeping, and evil forces gathered to assault the abbey and take it back. What the legends don’t tell is that this artifact was actually the Deck of Many Things, a force of pure Chaos. This adventure brings characters into the extensive dungeons beneath the ruins - dungeons that are warped and twisted with the raw forces of Chaos surrounding the cards of the deck.

Take the adventuring party on a journey through a nasty, smelly swamp as they follow an exotic map which (they hope) leads to a grand treasure. Unknown hazards, NPCs, adventure, and creatures stand between them and the X that 'marks the spot' on the map. This adventure includes: •Custom art •8 hand-drawn maps (color and black & white included) •3 new creatures •1 new magic item •Includes a printer-friendly version of the adventure. Into the Belly of the Beast runs smoothly as-is, but an additional 8 encounters are included. These encounters can be used to lengthen the adventure, or they could used separately and added to your own campaign.

The party seeks out Commodore Krux at the Happy Beholder. After speaking with the patrons, the party learns that Krux has disappeared and gets a lead to check out his ship, the Second Wind. At the ship, the party learns from Fel Ardra and Flinch that Krux is being held prisoner by the Amoebros in a cave on the underside of the Rock of Bral. The party infiltrates the Amoebros’ lair, gets past the guards, and learns of the animal experimentation performed by the gang. In a final climactic scene, the party rescues Krux from Ripples, the wicked boss of the plasmoid gang.

A storm brews on the cliffs, and thunder takes wing. Near a remote coastal village, livestock vanish and tempests rage without warning. Locals whisper of a legendary beast: the Stormwing—a massive eagle wreathed in lightning, said to nest high among the windswept cliffs. But is the creature truly a menace… or merely a misunderstood force of nature? Dare your party scale the perilous cliffside, brave elemental hazards, and confront the Stormwing atop its thunder-blasted perch? Inside This Adventure: ✅ A lightning-charged dungeon crawl through cliffs, caves, and stormy ledges. ✅ A dramatic final encounter with the Stormwing—can your party fight, negotiate, or outwit it? ✅ A thunderous environment with gusts, static surges, and dangerous terrain challenges. ✅ Unique rewards, including the Gloves of Conducting, a magic item that crackles with power. ✅ Multiple adventure hooks for easy campaign integration. This adventure is part of Thirsty Tiger Tales, an ongoing collection of thrilling one-shots for D&D 5e! Perfect for a one-shot or a side quest in any elemental, coastal, or storm-themed campaign. Pay What You Want until the end of May! Suggested price: $1.00 Will your party tame the skies—or be cast down by the storm?

5e Solo Gamebooks presents Drums at Daggerford, the fifth in our continual series of solo adventures set in the Forgotten Realms. This quest enables you to experience D&D without a dungeon master! Simply roll up a level 5 PC and get playing. Drums at Daggerford is the way you must experience solo adventuring. Players and DMs beware, a new standard has been set. This solo adventure continues the story arc first begun in Death Knight’s Squire, developed further in Tyrant of Zhentil Keep & Citadel of the Raven, and left in The Tortured Land. Drums at Daggerford’s ability to echo a Tolkien spirit reverberates throughout the narrative no matter which path you may choose. But choose wisely because a razor’s edge separates peril from glory. Over a year in the writing, this latest instalment in our solo adventure series is a mini sandbox campaign that will give you anywhere up to 8 hours of solo adventuring enjoyment. Completionists and those who like to replay these adventures will get even more gametime. There are mysteries to be uncovered, items and sidekicks to be gained, codewords to unlock and villains to conquer! With lots of exploration, meaningful decisions, hard fights, and a variety of rewards and stories, Drums at Daggerford will continue to resonate with you long after solving the big mystery behind Krond Vikkurk’s malevolent plans.

At the behest of Orcus, Demon Prince of Undeath, a mighty deathpriest hierophant has begun assembling a powerful strike force. He intends to launch the first of many assaults on the world, readying it for his master’s arrival. With the help of potent allies and grand rituals, the PCs have discovered a route to the Abyssal headquarters of this hierophant. This delve begins as the PCs teleport from the world to the first of a complex of interconnected chambers deep in the Abyss, linked only by portals. Pgs. 126-131

The nefarious master wrestler Dib, the goblin, is "terrorizing" the streets of the town (or city). Since his defeat in his roadside fortress, the would-be chieftain has plotted his revenge. Gathering to him a new batch of dim minions, Dib has transformed a stolen merchant wagon into a machine of war. The wagon is powered by several goblins inside who, while devoted to Dib, lack the strength to pedal the thing quickly or consistently. Dib's plan to wreak a path of havoc through the streets has resulted in something a bit more disappointing. In this light-hearted and quirky adventure for four first- or second-level PCs, the party must confront the war wagon, gain entry to it, and defeat its defenders—the lives of several potted plants and a few market stalls depend on it!
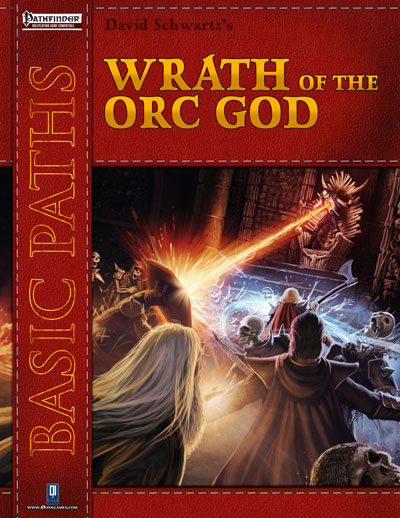
In the town of Gafolweed, the market is in disarray: toppled barrows and collapsed tents spill their contents onto the muddy ground. Merchants and locals flee the scene as you arrive. In the midst of the destruction stands a muscular, green-skinned humanoid—an orc! Three bodies lie near his feet, the victims of his bloody axe. He turns to you, a vivid red tattoo of a bleeding eye prominent on his brow. The orcs are gathering in numbers unseen in many generations and make war upon the people of the Borderlands. The cause of this deadly conflict is entwined with the history of the unholy mark that all the orcs now bear. Will your fellowship of budding heroes be able to quell the Wrath of the Orc God?

A slaver gang known as the Bloodreavers are terrorizing the countryside from their base deep in the labyrinth under Thunderspire Mountain. But these slavers are only the symptom of a larger threat in the bowels of Thunderspire.
We get it. Factions are an integral part of D&D, but it's not always clear how to use them in your campaigns. Luckily, Factions of Sigil has you covered for each of the twelve main factions found across Sigil and the Outlands! This supplement goes over the various rules and lore around the primary factions found in Sigil and the Outlands, making it easy for any new or veteran DMs to integrate the factions more into the core stories being told, and making them feel more useful for the players that choose to join. In this adventure, the Heralds of Dust in Sigil ask the characters to investigate and end the disappearances in secret crypts under Sigil.

Figgy Puddin' Steals Christmas is a short adventure Designed for use with Shadowdark RPG. The adventure is designed for three to six characters of low to mid experience. The anticipated run-time is 2- to 4-hours. There's a bit of roleplay in this adventure, which may extend the playtime. Adventure Background A traveling jester known as Figgy Puddin’ and her Coal Smudge Gang have stolen Christmas presents and now hold them for ransom. While safe and secure in her lair, she awaits either a payment of an outrageous ransom, or a crew of heroes to claim the presents after they navigate her not-so-festive lair. What's the Adventure? After you introduce the hook, the adventure occurs in Figgy Puddin's lair - a refurbished kobold bunker consisting of eight rooms. As the characters explore the linear dungeon, they encounter new creatures, complete challenges, and are tested about their Christmas knowledge. However, the final confrontation with the naughty Figgy Puddin' could make for a very Unhappy and Unmerry Christmas for our heroes, the children of Thistleton, and their parents. Who Is Figgy Puddin’? Figgy Puddin’ was once a happy jester who loved Christmas. For years she traveled the realm, bringing fun and festive cheer to villages and children while preparing the way for Santa. However, times have become tough, and entertainment doesn’t always pay as well as one would like. As Figgy prepares for retirement, she’s learned she doesn’t have enough gold to last. During this time, she’s also decided that Santa doesn’t know who she is, let alone appreciate the work she puts in every year. Using her savings, extortion, blackmail, and other nefarious means, she’s convinced several mechanical geniuses and arcane specialists to help her refurbish her underground bunker with wondrous effects, creatures, and tests.
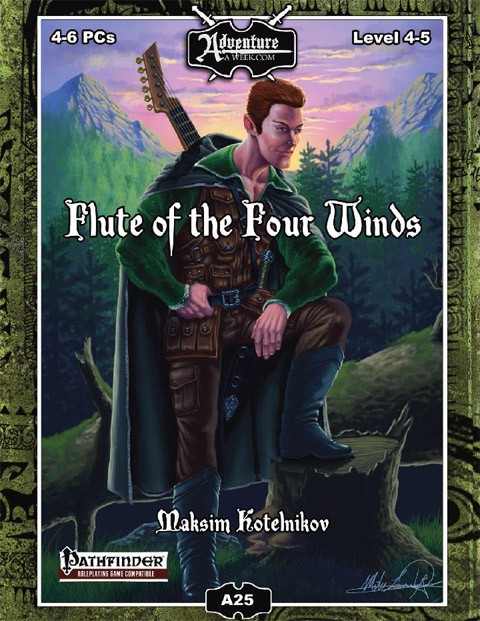
The majestic tree of the Four Winds grew in the forest west of the village of Rybalka, revered by the Vikmordere druids of the Snoqua tribe for its power to control the weather and hold balance with nature. When the Klavek Kingdom invaded the area, a powerful druid named Manahzo transferred the essence of the tree into a magical flute to keep its power safe from the threat of the militaristic Empire. Entrusted with the flute by the Snoqua, he and his wife sought to hide the flute from the reach of the invaders. As they fought the Klavek military they found themselves forced into an old cave system in the mountains of the Vikmordere Valley where they faced not only the Klavek soldiers, but ancient primal horrors. While Manahzo kept the flute out of the invaders hands, he lost his wife in the battle. Manahzo now seeks revenge on the Klavek Kingdom and its citizens located in the village of Rybalka. The PCs find themselves in the midst of an attack on Rybalka by Manahzo and a group of rogue Snoqua warriors. They must fight beside the citizens of Rybalka to repel the attack, and then seek out the Snoqua to find a means to deal with Manahzo and his rogue companions. In the forests outside Rybalka they will face a demonic wolf ally of Manahzo’s before finally engaging him in a direct battle as he executes a final attack on Rybalka. Even if the PCs succeed in defeating Manahzo, the threat does not end as his thirst for vengeance continues even after his passing in the form of haunt on the village. Directed by the Snoqua on how to end the haunt, the PCs must venture to the caves where Manahzo’s wife died to confront the ancient horrors that were responsible for her demise and recover her body in order to give her a proper burial to calm Manahzo’s vengeful spirit once and for all and bring peace to the village of Rybalka. Also included in “Flute of the Four Winds”: Roleplaying opportunities to interact with various NPCs in Rybalka, the heart of the Aventyr campaign setting Two new monsters – The hive-minded Tunnel Horrors and their carnivorous primal kin, the Anglers High resolution encounter maps in a new location, the coal mines north of Rybalka