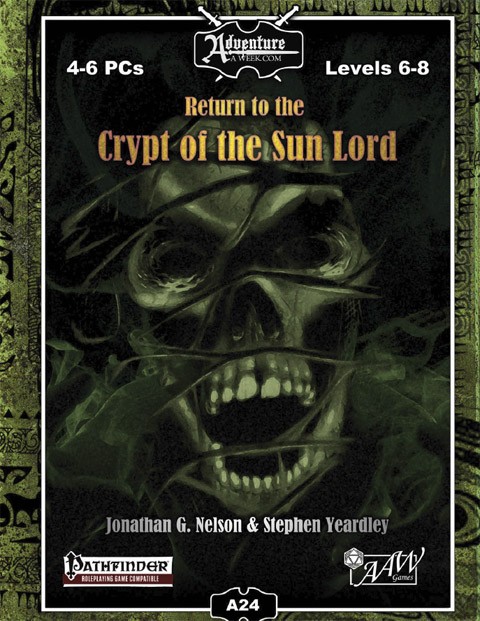
The temple bells rang out, their crystal hollow-overtones calling gently to the dispersed worshipers dwelling within the underground sun temple. The Temple of the Sun was itself an enigma, a place dedicated to the sun but hidden far underground, shielded from the mighty rays of the light of life, forced to do so for both secrecy and protection. Internal holy radiance was the heart of the temple, bathing Flaesuros' children with the light of the holy orb of light, emanations from a Sliver of the Sun, an actual piece of the massive orb of life above; this was the logic behind the temple's secrecy, her many levels of protection and traps, the reason why priests who fervently revered light now clung to the shadows. This adventure includes: Puzzles to keep your players engaged and inspired New monsters including the Skeletal Ash Beast Ancient runes which can be used to solve puzzles and advance in the crypt A new magic item which may be donned by a single PC to great effect An artifact which has the potential to either change the world or destroy it
![Cover of D&D Encounters Season 03 - Keep on the Borderlands: A Season of Serpents [Chapter 1-5]](https://www.drivethrurpg.com/images/44/121468.jpg)
At Restwell Keep, you've heard that fortune and glory await those bold enough to brave the dangers of the Chaos Scar, a valley carved ages ago by a fallen star. The same tales warn that this Chaos Scar draws wickedness to it. Perhaps you can help stem this tide... and gain treasure along the way. While the location is a different keep, this adventure is an homage to B2 Keep on the Borderlands(https://adventurelookup.com/adventures/b2-keep-on-the-borderlands)

It all begins with a simple request (doesn’t it always?) from an old farmer. The request – protect his cattle herd from vicious wolves. Simple enough for the brave adventurers, right? But it doesn’t stay that way. Not at all. Soon, the adventuring party will find themselves in the thick of it as they solve puzzles, avoid traps, fight for their lives, and endure witty taunting. And in the end, they discover an artifact that may, or may not, be useful to them. This adventure includes a cursed shield, a new undead creature, and a new artifact. Total party experience earned is approximately 14,500.

A City on the Brink of War Missing for decades, the Crown of Neverwinter, symbol of the former ruling family, has emerged at last. Yet not all are pleased with the crown's reappearance. Beset by rebels and plaguechanged, Lord Dagult Neverember must hire a group of adventurers to track down the so-called Lost Heir and discover his intentions for the city. The stakes are no less than the lives of the citizens of Neverwinter, for if the heroes fail, Neverwinter seems doomed to descend into civil war.
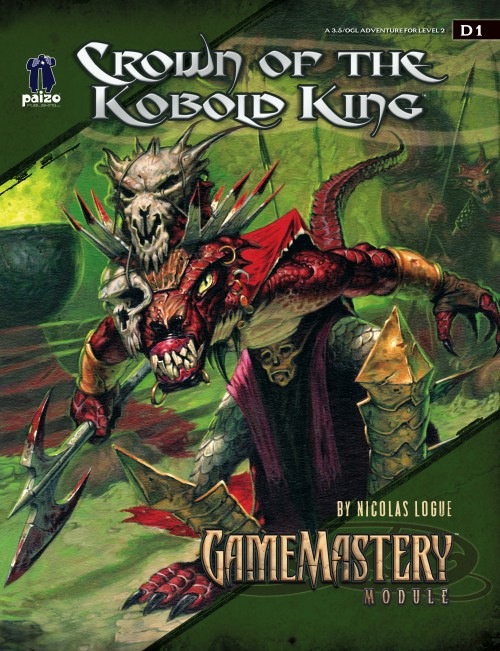
The crown of the kobold king will be anointed in blood. Five children from the town of Falcon’s Hollow have gone missing, dragged off into ruins underneath a cursed dwarven monastery. Soon they will be sacrificed to the crown, all to the glory of the twisted King of the Kobolds. If they are to be saved from this gruesome fate, brave heroes must follow their trail to the monastery and plumb the depths of its trap-laden and monster-infested halls.

In this adventure for four to six 2nd level characters, you will search the Witchwoods for missing people, overthrow a tyrant, and bring peace and justice to a small frontier town by the name of Bromwich. The Biraven Chronicles are a series of three adventures linked together by an overarching plot. The campaign will take characters from 2nd level all the way to 10th level. FELL DEEDS IN FELFAIR GROVE revolves around the northern region of Biraven, a place called the Felfair Grove and will see the characters advance to 4th level. FELL DEEDS IN FELFAIR GROVE is a fully illustrated 54 PAGES adventure complete with maps, NPC portraits, and more. In it, you will find new monsters and new magic items. Furthermore, every creature encountered in this adventure is included in the appendix so you do not have to look elsewhere for monster stat blocs! FELL DEEDS IN FELFAIR GROVE is made for 5e. It is in its own self-contained setting, but can quickly be adapted to any setting.

Things are not always what they seem in the cursed forest near Wardenwood village. Can the characters hold back the primal forces of evil and keep innocents from losing all they hold dear? The Curse of Wardenwood is a deep woods horror adventure for 7th-level characters. It's a one-shot that takes about 3-5 hours to complete and includes: -A sadistic witch, a prowling werewolf, and a surprise twist -Four new monsters that stalk the haunted woods -Combat cards for each monster, PC, and special treasure -High-quality digital maps for use with virtual table tops
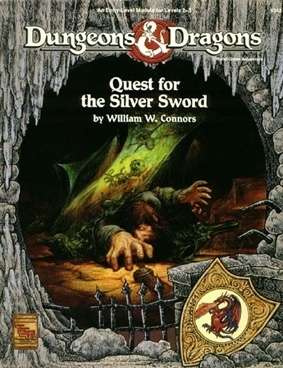
A group of beginning adventurers sets out to help the small town of Torlynn. This village has mysteriously fallen under a dreadful curse, a curse that has locked the area in a terrifying state of perpetual winter. The Burgomaster of Torlynn has discovered that the creature responsible is hiding in the ruins nearby, but he has been unable to do anything about it. Everyone he has sent to investigate has thus far failed to return. TSR #9342

You come across a poster for a novelty stage act, and the performer looks exactly like...YOU! They're using your name, and your face! Worse still, their performance is OUTRAGEOUS! You need to put a stop to this, your reputation is at stake! This is a one-to-one adventure designed for one player of the bard class and one DM.

Laugher’s Gorge occupies a stretch of the canyon that runs through the local badlands, named for the haunting laughter that occasionally erupts from its depths. When travelers using the road past the gorge become infected with cackle fever, it’s up to the party to find out what’s causing the mysterious laughing sickness. Though they find a pack of gnolls infesting the canyon, it’s no joke when they discover who (or what) is pulling the strings! Laughter and humor are central themes in No Laughing Matter. The players are met with the will of a prankster god, riddles to solve, and may be forced to come up with some jokes of their own. But this isn’t an adventure to take lightly. If the party underestimates Laugher’s Gorge, they may find themselves infected with cackle fever… and there’s nothing funny about that! Dungeons on Demand is a line instant dungeons you can drop into your campaign, each is designed for 4-5 player parties of specified levels, and each dungeon is complete with a back story, hand drawn maps, traps, puzzles, and reference information to monsters and treasure. You can customize each one to fit in your campaign however you wish, and each one can be played through in one or two gaming sessions.

The Zhentarim ask the party to investigate what happened in one their most important underdark outposts. If the party accepts, they'll have to deal with maddening darkness, grimlocks, an insane kenku assassin and unpredictable mixtures of potions. A short, fun dungeon romp that is easily adapted to other settings and other patrons. The combination of utter darkness and a villain based on sound makes for fun shenanigans on the side of the DM. Feasible as a one shot for an efficient party. Two tendays ago, Zhentarim agents were to transport a shipment of rare potions between their Underdark outpost and the surface world. The shipment has yet to arrive, and the outpost is not responding to any sending spells. Growing worried, the outpost’s overseer sends a group of hireswords to investigate and return it to Zhentarim hands. This particular adventure deals with the delusions of madness of Fraz Urb'luu. It also features Muurmic, the mad kenku first described in the December 2015 issue of Dragon+.
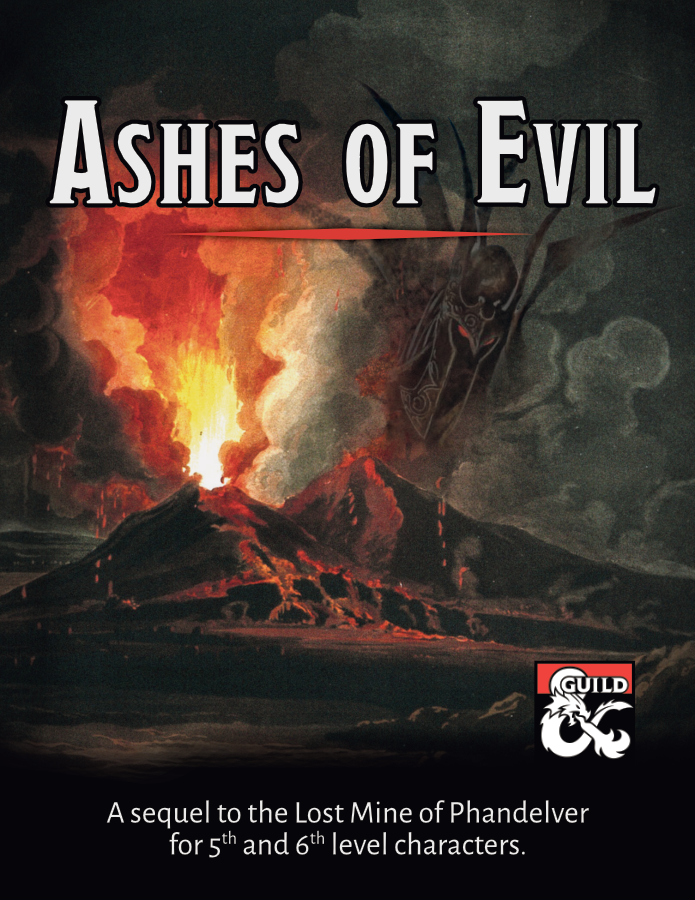
A sequel to the Lost Mine of Phandelver adventure for 5th and 6th level characters. An ancient forgotten evil threatens the Sword Coast once again! Our party of intrepid adventurers returns to Phandalin and Wave Echo Cave for what is at first glance a rescue and exploration mission. Prospectors for the Rockseeker mining concern have disappeared deep inside the flooded caverns that give the cave its name. The peril extends much deeper than mere lost explorers though, as the party stumbles upon an ancient, long-forgotten struggle between good and evil. Inexplicable cultists hide in ambush at every turn. A risky raft ride through treacherous underground waterways leads to an ominous discovery. Ancient ruins tell a story of the terrors of the night and a noble alliance sworn to fight them. A search for a powerful weapon of light leads the party on a mind-blowing, sky-high ascent into the unknown. Then, a whirlwind of danger: A rumbling volcano. Legions of undead. A desperate battle for the survival of the region. This adventure was designed as part of “The Next Adventure” Design Jam at the DMs Guild. It works best for a party that has just completed the Lost Mine of Phandelver adventure, but it can easily be inserted into any campaign. It is designed for a party of four to six 5th or 6th level characters and, based on playtesting, will take an average of about 3 sessions to complete.

In the eastern desert stands the ancient tomb of Solomon III. Like all tombs, it is full of magical treasure and crawling with deadly creatures. But unlike other tombs, this one is screaming. Years ago, soldiers and wizards went in to silence the screams, and they succeeded, but they never returned. Now Solomon’s tomb is once again screaming out across the dunes, and no one knows why. Solomon’s treasure is still down there, but then, so is whatever is screaming. ADVENTURE TYPE: Small Linear Dungeon DESIGN NOTES: This adventure is intended for characters levels 5 to 7. It includes a desert wilderness area, an oasis, the tomb exterior, the tomb interior, and a cave system below the tomb to explore. Each area contains various NPCs, new monsters, old traps, shiny treasures, and strange magical items. There are many opportunities for (deadly) combat, and a few of them may be inescapable, but it is possible for players to have complex interactions and to experience very different consequences, depending on their choices. INCLUDES: Story hooks, dialogue prompts, creature stat blocks, dungeon overview map, and full-sized battle maps of each dungeon room that can be printed and used right on the table. KEYWORDS: Tomb, ghuul, ghoul, skeleton, ooze, demon, devil, thief, wizard, desert, sabercat, oasis, spider, viper

Sarkt is an illithid sorcerer. It was cast out of its community for its heretical studies (Sarkt was in fact, lucky to escape alive). It didn't take the cunning creature long to pick up a few thralls and find a new place to live, safe from the murderous intentions of its companions. Sarkt dwells in the subterranean ruins of an ancient shrine to Blibdoolpoolp, the crustacean-headed deity of the kuo-toas. This shrine lies on the fringe of a region controlled by kuo-toas, but since Sarkt's arrival, the fishmen avoid the area. A few unfortunate kuo-toas now serve Sarkt as thralls and maintain the illusion that the shrine serves Blibdoolpoolp. Pgs. 82-88
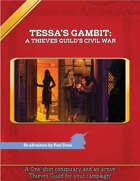
Mystery, intrigue, infiltration. The inner politics of an active thieves Guild. The Thieves Guild Fence, Tessa, knows the head of her Guild is trying to kill her. But there is more at stake than their lives, the very soul of the Guild is in peril. Tessa turns to a party of adventurers to find evidence of the Guild Master's betrayal, uncover his shadowy benefactor, and support her in an All-Masks meeting to determine the fate of the Misbegot Thieves. As well as an adventure, this book can also be used to give you the framework of a Thieves Guild in an agnostic setting and offer quest seeds for follow up quests working to get the Misbegot Thieves Guild back on track. Sharpen your knives and prepare for war.

This 4 hour module takes the characters from a hidden cove near the Moonsea to hidden tunnels leading under the Glacier of the White Worm. What starts as a recovery mission leads to the uncovering of a much more sinister plot. Optimized for a group of level 7's (APL 7), this adventure can be adjusted for any Tier 2 party. Inside you'll find: * Three battlemaps * Introducing the ice encrusted skeleteon, a hardier version of the standard skeleton for colder climates.

A short plug in adventure that can be used as part of a larger campaign or run as a one shot for Tier I or II characters. A well known alchemist who is famous for being able to make what ever is needed. Whoever a small mystery begins when his shop is robbed and the proprietor now goes missing can they save him. This adventure is ideal for for tier I and II characters. Playable as a one shot or as part of a larger campaign. The adventure comes with maps, encounters and enemies. The adventure comes complete with the following: - Full 5 page PDF adventure file. - 2 Parchment style DM and Player maps ready for VTT use. - 2 Printer friendly DM and Player maps ready for VTT well as printer friendly DM and Player maps that are VTT ready. - 1” diameter tokens ready to be cut out for use in person as well as files for use in a VTT - Comes with sample alchemy crafting rules

"The trees bend, twist and rearrange themselves as the sun fades, replaced by a single massive moon hanging high in the sky. You find yourself somewhere altogether different with bigger more gnarled trees, everything more vibrant with color in the bright moonlight. The bold browns, purples and blues around you don't feel real, more like something from a beautiful painting. Yet here you stand..." This is a one-shot adventure through one of the twisted fairy tale baronies of Thelanis. In it, the players find themselves in a strange land seeking an item they know little about. They will encounter a village whose people have been turned to shrubs, be shrunk down to a 20th of their size in a garden of tiny trees, fight a tree which is also a beholder, and come face to face with the Lady in Shadow herself. The adventure is for four level 5 players (though adjusting for 3-6 players would be minimal effort) and is expected to take around five hours. It is a great introduction to the planes of Eberron for DMs and players alike. It includes: * An exciting mystery to unravel * Three vicious new monsters to fight: earth bear, topiary beast, and the treeholder * Simple rules for running a skill challenge * A series of detailed maps for each combat encounter and an image for the puzzle encounter

Something evil is devouring the souls of the living in Chult, but before the characters take on the horrors in Tomb of Annihilation, they must first uncover the death curse’s origin by braving a lich’s tower in the Cloakwood. This introductory adventure is designed for a party of four to six 1st-level characters, who should advance to 2nd level by the adventurer’s conclusion. It is a prelude to Tomb of Annihilation that should take about 2 to 3 hours. This product includes Fantasy Grounds files for the adventure. What Inspired Cellar of Death? The introduction of Tomb of Annihilation states Syndra Silvane learned about the Soulmonger from the Harpers, who “received their intelligence from a lich.” This adventure is the story of how the Harpers gathered that information. Cellar of Death has a second purpose: to give characters a greater stake in the outcome of Tomb of Annihilation by creating an NPC they love. The death curse kills this NPC, giving the characters a personal reason to go to Chult.
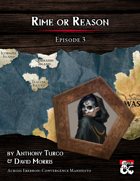
Provost Nigel Faurious’s research has revealed the location of an icy spire near the eastern side of Icewhite Island. The Provost needs the Hoarfrost Flower, an artifact found inside this spire, to make his Convergence Manifesto a reality. Eager to complete his work as quickly as possible, the Provost previously paid for an expedition from the Deathsgate Guild to explore the icy spire at the same time the Clifftop Guild surveyed the Shining Valley in the last adventure. The Deathsgate expedition’s ship, the Nightwood Cask, was destroyed by the cold of the Risia manifest zone. They made it to the island on lifeboats and headed to the spire, hoping to use it as shelter until someone from the Deathsgate Guild comes to rescue them. The spire’s builders are long gone and forgotten, but their traps and magic remain. Mror archeologists once found this place while in search of their ancestors that many believe hailed from the Frostfell. Only their camp remains in the foyer of the spire, where the party from Deathsgate waits. While the Deathsgaters’ supplies dwindle, they argue among themselves on their next steps. Should they try and make it to shore and hope their ship somehow survived, continue to wait, or delve deeper into the spire to complete the task they were hired for?