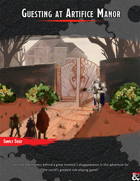
A genius inventor - Anthony Karstark, founder of the "Karstark Inventions", has recently reached a new level of reclusiveness, when he stopped showing up at his company events. A concerned friend and employee, Holly Amberfell, hires an adventuring party, to figure out what happened to him. As adventurers enter and explore the quarantined manor of the great inventor, they have to deal with his mechanic inventions, figure out minor mysteries of past and present, and finally - face Anthony himself, changed by a strange disease into a Slaad-spawn. Guesting at Artifice Manor is an 8-10 hours long mystery and exploration adventure, that should roughly take two playing sessions (or can be squished into one - suggestions on how to do it are inside the book!). It is optimized for 4 to 5 characters of 8-10 levels. This adventure can be used to kick-off a campaign, exploring the origins and history of Slaads.

A fiend lurks among the Black Blade goblins. A shapeshifting barghest fashioned by the General of Gehenna to exact revenge on all goblin-kind. It’s aim: to kill as many goblin leaders as possible… A masked goblin approaches the party asking for help. Two tribe leaders are dead. But a rival for chief has control of the crime scene. Will the party discover the barghest among the goblin ranks? Can they stop this imposter before it strikes again? Adventure Overview The adventure’s story is spread over 4 parts and takes approximately 4 hours to play. The adventure begins with a Call to Action scene. Part 1: Goblin Politics. Krill sends his emissaries to implore help from any strong intermediary. The party is asked to investigate the murder of Thrawn in Dringly’s lair. This is Story Objective A. Part 2: The Opposition. Gain entry into Dringly’s lair and investigate the murder of Thrawn. Gather enough evidence to find the killer. This is Story Objective B. Part 3: To The Lair! Now that the players have determined the barghest (Yeep) is to blame, they need to get to Krill’s lair quickly as he is in imminent danger. This is Story Objective C. Part 4: The Barghest.When the players arrive at the lair, they need to get to Krill and expose and defeat the barghest. This is Story Objective D. Adventure Background A barghest named Yeep has begun its onslaught of attacks against the Black Blade goblins. Starting with Chief Gnar, then his second in command Thrawn, the barghest is moving methodically down the line of command. Krill is now chief. But he has some problems: Two leaders of the Black Blades are dead. Who killed them and why? Is he next? Dringly, the next in command, has decided to take his lair for himself, declaring himself Chief of the Black Blades. Who are the Black Blades? The Black Blades are a tribe of goblins in the local area. They are known for dipping their blades in a dark black substance. It is rumored these blades are poisonous. The Black Blades regularly attack passersby on the road to rob them. The Black Blades have two lairs, one run by a chief who leads the whole tribe, and another overseen by a boss lieutenant. The Black Blades have a well-established pecking order which is how Krill stands to become chief. The next in line is Dringly, who has also declared himself chief and wants Krill dead. Krill suspects that there is something suspicious about two leaders being killed within a day of each other, but he has already burned Gnar’s body without any investigation. He needs to investigate the body of Thrawn, but it is in Dringly’s lair. Krill wishes to avoid direct confrontation with Dringly at the present for three reasons: 1) Any violence would only kill his own tribe members and further divide the lairs. 2) He believes there is still hope for negotiation to reunite the Black Blades. 3) He believes that if he were to attempt negotiations himself, Dringly would kill him. This adventure features: Two maps. Ready for your favorite Virtual Tabletop. A full color pdf. A black and white pdf. One custom monster, a reprint of barghest, all others available in the Monster Manual. Four hours of entertainment involving: roll playing a goblin bard, investigating a murder scene, tracking down a barghest before it strikes again. Applicable to any setting.

Deep within a forgotten temple lies the Storm's Eye, a powerful sapphire coveted by the monstrous Behir, Krykzor. In The Storm's Eye, adventurers must navigate deadly traps, confront ghostly knights and phase spider minions, and solve a lightning-powered puzzle, all while racing against time to escape a collapsing temple. Designed for a party of levels 6-7, this one-shot adventure offers thrilling combat, intricate puzzles, and dynamic challenges as players face the storm and claim the treasure—or risk being lost forever.

With the rise of Tiamat threatening to destroy the world, the undead masters of Thay have approached the Council of Waterdeep to discuss the possibility of an alliance. But the Dragon Queen has agents everywhere, even in a remote keep on the Thayan frontier. A vampire noblewoman has been killed, and the characters are the prime suspects. To clear their names, they must find the real killer, and learn how even the undead may die… Murder in Thay is a 4-6 hour Dungeons & Dragons adventure for characters of levels 13-14, for use as an expansion of the "Mission to Thay" chapter in Tyranny of Dragons or as a standalone module. This publication comes with a map pack, a new magic item (the pyx of soul capture), and monster and NPC stat blocks, including two new creatures, the fearsome dread centurion and the not so fearsome undead cat!

A powerful new narcotic is making its way through the Spine of the World. Behind it is a secret that could change everything! Explore a lost city and discover the secrets hidden by the gods themselves. (TW: some drug use and the possibility for players to use drugs)
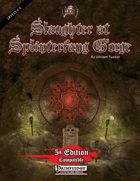
Many years ago a brutal bugbear chieftain united the goblinoid tribes of the Meirlara Forest and nearly wiped out all traces of the elves there within. A stroke of chance fate turned the tide and the dreaded bugbear warlord Spragnokk was defeated. His loyal kin hid his body away in a sealed chamber and then the world forgot about Spragnokk... until now. Now his bloodline continues, and they have plans to resurrect their fallen "great chieftain," to bring ruin and revenge upon the elves that handed them defeat decades past. The goblinoid tribes have once more been gathered, and their bloody revenge is imminent, except fate has yet once more placed new champions to stand in their way. They just don't realize it yet.

The legendary spellcaster Emirikol the Chaotic has turned the region into a wild magic zone, a place where all magic goes awry. The only way to put things back to normal is to retrieve the source of the problem deep inside the Ooze Chambers of Emirikol! This adventure is for 4th level characters and can be run on its own or as part 3 of the Litany of Arrows adventure path. This adventure contains, 2 pages of new magic items, 8 new monsters and NPCs, a full write-up of Bwimb II, the Paraelemental Princess of Ooze, an entity referred to in many D&D products but never fully fleshed out and stats for the 3rd edition iconic heroes Regdar and Mialee, who play a major role in this adventure. It's got over 10 pieces of original art, full color maps, tagged and untagged, and a special handout for the player who obtains the Ooze Fist of Emirikol. This adventure builds on the story begun in the platinum-selling Castle of Corellon and the follow-up, Warpath of Gruumsh.

Sometimes you can just be in the wrong place at the wrong time... Sheltering from a savage storm, a group of fledgling adventurers find themselves trapped by circumstances and powerful forces from a bygone age. Escaping from dark and dismal caverns, the heroes must brave a nightmarish trek through haunted and hostile terrain, pursued by an mysterious assailant to the very walls of Anduria – home of the greatest civilisation in the world. On the edge between madness and salvation, they must broker a deal with shadowy cults and political powers to determine not only their own fate, but potentially that of the Eternal City itself.

Long ago, before the arrival of civilized humanoids, a large colony of ogres thrived in the local area. When a great invasion from another dimension threatened this colony, their king, Koptila, prayed for his people to be spared. The gods heard these pleas, but commanded Koptila to sacrifice himself. The leader did so, and the clan disappeared—whisked away by the gods and lost to time. Over the years, a city grew up above the former subterranean home of the ogres, and no aspect of Koptila’s ancient bargain was preserved or remembered. Even so, the stars are aligned for the return of Koptila and his people. These powerful repatriates are unlikely to appreciate the changes in their old home. A sage has found dusty documents prophesying this return, and he asks the PCs to investigate the catacombs to defeat the potential threat to the city. The PCs travel down through city sewers and subterranean passages before finding the catacombs that the ogre colony once called home. Pgs. 48-53

Part of TSR 1076 The Goblin's Lair

An unexpected envoy arrives in Sporedome and offers to give aid against the fire giants of Maerimydra, if you are willing to help his people with a small problem. A two-hour adventure for 5th through 10th level characters. Optimized for five 8th level characters.

This couldn’t get worse. The key you are searching for has fallen into the hands of the eye tyrant of Skullport himself. Now you just need to rob Xanathar without getting disintegrated. Part Three of the Skullport Shakedown trilogy. A 2-4 Hour Adventure for Tier 2 Characters. Optimized For: APL 8

A cloud of dust forms over the horizon as a titanic army of evil threatens the entire civilized world! The Master of the Desert Nomads and his legions are back, and they form the greatest threat that you have ever faced. You must persuade powerful rulers to join you cause, stave off threats to the alliance, and lead your armies to victory! This adventure contains a full-color map of the D&D Expert Set game world, 200 counters, and a special expansion of the War Machine mass combat rules that allows you to fight the entire war as a strategic wargame! Major battles and engagements can be fought using the BATTLESYSTEM Fantasy Combat Supplement for incredible tabletop action. Never-before-published information on all the nations of the Expert Set game world provides background and detail that will enrich your campaign. This adventure includes large-scale battles and uses an expansion of Douglas Niles and Gary Spiegel's warfare system, "The War Machine", developed as part of the D&D Companion Set (BECMI Ed.) from 1984. "Red Arrow, Black Shield" is more than just a follow-up to X4/X5; it's a lynchpin for the entire B/X/CM adventure sequence. The players travel through many lands that were home to past adventures, and their past interactions with those places could affect diplomacy in this new adventure. TSR 9160
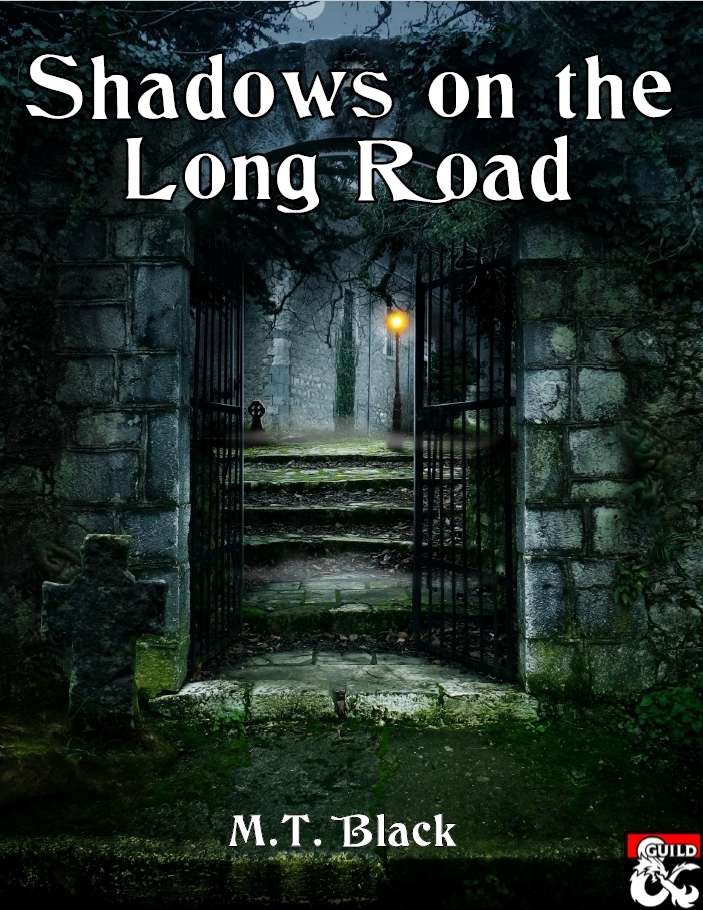
Travellers are going missing on the Long Road, on the 100 mile stretch between Triboar and Longsaddle. Our heroes investigate and discover a haunted mansion with a dark history and a gruesome secret. Their quest brings them to the very gates of hell itself, where an infernal abomination presents them with their greatest challenge yet... Inspired by a Clark Ashton Smith story.

Escape from Elturel is a 6-8 hour Dungeons & Dragons adventure for characters of levels 1-2, for use as an introduction to Baldur's Gate: Descent into Avernus. Pilgrims and travelers flock to the holy city of Elturel to bask in the light of its second sun. But when the Companion starts to malfunction, the characters must escape the doomed city before it is pulled down to the Nine Hells. In the aftermath, a caravan of refugees needs their help to find a safe haven in that notorious hive of scum and villainy, Baldur's Gate! The adventure has everything you need to start a new campaign in Elturel, including: - a new adventure hook for Descent into Avernus - short introductory encounters set during and after the fall of Elturel - a skill challenge for escaping Elturel as it is pulled down to Avernus - resources, encounters, travel activities, and NPCs for a caravan to Baldur's Gate - notes for transitioning into Descent into Avernus - two creature and NPC stat blocks - a map pack with two maps by Dyson Logos Escape from Elturel also includes suggestions for combining this adventure with Burial in Baldur's Gate if you want to run a mixed party of characters from Elturel and Baldur's Gate.

A group of Azer were captured and brought here long ago to create a powerful weapons that ensured a long dead king’s victory in a bloody war. For some time they obeyed, churning out weapons and crafting monuments in the king’s honor, but as time went on, animosity towards the king grew stronger and stronger. The Azer betrayed the king, using the might of their “perfect” weapons to strike his men down before retreating to their forge and closing it off from the rest of the world. They have been locked a away in solitude for some time now. The entrance to this bunker has been uncovered though, and it is up to a brave group of adventurers to travel down into this place and see what they have been up to for all of these years. This dungeon has rules to modify all encounters for a group of players levels 3 through 6 and is intended for a party of four. If you have more players, feel free to adjust the difficulty up one level for each additional player or simply tune the monsters to your needs. This dungeon contains many original enemies, a unique puzzle, and an environment that is meant to inspire awe to the wonders of crafting. They are in a place of flame and metal, so a dwarf should feel at home while elves may be uncomfortable.
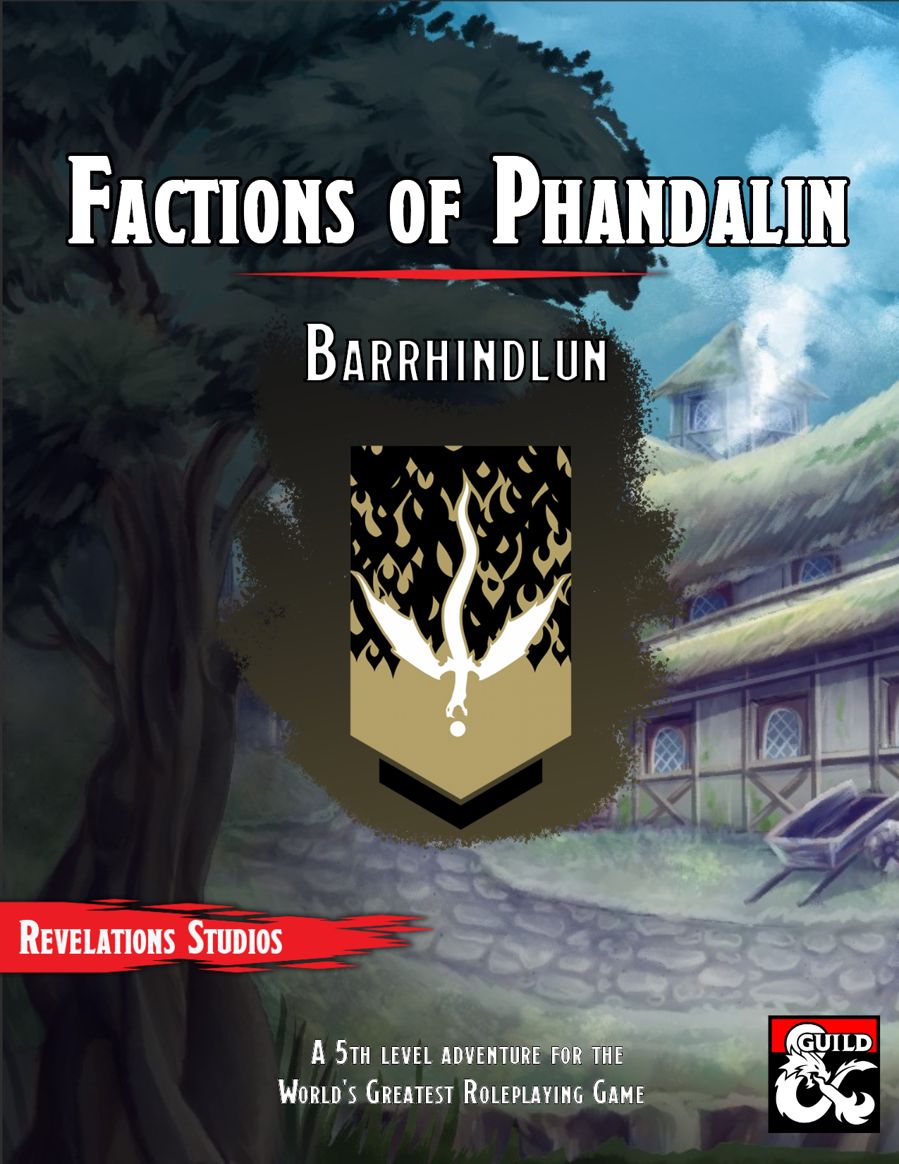
This book goes over the various rules around the faction of the Zhentarim in Phandalin and the Forgotten Realms, making it easy for any new or veteran DMs to integrate it more into the core stories being told, and making the faction feel more useful for the players that choose to join. The adventure, Barrhindlun sees the adventurers working for the Zhentarim and traveling to the town of Leilon and finding their way beneath to the muddy lost city of Barrhindlun, where bandits of the Xanathar Guild have been sent to reclaim a Crystal Orb.
A vibrant circus has just arrived, setting up on the edge of town. Run by the charismatic half-elf ringmaster, Marlow, the performers bring with them dazzling displays of magic and talent, artifacts with incredible powers to behold, and strange creatures most people would never get the chance to see close up. Behind all of the joy and revelry, the circus holds a dark secret, for Marlow keeps tyrannical control over his performers with both whip and word. As this latest performance reaches its height, two acrobats decide to take their chance at freedom, making use of a distraction to steal something valuable from Marlow and make their escape. Marlow will do anything to get the two back under his power, and so turns his significant charms upon a hapless band of adventurers attending his circus.

Cupid's Sparrow is a Valentine's Day-themed adventure for pairs and parties that allows one or more players and their DM to take part in a Sune's Day celebration filled with fun, flirting, and random tables. Ready to be incorporated into any campaign or setting, Cupid’s Sparrow invites chance and creative role-playing to join hand-in-hand in tribute to the goddess of love and beauty. Characters of any level can take part and enjoy the revelry, first experiencing and then investigating the strange and surprising occurrences taking place in and around town and at the romantic forest-side inn, The Lovers’ Nook. Whether two characters in your party have struck up a romance, you’ve finally convinced your partner to play, or you’re looking for a fun way to celebrate Valentine’s Day with friends, a loved one, or your entire gaming party, this adventure is for you! This product includes: -1-3 hour adventure adaptable to any setting or party size -All necessary stat blocks for NPCs and descriptions of NPCs and their motivations -A menu and map for The Lovers’ Nook Inn and town map to aid exploration and gift-getting
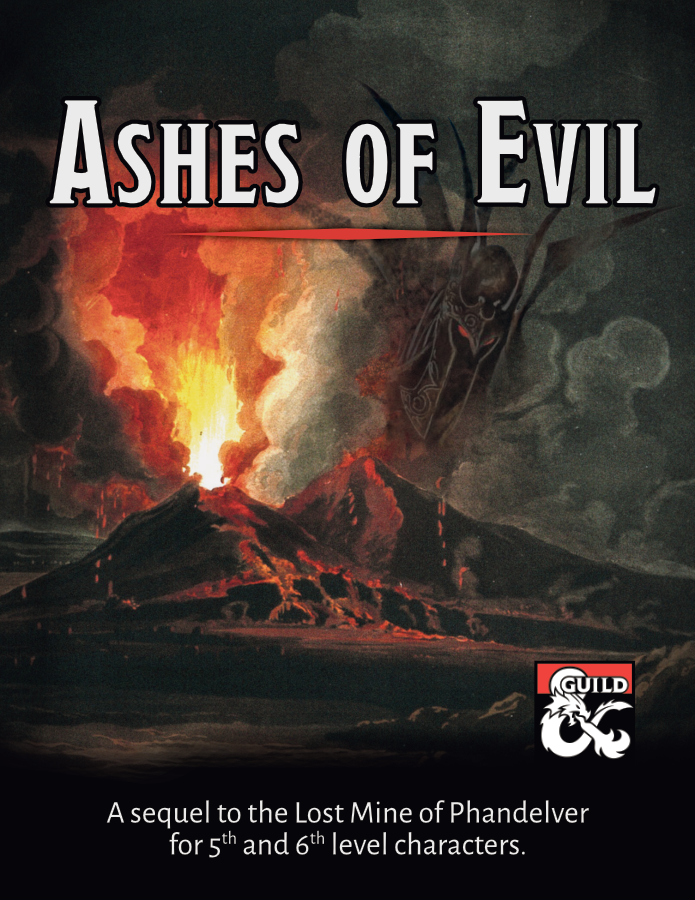
A sequel to the Lost Mine of Phandelver adventure for 5th and 6th level characters. An ancient forgotten evil threatens the Sword Coast once again! Our party of intrepid adventurers returns to Phandalin and Wave Echo Cave for what is at first glance a rescue and exploration mission. Prospectors for the Rockseeker mining concern have disappeared deep inside the flooded caverns that give the cave its name. The peril extends much deeper than mere lost explorers though, as the party stumbles upon an ancient, long-forgotten struggle between good and evil. Inexplicable cultists hide in ambush at every turn. A risky raft ride through treacherous underground waterways leads to an ominous discovery. Ancient ruins tell a story of the terrors of the night and a noble alliance sworn to fight them. A search for a powerful weapon of light leads the party on a mind-blowing, sky-high ascent into the unknown. Then, a whirlwind of danger: A rumbling volcano. Legions of undead. A desperate battle for the survival of the region. This adventure was designed as part of “The Next Adventure” Design Jam at the DMs Guild. It works best for a party that has just completed the Lost Mine of Phandelver adventure, but it can easily be inserted into any campaign. It is designed for a party of four to six 5th or 6th level characters and, based on playtesting, will take an average of about 3 sessions to complete.