
A Mulmaster refugee named Ani Kuleimatt discovered references to a forgotten mine near the Moonsea, a mine rumored to produce an unexpected export. The adventurers are hired to locate the complex and secure its resources for the Mulmaster Diaspora.

Sekarvu is a typical beholder. It spent much of its youth exploring underground realms and killing everything it found. One day, it came upon a large cavern filled with violet fungi. At the edge of the cavern, it found a small band of adventurers who had all but succumbed to the toxins of the fungi's tendrils. They offered little resistance to Sekarvu as it approached and began to feed on their still-writhing bodies. With its first bite, the beholder's life changed forever. Pgs. 52-55
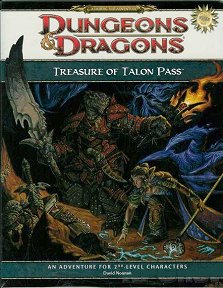
In Treasure of Talon Pass, the player characters explore an ancient mountain garrison in search of a jade chalice reputed to be worth a small fortune. But the path to the jade chalice isn’t easy. A dragon and its kobold minions have taken up residence in the garrison, and some undead soldiers from long ago still haunt its halls as well. Nor are the PCs the only ones seeking the jade chalice. A band of orc mercenaries known as the Nightfists are after the chalice . . . and they arrived at the dungeon only minutes before the PCs
A Giant Ransom is a short adventure for four 11th-level characters. There are opportunities for diplomacy, stealth, and combat, based on the choices the PCs make, so any mix of classes is appropriate. The adventure can be set in any campaign world, in a frontier region near glacier-covered mountains. In the first episode, the PCs were employed by Duke Ambrinigan to exchange a ransom of 10,000 gp in gems for a golden lion that was taken by frost giants in a recent raid. While waiting for the giants to arrive at the designated meeting place, the PCs watched as the white dragon Whildenstrank attacked the giants and then flew off with the statue. Charged with returning the golden lion statue at all costs, the PCs dealt with the remaining frost giants and then headed west, toward the lair of the dragon in the midst of the nearby glacier. Along the way, they encountered Velg the Dragon Tamer, another frost giant who was also on the trail of the dragon. Velg may or may not be with the party now. The PCs are now traveling across the flat icy surface of the glacier, and may have just noticed something burrowing under the ice, heading straight toward them.

The peaks of a nearby mountain range have been home to Krikk, an old white dragon, for as long as anyone can remember. Aside from claiming ownership of a few villages and settlements near her range, she hasn’t posed much of a threat or even taken much notice of political events around her. Last week, a king’s prophet had a vision of golems made of ice that wouldn’t melt smashing through the royal castle walls, and of crops frozen under sheets of ice formed by the white dragon’s breath. Alarmed, the king has sent word that he desires someone brave enough to go to the dragon and find out whether she’s about to attack. If she is, the party must stop her before it’s too late. But, another prophet warns that the white dragon has an entirely different plot afoot, and that an icy grave awaits anyone who goes up the mountain. The player characters (PCs) have to figure out what’s going on—then decide on their own what they should do about it, while the fate of a king and his castle hangs in the balance.

An agent of the King’s Dark Lanterns has stolen a cache of gold from the Brelish exchequer. Hunt him down, retrieve the gold, and thwart whatever else the rogue agent is plotting. Pgs. 28-65

This deluxe adventure takes heroes into the ruins of Gardmore Abbey, a monastery that was once the base of a militant order of paladins devoted to Bahamut. According to legend, the paladins brought a dark artifact back from a far crusade and stored it in their abbey for safekeeping, and evil forces gathered to assault the abbey and take it back. What the legends don’t tell is that this artifact was actually the Deck of Many Things, a force of pure Chaos. This adventure brings characters into the extensive dungeons beneath the ruins - dungeons that are warped and twisted with the raw forces of Chaos surrounding the cards of the deck.

"Wherein the local clergy makes the terrible mistake of not hiring enough assassins for the job." Synopsis: The heroes have just returned from the abyss (Occipitus) and reestablish themselves in Cauldron, when they are assaulted by a group of professional assassins. After they repel the attack, they trace back the lead to the temple of Wee Jas, where they find plenty of opposition from the second in command, Ike Iverson. After dispatching of the cleric and securing of a (spare) soul cage, the group finds evidence of a place important to the cagewrights' cause - an ancient underground complex named Karran Kurral. Mounting an expedition to that place, they find more evidence towards the horrific destiny on schedule for Cauldron. However, they gain access to the Soul Pillars after defeating a dracolich, that they can use to gather plenty of intelligence on the cagewrights' plans. Pgs. 12-51
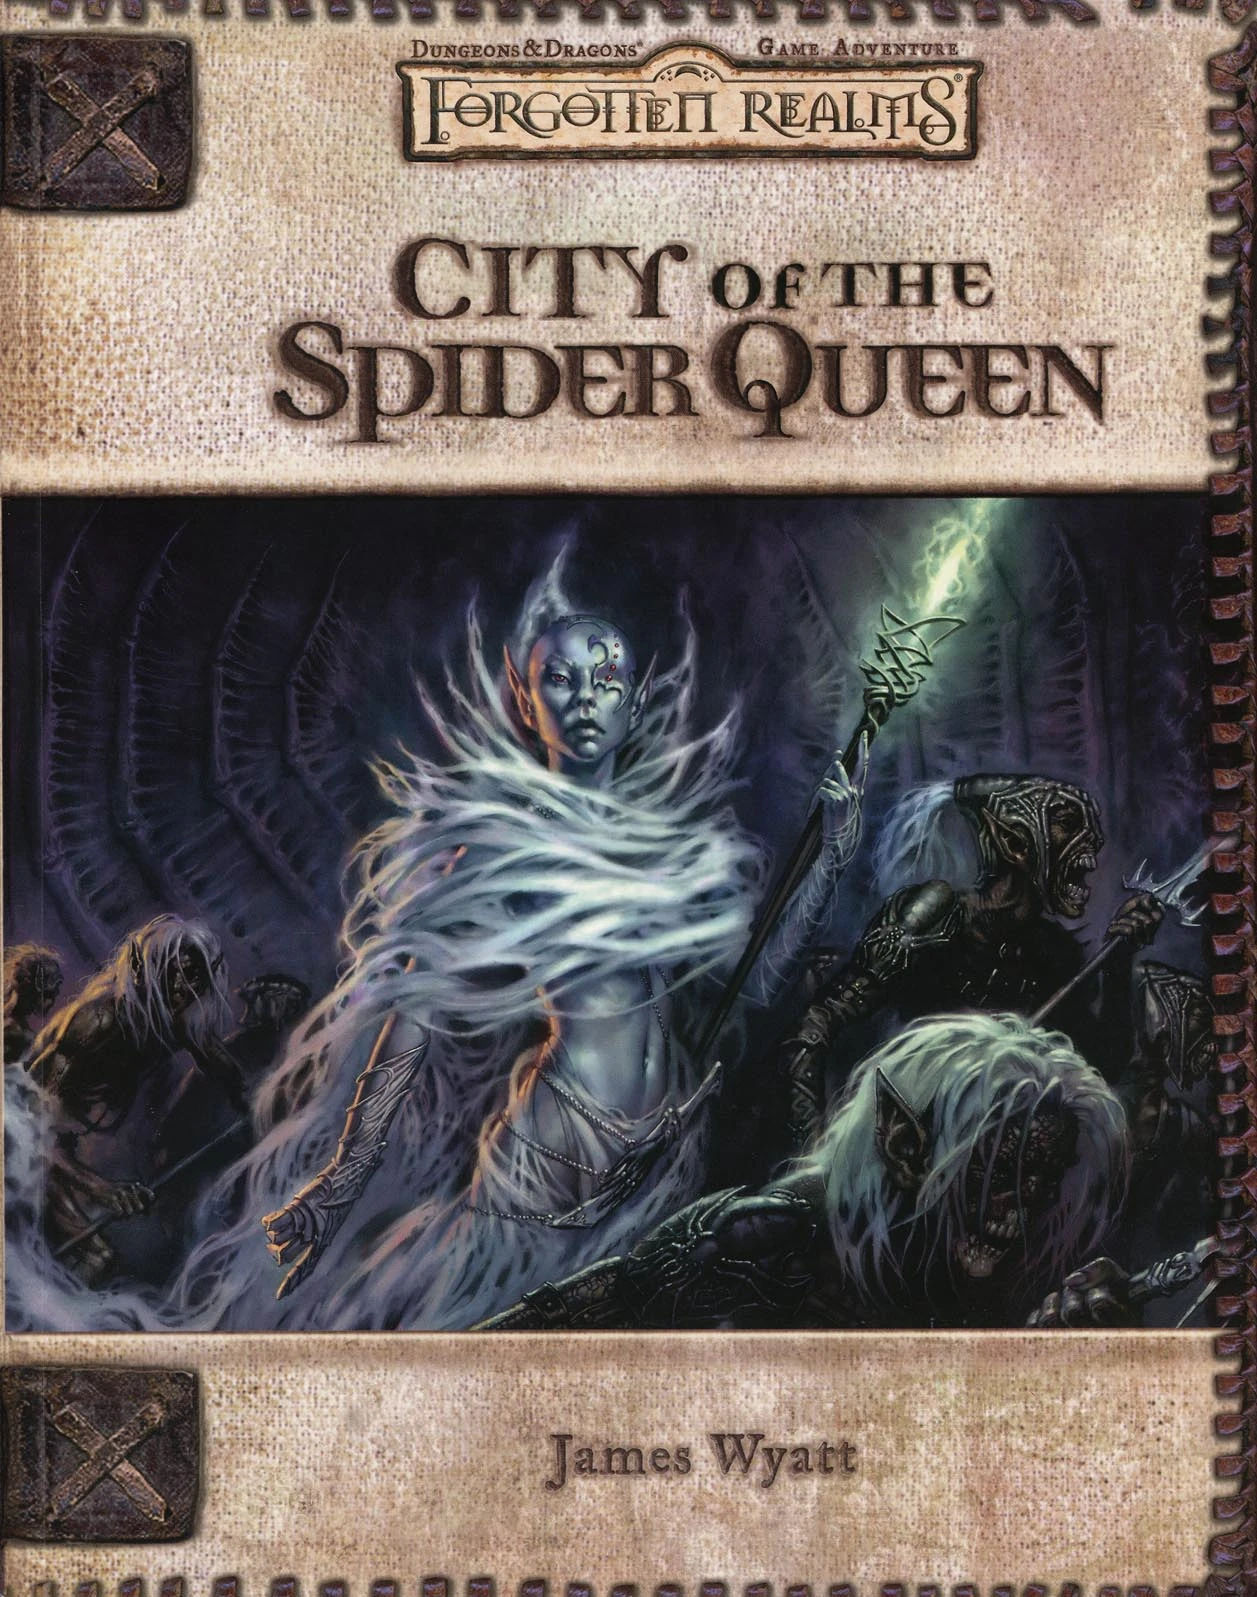
The Fate of Faerûn Lies in Shadowy Darkness! Daggerdale is reeling from a sudden series of murderous drow raids. As a grave threat to the entire surface world develops in the war-torn dark elf city of Maerimydra, intrepid heroes must discover its source and destroy it, if they can.

A flameskull lord that calls itself the Bright Lord of Everburning Fire has taken control of a primordial node deep within the Elemental Chaos. It long ago shrugged off the control of its original creator and now follows its own plans and desires. Top among these is the desire to tap into the power of a fire primordial and increase its own status from undead creature to demigod. Pgs. 156-161
A few weeks ago, a neogi flying ship met with misfortune in a furious thunderstorm as it was setting out on a long journey. Heavily damaged, it crashed on an isolated rocky beach. Several neogi and their slaves were killed or injured in the crash, but five of the small monsters survived, along with four umber hulks and a handful of other useful slaves. Under the leadership of the sorcerer Neex Hist, the neogi are working to repair their ship so they can continue their interrupted voyage. In the meantime, they have set up camp in a large sea save close by the site of the shipwreck. While the repairs continue, the neogi and their minions are scouring the area for anything of interest - there's no point in leaving potentially valuable merchandise in the vicinity of the crash site, after all. Pgs. 101-106 Suitable for lvls 6-8 in 5e, using 5e stats.

Displace Beast Maze is an adventure that has one long encounter that is a combination of a puzzle (maze) and combat encounter (Displacer beast). The Displacer beast tentacle's ability to attack through the maze walls, knowledge of the layout, and hit-and-run tactics make the labyrinth both a useful and possibly deadly lair for the creature. Pgs. 27-29

Seer has learned of an attempt to intimidate Gralm, an ettin, and his followers into joining Bad Fruul’s army. Hsing comes forth to communicate that she wants you to see if you can find some way to either insure Gralm remains neutral, or to encourage the creature to challenge Bad Fruul to single combat in the hopes that he might wrest control of the hill giant’s forces and turn them back from Parnast.

Welcome to Baldur's Gate, a city of ambition and corruption. You’ve just started your adventuring career, but already find yourself embroiled in a plot that sprawls from the shadows of Baldur's Gate to the front lines of the planes-spanning Blood War! Do you have what it takes to turn infernal war machines and nefarious contracts against the archdevil Zariel and her diabolical hordes? And can you ever hope to find your way home safely when pitted against the infinite evils of the Nine Hells?
The adventurers have delved into the Abyss to strike at the Demon Lord of Undeath, Orcus. On the layer of Thanatos, the Blood Lord has many outposts from which he spreads his corruption. One of his primary lieutenants is Doresain, the Ghoul King. If the PCs kill Doresain in his lair, they will strike a real blow against the foul demon lord. Pgs. 174-179

The first part of the Dreams of Red Wizards adventure path originally published for the D&D NEXT Playtest. Following the events Ghosts of Dragonspear Castle, a new set of adventurer's will see some of the repercussions of that adventure. This adventure is intended to be continued in the Dead in Thay adventure (Note that they Dead in Thay 5e adventure featured in Tales from the Yawning Portal is missing a significant portion of interlude that links Scourge of the Sword Coast to the events within the Doomvault). The adventurers arrive when Daggerford is crowded with refugees from outlying lands. Goblins, gnolls, and orcs have been raiding the countryside. Now, food is scarce and tension is high. Blame for a theft has fallen on the refugees, and the Duke of Daggerford has forbidden more of the displaced from coming into town. After overcoming difficulties to enter Daggerford, the characters learn more about the raids. As they fight against the humanoids and delve deeper in the darkness that encircles Daggerford, the characters learn of Bloodgate Keep. After a final fiendish ambush, they’re ready to confront the real threat to the area. DM Note: This adventure points the adventurers strongly towards Bloodgate Keep but that location does not appear until the Dead in Thay adventure; at several points the party may feel drawn to explore that location rather than continue their investigations around Daggerford. However, since Bloodgate Keep is only eluded to as a source of great evil power, it can serve to easily segue to an entirely different adventure path. As a NEXT Playtest adventure, Scourge of the Sword Coast uses milestone leveling and the included stat blocks for creatures do not necessarily match or even appear in the 5e Monster Manual, nor do they have XP values or challenge ratings. In some places it will reference rules used in the Playtest but dropped or changed in the 5e release, these are unlikely to substantially impact gampley with 5e rules.

Candlekeep is under siege, and it needs adventurers to help protect it! Heed the call to defend the legendary monastery and stand against the tide of evil. Confrontation at Candlekeep was used as a D&D Next playtest for D&D 5E. It was released to organized play Dungeon Masters in August 2013, and ran at Gen Con, PAX, and other major conventions. The adventure includes rules for running multiple tables, but can also be run for just one table. The attack on Candlekeep by forces of Asmodeus is tied to the events in Ed Greenwood's novel about the Sundering, "The Herald."

“The Lost Mines of Karak” is the sequel to “The Shadow Rift of Umbraforge” and the fourth part of the Scales of War adventure path. After the player characters' success in "Siege of Bordrin's Watch" and "The Shadow Rift of Umbraforge", they have garnered something of a reputation in the city of Overlook. They are introduced to a wealthy patron that believes there is a connection between a shadar-kai arms dealer (from the previous two adventures) and a long lost dwarven mine. The patron wishes the PCs to find and secure the mine in order to use its wealth and resources to defend the city. The party then must travel through a wasteland and desert to find this mine. Once they have, they must fight through the hordes of monstrous creatures that inhabit it and defeat the Queen of the Drylands - a powerful naga. Pgs. 56-93
Two Red Wizards of Thay have undertaken a secret mission into the High Moors east of the Sword Coast. They are searching for something or someone. Whatever their goal out there in the cold and windswept hills, if the Red Wizards want to keep it secret then it is probably best uncovered swiftly for the good of everyone else. Even the mercenaries who escorted them into the wilderness earlier agree: someone should stop them. Pursuing the Red Wizards leads the adventurers to a barrow mound in the wild grasses of the High Moors. At the barrow, they discover the remnants of a wizards' sanctum still being plundered. The fate of its lore and treasures is up to the characters. Without caution, things may get out of hand. This Dungeons & Dragons adventure is written to suit four to six characters of 8th level. With this text and the core D&D manuals, you have everything you need to play. You may also benefit from the Sword Coast Adventurer's Guide to learn more about the High Moors of Faerûn. Made for the Magic: the Gathering set "Adventures in the Forgotten Realms".

Six months ago, an adventuring group that calls itself the Company of the Shining Stone learned of an aged wizard’s tomb that lay in the rocky foothills of a prominent mountain range, and sought to plunder it. What they were not counting on was that a band of stone giants would move into the immediate area to make their lair. The giants have rebuffed the company’s attempts at getting past them and to their goal. Now is the time of the annual fair in Adurath, a small town located not far from the tomb, and thus, the giants. The giants have no interest in the town or the tomb, but are instead interested in a rare mineral found only in that region. A few of the townsfolk have seen the giants, but there has been no confrontation other than between the giants and the Company of the Shining Stone.