
Bugbear Fight Pit is a mini-adventure with a single main encounter that follow the Bugbear Jeeshank tricking the players into a trap with the challenge of single combat to stop his activities. If the players fall for it, they will be faced with a large number of ranged attacks, and additional clever tactics and use of the terrain. Pgs. 15-17

For the past several nights, drums have been heard on the wind, coming from the Twilight Marsh. Each morning, more turn up missing from the nearby farms, leaving only muddy, clawed foot prints heading towards the marsh. Can you help find the lost and bring justice to the abductors?
All of the Treasure, None of the Traps is an adventure that includes a single gauntlet of traps that contains twelve traps; meaning that it has either one or twelve encounters. The adventure consists of a long, twisting corridor with all of the traps set off, but these traps are reset by the PCs when they reach the center of the area. Pgs. 32-34

Nestled on the coast of the Azure Sea is Saltmarsh, a sleepy fishing village that sits on the precipice of destruction. Smugglers guide their ships to hidden coves, willing to slit the throat of anyone foolhardy enough to cross their path. Cruel sahuagin gather beneath the waves, plotting to sweep away coastal cities. Drowned sailors stir to unnatural life, animated by dark magic and sent forth in search of revenge. The cult of a forbidden god extends its reach outward from a decaying port, hungry for fresh victims and willing recruits. While Saltmarsh slumbers, the evils that seek to plunder it grow stronger. Heroes must arise to keep the waves safe! Ghosts of Saltmarsh combines some of the most popular classic adventures from the first edition of Dungeons & Dragons including the classic ‘U’ series and some of the best nautical adventures from Dungeon magazine: The Sinister Secret of Saltmarsh Danger at Dunwater The Final Enemy Salvage Operation Isle of the Abbey Tammeraut’s Fate The Styes All adventures have been faithfully adapted to the fifth edition rules of Dungeons & Dragons. Furthermore, this book includes details on the port town of Saltmarsh, as well as plenty of hooks to kick-off each adventure. Play through each story in a seafaring campaign leading characters from level 1 through level 12, or pull out sections to place in ongoing campaigns in any setting. The appendices also cover mechanics for ship-to-ship combat, new magic items, monsters, and more! “The Saltmarsh series consistently ranks as one of the most popular classic D&D adventures,” said Mike Mearls, franchise creative director of D&D. “With its ties to ocean-based adventuring, it was an obvious step to augment it with additional sea-based adventures and a robust set of rules for managing a nautical campaign.” Hoist your sails, pull up anchor, and set a course for adventure!

Floating Eternally among the endless silver void of the Astral Sea are vast, once-living islands, cast-off flesh of primordials and deities who lost their lives sons past in a great war. Today these colossal outposts bear mute testimony to the date of even the mightiest among us. Pgs. 120-127
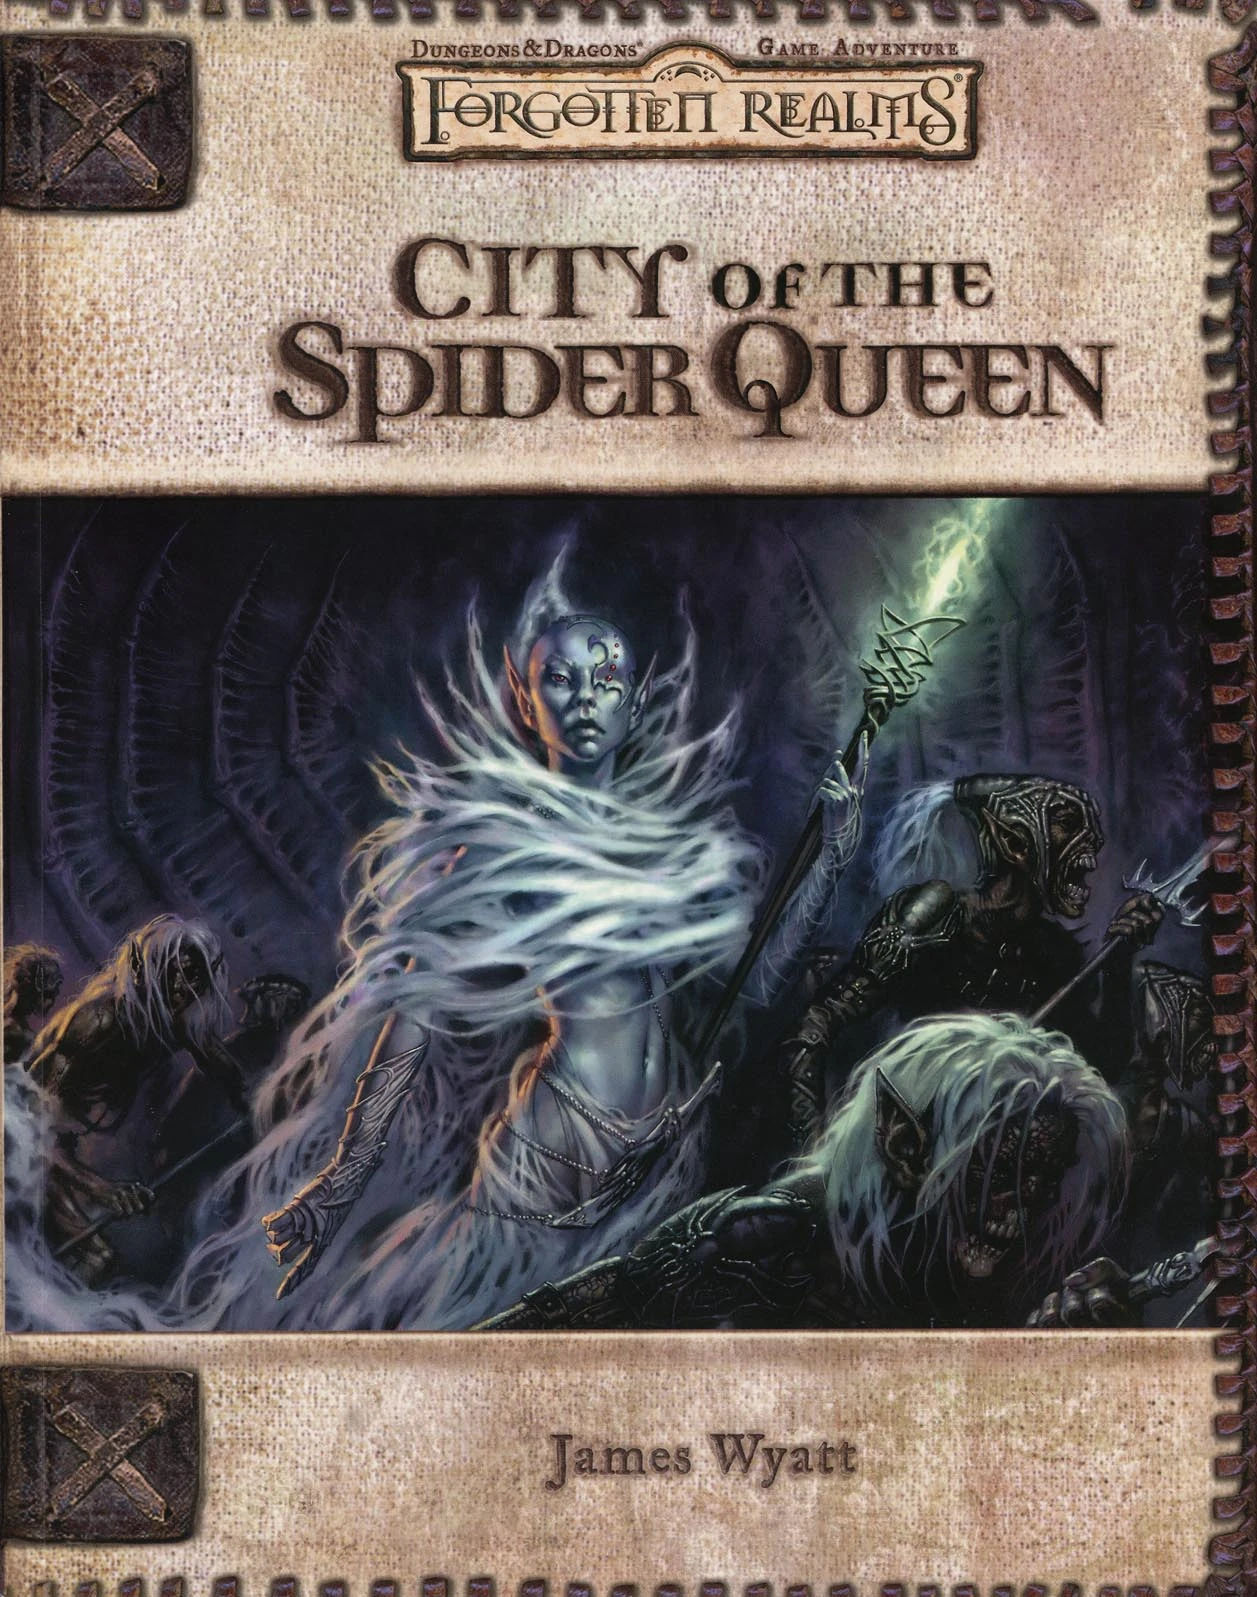
The Fate of Faerûn Lies in Shadowy Darkness! Daggerdale is reeling from a sudden series of murderous drow raids. As a grave threat to the entire surface world develops in the war-torn dark elf city of Maerimydra, intrepid heroes must discover its source and destroy it, if they can.

There was no greater scholar, explorer, or collector of antiquities in the area than Hallomak Stromm. The enigmatic Stromm recently passed away, and the PCs have received personal invitations to appear at the public reading of his will. Pgs. 72-77

Lost Laboratory of Kwalish explores an alternate expedition into the Barrier Peaks. The legendary inventor disappeared in the peaks eons ago… as it turns out, finding a crashed planar ship and studying its technology to fuel his own experiments—only now, Kwalish’s lost research is desperately needed! This adventure explores two locations within the Barrier Peaks, and includes new monsters, magic items, and spells, plus sci-fi trinkets, random encounters, and even rumors of the area submitted by the player community! Further featuring new art, maps (from Claudio Pozas), and even a cartoon (from Jason Thompson)—as well as the famed suit of powered armor, as edited by Jeremy Crawford on the Dragon+ livestream! Best of all, all monies that Wizards of the Coast receives from sales of this PDF are donated to Extra Life. Your purchase of this adventure goes to a truly great cause!
A group of snaketongue cultists has occupied an abandoned, partially sunken temple near a swamp. They grow impatient waiting for their yuan-ti master to join them, unaware that he has been slain by a rival faction of yuan-ti. Frustrated, the cult strikes against nearby villages in the hope of drawing the favor of Zehir. Investigating rumors of a serpent cult harassing a nearby town, the PCs have explored the swamp and discovered the overgrown temple. Its once-ornate stone door now hangs off its hinges, providing a narrow space for one character at a time to squeeze through. Pgs. 42-47
A Giant Ransom is a short adventure for four 11th-level characters. There are opportunities for diplomacy, stealth, and combat, based on the choices the PCs make, so any mix of classes is appropriate. The adventure can be set in any campaign world, in a frontier region near glacier-covered mountains. In the first episode, the PCs were employed by Duke Ambrinigan to exchange a ransom of 10,000 gp in gems for a golden lion that was taken by frost giants in a recent raid. While waiting for the giants to arrive at the designated meeting place, the PCs watched as the white dragon Whildenstrank attacked the giants and then flew off with the statue. Charged with returning the golden lion statue at all costs, the PCs dealt with the remaining frost giants and then headed west, toward the lair of the dragon in the midst of the nearby glacier. Along the way, they encountered Velg the Dragon Tamer, another frost giant who was also on the trail of the dragon. Velg may or may not be with the party now. The PCs are now traveling across the flat icy surface of the glacier, and may have just noticed something burrowing under the ice, heading straight toward them.

“The Lost Mines of Karak” is the sequel to “The Shadow Rift of Umbraforge” and the fourth part of the Scales of War adventure path. After the player characters' success in "Siege of Bordrin's Watch" and "The Shadow Rift of Umbraforge", they have garnered something of a reputation in the city of Overlook. They are introduced to a wealthy patron that believes there is a connection between a shadar-kai arms dealer (from the previous two adventures) and a long lost dwarven mine. The patron wishes the PCs to find and secure the mine in order to use its wealth and resources to defend the city. The party then must travel through a wasteland and desert to find this mine. Once they have, they must fight through the hordes of monstrous creatures that inhabit it and defeat the Queen of the Drylands - a powerful naga. Pgs. 56-93
A cadre of githyanki has come to the world in search of rich plunder and soft targets. It has set up a base in the lower levels of an abandoned fortress ruin. A caravan of travelers spotted a githyanki while it hunted for food. Rumors of an invading army from the Astral Sea quickly spread through nearby towns, and the PCs have arrived to investigate. Pgs. 84-89

The Alchemist's Eyrie takes the characters into a fortified dwarven tower, where they are sent to recover some needed items. When they arrive, they discover the tower has been captured recently by a warband of renegade lycanthrope dwarves. Between the interlopers and the remaining traps set by the late owner, the characters may find themselves in deep, despite the lack of head clearance.

The party is enlisted to assist the Righteous Host, an army formed as a last resort to defend the world against the monsters of Elemental Evil. The host is greatly outnumbered. Its leaders send the party on a series of missions, each of which will give the Righteous Host an edge in the great battle to come. This epic adventure ends with the final push against the forces of Elemental Evil in the Meadows, and the outcome is informed by how effective the party is in their missions... and whether they are willing to risk putting themselves in the front lines. If the Righteous Host loses, players may decide to travel to Hommlet or other nearby towns to defend them. Whether the host is successful or not, players can decide to follow many different plot threads: exploring the Temple of Elemental Evil, finding the lich Kell the Eldest's lair and destroying his phylactory, or following the will of Bitbaern's Shield and discovering historical sites that were previously lost. Pgs. 44-69

An agent of the King’s Dark Lanterns has stolen a cache of gold from the Brelish exchequer. Hunt him down, retrieve the gold, and thwart whatever else the rogue agent is plotting. Pgs. 28-65

The Gommurg Clan rarely deal with outsiders. These hill dwarves have isolated themselves for centuries to work on their craft and guard an ancient and sinister structure. Unfortunately, the world around them does not rest easy. An exile of the clan has inadvertently brought terrible woes to his ancestral home, and now he frantically seeks help to save his people.
Who Disturbs the Slumber of the Forgotten King? Wolves prowl the graveyard of sleepy Kingsholm, and death lurks behind shadowed tombstones. Something has disturbed the sleepers in the mausoleum, and brave adventurers are needed to explore the catacombs beneath the graves and discover what evil stirs in the darkling depths. Part 1 of the Barrow of the Forgotten King series. Followed by the Sinister Spire.

Digging in the Dark People are vanishing from the village of Brookhollow. Can you solve the mystery in time to save your friends? Pgs. 12-29

The ruined manor now known as Kobold Hall was once a minor lord's proud holding, a walled keep overlooking the old King's Road. That was years ago, and the lord's name and glories he earned are long forgotten. Today, the place is called Kobold Hall after the malicious humanoids that invest the place. Pgs. 210-219

Death slithers across the Dunes. Nightmares of desert horrors trouble the dreams of the innocent while raiders grow ever bolder beyond the walls of the great city-state of Tyr. Bandits and merchants chase rumors of a temple hidden in the desert, an ancient shrine to the primordial Ul-Artha said to safeguard a fragment of the artifact known as the Crown of Dust. Can the heroes recover a caravan lost in the wastes, repel the threat of vicious raiders, and win the relic form the perilous temple? Now that Tyr is free of Kalak the Sorcerer-King, opportunity abounds in the city and the surrounding wastes. But some see Kalak's fall as the beginning of Tyr's end, and the unpatrolled deserts nearby are rife with danger. Outlaws openly defy the city's Revolutionary Council and threaten outlying holdings. If Tyr is to thrive, heroes must arise to tame the lawlessness and evil that threatens the free city.