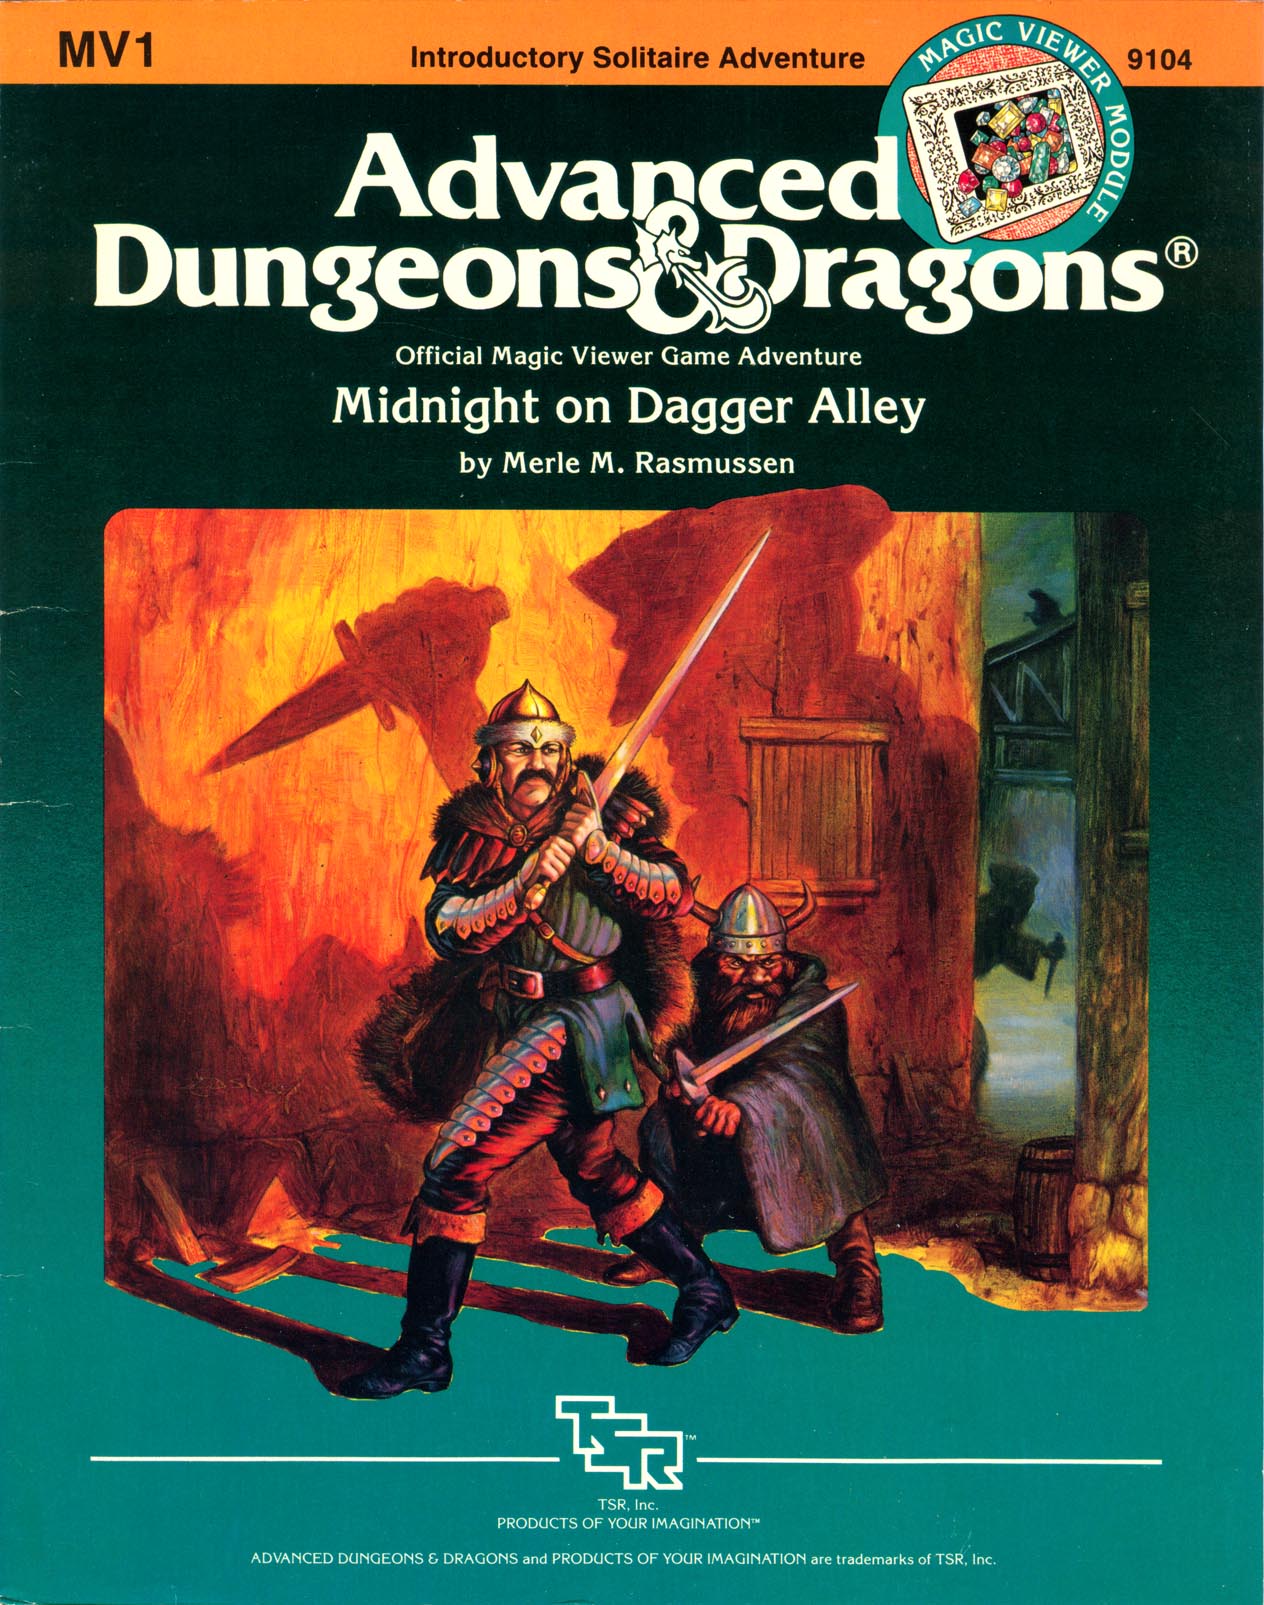
As darkness presses into the narrow, muddy alleys of Goldstar, silent shadows slip out of hiding. Now is the hour for cutpurses and cutthroats to creep into the night to do their work. Would-be victims bar their doors and lie sleepless in their dingy hovels waiting for dawn. Your task sends you into this dismal, dangerous place after sundown. No moon lights your steps as you scurry past yowling cats in smoke, fog-filled alleys. Above you and beneath you lurk unseen encounters. Somewhere ahead in the despairing gloom lies your goal, if you can survive Midnight on Dagger Alley. TSR 9104
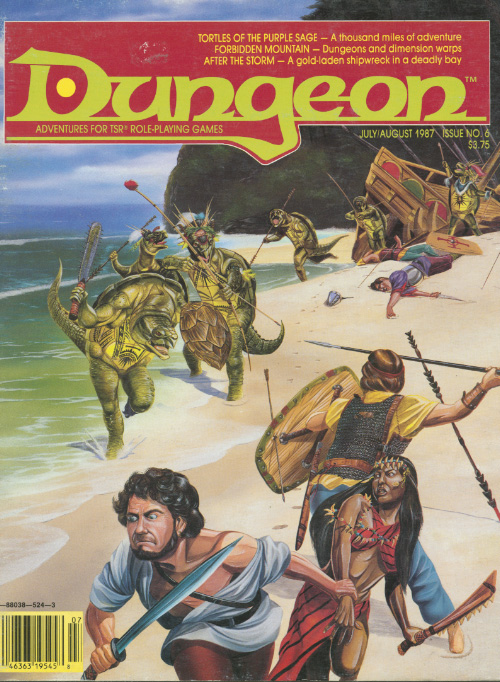
Part 1 of an Expert-level quest into a hostile wilderness. This adventure takes place in the Known World of the D&D game, as outlined throughout the D&D game rule books and modules. The DM may find it useful to consult the Companion and Masters Sets, as well as most of the X-series of Expert Set modules. D&D Expert Set module X9, The Savage Coast, would be especially helpful, as Tortles of the Purple Sage could easily serve and continue that module's direction and plot like, adding a previously undescribed area (the Great Northway) to the Known World. The DM may also place the areas and events of this adventure within an existing campaign setting, as long as the geographical areas of the campaign match those set forth here. Pgs. 40-62
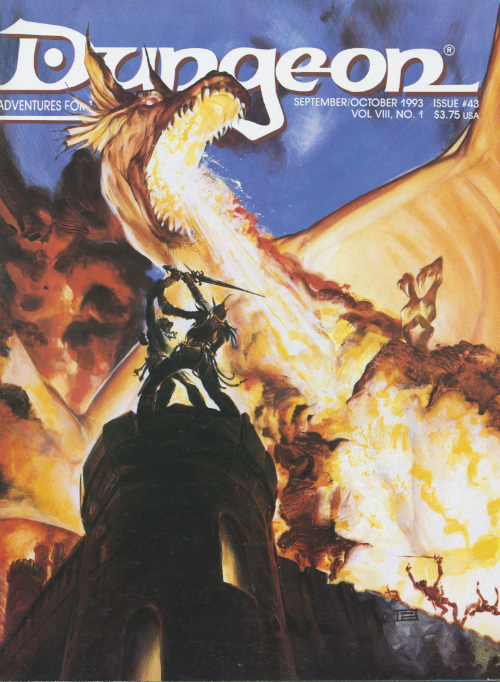
Some ports are more dangerous than the storm. It's alive, it's hungry, it's growing. And you're on the menu. Alone, out in the wilds with a savage winter storm bearing down on you, you need shelter to survive. You stumble through the trees and smell wood-smoke. Ahead you spot the small fortified trading outpost known as Jacob's well. You're not the only traveller to find themselves stranded here in the teeth of the storm. The only problem, someone has bought something with them, it's alive, it's growing, it's voracious and you are all on the menu. Think Aliens and The Thing and you're on the right track. Has potential to be scaled to suit a group of adventurers. Pgs. 8-23

The battle between the mighty undead army of the Witch-King of Vaasa and the forces of Bloodstone has come to a standstill. As long as the source of the Witch-King's power is at work, his evil forces will never be defeated! As the rulers of Bloodstone Pass, it is up to you to find and destroy the sources of Vaasa's power. All you have to do is journey to the Abyss, confront the mightiest demon of all, steal the Wand of Orcus, and take it to the Seven Heavens to be destroyed. The Throne of Bloodstone is the fourth and final installment in a series of modules specially designed for high-level characters. While it is not necessary to have played any of the three previous modules, The Throne of Bloodstone is the climax of an epic struggle for a kingdom against the forces of darkest evil. Recommended for characters of levels 18-100, The Throne of Bloodstone is the highest-level adventure ever published by TSR! TSR 9228

"Tyr is free! Tyr is free!" Such is the heady cry that echoes from the darkest warrens to the gleaming chambers of the Council in that ancient city. Now is your chance to savor life released from the oppressive gloom of the sorcerer-kings-but for how long? New forces threaten the newly-born independence of Tyr, as outside forces march upon the city. King Tithian is determined to resist, but there are others on the Council of Advisors less eager to risk their wealth and lives for the cause of independence. It falls upon you to help mobilize and lead the citizen-army of Tyr on the road to Urik. In Road to Urik, the city-State of Tyr has thrown off the yoke of the sorcerer-king Kalak and declared all slaves free, but the neighboring city-state of Urik is amassing its own armies to conquer Tyr. In the first part of the adventure, the PCs must negotiate with various factions of the city in order to win their support for the war effort. In the second part the PCs leading a scouting force ahead of the main army, and the choices and successes in the first part will affect the troops they lead here. Finally, they will need to fight and lure away the Urik army's own scouting force, letting the army of Tyr ambush them. The second and third part make heavy use of the Battlesystem rules, which were pushed pretty heavily in the early Dark Sun books. Like many Dark Sun adventures, the module makes heavy use of handouts that come in a flip-book along with the main adventure. This adventure is a sequel to Freedom. It stands on its own, but the plot of the adventure is based on the events of Freedom and the novel the Verdant Passage, so you can't really run them in reverse order. Much like Freedom took place concurrently with The Verdant Passage, Road to Urik takes place just before the events of The Crimson Legion, the second novel in the Prism Pentad. TSR 2406

An interesting and atypical adventure in its writing style. For one the module contains insightful "When things go Wrong" sections and DM guidance for sticking close enough to the rails for the story and fun's sake. Lots of DM hints about how to handle PCs' choices. Overall the story is fine too - a traditional hook, a mystery, some twists. There's a tower, a surprise pocket-dimension context, and a dungeon. It's mirror of life trapping, isn't it? Well, yes and no. People go in, and they don't come out. Nor can you talk with anyone inside. Somehow, that's not quite the way you remember those mirrors work. This Skarda fellow showed up a few years ago with a band of raiders, and no one in the land has been safe since then. Whole villages have disappeared into this Skarda's mirror. Your band is approached by relatives of one of the victims?and adventurer like yourselves. You have to get into that mirror of whatever-it-is, find this man, and get him out in one piece. The reward is more that adequate. Only problem is, no one out here can tell you what to expect once you get in? or even how to get there. TSR 9188

The penninsula of Wa is no place to visit. The land is poor, the people wary and suspicious. Yet this quiet backwater has been the site of strange disturbances - mysterious disappearances and omens of dire events to come. Why do the animals of Wa disappear, only to return a short while later? Who are the Blue Kumi bandits, and why are they so active? Why do the black geese fly into the Jusofu Mountains? And what fell creature lurks along the southern coast of Wa? Or does the stench of corruption emanate from the Celestial Bureacracy itself? Could the danger, unchecked, grow great enough to doom all living creatures in Kara-Tur? Which clues will lead to the truth, and which are merely traps for the unwary... Test of the Samurai will take the players across the Wa peninsula and to the unknown land of Qui. They will encounter such legendary beasts as the feng huang (phoenix) and the chi'-lin (unicorn) as they attempt to discover the secrets of Wa. Test of the Samurai is a scenario for the Oriental Adventures supplement to the AD&D game. It is set in Kara-Tur, the oriental world in the Forgotten Realms. Although Test of the Samurai follows the events of module OA6, Ronin Challenge, it is an independent adventure for five to eight characters of levels 6-9. TSR 9258
The player characters are contracted to go on an expedition to discover the fate of a long-lost tribe of Elves (the followers of King Thiondar). This is a lengthy adventure across several locations. Roleplaying is stressed, as some encounters will be very deadly if resolved through combat.
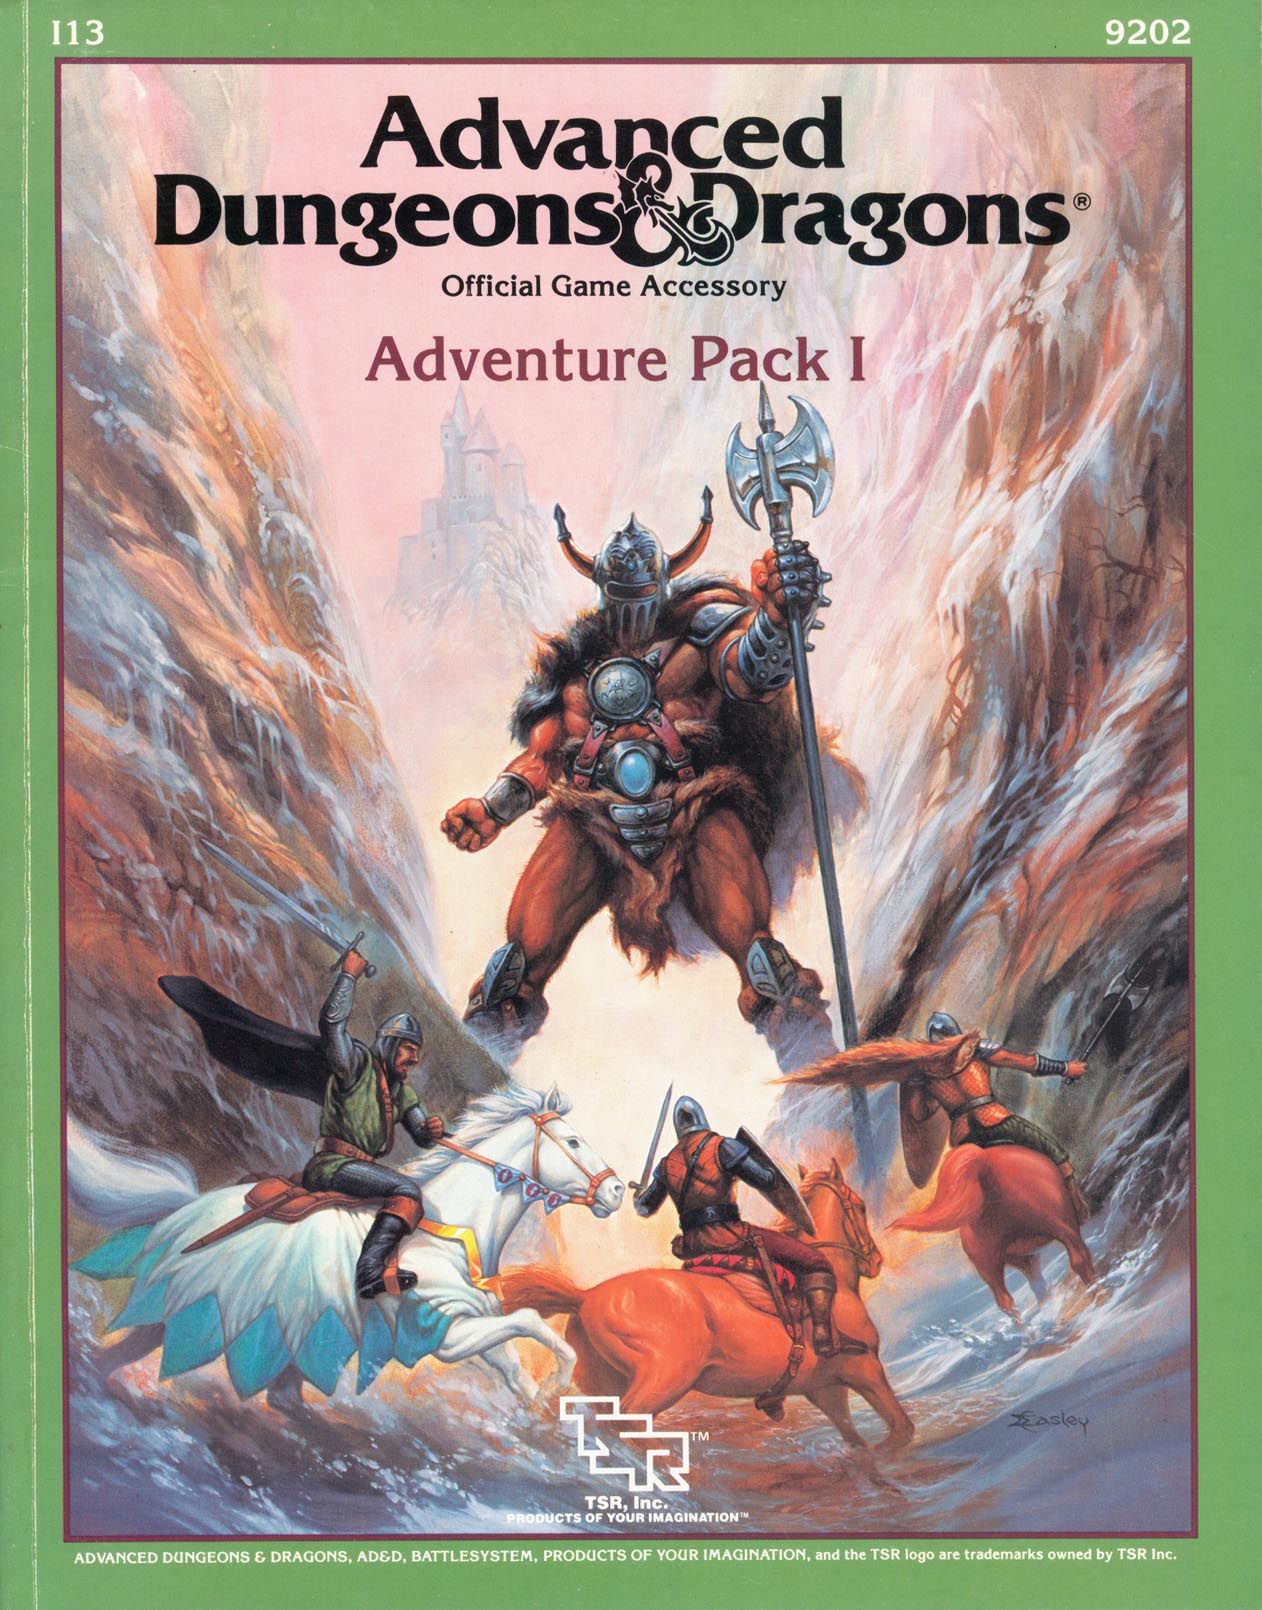
A walk in the woods, a trip to the zoo, a day at the circus - harmless enough, right? Wrong, as players will discover when things are not as they appear to be. Included in I13 Adventure Pack I - https://www.adventurelookup.com/adventures/i13-adventure-pack-i TSR 9202

The Heroes are relaxing in an inn when they hear a scream, rushing outside they find that a local merchant has been kidnapped! The merchant's wife saw the assailants drag him into an alley, where the heroes give chase. Following the villains through a maze of natural fissures, tunnels, and ancient ruins they encounter a number of monsters, traps, and puzzles. Eventually they make their way to the kidnappers hideout, where they confront the kidnappers in a final climatic battle to rescue the merchant and uncover a criminal gang.

A knife flashes in the darkness. You never see the face of your attacker. The adventure begins. Their spirits trapped by a cursed magical weapon, the heroes find themselves imprisoned on the surreal domain of Aggarath. Here, they must explore the mind of Chardath Spulzeer, the isane lord of the realm. Somewhere in his shattered dreams and tormented memories lie secrets that may enable the adventurers to escape. This product may be used with the Forgotten Realms Castle Spulzeer game adventure. TSR 9537, from 1997

While Maeshi province revels in the festival spirit, clouds gather over the political scene. Two warlords are vying for control of this otherwise peaceful place, and you are guests of one of them. Sun Temple officials have offered complete support to the faction which successfully travels to Ito-jo Castle (said to hold relics of great importance to the Sun Temple), brings them back safely, and returns them to the Inn of the Globefish. The plan is laid before you. You are to leave immediately under secrecy for the castle of the Ito clan, also known as the Seven Swords clan. Find the relics, and return them to the renowned inn Doi no Fugu. Extreme caution is needed here, for your warlord's rival must not hear of this! Is the castle really haunted? What lies in the caverns beneath it? Will Korimori's troops discover your plan and try to wrest the relics from you, should you even get that far? What will you find at the Inn of the Globefish? Come, honorable stranger - the Seven Swords await! This module contains an extended adventure in four parts: Ito-Jo, The Ghost Castle Beneath The Ghost Castle A Day In The Country Yakuza's Honor TSR 9186
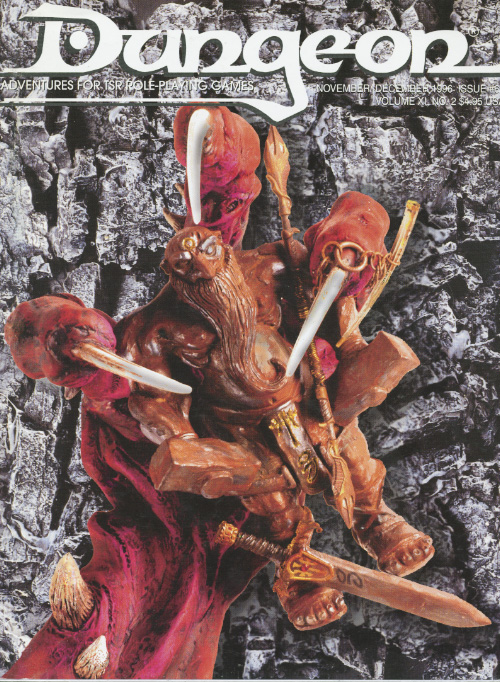
Can you stop the haunting before tea? The ghosts of two warring wizards are trapped in the basement of the house. It is up to the party to end this old feud. Pgs. 68-70
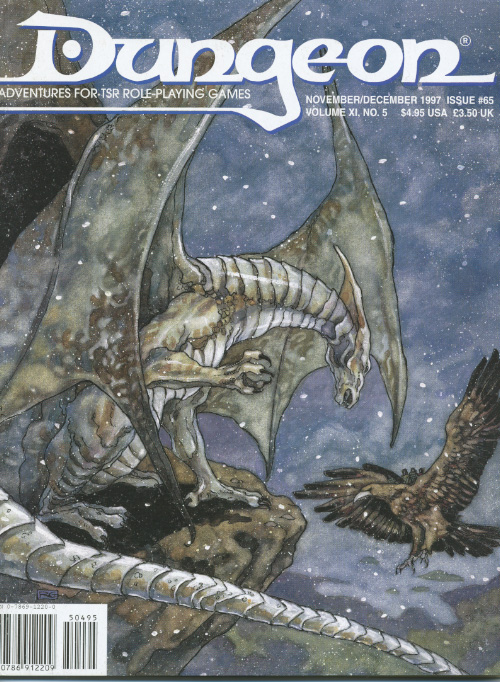
Lambs to the slaughter. A lonely cottage hides a dreadful secret. While searching for a place to make camp for the night, the party is drawn to a clearing by sound of bleating lambs and the smell of a wood fire. In the clearing is a rustic cottage and tethered around it are a dozen lambs, forming a ring around the house. The owner is a reclusive cleric who contracted lycanthropy about a year ago when his camp was attacked by a marauding werewolf. Though he recovered from his injuries, on the next full moon he transformed and attacked his companions. In the aftermath he resigned himself to a life of isolation, believing that his faith will cure the curse. This is a short adventure, just a single combat encounter where the werewolf attacks the party. If the werewolf isn't killed outright there is a roleplaying opportunity and the potential for the party to seek a cure. Although the adventure is set in the Forgotten Realms campaign, it can be readily adapted to any setting. Pgs. 66-69

Along the caravan routes that tie the Cities of the West to the Kingdoms of the East, many tales are told of the mountains called the Towers of the Sun. One of these legends concerns a dark road said to be hidden among the twisty trails that spiderweb the mountains. Into the earth the road leads, into and through a series of vast caverns filled with treacherous traps and cunning monsters. Yet dangerous though the path is, many a party of adventurers have been tempted to walk it, for the stories say that the loot of a hundred lost caravans lies concealed along that evil way. [Comment: Uncertain for what levels of play this adventure is designed]

"The adventure begins with the PCs lost in the streets of Sigil's Lower Ward." --from the module. The PCs are approached by a tiefling telling them about a job. The tiefling's employer wants the heroes to search for a child who is rumored to be some sort of chosen one from an ancient prophecy. Includes a map of Durkayle's Stronghold, a map of the Black Sail Tavern, a map of the Screaming Tower, and an isometric map of Zactar Cathedral.
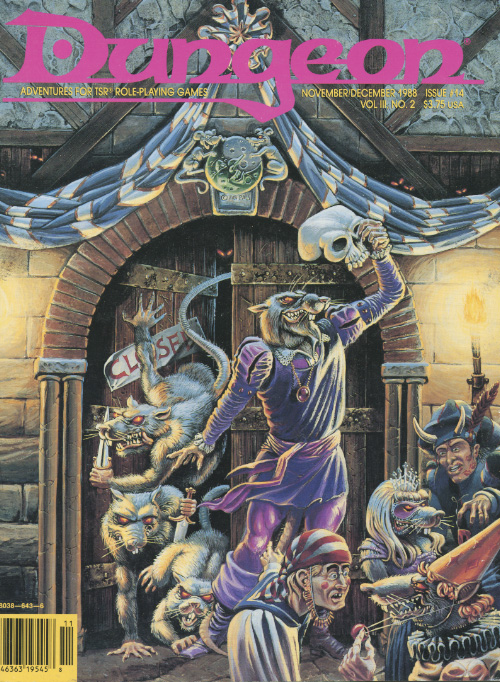
The hunter becomes the hunted. Monsters prowl the hills, but you never see more than one at a time. The players will need to hunt down a polymorph monster. In order to confront it, they'll need to fight through its lair. Pgs. 4-13
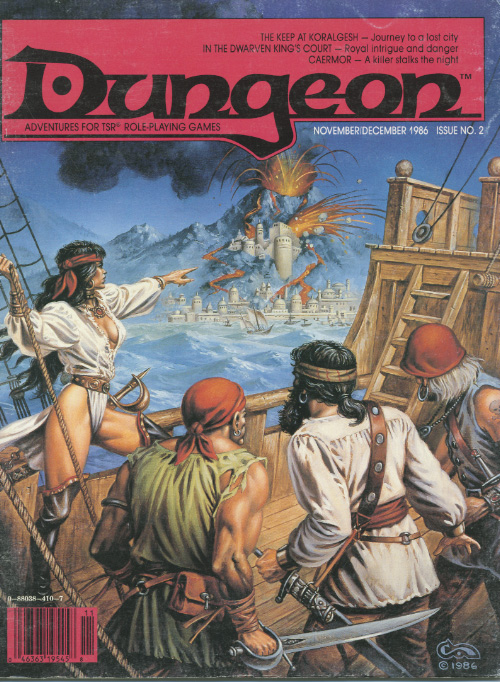
Buried in fire, but hardly dead. Only the Keep survived the destruction of Koralgesh, but few adventurers will survive the terrors that now stalk the lost Keep's halls. Players hear rumours of the Keep at Koralgesh and then traverse it to acquire the treasure within. Pgs. 45-64
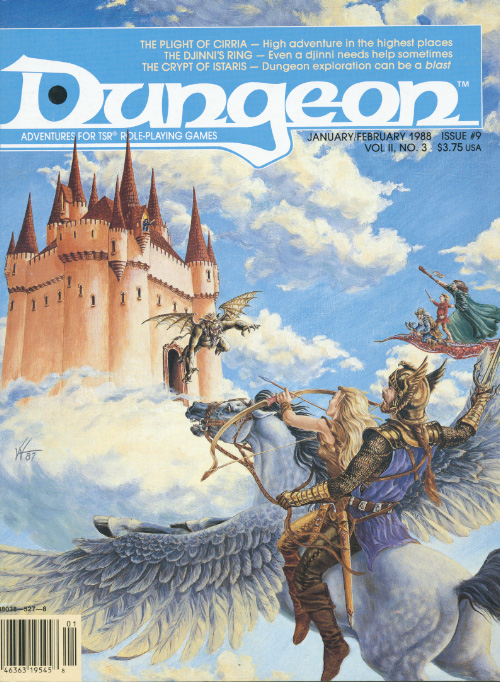
An Arch-Mage who can kidnap a dragon is one tough Arch-Mage. Definitely not for those who are afraid of heights. An evil archmage, Ezoran, has kidnapped a dragon in order to discover the means to seize control of a cloud giant's castle. The adventures are tasked with rescuing the dragon by the dragon's mate. The adventure revolves around tracking and navigating through dense jungle and working through a cloud giant's fortress. Pgs. 50-63

The Sword of the Dales, an icon of the Dalelands symbolizing the unity and strength of the people, has reappeared! Created by Shraevyn the weapons-mage hundreds of years ago, the lost Sword had become nothing more than a fantastic children's tale - until now. A group of warriors led by Randal Morn, rightful ruler of Daggerdale, rushed to the Sword's resting place to recover it, but dark forces awaited them, and Randal and his men fell to an ambush. Only one man escaped, yet he brought with him the hope that Randal Morn yet lives. Resolved to rescue his leader, that lone survivor turned to the great Elminster of Shadowdale for aid. But Elminster is gone, off plane-hopping while the fate of Daggerbale hangs in the balance. Hence, it is up to Lhaeo, scribe to the old mage, to find a group of heroes who have mettle enough to face down the menace which claimed Randal Morn and his hearty followers... This is the first of three adventures that grant player characters the opportunity to determine the fate of Daggerdale. The saga continues with "The Secret of Spiderhaunt" and concludes with "The Return of Randal Morn." TSR 9484