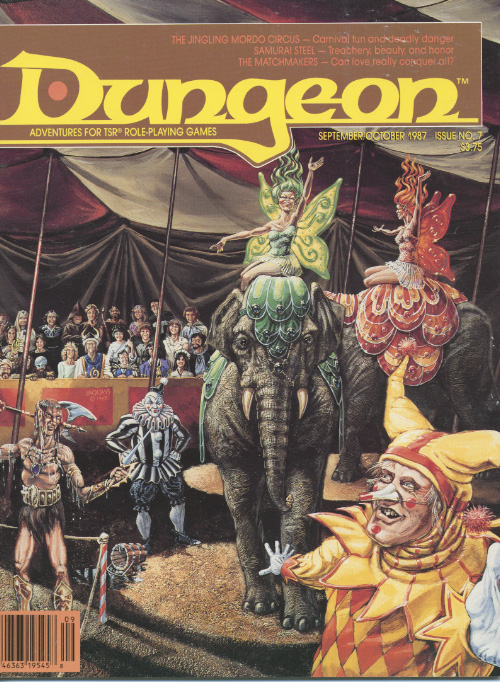
Tortles of the Purple Sage - Part 2 completes a D&D Expert Set wilderness adventure which began in DUNGEON issue #6. Through the gate stones, into the unknown. This adventure takes place in the Known World of the D&D game, as outlined throughout the D&D game rule books and modules. The DM may find it useful to consult the Companion and Masters Sets, as well as most of the X-series of Expert Set modules. The DM may find it useful to consult the Companion and Masters sets, as well as most of the X-series of Expert Set modules. Expert Set module X9, The Savage Coast, would be especially helpful, as Tortles of the Purple Sage should easily serve to continue that module's direction and plot line, adding previously undescribed areas to the Known World. The DM may also place the areas and events of this adventure within an existing campaign setting, as long as the geographical areas of the campaign match those set forth here. Pgs. 8-25
Dirty rotten scoundrels. Carn Perrin needs an exterminator. A city is plead with ware rats. Its up to the party to find their lair and kill the rat king. Pgs. 38-55
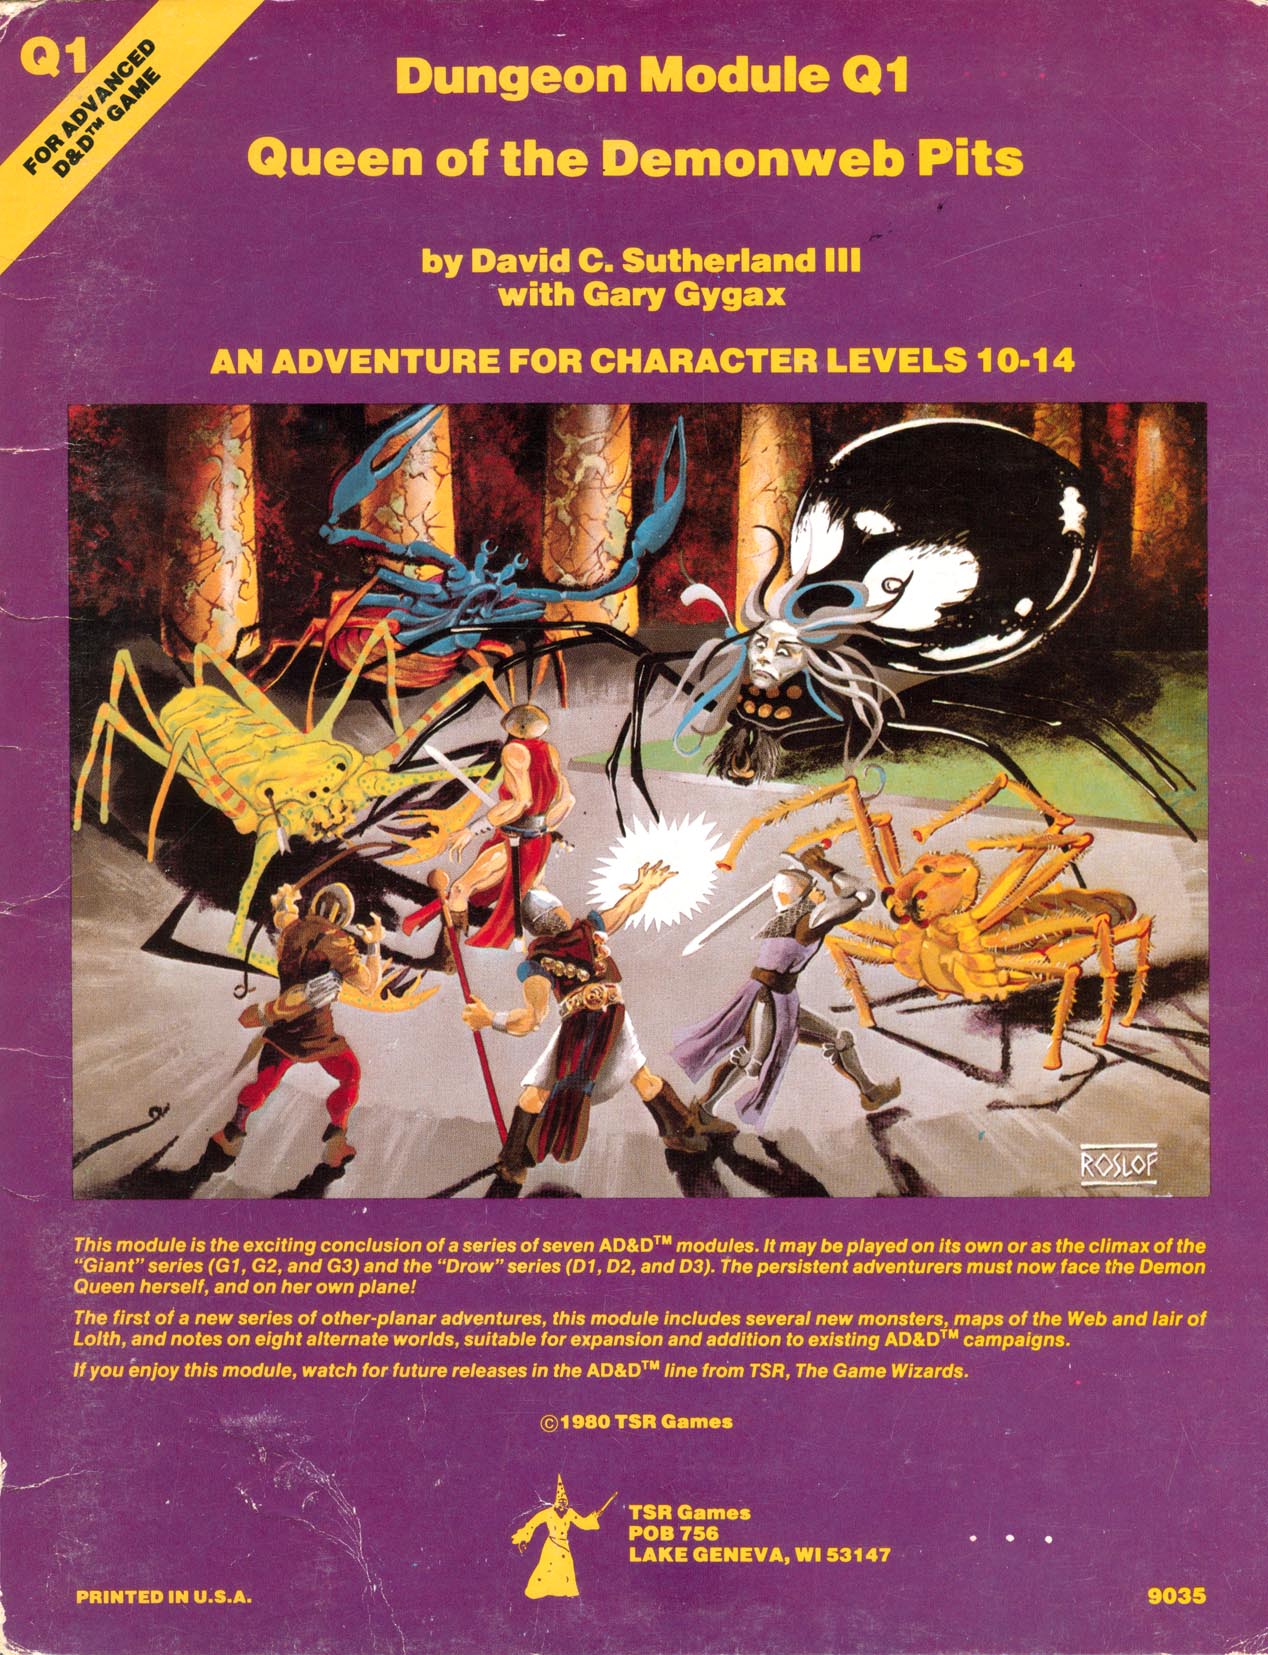
How different things seem now from when you undertook the crushing of a few rebellious hill giants! What seemed a simple adventure has turned into a major expedition. Much time has passed since you discovered the conspiracy that led you to the frost giants, fire giants, and eventually to the long-forgotten Drow. Through your encounter with the dark elves, you have found the true source of the evil -- the demon queen Lolth! This module is the exciting conclusion of a series of seven AD&D modules. It may be played on its own or as the climax of the "Giant" series (G1-G3) and the 'Drow' series (D1-D3). The first of a new series of other-planar adventures, this module includes several new monsters, maps of the Demonweb and lair of Lolth, and notes on eight alternate worlds, suitable for expansion and addition to existing AD&D campaigns. TSR 9035
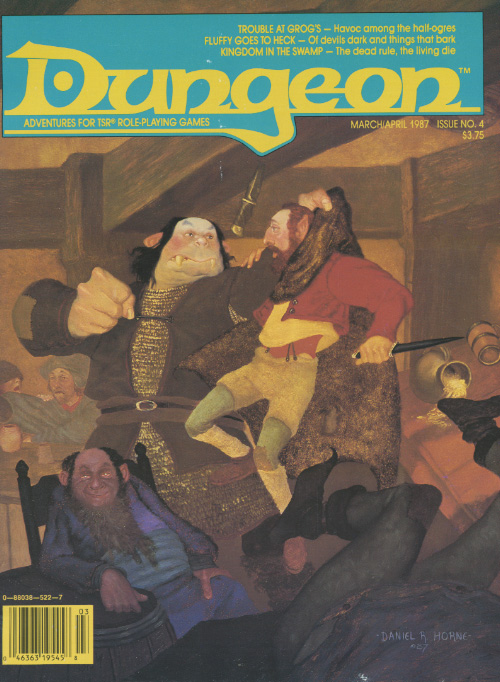
A little beer, a little trouble, a little party on the rubble. Can't a half-ogre find a little peace in the riverside town full of adventurers, bigots, and thieves? "'Trouble at Grog’s' presented something no one ever expected to see: a sympathetic half-ogre. All Grog wanted to do was settle down as proprietor of the Happy Half-Ogre Inn and Tavern. Little did he know his success would rub the competition the wrong way, leading to some 'inn-fighting' with the owner of the rival Dagger Rock Tavern, Yuri Kineron." - Christopher Perkins Pgs. 41-64

In part one of the Randal Morn Trilogy, "The Sword of the Dales," the legendary leader of Daggerdale, Randal Morn, was captured by unknown assailants as he sought to regain the great weapon for which that adventure was named. A stalwart band of enthusiastic heroes was recruited to ride to his aid, yet all they recovered was the Sword itself and a message: "Seek me in Spiderhaunt Wood." In the second part of the trilogy, "The Secret of Spiderhaunt," those same adventurers found Randal and freed him briefly, yet he was almost as quickly torn from their grasp by an agent of the evil Zhentarim, seeking to end the threat of Randal Morn's return to power. In this final episode, the heroes must follow the kidnapper's trail and rescue Randal Morn again before the Zhentarim finish interrogating him and the axe falls upon his neck. Armed with the Sword of the Dales and aided by a powerful spirit that lives within the weapon, the heroes must march into the heart of Zhent-occupied Dagger Falls, free Randal Morn, and save the city from utter destruction. The job is dangerous - perhaps more than the heroes can handle - yet those who would live in songs and legends cannot concern themselves with living to a ripe old age! This is the final part of a trilogy of modules that began with "The Sword of the Dales" and "The Secret of Spiderhaunt." TSR 9488

After hiring a group of brave adventurers to help him "acquire" a beholder specimen, the mage Velinax disappears! Rumors blame an insidious thieves' guild called the Unblinking Eye for this turn of events. Why would the Unblinking Eye wish to "take care" of the mage? Why does the guild want to speak to anyone involved with Velinax? Finally, what dark goal does the guild truly intend to accomplish? Finding out the answers to these questions will lead doughty adventurers straight through the shadows of a crafty thieves' guild and onto the threshold of an even deeper and more dangerous darkness. "Eye of Doom" is the second of three adventures featuring the nightmarish beholder. It can be played as an individual mission or as part of the series that began with "Eye of Pain" and concludes in "Eye to Eye." TSR 9530

You are hired by a merchant to protect a rare item, a crystal crown, for one night against the attempts of the city's thieves guild. The arrogant guildmaster has informed the merchant that he will steal the crown and he cannot be stopped. Continues in Part 2 in Polyhedron #23 Pgs. 13-20

Forlorn is a dreary yet dangerous place, a land of secrets and whispers. Visitors can expect to find no safe rest, no respite from the terrible creatures that plague this land. The skies are perpetually overcast and the land is damp with rain. By night, sheet lightning illuminates the sky in ghastly colors. Even if the intrepid adventurers who come to explore Forlorn know that the lord of this domain is forever trapped within his strange castle, they should take small comfort from it. Servants of Tristen ApBlanc roam freely, and the land itself is horribly twisted. The encounters in this book are designed to offer an introduction to Forlorn and provide clues about both its lord and his home. Melancholy Meetings is intended to be used before the castle adventure book, Eve of Sorrows, but it's not necessary for the PCs to experience all of the encounters in this book before embarking upon the next. Included in Castles Forlorn - https://www.adventurelookup.com/adventures/castles-forlorn TSR 1088, from 1993

In Mulcrow, food - not music - soothes the savage beast. The adventure begins in the town of Griffondale whre the PCs encounter Jelmark, an emissary of the Duke of Mulcrow. Jelmark hires the party to help the witch Rudwilla prepare a special stew for a cantankerous bugbear chief who lives in the Rockforge Mountains. Bruggh the bugbear demans the stew once a year on his birthday.-- from the adventure. Pgs. 34-48

Civil War Unrest. Turmoil. Rebellion. As above, so below - the cataclysmic events of the Wrath of the Immortals echo throughout the Hollow World setting. The Milenian Empire, with its classical Greek culture, has not escaped. Already the streets are un-safe, and the omens are getting worse... The emperor is dead... long live the emperor! But is the new emperor a man of the people, or a tool in the hands of malevolent powers? Walk carefully, for no stranger is safe upon the streets these days, and adventurers least of all! The mood of the capital city is turning ugly. Minions of the new emperor look on uncaring, while citizens disappear and philosophers fall to heedless mobs. The old emperor's elite guards are disbanded and scattered. Disorder reigns, and restless citizens threaten open revolt. And yet... a whisper is heard. Civil war can be averted. An ancient artifact, the Milenian Scepter, can rally those who would serve the Empire best. But the Scepter has been lost for generations, and who can say where it might be? The trail leads into the depths of the city, and across a dangerous wilderness to a forgotten oracle. For the lucky and the bold, perhaps it will lead to... THE MILENIAN SCEPTER This stand-alone adventure is compatible with the Wrath of the Immortals boxed set and the accessory HWR3, The Milenian Empire. You will need the D&D Hollow World boxed set to play this adventure. Easily adaptable to the AD&D game. TSR 9378
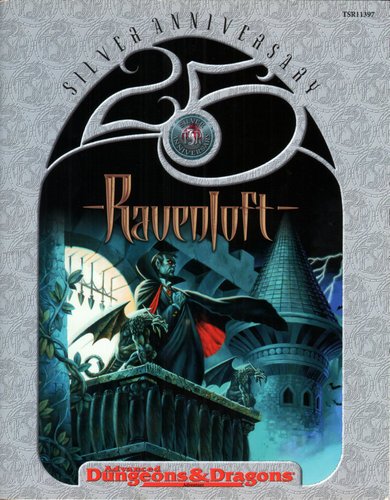
Under raging storm clouds, a lone figure stands upon the ancient walls of Castle Ravenloft. Lightning splits the sky, its cold light revealing a tall form wrapped in a billowing cape of shadows. Another flash exposes a face full of power and madness, contorted by a tragedy darker than the night. Far below, a party of adventurers has entered his dread domain. He smiles. Another lightning bolt rips through the night, but the figure is gone. Only a howling wind fills the midnight air. The master of Castle Ravenloft is having guests for dinner - and you're invited! Originally published in 1985, this classic adventure for four to eight characters of levels 5 to 7 mixes elements of gothic horror with AD&D fantasy for a unique experience. Updated to 2nd Edition, Ravenloft features a haunted castle, gypsy fortunetellers, a tragic back story, and a vampire who is as powerful and intelligent as he is frightening - a menace worthy of the bravest adventuring party! TSR 11397, from 1999
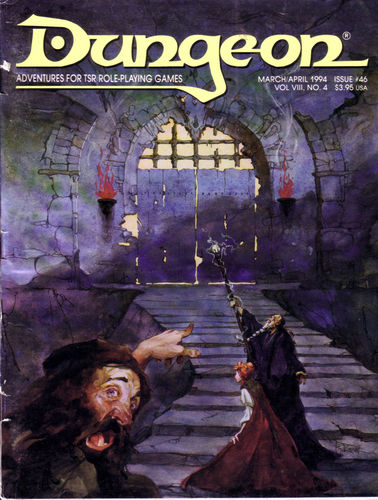
If the drought doesn't get you, the goblins will. The river has mysteriously run dry and the farmers' crops are in peril. Locals are convinced a nearby tribe of goblins are responsible, and have offered a reward to anyone brave enough to sort it out. While they were correct about the goblins causing the drought, they were wrong about the reason. The chief of the goblin tribe is an enthusiastic fisher and a particular fish, Salvel the Talking Trout has continually eluded him. This adventure has a humourous tone and emphasises role-playing and negotiating. Pgs. 8-21 & 49

Into your hands has been thrust a great responsibility: the management of a growing domain. It has been a hard winter. Now, with the coming of spring, the populace looks to you for leadership. It will take a careful and generous hand to restore your subjects' confidence. But even as you hold your first courts of the new season, an ominous shadow falls across the land. Earthshaker - wonder of the world - has arrived! Will its arrival be a curse or a blessing? With bold action and skillful diplomacy, you may yet divert disaster. But if you fail, the consequences will certainly be the subject of many a minstrel's tragic songs for years to come! "Earthshaker" includes a complete dominion setting, new player characters and NPCs, and complete material on one of the greatest marvels of the world - the giant and unstoppable Earthshaker! TSR 9128
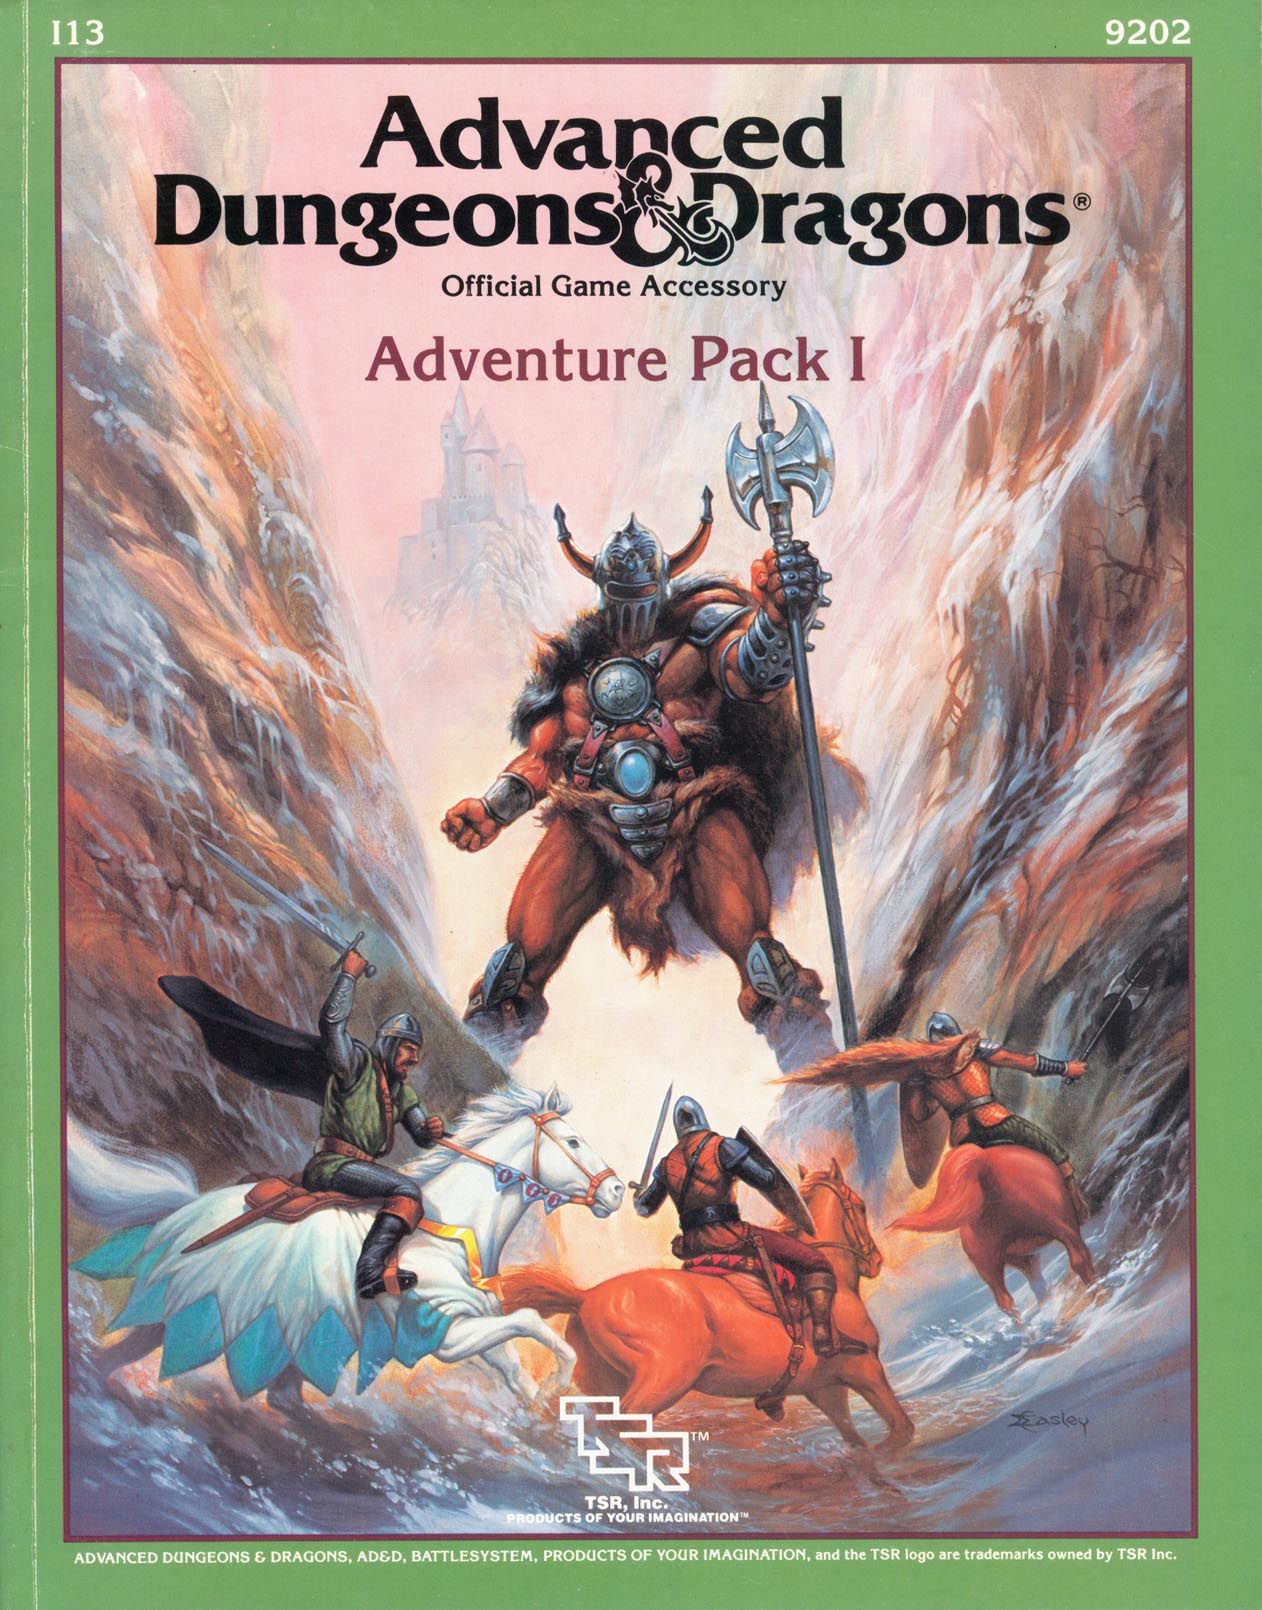
Titles and lands are the reward, a watery death is the penalty for failure in this swashbuckling adventure of intrigue and danger on the high seas. Included in I13 Adventure Pack I - https://www.adventurelookup.com/adventures/i13-adventure-pack-i TSR 9202

This module was originally used for the AD&D Tournament at Origins '79. Your party is lost! You should never have abandoned the ship and struck out into the marshes, but your pursuers were closing on your trail, and it seemed the only way. Stumbling onward through the fens, your party makes for higher ground ahead. As you cross the ridge, you see a clearing before you. There in an ancient ruin - a worn and overgrown pyramid fills the courtyard, shining in the moonlight, seeming almost brighter than the moon itself. TSR 9032

Upon the horse plains of Nova Vaasa, the Koshka Bluffs rise from the earth like gigantic, misshapen tumors. They give up stone to feed the sheer walls of Castle Faerhaaven, but lately they have yielded stranger objects: figurines, coins, and other odd artifacts, which curse those foolish enough to claim them. Now, the ancient priestess Sachmet has awakened from a timeless sleep to come and take them back.... TSR 9452

This short adventure is set in the Ravenloft domain of Lamordia where the PCs find themselves trying to save a beautiful maiden from the mad scientist, Dr. Victor Mordenheim, who is trying to restore life to his dead wife. TSR 9336
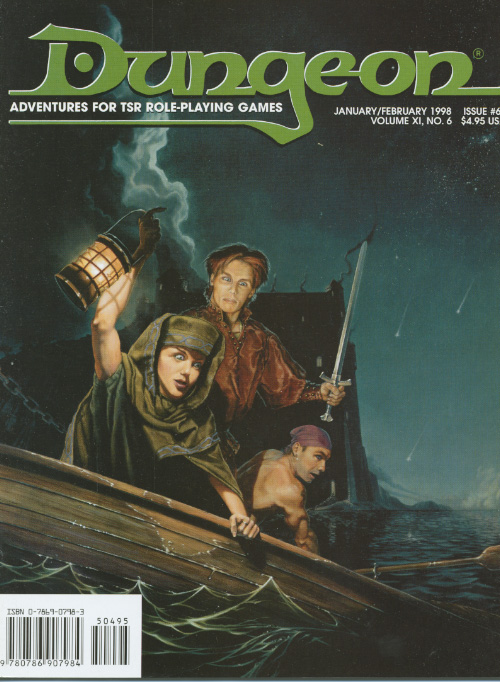
Tyger, tyger... A search for a small child in the woods outside of the town of Launise, a case of mistaken intentions, and the despoiled ruins of a forgotten goddess of magic. Cursed is the beast that stalks the Black Forest in... Orange and Black! Pgs. 66-71
Things are darkest before they go totally black. He wears black, hires orcs, and looks depraved - but don't be fooled. He's far more dangerous than he seems. Thaddigren Dentiata recently arrived in the village of Sisak, and within 3 months had constructed a great tower on the outskirts. The villagers have become more wary of him, since he employs the help of orc henchment (albeit polite ones), and also is suspected of using dark magic. Since then, livestock has begun disappearing from the surrounding pastures, and two drunk men fell upon a terrible fate when they went to investigate the tower secretly. One was killed and the other remains missing. The villagers have confronted Dentiata, but he and his henchmen politely turned aside their questioning. The players arrive just after one of the town elders was taken by orcs from the village after trying in vain to rally the rest of the townspeople. The players will spend some time in the village gathering information and then attack the tower itself, ending in a final battle with the evil wizard. The module provides details on all buildings in the town as well as all NPCs and stores. Pgs. 6-24

The PCs answer a call for heroes by the Church of Traladara, asking for help in finding an ancient relic- the Shield of Halav. This is located in a lost temple, and the PCs must locate this temple, and brave its dangers to recover the shield before two competing teams from other churches find it first. Part one involves setting up the adventure, doing research, following clues, and discovering the site of the lost temple. Part two; once the site is known (ruins under a modern town) the heroes must travel there and find the entrance. Part three is braving the lost temple, filled with traps, puzzles, and other dangers, to find the missing shield, and then culminating in a climatic showdown with the completing teams.