
Civil War Unrest. Turmoil. Rebellion. As above, so below - the cataclysmic events of the Wrath of the Immortals echo throughout the Hollow World setting. The Milenian Empire, with its classical Greek culture, has not escaped. Already the streets are un-safe, and the omens are getting worse... The emperor is dead... long live the emperor! But is the new emperor a man of the people, or a tool in the hands of malevolent powers? Walk carefully, for no stranger is safe upon the streets these days, and adventurers least of all! The mood of the capital city is turning ugly. Minions of the new emperor look on uncaring, while citizens disappear and philosophers fall to heedless mobs. The old emperor's elite guards are disbanded and scattered. Disorder reigns, and restless citizens threaten open revolt. And yet... a whisper is heard. Civil war can be averted. An ancient artifact, the Milenian Scepter, can rally those who would serve the Empire best. But the Scepter has been lost for generations, and who can say where it might be? The trail leads into the depths of the city, and across a dangerous wilderness to a forgotten oracle. For the lucky and the bold, perhaps it will lead to... THE MILENIAN SCEPTER This stand-alone adventure is compatible with the Wrath of the Immortals boxed set and the accessory HWR3, The Milenian Empire. You will need the D&D Hollow World boxed set to play this adventure. Easily adaptable to the AD&D game. TSR 9378
Lambs to the slaughter. A lonely cottage hides a dreadful secret. While searching for a place to make camp for the night, the party is drawn to a clearing by sound of bleating lambs and the smell of a wood fire. In the clearing is a rustic cottage and tethered around it are a dozen lambs, forming a ring around the house. The owner is a reclusive cleric who contracted lycanthropy about a year ago when his camp was attacked by a marauding werewolf. Though he recovered from his injuries, on the next full moon he transformed and attacked his companions. In the aftermath he resigned himself to a life of isolation, believing that his faith will cure the curse. This is a short adventure, just a single combat encounter where the werewolf attacks the party. If the werewolf isn't killed outright there is a roleplaying opportunity and the potential for the party to seek a cure. Although the adventure is set in the Forgotten Realms campaign, it can be readily adapted to any setting. Pgs. 66-69
The giants are only a half-mile away - straight up. Giants and humanoids that sail down from the heavens? Where could they be coming from? No base town or general area map has been provided, as this adventure can take place anywhere and can be easily integrated into any existing campaign.The DM should make sure that the town in which the PCs start is large enough to provide most anticipated supplies, spells, and services. This module is not a simple hack·and slay expedition. It also involves diplomacy and wit; if the PCs attack everything in sight, they may be destroyed. But the adventure is not entirely negotiation, for it has a good share of hearty dungeon exploration as well. Pgs. 4-23

Your cousin Rolph is dead - and while there is cause for sadness, there is also cause for celebration. As his heir, you were willed his dominion: Fenhold. Of course, the Deep Swamp is threatening to engulf all of your new holding. People are seeing ghosts and disappearing mysteriously. Animals die without reason, and crops are suddenly blighted. The farmers don't like the swampdwellers, the swampdwellers don't like the farmers, and no one likes the halflings. The entire civil service of the dominion seems to have either worked for the failure of the dominion or resigned due to actions of the others. It's going to be tough task to make all this ship-shape once again, but you're 15th level now. Isn't it about time you settled down? TSR 9210

Beware the cat-men's fury! This entry-level module pits a single player character of 2nd to 4th level against samurai cat-men. Rage of the Rakasta is specially designed as a one-on-one for a single DUNGEON MASTER and one player. It can also be played by a DM and a group of players or by a single player without a DM. Rage of the Rakasta takes place in the Thunder Rift game setting. It can be played by itself or as part of a campaign with other modules sharing the same setting: Quest for the Siver Sword, Assault on Raven's Ruins, Sword and Shield, Knight of Newts, and the forthcoming In the Phantom's Wake. TSR 9435
No treasures here just lying around to be taken. This tomb's riches fight back! Never mind the guardians. Watch the loot! A new tomb has recently opened for business in your area! The wealth of a wizard's lifetime can be yours! Defeat his traps! Slay his guardians! Zathis the Insightful took a century to collect these marvelous treasures. Now they can be yours in a matter of hours! Pgs. 10-25

Step right up, ladies and gentlemen... A carnival of laughs, thrills - and terror. "Sometimes an adventure comes along that tackles a particular idea or theme so well that it pretty much closes the door on other submissions of its kind. Such is the case with 'The Jingling Mordo Circus.' Owner and ringleader Max Mordo, an evil wizard, uses the circus as a front for his kidnapping schemes and his magic to turn his victims into sideshow monsters. It’s the first and only circus Dungeon has published." - Christopher Perkins Pgs. 48-63

"Tyr is free! Tyr is free!" Such is the heady cry that echoes from the darkest warrens to the gleaming chambers of the Council in that ancient city. Now is your chance to savor life released from the oppressive gloom of the sorcerer-kings-but for how long? New forces threaten the newly-born independence of Tyr, as outside forces march upon the city. King Tithian is determined to resist, but there are others on the Council of Advisors less eager to risk their wealth and lives for the cause of independence. It falls upon you to help mobilize and lead the citizen-army of Tyr on the road to Urik. In Road to Urik, the city-State of Tyr has thrown off the yoke of the sorcerer-king Kalak and declared all slaves free, but the neighboring city-state of Urik is amassing its own armies to conquer Tyr. In the first part of the adventure, the PCs must negotiate with various factions of the city in order to win their support for the war effort. In the second part the PCs leading a scouting force ahead of the main army, and the choices and successes in the first part will affect the troops they lead here. Finally, they will need to fight and lure away the Urik army's own scouting force, letting the army of Tyr ambush them. The second and third part make heavy use of the Battlesystem rules, which were pushed pretty heavily in the early Dark Sun books. Like many Dark Sun adventures, the module makes heavy use of handouts that come in a flip-book along with the main adventure. This adventure is a sequel to Freedom. It stands on its own, but the plot of the adventure is based on the events of Freedom and the novel the Verdant Passage, so you can't really run them in reverse order. Much like Freedom took place concurrently with The Verdant Passage, Road to Urik takes place just before the events of The Crimson Legion, the second novel in the Prism Pentad. TSR 2406

The dragonmen have taken Solace. Its beautiful tree houses lie black and battered amid the stumps of great vallenwood trees. Kapak Draconians, armed with poisoned weapons, enforce a brutal martial law on the survivors. And Solace is only one outpost: the dragon armies control the plains. Only the elven kingdom of Qualinesti stands unconquered. The rest of the plainsmen suffer the most: a long slave caravan hauls hundreds of them to the fortress prison of Pax Tharkas. "Dragons of Flame" is the second in TSR's series of Dragonlance adventures for use with the AD&D game system. Your players will adventure in the world of Krynn and visit strange places such as Qualinost or the Sla-Mori, encountering bizarre draconians and disgusting Aghar. They can play the modules as a set of separate adventures or as a great quest that spans the entire Dragonlance story. Art by Jeff Easley. TSR 9132

A shrewd, spell-using green dragon has taken over the deepest chamber of a limestone cave as his lair. The dragon has persuaded a tribe of troglodytes to live in the outer chambers as a sort of "protective buffer" in return for gifts of magical treasure. The troglodytes cherish the useless bits of magic without realizing their modest worth. The outer chambers of the cave are protected by the troglodytes, the beetles and centipedes the troglodytes raise as cattle, and wild creatures. The green dragon uses traps, illusions and magical devices to protect his inner chamber. Wyrmhaven is the second dragon's lair to conquer. Part of TSR 1073 The Dragon's Den

A light in the Belfry is the first RAVENLOFT adventure to feature an Interactive Audio CD. As player explore Morgorth's dreadfilled manor, they will actually hear the lamentations of tortured spirits, the clash of swords and thunderous roar of magic. With almost 100 tracks of dialogue, sound effects and mood music, TSR's Interactive Audio CD Adventures add a new dimension to the horror of Ravenloft. TSR 9494

Welcome to the picturesque village of Eveningstar, nestled at the foot of the Stonelands where the River Starwater winds down a gorge and snakes into the King's Forest. Here, the Knights of Myth Drannor began their famous adventures. Here, the Ladies of the Brazen Blade, The Company of the Singing Sword, The Steel Shield Band, and many other came, clutching royal charters from King Azoun with the ink scarcely dry on the parchment. Some fell, some went on to greatness-but they all came here first; to the Haunted Halls. Despite numerous infiltrations, the Halls have not yet yielded all their secrets or treasures. Many dangers lurk as deadly as ever in dark chambers herein, awaiting new companies of eager-eyed adventurers. Is it your turn to dare The Haunted Halls? Many come, but few survive to again see Eveningstar's beauty. Welcome, then. Enter in, and find in these pages: A challenging introductory level dungeon. A detailed countryside setting, including important local personages, local color, and guidelines for play. Suggested campaign plots and adventures. New spells. New magical items. New monsters. A splendid campaign can begin here. Adventurers in an ongoing campaign can stop by for a memorable visit. Those looking for an underground stronghold may even find a home in the Haunted Halls of Eveningstar. TSR 9354
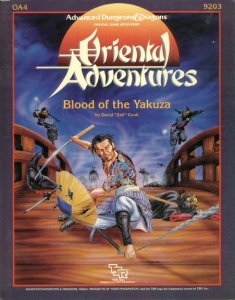
In the port city of Nakamaru, the masks of deceit and treachery embroil the entire city. Plots and counterplots, loyalties, revenge...all can be found in this city of Wa. You have been thrust amidst this cauldron of intrigue. You must pick your loyalties with care. Will you side with one of the yakuza gangs in their secret battle for control of the streets? Will you throw your fate into the political whirlwind that surrounds the powerful families of Nakamaru? Will you sohei battle his rivals for the hearts of the people? Blood of the Yakuza is an adventure for use in your Oriental Adventures campaign. It includes a colorful map of Nakamaru and descriptions of the major NPCs, districts, and factions of the city. All of these make Nakamaru an exciting and dangerous place for adventure! TSR 9203
It's only a flesh wound. This roadkill isn't as harmless as it looks. Reports abound of brigands and hobgoblins attacking travelers in the area. Though there were brigands, the attacks are the work of a Thoul (magical combination of a hobgoblin, ghoul, and troll). The Thoul is playing dead in the road to attract prey. It has been doing this successfully for a number of days now with the help of its mate, a second Thoul hiding nearby. The PCs must defeat the Thouls to keep the road safe for travelers between the local towns. Pgs. 26-27
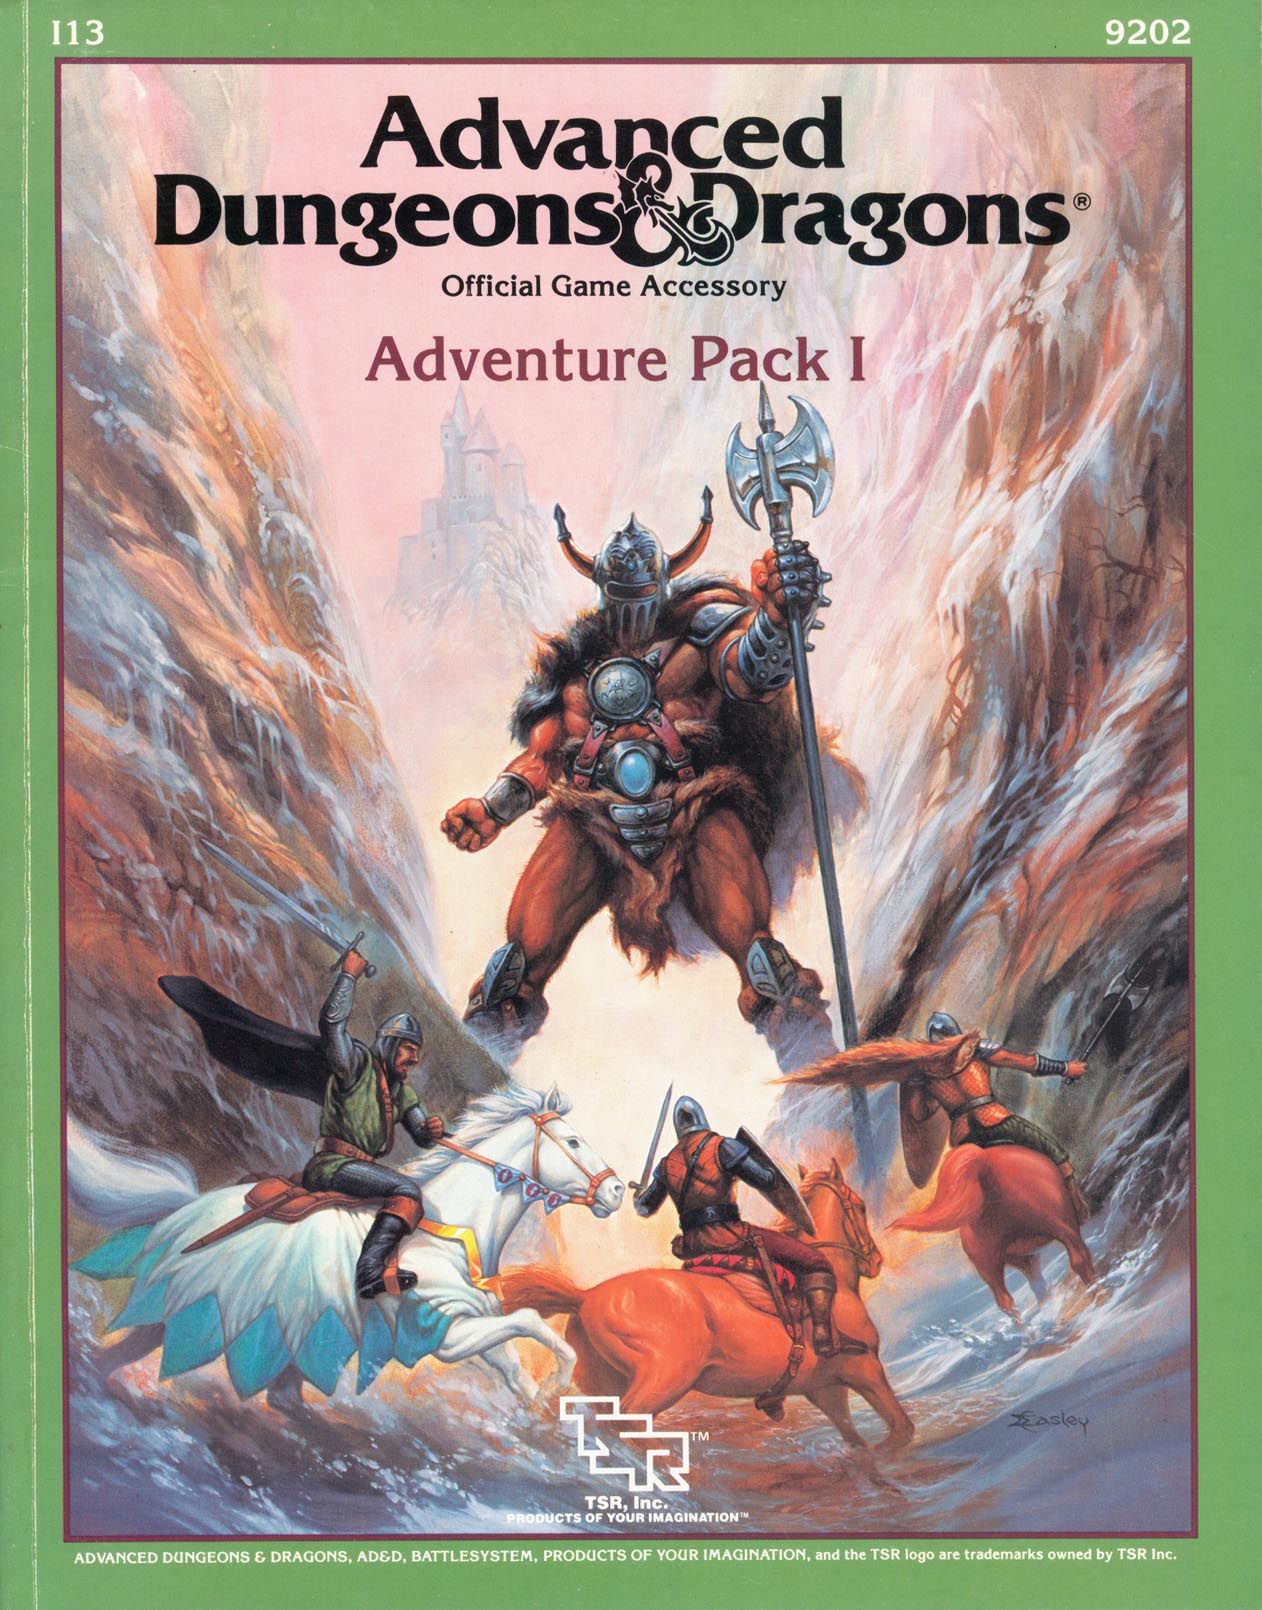
A little friendly competition can be fun now and then - unless, of course, the competition isn't friendly at all. Included in I13 Adventure Pack I - https://www.adventurelookup.com/adventures/i13-adventure-pack-i TSR 9202
Tortles of the Purple Sage - Part 2 completes a D&D Expert Set wilderness adventure which began in DUNGEON issue #6. Through the gate stones, into the unknown. This adventure takes place in the Known World of the D&D game, as outlined throughout the D&D game rule books and modules. The DM may find it useful to consult the Companion and Masters Sets, as well as most of the X-series of Expert Set modules. The DM may find it useful to consult the Companion and Masters sets, as well as most of the X-series of Expert Set modules. Expert Set module X9, The Savage Coast, would be especially helpful, as Tortles of the Purple Sage should easily serve to continue that module's direction and plot line, adding previously undescribed areas to the Known World. The DM may also place the areas and events of this adventure within an existing campaign setting, as long as the geographical areas of the campaign match those set forth here. Pgs. 8-25

He wanted a scabbard - but got the shaft. If the book is to believed, there's a magical sword - completely unguarded! - ripe for the taking. This short adventure starts with the players finding a diary describing the final resting place of Hrothgar and his powerful intelligent sword. In a quest for the sword, the players investigate a small cavern system and find the sword in a gelatinous cube. Pgs. 32-37

Sent on a desperate mission into an unknown land, you must seek out the one called "the Master" and his Temple of Death. There is little time to waste, as you must act before the Master's armies destroy your homelands. But to complete your task, you must battle fearsome guardians, travel through a hostile kingdom, and discover the secret of the master. Can you survive his defenses and win? This module contains referee's notes, background, maps and detailed keys. It is the second adventure in the two-part Desert Nomads series begun in X4, Master of the Desert Nomads, but it can stand on its own as a seperate adventure. Wheter you play Temple of Death by itself or as part of a series, the adventure will offer you hours of excitement and fun! TSR 9069

Something is rotten in Rhoona... When the grotesque god, Cretia, casts his ugly shadow over the town, strange things start happening. First, Duke Stephen vanishes. Then bizarre proclamations begin coming out of the Ducal Palace... Dwarves are outlawed... taxes must be paid in beer... horses must be ridden backwards. Soon the entire town is in an uproar and a Dwarven army is marching on Rhoona. This is the situation when you and your part of valiant adventurers arrive in the suffering town. There you find... A ragged beggar who prowls the streets offering cryptic advice. A mysterious black-garbed cleric planning treachery. A trusted soldier plotting his master's overthrow. A sinister jewel casting its evil emanations over the town. You and your party are Rhoona's only hope. Only YOU can unravel the dark mystery that plagues the town and save Rhoona from...the Curse of Xanathon. TSR 9056

The dreadful jails below the appalling City of Skulls, Iuz's nightmare capital, contain many wretched and desperate captives. Among them is Earl Holmer, Knight Commander of the Shield Lands. A brave spy in Dorakaa has shown the ay to find and free Holmer—is your party up to the job of freeing him? King Belvor IV of Furyondy believes so. In the way stand fearsome priests and mages of the Lord of Pain; ogres, giants, fiends, and worse hinder the struggle to defeat the traps and guardians of Iuz. Plucking Holmer from his grasp will bring great renown, knighthood, and treasure—for those who survive. None has ever escaped Iuz's jails. Who will you be the first to use stealth or storm to breach them? TSR 9405