
A bar room brawl? No big deal. Except when it starts on the Abyss—and the brawlers are a deva and a bebilith! The deva: A celestial champion who serves the cause of ultimate Good. The bebilith: A nightmarish monster whose every deed reeks of ultimate Evil. Two eternal enemies locked in a bizarre struggle for the ultimate prize. What terrible secret connects these two beings? And what does it all have to do with the legendary deva spark? Only a group of brave cutters can get to the dark of this peel, and they'd better hurry... because time is running out! "The Deva Spark" is a Planescape adventure for a party of four to six characters of 5th—9th levels. From the blasted pits of the Abyss to the peaceful forests of Elysium, the heroes track a barmy bebilith who holds the key to saving the life of a dying deva. Can your characters handle the fire of the deva spark?

Giants have been raiding the lands of men in large bands, with giants of different sorts in these marauding groups. Death and destruction have been laid heavily upon every place these monsters have visited. This has caused great anger in high places, for life and property loss means failure of the vows of noble rulers to protect the life and goods of each and every subject -- and possible lean times for the rulers as well as the ruled. Therefore, a party of the bravest and most powerful adventurers has been assembled and given the charge to punish the miscreant giants. This module contains background information, referee's notes, two level maps, and exploration matrix keys. It provides a complete module for play of ADVANCED DUNGEONS & DRAGONS, and it can be used alone or as the first of a three-part expedition adventure which also employs DUNGEON MODULE G2 (GLACIAL RIFT OF THE FROST GIANT JARL) and DUNGEON MODULE G3 (HALL OF THE FIRE GIANT KING). TSR 9016

The ground-breaking introductory adventure for Dungeons & Dragons that served as a DM aid in the first D&D Basic Set, released by TSR in 1977. This set included a 48-page rulebook covering the first three levels of play, and was skillfully edited by Dr. J. Eric Holmes from the original 1974 D&D rules written by Gary Gygax and Dave Arneson. The original set included an exemplary dungeon level, but it was a loose collection of examples and not geared toward starting characters. Holmes advanced this concept by writing a new thematic dungeon with a strong backstory, creating an adventure that has remained a fan favorite over the decades. Officially, its only title is "Sample Dungeon" but colloquially it goes by various names based on Zenopus, the doomed wizard who built the dungeon under his tower

You don't know where - or what - you are. You wake up in a dungeon. But how did you get there, and why? This adventure is for a solo paladin character, on a quest to gain a war horse. The character is suffering from amnesia and believes him/herself to be a normal fighter to begin. The quest begins with the character in the middle of an adventure in a dungeon, but not remembering how they got there. After defeating several undead including an intelligent zombie leader, the paladin gains a magic stone to summon a paladin mount. Pgs. 28-35

Red for love, white for purity, black for death. He was thoughtful, obedient, and trustworthy - the epitome of a traitor. All he needed were some heroes. A powerful undead knight, Agrovale, wants to be released from a necromancer named Talakara. He sets in motion an elaborate plan to get the players involved in overthrowing Talakara in her bid to become a goddess. He frames the necromancer for a kidnapping and murder and leaves a trail of clues to lead the players to her stronghold. The party travels through an extensive stronghold filled with many different monsters, finishing with a fight with the demigod Talakara and subsequently the freedom-seeking Agrovale. Pgs. 38-63

To a wizard, knowledge is power, and the wizard Lirdrium Arkayz wants to know the mysterious secret of The Rock. Many have tried to discover it - but The Rock keeps its secret well. The wizard offers a rich reward to anyone bold enough to solve this dark mystery. But the road to The Rock leads to danger and hidden peril - dangers that have claimed the lives of many brave adventurers. Rashness and folly will lead to quick death, but riches await the clever and brave. Have you the wits, courage and skill to survive the Journey to The rock? TSR 9106
Don't feed the animals. Be kind to animals or else. The party is shown a rare set of baby monsters that they must face. Pgs. 56-59

Silent alarm. Who put the dip in diplomat? A small costal town is being attacked by witch's and its up to the party to put a stop to them. Pgs. 58-69

A goblin warband has found the secret tunnel which leads from the dwarven keep of Hearth-Home to the nearby hills. The tunnel is intended to be a means of escape if the keep ever falls to attackers, but now it has provided goblins with an easy way into the Underkeep. So far, the goblins have confined their attentions to the various underground rooms that make up the Underkeep, but sooner or later they will find a way to the surface. They pose a serious threat to Hearth-Home - the goblins must be cleared out of the Underkeep so this breach in security can be repaired before the orcs hear of it and overrun the dwarven keep. This adventure is slightly more challenging than Red Hand Trail, and it is recommended that it is played after that quest and before Palace of Dread. However, the scenario in Trouble Below can easily be played independently from the rest. Part of TSR 1076 The Goblin's Lair

HEAR YE, HERE YE! THE BLACK KNIGHT WILL HOST A TOURNAMENT CHALLENGE! The Black Knight is a mighty warrior. Even though he acts a lot like a bandit, they say he keeps his word. The Black Knight usually raids local towns, but now he is sending out invitations. He offers a tournament, a contest of honor, to all comers. But why would the Black Knight hold a contest? Maybe something more is going on. There is only one way to find out! This module is the first entry-level adventure written especially for a DUNGEON MASTER and a single player. Recommended for one fighter, cleric, dwarf, or elf of levels 1-3 (An option allows for using more characters if you wish). TSR 9387

After hiring a group of brave adventurers to help him "acquire" a beholder specimen, the mage Velinax disappears! Rumors blame an insidious thieves' guild called the Unblinking Eye for this turn of events. Why would the Unblinking Eye wish to "take care" of the mage? Why does the guild want to speak to anyone involved with Velinax? Finally, what dark goal does the guild truly intend to accomplish? Finding out the answers to these questions will lead doughty adventurers straight through the shadows of a crafty thieves' guild and onto the threshold of an even deeper and more dangerous darkness. "Eye of Doom" is the second of three adventures featuring the nightmarish beholder. It can be played as an individual mission or as part of the series that began with "Eye of Pain" and concludes in "Eye to Eye." TSR 9530

A chance encounter on the road marks the heroes as targets for an evil cult attempting to cause the rebirth of the lich god Vecna in the domain of his arch-foe, Kas. This act will free their master from his misty prison and allow him to gain vengeance upon his enemy at the same time. To learn more of the cult’s mysterious plans, the characters explore a cache of ancient lore in Tor Gorak, the major city in Tovag. Clues lead them right to the heart of Cavitius, Vecna’s own domain. There, they must discover the secret way into the Shadowed Room, an ancient library that no longer exists in time or space yet can still be reached by using an arcane ritual. Learning this secret brings the heroes into conflict with Vecna’s priesthood and their powerful servants. TSR 9582
While travelling across the ocean by ship, the party is attacked at night by by the infamous Floating Rock bugbears. What makes this band of pirates unique is their lair: they live on the shell of a gargantuan sleeping sea turtle as it drifts around in the ocean current. Pgs. 24-26
A vanished tome, a faded legend, and the end of the world. Out of the eons, the deadliest artifact. At least one magic-user is required, and fighters and thieves would be very helpful. Magic-users may have a special interest in this quest due to the nature of the item for which they search. Traps and puzzles are a dominant theme, and problem solving is necessary. Pgs. 41-64

Some dozens of leagues to the north and west of the STEADING OF THE HILL GIANT CHIEF (Module G1 of this series), amidst the tallest mountain peaks, is the stronghold of Grugnur, Lord of Frost Giants. As frost giants have been amongst those who have been in the reaving bands, the party is to deal with them as the hill giants have been dealt with. Death and destruction are to be meted out to the frost giants in the same measure they gave to the peoples below. This module contains background information, referee's notes, two level maps, and exploration matrix keys. It provides a complete module for play of ADVANCED DUNGEONS & DRAGONS, and it can be used alone or as the second of a three-part expedition adventure which also employs DUNGEON MODULE G1 (STEADING OF THE HILL GIANT CHIEF) and DUNGEON MODULE G3 (HALL OF THE FIRE GIANT KING). TSR 9017
a baron recruits the party to find a set of magical swords as well as explore a mine shaft that connects to the under dark
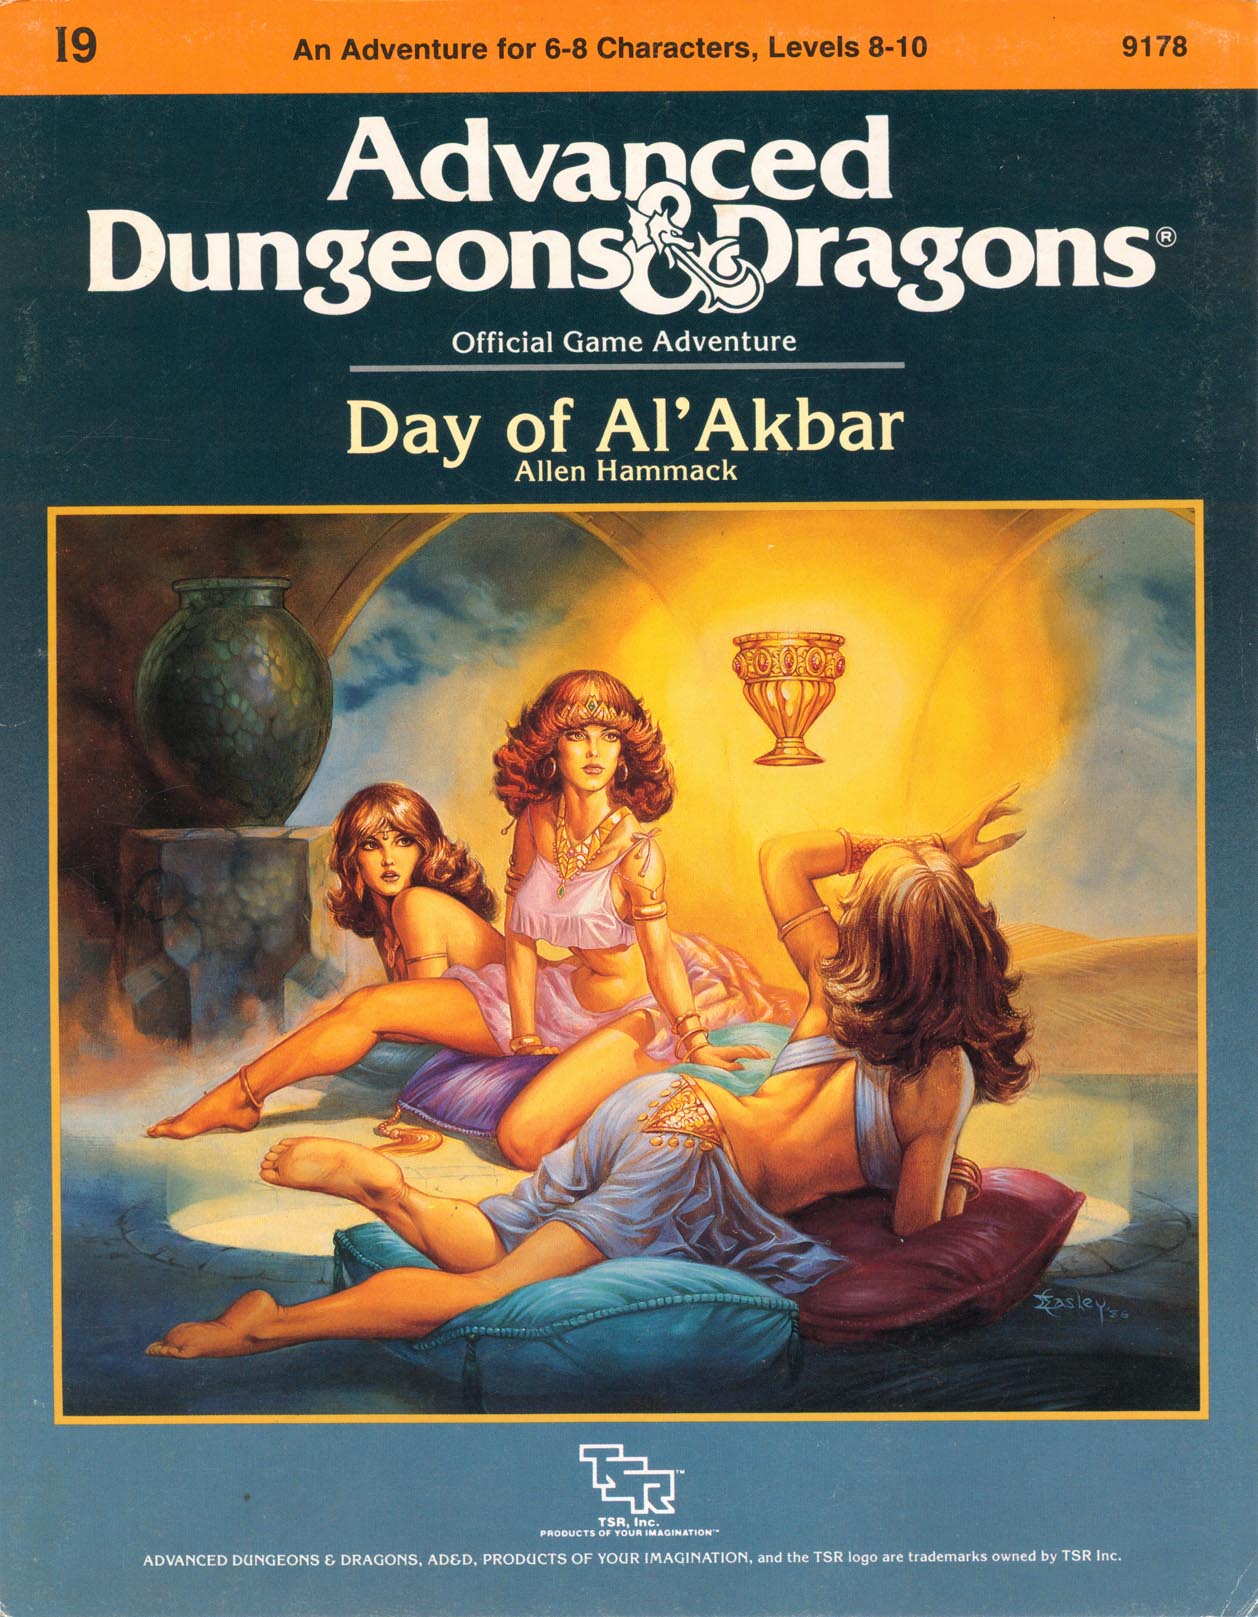
The land of Arir - a once peaceful desert country, dotted with oases, teeming with caravans - fell into the hand of infidels. The ruler, the dearly loved Sultan Amhara, was killed in the battle for the capital city of Khaibar. He left behind one of the greatest treasure stores ever amassed - jewels and coins, more than anyone had ever seen before or since - and in addition, the Cup and Talisman of Al'Akbar. A deadly plague sweeps your land. The holy men say that if only they had the Talisman, they could create cures for this dread disease. Many adventurers have tries and failed to find the Cup and Talisman. Now it is your turn. Find these treasures, and save your people! The journey is exciting, but treacherous. Do not be distracted by exotic sights and sounds, the strange foods. You must avoid being discovered by Al'Farzikh and his brigands, as you infiltrate the palace. Be wary - what is most beautiful may be most deadly, and what seems useless may be priceless. TSR 9178

In part one of the Randal Morn Trilogy, "The Sword of the Dales," the legendary leader of Daggerdale, Randal Morn, was captured by unknown assailants as he sought to regain the great weapon for which that adventure was named. A stalwart band of enthusiastic heroes was recruited to ride to his aid, yet all they recovered was the Sword itself and a message: "Seek me in Spiderhaunt Wood." In the second part of the trilogy, "The Secret of Spiderhaunt," those same adventurers found Randal and freed him briefly, yet he was almost as quickly torn from their grasp by an agent of the evil Zhentarim, seeking to end the threat of Randal Morn's return to power. In this final episode, the heroes must follow the kidnapper's trail and rescue Randal Morn again before the Zhentarim finish interrogating him and the axe falls upon his neck. Armed with the Sword of the Dales and aided by a powerful spirit that lives within the weapon, the heroes must march into the heart of Zhent-occupied Dagger Falls, free Randal Morn, and save the city from utter destruction. The job is dangerous - perhaps more than the heroes can handle - yet those who would live in songs and legends cannot concern themselves with living to a ripe old age! This is the final part of a trilogy of modules that began with "The Sword of the Dales" and "The Secret of Spiderhaunt." TSR 9488
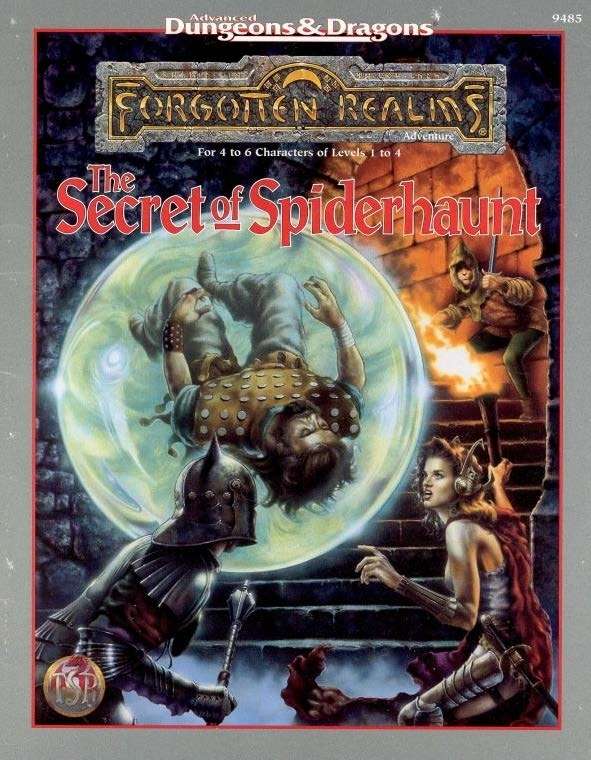
The infamous Sword of the Dales has always held a certain fascination in the eyes and hearts of the citizens of the Dalelands. Thus, it was no surprise when Randal Morn, rebel leader of Daggerdale, led an expedition into the crypt of a long-dead wizard to recover the weapon. Shaevyn the weapons-mage had created the Sword long ago, and it stood to reason that the blade would be waiting within his tomb. Perhaps the Sword of the Dales woulld allow Randal Morn to rule Daggerdale once again. But Randal Morn never returned from that fated party. Only tales of terror told by a lone survivor held any clues as to Randal's fate. A brave hand of heroes accomplished what Randal Morn's group failed to do in part one of this adventure trilogy, "The Sword of the Dales." Battling through the tomb's undead inhabitants, those heroes reached the burial crypt of Shraevyn. There, resting in the center of the coffin, was the Sword of the Dales, its azure glow filling the chamber. However, there was no sign of Randal Morn. Only a note signed by his hand held any clue as to his fate. "Seek me in Spiderhaunt," it proclaimed. "The fate of Daggerdale is in your hands." This is the second part of a trilogy of modules that began with "The Sword of the Dales." The saga concludes with "The Return of Randal Morn." TSR 9485
Enjoy your trip. The monsters certainly will. Your best foot forward could well be your last. This isn't so much an adventure as a short encounter in the woods. Pgs. 38-39 & 54