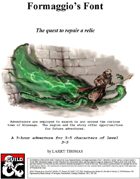
Can an ancient, smashed relic be put back together? Your employer thinks it can and sends you to find some of the fragments. A colorful town, detective work, interesting NPCs, a new race, and a challenging trip to the dump await you. The surrounding region inspires additional adventures.
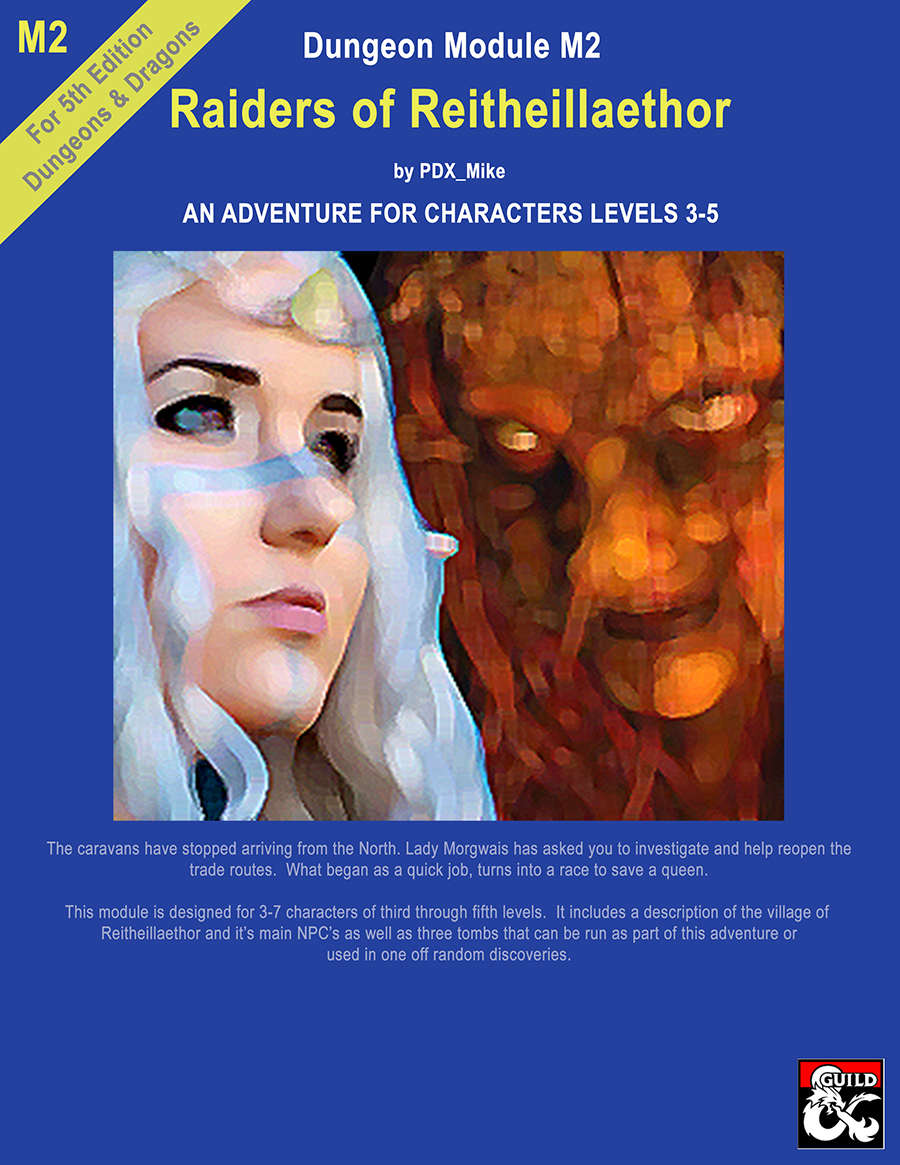
This is the second of the "High Forest Factbook" adventures series. The caravans have stopped arriving from the North. Lady Morgwais has asked you to investigate and help reopen the trade routes. What begins as a quick job turns into a race to save a queen. This module includes a detailed description of the Elven village of Reitheillaethor including it's NPCs. It can be run either as a continuation of the adventure started in "Menace of Merric", as an extended stand alone adventure or the three individual tombs included in it can be run as short one-off adventures.

In this level 3 adventure, the heroes face off against a band of orcs who live on islands in a pool of their orc god's blood. Warpath of Gruumsh is part 2 of the Litany of Arrows adventure path, following up on the platinum-selling Castle of Corellon adventure. This can very easily be run as a standalone adventure. Warpath of Gruumsh contains three versions of each full-color map (untagged, player's map and DM's Map), original artwork, one page of new magic items, and full entries on 6 new monsters, including mithral dragons and blood moon harpies.

Social conflict and negotiations, combat, random encounters, treasure, and dungeon delving — all the elements of a classic D&D adventure in 4 hours. Don’t be put off by the 80+ pages! Half of it is maps and character sheets! Goblin Trouble is a short adventure for four 1st level characters. Written for the Dungeon Masters who are running their very first game, it is full of useful advice and tips on how to prepare for the sessions and how to run the game, easing everyone into the game mechanics along the way More advanced Dungeon Masters and players have the option to use extra options for most encounters that make the game a bit more challenging and fun. In the adventure, the party visits a small village in the Green Forest. There they learn about nasty goblins that terrorize anyone who enters too far into the forest... Is the party up to the challenge? This adventure is also a perfect choice for Dungeon Masters who are looking to expand Lost Mines of Phandelver. With this purchase you’ll get: A beautifully-illustrated 4-hour adventure in PDF format Four unique color maps in both Player and DM versions. All the maps are available as separate files, so they’re easily imported into Roll20 or another VTT. A special Adventure Tracking Sheet that helps you prepare for the game and track your progress 12 ready-to-play, slightly simplified 1st-level characters with backstories so you and your players can immediately jump into the adventure! The players also get a short guide that helps them choose the perfect hero for them. Goblin trouble must be solved. Time to set off on a grand adventure! Would you like to know what the supplement looks like inside? Click the preview under the cover picture above!
Provost Nigel Faurious’s research has revealed the location of an icy spire near the eastern side of Icewhite Island. The Provost needs the Hoarfrost Flower, an artifact found inside this spire, to make his Convergence Manifesto a reality. Eager to complete his work as quickly as possible, the Provost previously paid for an expedition from the Deathsgate Guild to explore the icy spire at the same time the Clifftop Guild surveyed the Shining Valley in the last adventure. The Deathsgate expedition’s ship, the Nightwood Cask, was destroyed by the cold of the Risia manifest zone. They made it to the island on lifeboats and headed to the spire, hoping to use it as shelter until someone from the Deathsgate Guild comes to rescue them. The spire’s builders are long gone and forgotten, but their traps and magic remain. Mror archeologists once found this place while in search of their ancestors that many believe hailed from the Frostfell. Only their camp remains in the foyer of the spire, where the party from Deathsgate waits. While the Deathsgaters’ supplies dwindle, they argue among themselves on their next steps. Should they try and make it to shore and hope their ship somehow survived, continue to wait, or delve deeper into the spire to complete the task they were hired for?

Mother Haggle is an elderly crone who runs a Lost & Found Emporium on the edge of the Misty Forest. The old lady pays her mercenaries well, and attracts all kinds of talent to send on her various errands. Mother Haggle doesn't deal in world shaking problems, but it's uncanny how often simple tasks like "fetch that cow" or "bring me a boggle" end in embarrassment, grievous injury or death. As she always says, it really can't be helped. Using the streamlined Plausible Complications and Unlikely Disasters layout, Mother Haggle's adventures are one-sheet wonders ready to pick up and play with groups of the specified level. Mother Haggle wants her cow back. It seems to get lost a lot, but she doesn't care how much she has to spend as long as her darling gets home safe. Included in Mother Haggles's Notice Board - The Missing Cow are six standalone bovine adventure seeds in which Mother Haggle's cow needs rescuing. She should really keep that cow in a better pen, or lock the gate or something, but who needs common sense when you have money and mercenaries?

"Proudfoot’s Trials“ is a D&D5e one shot adventure for 3 to 6 players on level 1-3. The playing time is about 3-6 hours. It is an adventure for beginners, so it contains a few tips for the DM on how to handle various situations. The adventure also offers: - Social interaction - Wilderness challenge - Combat encounters - Traps - Riddles - Adjustment suggestions for higher levels - Sketches - City map "Proudfoot’s Trials“ can also be adapted into an established group and campaign. It provides a varied, but not too complicated plot and can be used to create an enjoyable evening for your group.

This is a reclamation of the classic Mexican horror story designed to keep young adventurers wary of their curfews, La Llorona. In this tale, adventurers will face perilous encounters with beings that lurk in the shadows, and uncover what might have happened to drive a woman long ago to transform into a nightmarish legend.

Blinsky's Toyshop is our take on what happens to Blinsky and Piccolo during, or after the Curse of Strahd campaign. Blinsky, the toymaker in Vallaki with the cute monkey wearing a pink tutu, received a large inheritance from a long-time client. The client, Obtavius Swat, a retired adventurer and avid collector of toys, left his entire estate to Blinsky. The estate included coin, precious gems, art, and his collection of toys, some made by Blinsky and others he acquired during his travels. Blinsky used the fortune to pay a wizard to create a small island in the middle of Lake Zarovich, located just outside of Vallaki. He then paid masons and workers to build a fantastic new toyshop, which he designed to be an experience for both the young and old alike. Though the number of children in Barovia was increasing, mostly imparted to the devil Strahd’s downfall, Blinsky wanted to touch the inner child of the adults in the city. He wanted happiness. He wanted smiles. He named the castle Blinsky’s Toyshop of Marvels. One of the toys, a small silver tiara kept in a black satin-lined ivory jewelry box, was such a lovely piece. Blinsky couldn’t stand the thought of leaving it in the box. He already had enough gold and losing the small tiara wouldn’t be a large loss, so he decided to give it to his monkey – Piccolo (see Creatures of the Toyshop). He smiled at the thought of her running around in her pretty, shiny tiara. Sadly, as Barovian luck would have it, trapped inside the tiara is the sole of an evil gnome wizard named Aribetha Strangge. In his old age, Obtavious Swat forgot that he and his fellow adventurers used the tiara to imprison the gnome’s soul. Yesterday, when Blinsky placed the tiara on Piccolo’s head, silver tendrils cascaded from the tiara and into poor Piccolo’s skull, allowing Aribetha to control the monkey. Now, Aribetha has incapacitated Blinsky in the toyshop’s tower, brought many of the toys to life, and imprisoned or killed many of the workers and customers. The adventure includes costumes (which the character may wear), Strahd Hand Puppets, and a possessed Piccolo.
Set in the Age of Mortals, 80 years after the War of the Lance, adventurers seek the legendary sword Chaos Reaver, a magical weapon that can help defeat the incursion of chaos creatures left over after the Chaos War. The adventure brings the heroes from the misty isle of Cristyne into the otherworldy realm of the Gray and is designed with flexibility for 4-5 characters of levels 5 up to 9. The adventure also introduces chaos creatures such as the shadow wight and daemon warrior, as well as several other classic Dragonlance creatures new to 5th Edition - the wichtlin, artifact spirit, and white dragonspawn. Also includes full details on the magical sword Chaos Reaver and a variety of handouts that give clues to the characters as they seek the sword.

“Traversing the planes of existence is no easy task. Only extremely talented and knowledgeable people could manage it.” A mysterious thief stole a dangerous artifact, called the Tome of The Stilled Tongue from the tower of Lady Blackstaff of Waterdeep, Vajra Safahr herself, leaving the tower by opening a portal to the Elemental Plane of Fire. The archmage immediately calls the band of adventurers who are staying in town to chase down the thief and return the dangerous book to its place. This adventure can be used to kick-off a planar campaign or as a standalone one-shot. A Chase Through The Planes features: - An exciting journey across the multiple planes of existence: Elemental Plane of Fire, Shadowfell, Feywild, and Ysgard - Exploration of morkoth island and lair in the Astral Sea full of weird creatures, strange phenomenons, and dangerous encounters - Heavy use of Supernatural Regions from Tasha’s Cauldron of Everything - High-quality battle maps, available in printer-friendlier and universal vtt format

It’s been a long few days of travel and the adventurers are tired of eating rations and sleeping on the ground. The road opens to a small town with an inviting tavern. The smells of grilling meat and ale fill their nostrils and the sounds of laughter and music float out the tavern’s door. Unlucky for the adventurers, they’ve stumbled upon Dragon’s Breath Tavern. What starts out as a pleasant evening of food, drink, and entertainment soon evolves into an adventure that takes the party into and under Dragon’s Breath Tavern. The adventure includes roleplay, exploration, combat, and a dice game called Demon Dice. Although written in a non-specific location, this adventure could be run as a one-shot during the WoTC official campaign – Curse of Strahd. The adventure includes an isometric map and a top-down map of Dragon’s Breath Tavern. Available as PDF or for Fantasy Grounds.

An injured young fisherman stumbles into Elventree with a brightly colored egg in his arms. He claims it fell from the sky and broke his rowboat. When he swam to the shore an elf with skin of ash attacked him and tried to take the egg. Will you help him keep it safe, Adventurers? The Module This module is 35 pages of adventurer's league fun centered around a mysterious egg that has fallen from the sky, a journey into the Feywild, and a meeting with an Archfey. It rewards exploration, social bravery, and the combats are well tuned for the tier with interesting enemies. Also Included! There are 15 map files included with this document that cover Dungeon Master, Player, gridded, gridless (for use with your Virtual Tabletop of choice!), and greyscale! In addition, there's a high resolution artwork of the Archfey present in the module.

Nanfield is an island village of over 50 NPCs with mysteries plaguing both its present and its past. It contains a unique ecosystem and economy and a ship full of friendly pirates that will invite you by for dinner after accidentally attacking your party. It can be inserted into any campaign as an interlude during a travel montage, as a one-shot encounter, or as the base of future adventures. Nanfield contains over 50 NPCs you can use, several very unique and compelling characters, a Druid stat-bloc, a ship-to-ship fight, an investigation, and a fight with a Harpy (or more, depending on the outcome of the investigation).

The heroes’ journey is finally at its climax. The evil god Tunkorl has just been freed from his prison and only the strongest and bravest mortals of the realm can defeat him before he regains full strength and throws the world in another dark age. However, the ultimate final fight will not be as straightforward as it seems when the party becomes trapped in a time dilated cross section of Carceri, struggling to get back to the real world and finish the job. Escape the Labyrinth is D&D 5e mini adventure for 3-7 characters of 20th level. This adventure is designed for a single 3-hour session which can be part of a special event, the end, or beginning of a campaign. The heroes go between fighting the big bad evil god (round by round) and trying to escape the mutliple layers of the Labyrinth of Futility a space-time dilated cross section of Carceri.

Deep in the swamp, villagers claim something unnatural is happening at a large manor on the edge of town. A suspicious owner whose wife died years ago is attempting something dark and terrible, and it's up to the party to stop him. The true fun of this adventure lies in the house itself, which is filled with hidden references and homages to the works of Edgar Allan Poe, with the author himself filling the role as the suspicious home owner.

An original Valentine's Day-themed one-shot adventure designed for level 4-5 characters. SUMMARY The city of St. Valentine is home to Dante's Casa di Dolci, a world-renowned bakery — and tucked within the bakery is the entrance to a secret labyrinth, created by a mischievous, merciless god. Every February, an unsuspecting resident from St. Valentine is pulled into the maze. Some return after years spent in the labyrinth, but most do not. When Dante's beloved wife, Simonetta, is pulled into the labyrinth, he must enlist the help of adventurers to get her back. The journey that follows is one of strange doors, riddles, and dangerous creatures that lurk among the hedges... DETAILS 2-4 hour session for 3-6 players Play-tested material Original NPCs and locations Diagrams and NPC stats 19-page campaign guide Enjoy the adventure? Share your experiences with me! Hashtag: #LabyrinthOfThorns
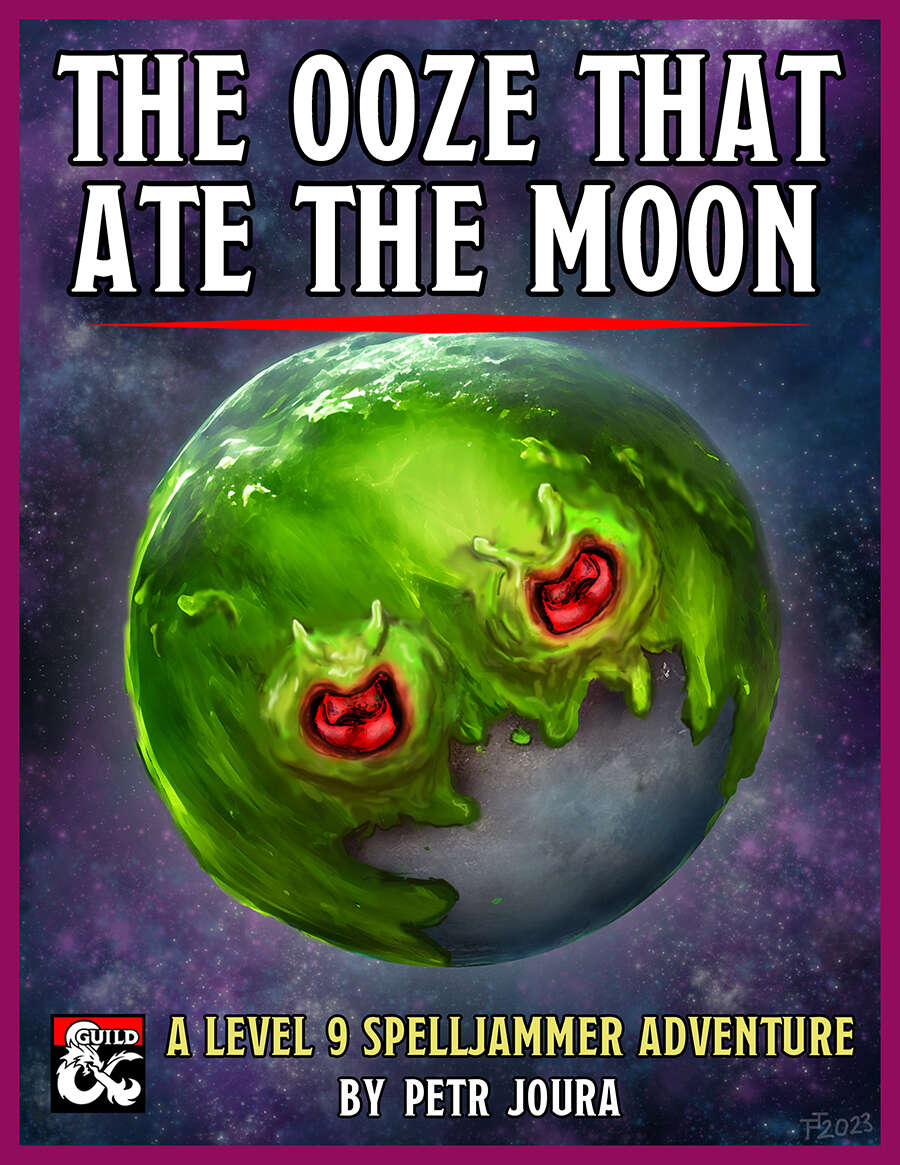
The moon is turning green. A colossal tide of green slime has begun to engulf it, threatening to dissolve it entirely. As it does so, a tide of demonic madness begins to engulf the lands below. As the green shadow flows across the night sky, the world turns mad. The source? An insane cult of plasmoids dedicated to Juiblex, the demon lord of oozes and slimes. Soon the moon may be gone, the first part of a mad plan to dissolve the multiverse into the primordial slime of the Abyss. If only some heroes could appear before it’s too late... The Ooze That Ate The Moon is 5th-edition Dungeons & Dragons adventure based on the Spelljammer campaign setting. It is an investigative high-orbit pulp thriller paired with the wacky zaniness of Spelljammer, and every playthrough is likely to be different. It is designed for four 9th or 10th level characters and to be run in 3 to 6 three-hour sessions, or 2 to 3 longer sessions. It can be run as multi-session one shot or as part of an ongoing campaign. It fits perfectly after the events of Light of Xaryxis, but is written so as to be easily incorporated into any non-Spelljammer campaign. It requires the 5th Edition Spelljammer boxed set to run. Gameplay is based around investigation and roleplaying, with a good smattering of combat in the later acts. The climax of the adventure presents the players with a problem that has no clear solution. They’ll have to use all their wits and resources to overcome it, but can they do so in time?

Dracula, the Lord of Shadow and Darkness, has covered the land in shadow and dispatched armies of monsters and undead from his magical castle. His armies threaten to overrun major cities and plunge the world into a literal Dark Age. The last of the vampire-hunting clan that traditionally opposed him has disappeared, and still the armies advance. He must be stopped. If that's not enough motivation, it is well-known that his castle is full of magical items and great riches... but also great danger. If you've ever wanted D&D and Castlevania to meet, look no further. This adventure is exactly what you wanted. Every area of the castle poses different and unique challenges to keep the party engaged and on their toes. Written for the DM as a ready-to-run adventure, it is designed for four to six characters. The adventure starts at level 3 at the outer defenses of the castle, and ends with the party advancing to level 13 after defeating Dracula in an epic battle. The adventure includes documentation to help even a new DM succed, including suggestions for how to run each of the area "boss" monsters in combat. There are approximately 50 new enemies and over 3 dozen new magical items. It also comes with a list of suggested music for many areas of the castle, and a 25-page campaign log recounting an actual tabletop play-through of this adventure from the DM's perspective.

The adventurers are asked to search for a local temple official who has not returned after leaving to search for a hidden treasure vault. On their way, they are attacked by some Kobolds and chase the fleeing monsters to the hidden entrance. The adventurers explore the ruins and discover what has become of the missing temple official.