
The characters will investigate a grim mystery in the elven village of Alkai Tor, hunt for answers in a lethal swamp, and finally confront a desperate killer in the Temple of Shattered Minds itself.
Strange calamity has come to the Moonstone Reach. What was once a foreboding forest is now completely underwater, the gods Umberlee and Mielikki locked in dispute over the wondrous biome. Umberlee calls forhomage and claims dominion over what she sees as rightfully hers.

Strange events are occurring near the town of Yûlash—ground tremors originating from an old mind flayer hive. Our heroes are asked to investigate the old hive and determine the cause of the seismic activity, but another pressing matter is revealed to them, too. This Adventurers League legal adventure set in a small town near Yûlash. This module first premiered at TotalCon 2018. Contents include: PDF of the adventure PDF of the Adventurer’s League certificate High resolution maps
Can you navigate fairy-tale intrigues among fey and living nightmares without getting trapped in the tale? Fight your dreams in the twelfth adventure of the Across Eberron: Convergence Manifesto adventure path with this adventure for 7th level characters. Written for use with either Eberron: Rising from the Last War or the Wayfinder's Guide to Eberron by Keith Baker. Adventure Summary: Using his recently acquired Aethervane, Provost Faurious locates the only connection between the material plane and Dal Quor, a feyspire called Taer Lian Doresh that exists simultaneously in both planes. The player characters are sent to retrieve a powerful artifact, the Mind’s Eye, the petrified eye of a kalaraq quori. As the party enters the feyspire and negotiates with its eladrin lord, what are they willing to give up in return? Negotiations unveil a far deeper story, centered around the machinations of the Inspired of Riedra and the kalashtar they persecute. Can the characters navigate the shifting stories of nightmares and dream-touched fey for possession of the Mind’s Eye?

In this climbing adventure, characters journey into the White Peaks mountains to find the source of a rare gem, which is driving the coup in Whitehorn.
Once again, Provost Nigel Faurious has tasked the Clifftop Adventurers’ Guild with retrieving an artifact, this time from Daanvi, the Plane of Perfect Order. The party boards the lightning rail in Karrnath, prepared to dive into a deep river gorge in order to make the transition to Daanvi. Before they can do so, however, agents of the Emerald Claw steal the authorization crystals they need to access the plane. The party must race through the lightning rail to retrieve their authorization crystals from the Emerald Claw agents, then make a thrilling plunge at terminal velocity into Daanvi. There, the characters find their plans hampered by endless red tape, and they must navigate the legal system in the most orderly of ways in order to return home with their prize.

Uncover the curious tale... When the party are shipwrecked they take shelter in an old forgotten cottage. They soon find themselves uncovering the mysterious death. One thing is for sure, they are not alone... Back to the sea is a 3-5 hour one shot, recommended for Level 3-4 adventurers. It offers a refreshing and different look at Ghosts in D&D. Contains 3 beautiful original digitally illustrated Maps. Unique Monsters and interesting combat scenario. Encourages player creativity and problem solving. Screen reader version.
A deadly encounter for a party of level 7-10s. Brave the crypt in an attempt to save Lord Eldark's son. This challenging dungeon is adaptable and easy to run in any existing campaign. It has some very tough encounters and is available for free on DM guild!
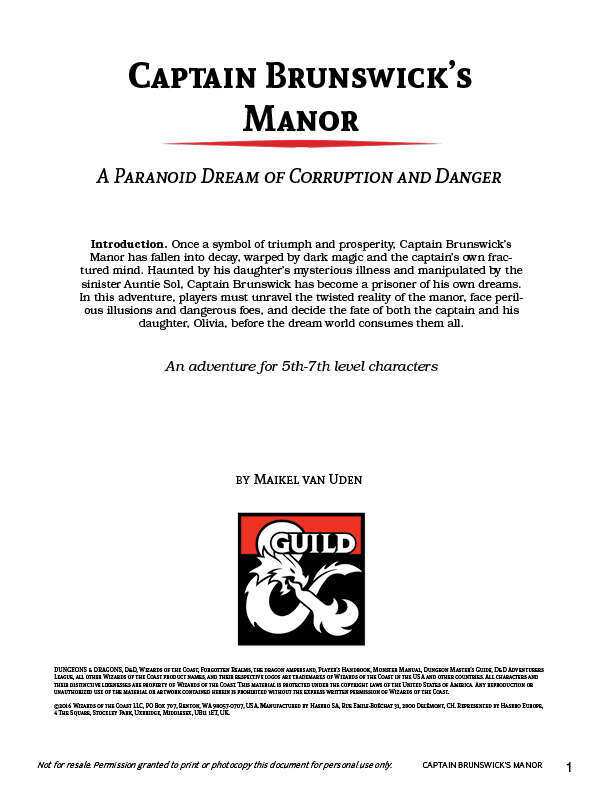
Captain Brunswick’s Manor is a dark, dream-infused adventure where players unravel the mysteries of a haunted noble estate. As they navigate twisted corridors, confront eerie foes like the Dreamborne Wyvern and Auntie Sol, and face mind-bending trials in a nightmare-filled dream realm, the party must find a way to free Captain Brunswick and his daughter from their cursed slumber. With multiple routes through the manor and unique magical rewards, this adventure offers both intense combat and chilling roleplay. Boss Fights: Engage in memorable battles against Captain Brunswick, the Dreamborne Wyvern, and the malevolent Auntie Sol. Puzzle Encounters: Solve challenging trials that mix dream and reality, testing both wit and strength. Legendary Weapon: Unlock Tulva, the Tide Bringer, a powerful magic weapon that evolves with its wielder.

Azaketh, a sly and industrious devil, prepares his revenge against his bitter enemy Zirkex. Naturally, the mortals affected by his schemes are mere pawns to further his goals. It is up to the heroes to stop Azaketh in his tracks before he takes control of a powerful weapon – Logrimm’s Tower Golem. The Tower Golem is an adventure designed for 3-7 2nd to 4th level characters and is optimized for five characters with an average party level (APL) of 3. It's the second and final chapter of the saga about Logrimm’s Tower Golem. The first chapter The Soulmonger isn't necessary to play The Tower Golem but it sets up the villian Azaketh and introduces NPCs that can help the characters conquer the Tower. The focus of The Tower Golem is set on roleplaying and interesting fights. In theory, the Tower is an infinite web of rooms and portals that the characters may never escape. However, eventually, the characters reach the end for one final encounter. You can change, interweave, or exchange the different parts as you see fit. There are several proposals and fully fleshed out levels in this document, but you may add your own adventures to the list!

The ancient forest known as the Wildering Woods has a reputation for confounding those who dare venture through it. When a series of unusual events befall a nearby lumber camp, the player characters are asked to seek out a mysterious wizard rumored to reside within. As the adventure unfolds, it soon becomes apparent that big trouble awaits them inside the forest. What's included: 1 fanciful adventure divided into single-page sections for easy running 2 fully-colored maps with unlabeled versions for players (made with assets from 2-minute Tabletop) 3 custom creature statblocks with clickable links for quick access Content Warning: Violence, death, abduction around the Wildering Woods, a fey-inhabited forest whose residents are being terrorized by a delusional hill giant who believes he is a wizard.

Nightmares that kill, a mysterious thief that only steals knick-knacks, tales of a huge beast terrorising fisherfolk, an inn with disappearing guests, discoveries of hidden magic portals and rumours of an assassin at large: None of these things are enough to stop the ever-flowing tide of traders and travellers crossing the Bridge of Fallen Men, but its protectors - Cormyr's Purple Dragons - are short on time, and courage... ...will adventurers answer the call?
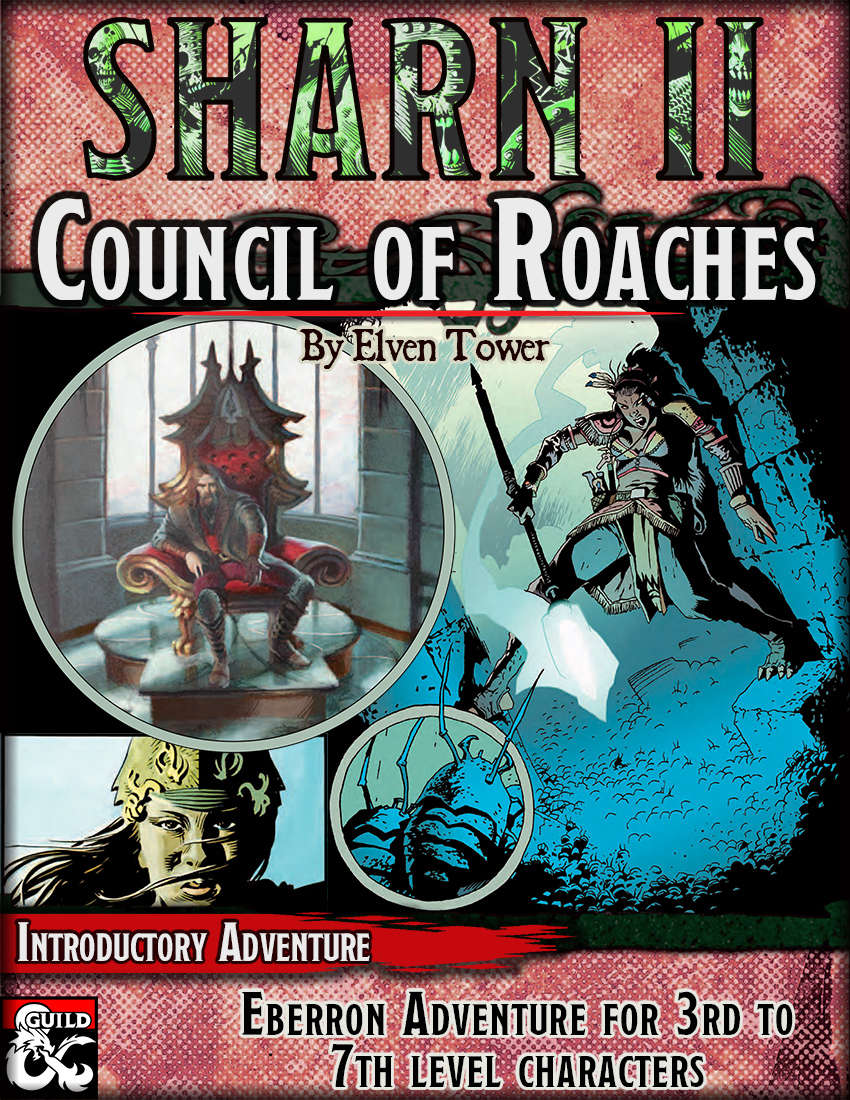
A roach thrall has infiltrated Sharn's highest circle of power, the council, and few have noticed. It's up to our adventurer's, with a little help from a perceptive councilor, to rid Sharn of the growing infestation.
Genius rogue artificer Ichabod Russet hired ten of his most brilliant colleagues to collaborate and build the greatest automaton yet invented: a clockwork beholder. He dreamed their invention would catapult him into stardom and wealth. In a secret mountain laboratory under Ichabod's direction, each scientist devoted themself to developing one ray for the creature's mechanical eyes -- but when the mysterious tenth ray was added to the automaton, it became too powerful. The clockwork beholder broke free during QA testing and destroyed half the lab. Only a few of the artificers escaped to tell the tale, and for the most part, they're keeping their mouths shut.
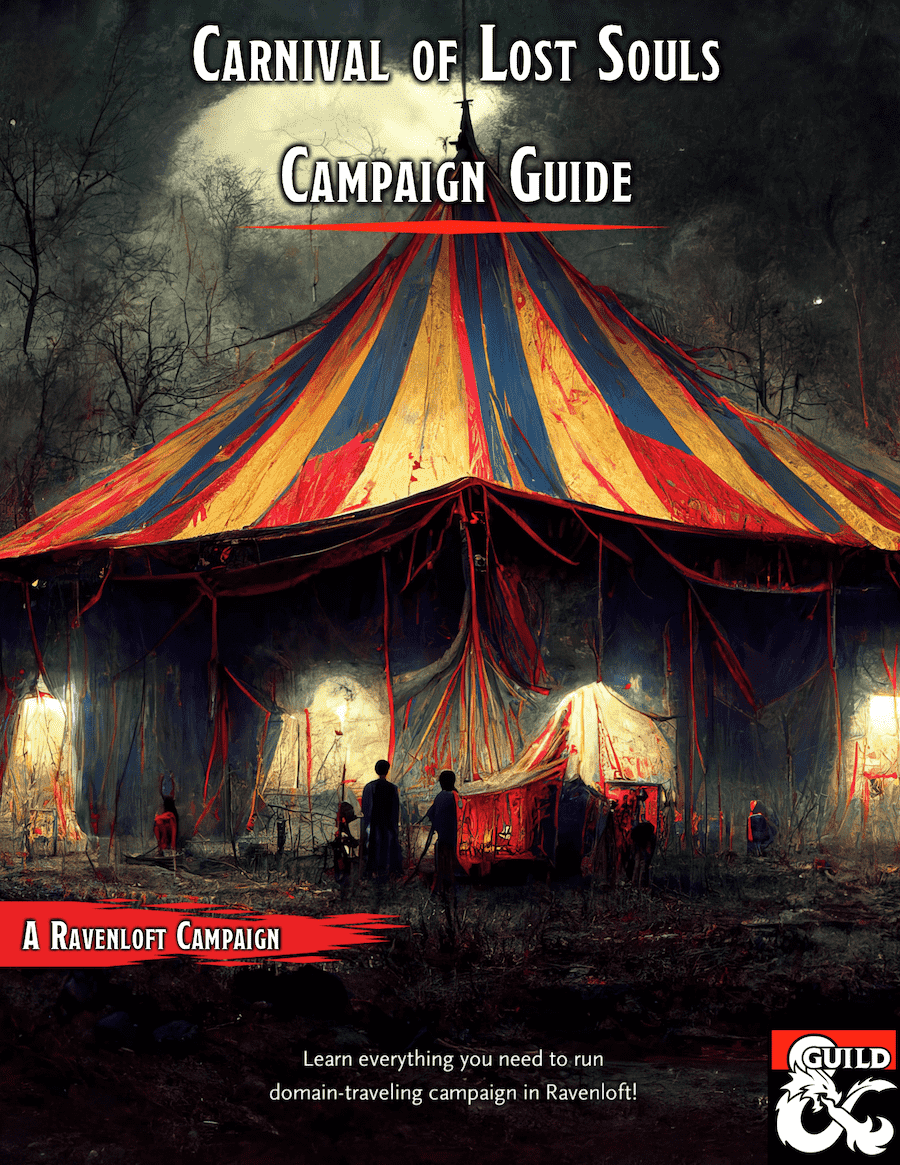
Ravenloft: Carnival of Lost Souls Campaign Guide is a guide for Dungeon Masters who bought our other products from the Carnival of Lost Souls campaign series. It connects together all the modular one-shots we released previously into one grand campaign. It also offers guidance about expanding the scope of the campaign with your own ideas. Ravenloft: Carnival of Lost Souls Campaign Guide features: - Starting adventure to kick the things off and get the characters to know the Carnival - In-between interludes and short encounters, which help to flesh out the Lost Souls NPCs more and add depth to the campaign - Grade Finale - an epic showdown with The Caller in the Mists! - Full description for each of the Lost Souls and what happens to them as a result of players’ actions - Check out the modular adventures of the series: Lamordia: The Hardest of Hearts, Dementlieu: Dance with the Devil, Kalakeri: The Forbidden Temple and Valachan: Hunter’s Moon! Disclaimer: We are a team of writers from Ukraine, so the unprovoked war and senseless aggression of the terrorist state of russia influenced our initial timelines significantly. The release of the Campaign Guide marks also a year since the start of the full-blown war. At the moment, we are as safe as we can ever be under the constant threat of missile strikes, and extremely proud that we managed to finish the whole campaign! We are hopeful that the victory is close at hand, and in the new, whole, and peaceful Ukraine, we will create even more cool adventures! ;) Made in Ukraine

At the request of a stranded djinni, you have three days to steal a diamond from the marbled, enchanted vaults of the Modern Artworks Museum. Investigate its defenses, disable magical wards, bamboozle the staff, battle a golem, and escape with the prize! A group that succeeds is rewarded with a single wish - the power to bring about almost anything you desire. Highlights of the adventure include (and are not limited to): - An alternate skill check system that keeps clumsy characters involved in the heist - A fight to the death with fantasy Botticelli's Birth of Venus - The Modern Artworks Museum, a trove of sculpture, frescoes and tapestries - Museum events: sketch and sip, a gala, seminars! - Museum brochure, including handy map and exhibit descriptions - A wish Clever and light-hearted, Diamond Heist adds brains and Renaissance style to any urban campaign. This adventure centers exploration, planning and roleplay. Players match wits against various spell effects, discovering and disabling magical wards to access their prize. A cumulative alarm level system replaces pass/fail steath skill checks, so one bad role doesn't ruin the heist. The artworks described are based on those of Renaissance Italy, with frescoes, marble sculpture, and haughty nobles aplenty. Content warnings: Death of a loved one, mentioned.

Blinsky's Toyshop is our take on what happens to Blinsky and Piccolo during, or after the Curse of Strahd campaign. Blinsky, the toymaker in Vallaki with the cute monkey wearing a pink tutu, received a large inheritance from a long-time client. The client, Obtavius Swat, a retired adventurer and avid collector of toys, left his entire estate to Blinsky. The estate included coin, precious gems, art, and his collection of toys, some made by Blinsky and others he acquired during his travels. Blinsky used the fortune to pay a wizard to create a small island in the middle of Lake Zarovich, located just outside of Vallaki. He then paid masons and workers to build a fantastic new toyshop, which he designed to be an experience for both the young and old alike. Though the number of children in Barovia was increasing, mostly imparted to the devil Strahd’s downfall, Blinsky wanted to touch the inner child of the adults in the city. He wanted happiness. He wanted smiles. He named the castle Blinsky’s Toyshop of Marvels. One of the toys, a small silver tiara kept in a black satin-lined ivory jewelry box, was such a lovely piece. Blinsky couldn’t stand the thought of leaving it in the box. He already had enough gold and losing the small tiara wouldn’t be a large loss, so he decided to give it to his monkey – Piccolo (see Creatures of the Toyshop). He smiled at the thought of her running around in her pretty, shiny tiara. Sadly, as Barovian luck would have it, trapped inside the tiara is the sole of an evil gnome wizard named Aribetha Strangge. In his old age, Obtavious Swat forgot that he and his fellow adventurers used the tiara to imprison the gnome’s soul. Yesterday, when Blinsky placed the tiara on Piccolo’s head, silver tendrils cascaded from the tiara and into poor Piccolo’s skull, allowing Aribetha to control the monkey. Now, Aribetha has incapacitated Blinsky in the toyshop’s tower, brought many of the toys to life, and imprisoned or killed many of the workers and customers. The adventure includes costumes (which the character may wear), Strahd Hand Puppets, and a possessed Piccolo.

𝐓𝐡𝐢𝐬 𝐚𝐝𝐯𝐞𝐧𝐭𝐮𝐫𝐞 𝐢𝐬 𝐚 𝐜𝐨𝐧𝐭𝐢𝐧𝐮𝐚𝐭𝐢𝐨𝐧 𝐨𝐟 𝐭𝐡𝐞 𝐨𝐫𝐢𝐠𝐢𝐧𝐚𝐥 𝐬𝐚𝐦𝐩𝐥𝐞 𝐝𝐮𝐧𝐠𝐞𝐨𝐧 𝐟𝐨𝐮𝐧𝐝 𝐢𝐧 𝐭𝐡𝐞 𝟏𝟗𝟕𝟕 𝐁𝐚𝐬𝐢𝐜 𝐑𝐮𝐥𝐞𝐛𝐨𝐨𝐤, 𝐤𝐧𝐨𝐰𝐧 𝐚𝐬 𝐭𝐡𝐞 𝐓𝐨𝐰𝐞𝐫 𝐨𝐟 𝐙𝐞𝐧𝐨𝐩𝐮𝐬. It includes the hinted at, deeper dungeons and darker secrets of Zenopus. This adventure details the Tower of Zenopus located in the map found in Ghosts of Saltmarsh and is a quick side bar for adventurers level 1-3. It has been 50 years since anyone has seen or heard from Zenopus. Rumors abound concerning cultists and marshland creatures roaming near Portown. Could it be that Zenopus is behind it all? Return to the dungeon that started it all. Additional material based on Dr. J. Eric Holmes’ original sample dungeon. More levels, more monsters, more treasure await under the Tower of Zenopus! 4 new dungeon levels included!

"The Tree Prince“ is a short adventure. The adventurers will meet a fae leader for whom they will fulfill a task.

The Thorn Hag, an ancient evil thought vanquished by the Elf Queen and her heroic companions many years ago, has arisen from the dead. A fey harp, created from the heart of the treant that perished in the battle, has gone missing from Satyrs' Glen and the Thorn Hag seems to be behind it. The PCs must track the missing harp through a warped and eerie wood and into an unseelie area of the Feywild to stop the Thorn Hag wreaking revenge upon the Elf Queen before it's too late - the clock is ticking. The Sylvan Harp is a D&D 5e adventure for 4-5 PCs of the 1st tier (Levels 1-4). The adventure has been designed with suitable alternatives to run the adventure for 1st, 2nd, 3rd or 4th-level characters, including advice for adapting creature numbers and/or powers to suit the level of your party. The adventure is estimated to take 8-12 hours to run. A timeline of events, and guidelines on how the actions of the PCs can affect those events, is included. The adventure includes nine new creatures: gwerthin, satyr bard, ash guardian, light guardian, treant spirit, pixie rot zombie, green dragon skeleton, thorn hag and thorn hag's hut. It also includes two new magical items: a powerful magical harp with a dark hidden secret and a crystal ball of clairvoyance. Also includes a player handout of the rhyming riddle of the fey, and maps of the area and a darkling tomb. Requires Volo's Guide to Monsters.