
A continuation of the mere of Dead Men Adventures started in the Brood of Uthtower, or a standa alone adventure in the Mere of Dead Men or other setting. Can be adapted for characters in tier I and II. This adventure located in the Mere of Dead Men has the adventurers combatting the new inhabitants of the Wilfhill House, which has been given form by some very ancient magic items given to them by an old and revenge driven group of Orcs who have partnered with an Ancient Black Dragon. The adventure comes complete with the following: - Full 18 page PDF adventure file. - 4 Parchment style maps (DM and Player versions) ready for VTT use. - 4 Printer Friendly style maps (DM and Player versions) ready for VTT use. - 1” diameter tokens ready to be cut out for use in person as well as files for use in a VTT - 5 new magic items - 11 stat blocks for the creatures used in the adventure

When a Thayan research expedition returns from the Glacier of the White Wyrm with only two survivors that are reduced to whispering about an ancient pyramid under the ice, perhaps it is time to discover just what scares the life out of a nation of necromancers. The events of DDEP2 Mulmaster Undone resulted in terrible geographic upheaval all around the southeastern region of the Moonsea. Massive landslides, earthquakes, tidal waves, and gnashing tornados devastated the land and the city of Mulmaster was nearly scrubbed from the face of Faerun. Fortunately, these events also revealed previously hidden artifacts—trinkets, mostly—from the ancient Netherese all around the city. The Thayans have long held an interest in the port city and wasted no time in assisting in the rebuilding efforts. They simply asked that a blind eye be turned to their archaeological interests, and in return they would continue to spend their own resources (at no expense to the Mulmasterites or even the High Blade) to rebuild the city, bigger and better than before. It wasn’t long before their interests paid off with the discovery of a research laboratory beneath the Glacier of the White Worm, far to the east of Mulmaster and nestled in the mountains. The Thayans sent a sizable expeditionary force but only two acolytes returned. The visiting Zulkir has found this particularly troublesome, and with the assistance of Rastol Shan, the head of the Cloaks, has arranged for a mercenary force to perform a more pointed investigation of the area. In return the Thayan noble has promised significant compensation. Upon arrival at the dig site, the characters are quick to discover that the laboratory hides ancient and palpable evil. The purpose of the facility can be discerned with careful investigation, and the effect of the still-active fragment of the Dark Obelisk has empowered (some may say attracted) servants of the Worm that Walks. Danger and death await, certainly, though the characters always have the option of running away and living to fight another day…

Bodies continue pile up, and the Flaming Fist still has nothing but a name. Thankfully, the perpetrator of the murders has slipped up and the Flaming Fist has captured one of their underlings, in turn, has revealed the presence of a cult hideout in the sewers beneath the city. The Flaming Fist has asked that you investigate. Are you up for the task? Part Two of the Betrayal is in the Blood series of adventures. A Two-to-Four-Hour Adventure for 1st through 4th Level Characters (APL 3).

The story takes place in a village in Ravenloft. The party has been invited to accompany the young couple Burgomaster Alexandru and Mihaela Nichitovich [ni-KEE-toh-vich] of the hamlet of Nichitovia [ni-kee-TOH-vee-uh] to Rosenwald, a deeply religious community. Alexandru has asked the priests of Rosenwald to conduct a traditional ritual to gain him the favor of the Morninglord for his tenure as burgomaster. This is a ritual all burgomasters traditionally receive, including his late grandfather, who is entombed at Rosenwald. Father Petre and Sister Elena of the church of the Morninglord loosely run Rosenwald. They offered to throw Alexandru a banquet at the House of the Morninglord before the ritual, set to take place during the next full moon. However, all of the clergy have secretly become afflicted with the aswang curse. Father Petre is a halimaw and Sister Elena a kubot, both of whom gained their powers through dark pacts with demon lords of the Abyss. The other priests and acolytes are busos, survivors of encounters with roaming tigbanuas, who found sanctuary with Petre and Elena. The pair refer to these busos as their flock, and plan to feast on the guests after the banquet.

A spirit is attacking a town — no one knows why, but they’re determined to be rid of her. The adventuring party is recruited to investigate. However, what appears to be a simple haunting turns into a story of justice. Pgs. 43-59

Anamdael is a small town remarkable only for its peacefulness. However, the town harbors a dark secret: Long ago, a resident entered into a pact with a Night Hag, whose services come at a price. Travelers who once gave little thought to Anamdael now hear rumors of a strange cult in its woods. Your party is hired to locate and return a missing person, last known to be traveling to Anamdael. Before you may enter “Mother’s” land, you face your first test. Your responses determine more than you know and set the stage for an eerie adventure.

This alternate starter campaign takes you to all the familiar locations of the Lost Mine of Phandelver adventure from the other side of the veil. Some places look the same, some very different. The entire plane is trying to strip you of your mind, your memory, and your motivation. Discover how the Forge of Spells was fueled. Learn the location of lost adventurers from the original Phandelver expedition. See what Cragmaw Castle looked like in its prime. All of this and more, as this takes you from level 1 to level 5 with well over 20 hours of play time. If you are looking to start a new campaign or just experience familiar locations in a new setting, this supplement accommodates. Inside you'll find: Maps: Nine encounter maps Cragmaw Castle rebuilt, including the upper floor, and underground level. Wave Echo Cave before it was tunneled. A very different looking Redbrant Hideout Ruins of a town similar to Phandalin A swamp and muck version of Cragmaw Hideout Plus new magic items, and more Monsters: 37 new creatures Lore Information on a shadowy Yuan-ti empire A new offshoot of the abyssal demonhive A cult using the stoic ways of stone to evade the Raven Queen's watchful eye and pilfering ways. New players vying for control of the Shadowfell Shadowfell Guide: Information on the plane, its inhabitants, and included with this supplement is the best selling Shadowfell Random Encounters appendix. Easter Eggs Hidden throughout the story are references to Lost Mine of Phandelver. Including references to other hard cover books as well.

"Fishing for Gods in Strade's Gallows" is a Dungeons and Dragons 5e module designed for 3-5 players at levels 2-3. This module features NPC dynamics where cordial manners and a polite smile matter just as much as sword-swinging prowess. Original monster entries and dungeon maps can be found in the appendices. A medical shipment to the swampy town of Strade's Gallows takes a turn for the eccentric when the party happens across enigmatic shrimp-men who begin to worship them as gods. Can the party solve the mystery of Strade's Gallows' ailment, or will their new disciples botch it all up? This module includes a list of songs which convey the mood of the setting. They are all online so it's easy to make a playlist.

A four hour Dungeoncraft adventure, set Icewind Dale, in the Eleventh Town: Chwingatown! It premiered at Redcap's Corner July 2021. Hunters in Easthaven are bringing back stories of tiny armed humanoids that chant “CHWINGA CHWINGA!” while waving their weapons. Are they threatening the Ten-Towns? Includes Full color illustrations of adorable chwingas and their unique town locations jpg versions of all maps sized to 70 pixels per five-foot square for use with VTTs

This adventure is designed for the D&D Adventures League Season 5 - Storm King’s Thunder campaign, and is meant to enhance your party’s connection to important events and NPCs. It is intended for use during Chapter 3 and 4, where your party is roaming the Savage Frontier, and has material enough for 1-2 full sessions. It brings your party in contact with the mysterious Kraken Society, and introduce them to the Golden Goose coin, which will make your players more invested in the events of Chapter 11: Caught in the Tentacles.

This Christmas, Santa Claus must die! Adopt the role of one of history’s iconic Christmas villains and raid Santa’s North Pole base in order to destroy Santa’s corrupted form. Due to Grinch’s machinations, Santa’s jovial form has been corrupted and he’s called off his annual gift-giving journey. Now, the Spirit of Christmas gives Grinch an ultimatum: he must assemble a team of other famous villains, infiltrate the North Pole base and destroy the corrupted Santa Claus so he can be reborn and deliver presents. The team will have to navigate environmental hazards, deal with four factions of Santa’s elves and finally battle the Man in Red himself. However, each team member has their own secret agenda to complete … and time is running out!
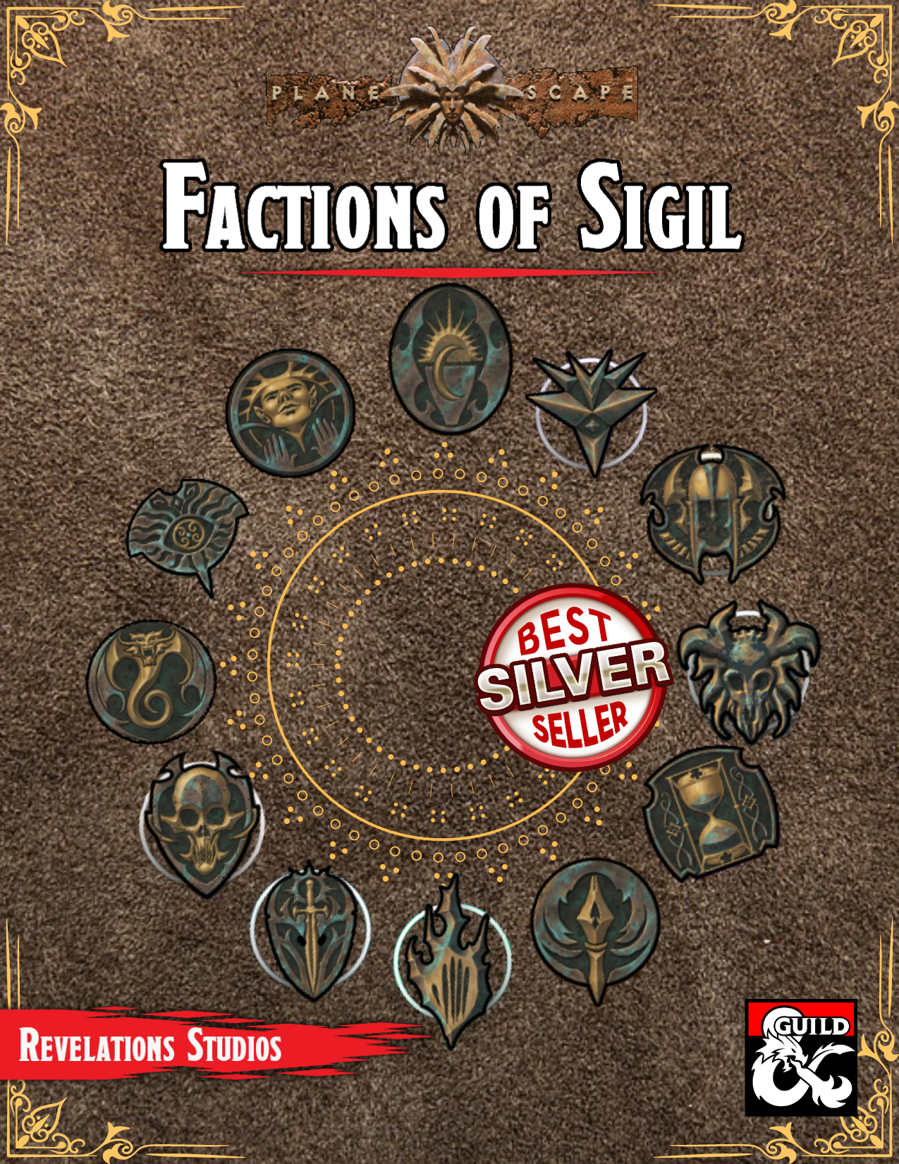
We get it. Factions are an integral part of D&D, but it's not always clear how to use them in your campaigns. Luckily, Factions of Sigil has you covered for each of the twelve main factions found across Sigil and the Outlands! This supplement goes over the various rules and lore around the primary factions found in Sigil and the Outlands, making it easy for any new or veteran DMs to integrate the factions more into the core stories being told, and making them feel more useful for the players that choose to join. In this adventure, the Harmonium in Sigil request the characters travel to Haerton Fort in the Outlands to capture a fugitive, only for the characters to be caught in the middle of a siege!

This quest is for a party looking to resurrect a character whose corpse is missing body parts necessary for survival. Lower-level resurrection spells don’t work on a creature that is missing a head, heart, or other vital organ. To resurrect the body, the characters turn to Vaprak, patron deity of trolls, and attempt to earn the god’s assistance. However, a band of frost giant hunters intend to destroy Vaprak's temple along with everyone inside it. Includes a quest-related NPC that a player can control if they're waiting for their character to be resurrected.

While exploring for hints of the Kobolds lair, an unexpected plea changes everything. This is the fourth and final adventure in a miniseries with the following adventures being: A Chance Encounter The Mystic Circle An Urgent Rescue In addition to the adventure, there are a few of maps of the adventure area as separate jpeg files. There is also a printer friendly version of the adventure.

About: This encounter was cooked up in the Write your First Encounter workshop by the Storytelling Collective. It CAN be slid in as a side quest in any urban or sub-urban context, or be adapted to add confusion to any rescue mission you are presently running. Synopsis: Through the doorway a young woman shackled to the wall matching the description of Helena can be seen. Though disheveled and looking to be in great discomfort, her beauty is remarkable. But on closer inspection, there are other people here — three identical Helenas! Noble woman Elize Cleron has hired the party to infiltrate the catacombs under the Schaefer Estate and free her twin sister Helena. Helena is being held captive by the Schaefer family, trade rivals rumored to have ties to the underworld. Elize has been unable to free her sister herself because of her identical appearance. Rather than pay an unrealistic ransom, Elize has provided the party with what they need to break her out. This encounter is intended for 3rd level characters.

At the request of a stranded djinni, you have three days to steal a diamond from the marbled, enchanted vaults of the Modern Artworks Museum. Investigate its defenses, disable magical wards, bamboozle the staff, battle a golem, and escape with the prize! A group that succeeds is rewarded with a single wish - the power to bring about almost anything you desire. Highlights of the adventure include (and are not limited to): - An alternate skill check system that keeps clumsy characters involved in the heist - A fight to the death with fantasy Botticelli's Birth of Venus - The Modern Artworks Museum, a trove of sculpture, frescoes and tapestries - Museum events: sketch and sip, a gala, seminars! - Museum brochure, including handy map and exhibit descriptions - A wish Clever and light-hearted, Diamond Heist adds brains and Renaissance style to any urban campaign. This adventure centers exploration, planning and roleplay. Players match wits against various spell effects, discovering and disabling magical wards to access their prize. A cumulative alarm level system replaces pass/fail steath skill checks, so one bad role doesn't ruin the heist. The artworks described are based on those of Renaissance Italy, with frescoes, marble sculpture, and haughty nobles aplenty. Content warnings: Death of a loved one, mentioned.

This adventure is scaled for level 1 characters. The ruins of a flying castle teeming with goblins is heading to the peaceful village of Barrowmist. It is up to the heroes to get up there and stop it before the castle lands in the village and chaos ensues. The group will enter into the ancient struggle between elves and orcs. Not only can they claim the ruins as their home, but the heroes will be asked to go on a quest to repair the castle and use it to find the Misty Isle, a legendary elven realm stolen by Gruumsh, god of the orcs. This adventure is the beginning of the Litany of Arrows adventure path. It can be run on its own or as a linked part to the larger story.
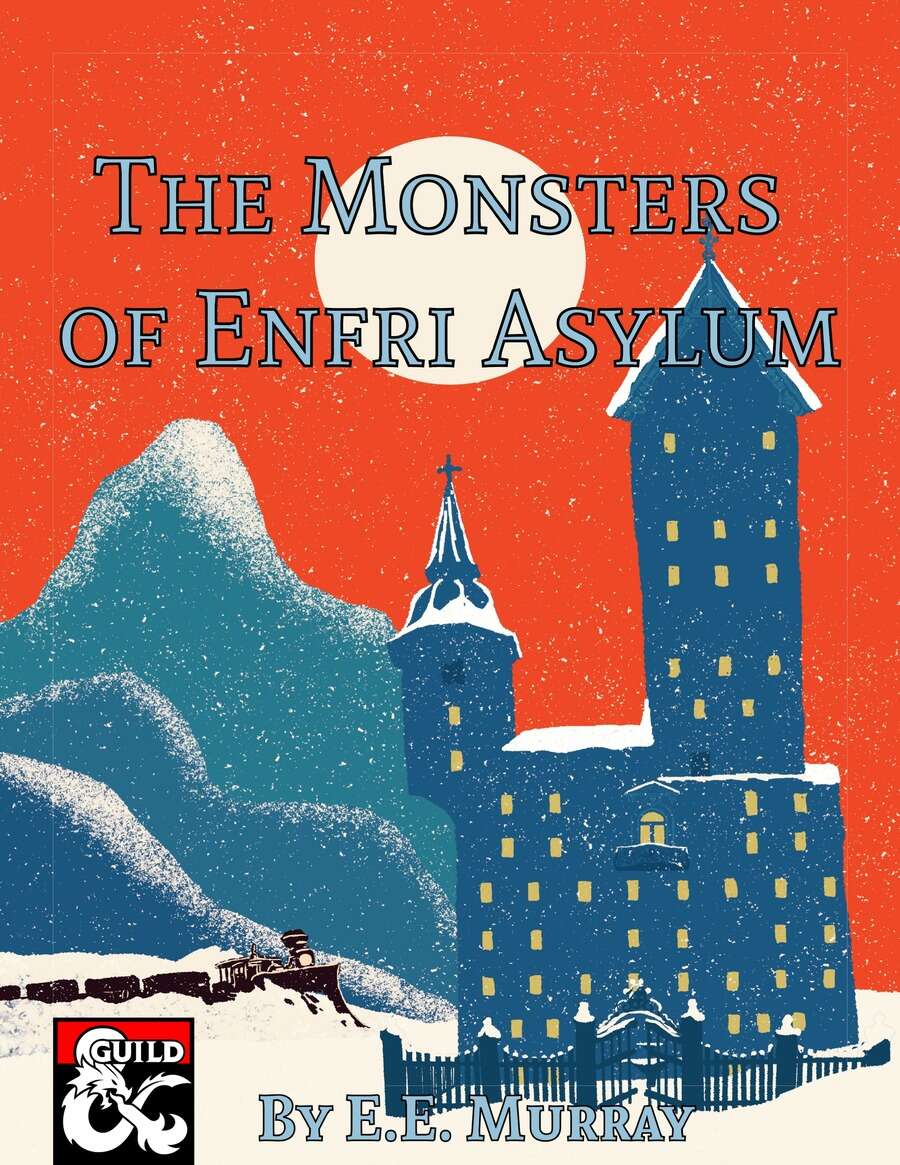
Where have the staff gone? Why do the doors not lead where they should? What dark experiments were performed here? And what has become of the asylum’s enigmatic owner? During a routine train ride, the characters are halted by a powerful force within Enfri Asylum. Haunted by murderous doctors, revolutionary patients, and creatures beyond description, the characters must venture into the old hospital and put an end to the madness to reach their destination. The Monsters of Enfri Asylum is a 8 to 12 hour horror adventure for 1st to 5th-level characters.
The Temple of Tesh-Yatra is a setting-neutral dungeon delve for a party of 6th level adventurers, inspired by the classic funhouse dungeons of yesteryear. The dungeon takes 6-10 hours to fully explore. It features a high proportion of non-combat encounters: puzzles, exploration, and the occasional deadly centrifuge. The ungodly fusion of a mad scientist’s lab and a planar temple, the dungeon includes an encounter that can launch your players into the Nine Hells – for a price... The Temple of Tesh-Yatra includes two new constructs to use in your game: the sinister Maimers, and the enigmatic Skorverra; as well as a new magic item: the Amulet of Tesh-Yatra, an artisan’s dream! The Temple of Tesh-Yatra also comes with a VTT battlemap (transparent PNG format). The Temple of Tesh-Yatra was originally set in the Outlands, as an extraplanar dungeon. But given its self-contained nature and the Temple's age, it is well-suited to any wildnerness, and would work equally well seeding a hex crawl.

Located in The Vast north of the Sea of Fallen Stars, Adhe Wood is a small but deadly place. Legends swirl of a mysterious temple in Adhe Wood where statues of snakes hold massive emeralds. But the citizens of Sevenecho, the town nearest to Adhe Wood, seem to know nothing of this legend and refuse to speak of it. Travelers into Adhe Wood rarely return, devoured by the mutated spiders that lurk in the trees.