
Devastated in a war with a nearby wizards' school, the Fighters' Academy has since been surrounded by a foul and dank swamp - the Gloomfens. Since the climatctic battle between the wizards and fighters, the tower has decayed. The spirit of the head of the academy haunts the building, eternally plotting his revenge on the wizards who killed him. his loyal sutdents remain faithful to him even in death. Other foul undead have made their home in the rotting, spacious academy. From their lair, they make forays into farmsteads near the swamp in search of victims to feed their unspeakable appetites. The Problem of these terrible attacks by the savage undead will not stop until the evil that has found a home at the tower is burned from the face of the land forever. Will your party heed the call and help the town of Melinir? Will they be able to clear the former Academy of its undead? Lair of the Vampire Lord is the third in a three part adventure, The Haunted Tower. Or, it can be ran as a stand alone adventure. The choice is up to you. Part of TSR 1081 The Haunted Tower
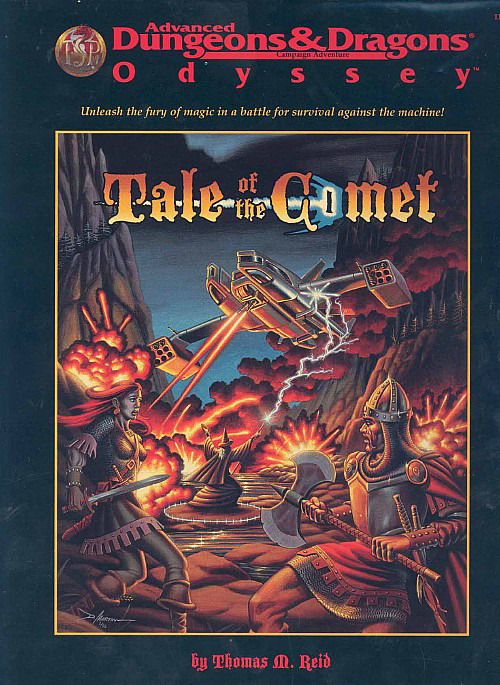
Strange lights in the sky, prophecies of doom, and a threat unlike any other draw the heroes to Aston Point. In this small frontier town, the fate of the world will be decided. If the heroes and their strange new allies defeat the invaders, they must then pass through a portal to another battleground, a metal city on a far-distant world, where aliens fight desperately against death machines that threaten to overwhelm all organic life. So trade in your sword for a blaster rifle, your sling stones for a few high-explosive grenades, and see what happens when you mix magic with high technology. This box contains A 32-page book, The Cast and Props, describing new, high-tech equipment, detailing the battleground of the Rael-Overseer war, and explaining how to mix fantasy and science under the AD&D game system. Two 64-page books, The Tale Begins and Crossing Over, presenting the grand adventure that is the Tale of the Comet. Eight sheets of charts, maps, art, and statistics for the players and the DM. Two posters, one a double-sided map of the regions where the action takes place and the other an illustration of all the technological terrors the heroes will have to face in the course of the adventure. TSR 1143, From 1997
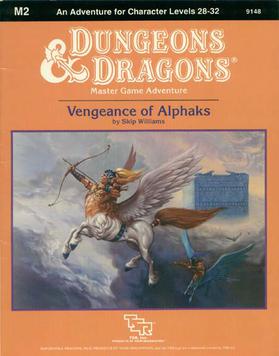
Centuries ago, the despotic Alphaks, ruler of Alphatia, was banished to another world. From his own sphere of entropy he learned to manipulate men, and now seeks revenge against the human race. The volatile region of Norworld, a perennial battleground between Thyatis and Alphaita, draws Alphaks's attention. The already existing frictions, small-time political players, and petty vengeances are the sparks Alphaks will use to ignite a huge war that will destroy man-kind. This is an adventure of politics and diplomacy, of treachery and treason. Only courageous and bold actions can save Norworld from the horrors of war and liberate its people from oppression. The Vengeance of Alphaks may be played as a sequel to module M1, Into the Maelstrom, or separately. The D&D Master Set Rules are necessary for running this game. TSR 9148
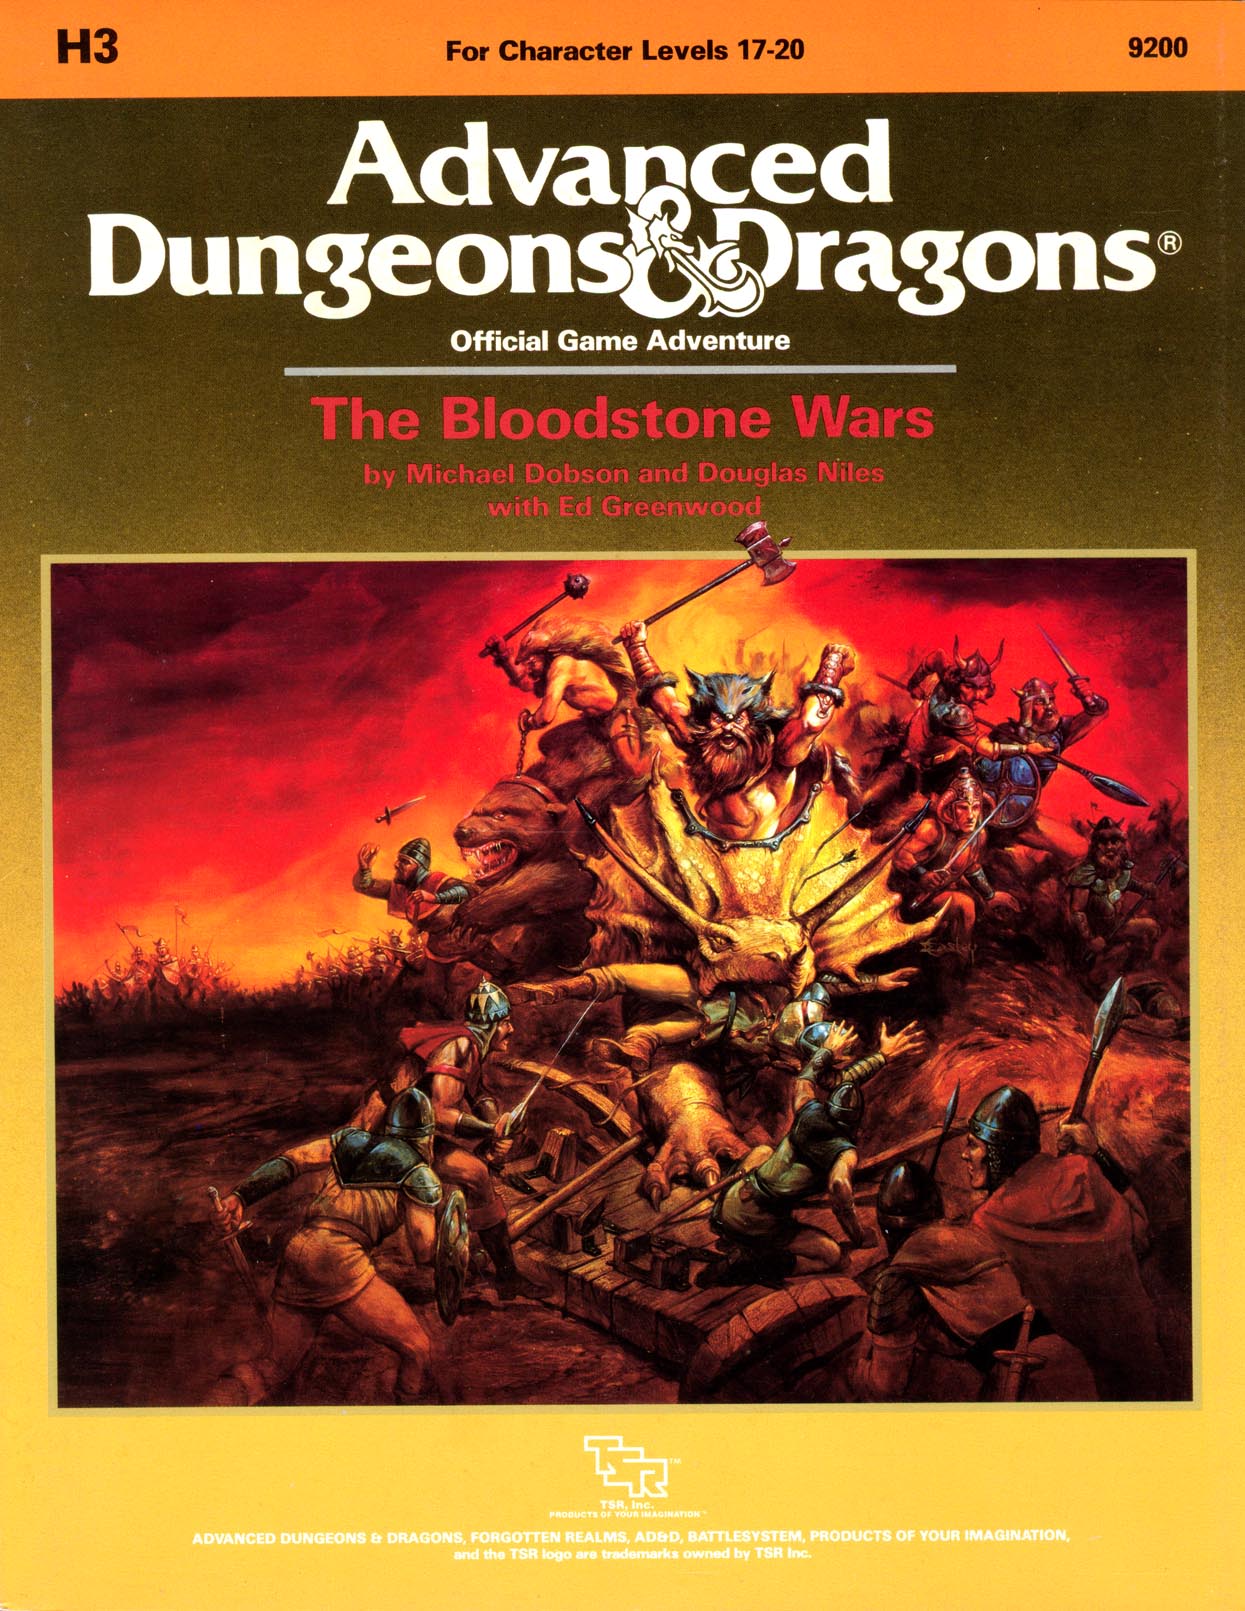
What strange role does Orcus, Prince of the Undead, play in the invasion of the peace-loving Damara? And what interest does the Grandfather of Assassins have in the tiny barony of Bloodstone Pass? With this adventure, your player characters inherit an entire barony - with a recently-reopened mine that produces immense wealth. Wealth enough to attract the dangerous attention of their neighbors...wealth enough to attract the attention of the Witch-King of Vassa...and Orcus himself! Now, your tiny barony is the pivotal point in a war that threatens to engulf the entire Forgotten Realms. Take command, and defend yourself against the encroachment of the evil, demonic forces of the nightmare realm of Vassa. A large, four-color map of the region makes your new realm come alive. Wild and wooly BATTLESYSTEM scenarios (with options if you're not into miniatures) give you the full range of battlefield excitement! Come learn why high-level AD&D game play can be much more than just monster bashing. The Army of Bloodstone wants you! TSR 9200

The battle against the slavers continues! You end your fellow adventurers have defeated the slavers of Highport, but you have learned of the existence of another slaver stronghold, and you have decided to continue the attack. But beware! Only the most fearless of adventurers could challenge the slavers on their own ground, and live to tell of It! Second part of Scourge of the Slavelords (A1-4) TSR 9040

A print friendly 2-4hr adventure PDF for 3-4 level 1 players. Designed with new Dungeon Masters in mind. In a far away village, an anxious priest sends out ravens, requesting aid from anyone willing to help the gaurdian of his village. The reward, well not much, the village is poor but can offer what little gold it has. More importantly though, is the promise of a bards tale and the first step on the road to becoming a famous adventurer. Compatable with the starter set and the WOTC free official basic rules (links provided) Pre Gens provided via link. Hook provided for adventure to be ran as a prequel to the Lost mines of Phandelver Includes 3 colour tactical maps

This adventure was featured at GriffonCon in South Bend in 2016. Two countries are uniting for a wedding when one of the most important gifts of the union is stolen. Without the dowry of the 40 Golden Eggs from Lord Griffon the wedding will not occur and war will be the likely outcome. A quartet of the most loyal warriors has been sent into to Chromatic Canyon to deal with the bandits and retrieve the items! This is an “EGGSELLENT” adventure for convention tourneys!

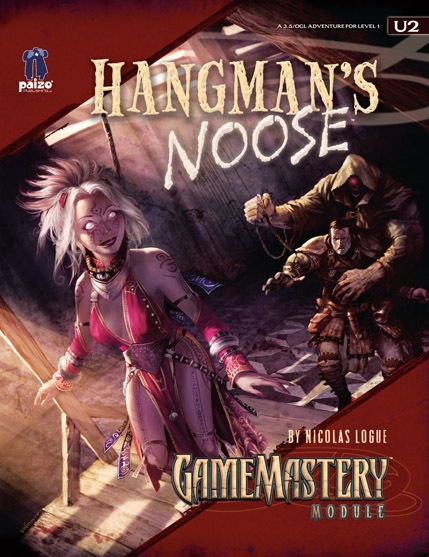
Something is amiss in the town of Rhiannon. Recently raided by a band of vile creatures, the citizens of Rhiannon were shocked to find their lord at the root of the incident. And now Lord Kent is holding a competition for “all walks of life with a propensity for the gambling arts.” Will the PC aid the citizens of Rhiannon and uncover the truth about the mysterious Lord Kent? Or will the PC take this opportunity to line her own pockets? Either way, the answers lie inside the walls of Lord Kent’s keep and the gamblers within.

Who can the heroes trust in the verdant depths of the Feywild? While resting in the wilds on the night of a full moon, the party are accidentally drawn into the Feywild, and must find their way back. With a choice of routes to follow, the heroes may encounter either the naive but vengeful undine Dapple, or the urbane and callous fey lord Verian. Each holds the ability to send the party home, if they agree to retrieve something from the other. Venturing past carnivorous vines and a troll-guarded bridge, can the adventurers be persuasive or sneaky enough to avoid an outright battle? Full Moon, Fey Tales is a 3-4 hour adventure for characters of 5th to 7th level. It aims to give the players genuine choice on how to deal with their plight, and can be completed without a single combat, or by battling the whole way through - whatever your group prefers!
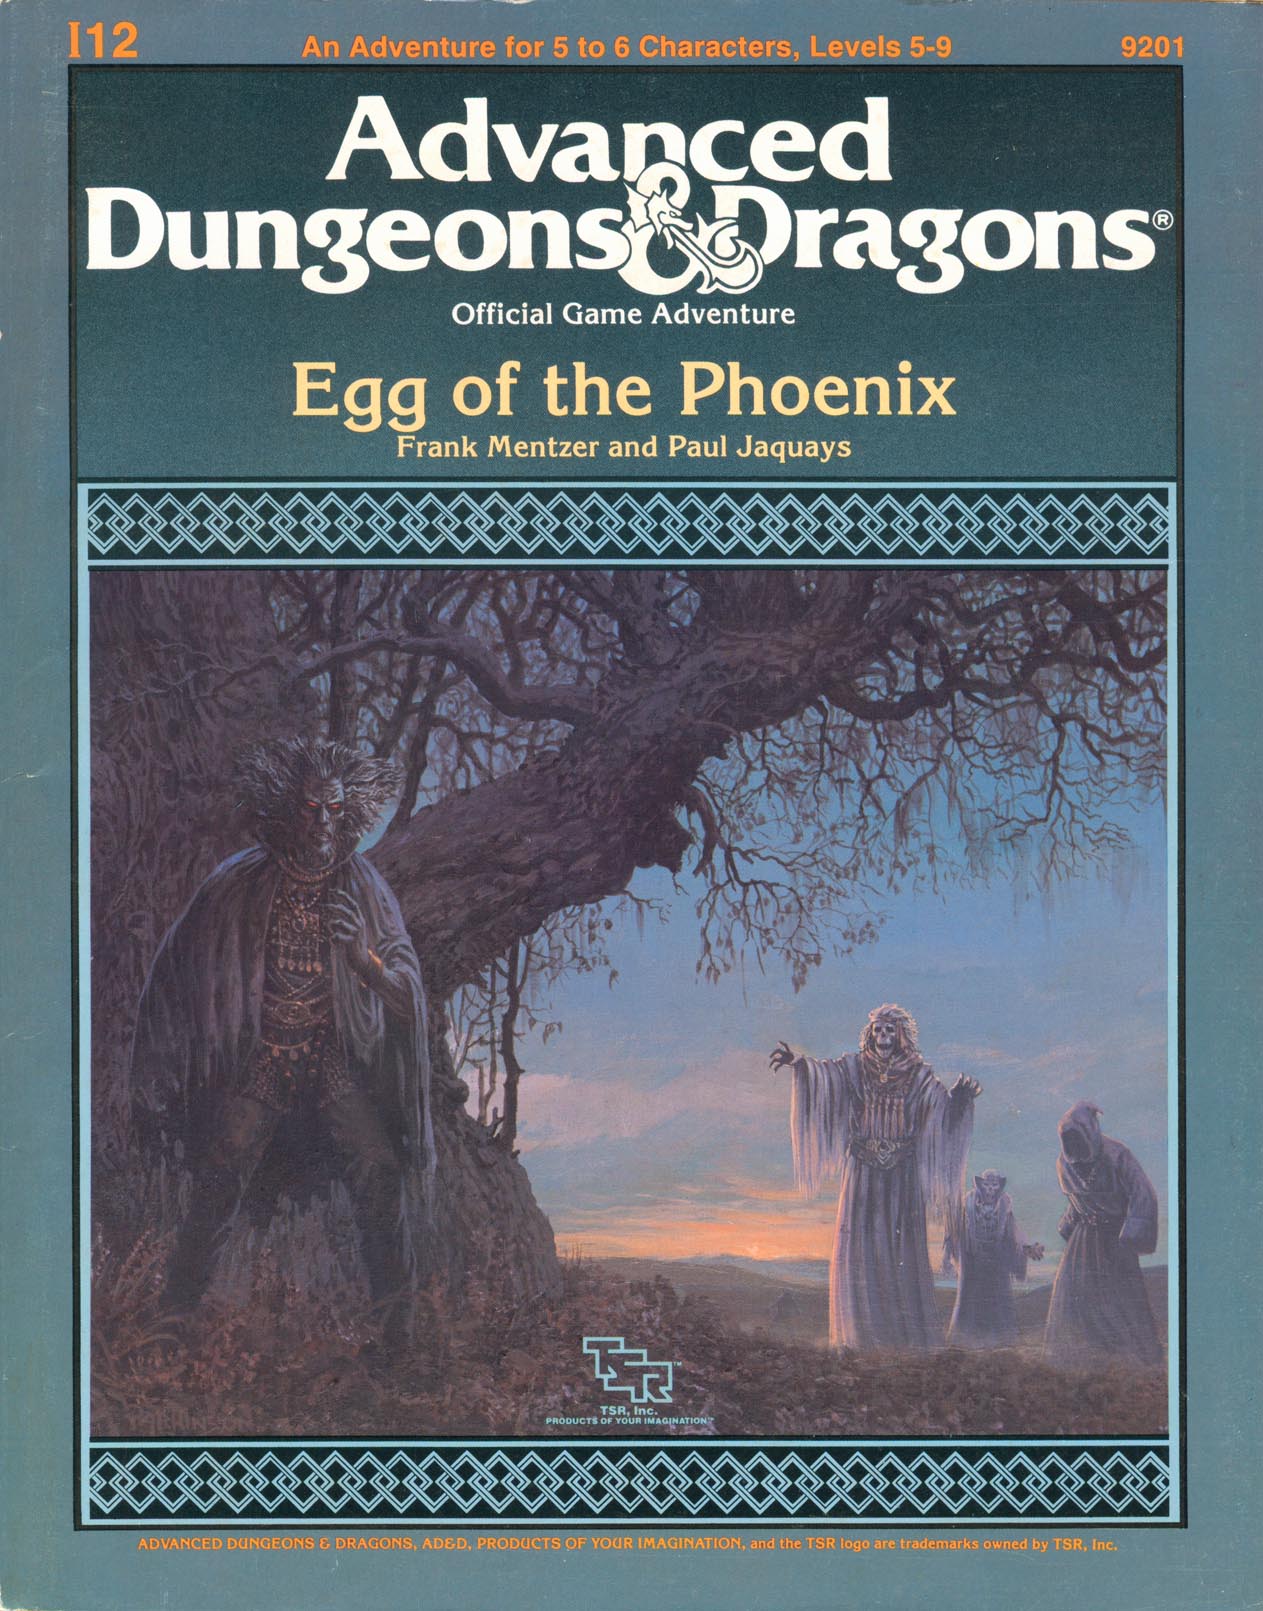
"Come on," they said, "It won't be so tough, just stopping a slavery ring," they said. "I don't know," you said. "Those slaves aren't even entirely human! How do we know they won't try to kill us?" But you went, and now you're having second thoughts. There were the thieves in the lost crypts of Empyrea, raising hundreds of - no, that's too disturbing to think about. There were the three daughters who - no, that's too painful to remember. Now there's this Egg of the Phoenix. What does that have to do with anything? This was supposed to be a cut-and-dried stop-the-slavers job. Who said anything about retrieving lost artifacts? Trudging through forests, traipsing through castles, trotting throug dungeons, traveling through other planes: this has turned into more than your run-of-the-mill adventure. The compensation had better be worth it! Provided, of course, you're around at the end to collect your share. TSR 9201

The Kierhammer clan of dwarves pride themselves as excellent excavators, but the respective families are not without friction. While clearing the entrance to the tomb of an ancient king, tensions rose following the death of one of the Kierhammers, who seemingly fell accidentally. It is your job to ensure the clan stays united, and when disease strikes, to make sure resources are managed properly, so that the mission is complete and you all return alive. A wicked force, however has other plans...

A goblin warband has found the secret tunnel which leads from the dwarven keep of Hearth-Home to the nearby hills. The tunnel is intended to be a means of escape if the keep ever falls to attackers, but now it has provided goblins with an easy way into the Underkeep. So far, the goblins have confined their attentions to the various underground rooms that make up the Underkeep, but sooner or later they will find a way to the surface. They pose a serious threat to Hearth-Home - the goblins must be cleared out of the Underkeep so this breach in security can be repaired before the orcs hear of it and overrun the dwarven keep. This adventure is slightly more challenging than Red Hand Trail, and it is recommended that it is played after that quest and before Palace of Dread. However, the scenario in Trouble Below can easily be played independently from the rest. Part of TSR 1076 The Goblin's Lair
"A spiteful ghost haunts an abandoned courthouse in the metropolis of Absalom, and on the ten-year anniversary of a grave injustice it seeks its revenge. The heroes must unravel the mystery of the ghost’s demise before they too are given a guilty verdict and sent to the gallows." This adventure is different from many others in that it progress according to 1 hour increments, rather than according to the player's exploration. The party is trapped in an old courtroom, trying to solve a decade old murder. Though one of the villains is listed as a "revenant," this is primarily due to the thematic similarity. The actual undead antagonist is a unique type called a "croaker," which bears a similarity in that it is driven by vengeance.
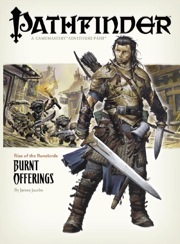
The Rise of the Runelords Adventure Path begins here, in the small coastal town of Sandpoint. Five years after a tragic fire and spate of brutal murders, the people of Sandpoint eagerly anticipate the Swallowtail Festival to commemorate the consecration of the town's new temple. At the height of the ceremony, disaster strikes! In the days that follow, a sinister shadow settles over Sandpoint. Rumors of goblin armies and wrathful monsters in forgotten ruins have set the populace on edge. As Sandpoint's newest heroes, the PCs must deal with treachery, goblins, and the rising threat of a forgotten empire whose cruel and despotic rulers might not be as dead as history records.

The heroes are sent to find what happened to a local druid, but discover his mind has been driven to madness and he is attacking the local villages. The heroes track down the druid's grove and find he was enchanted by a hag, and the heroes have to find a way to destroy the chimes she uses to enchant the druid.

The Assassin's Knot is a sequel to The Secret of Bone Hill, picking up on themes from that module and shifts them to a new locale. The player characters must solve the mystery of who killed the Baron of Restenford, with evidence pointing to somebody from the town of Garrotten. The scenario describes the town and its castle. The Assassin's Knot module is different from most of its contemporaries in that it contained no dungeon or dungeon-like area. The longer the players take to find the murderer, the more unfortunate events occur in the village. The village, Garrotten, is reputed to be the place to go to have someone killed. The entire village shuts down when the Baron of Restenford is found dead, mutilated beyond the possibility of magical restoration. Three small clues are all the player characters have to unravel the mystery. TSR 9057
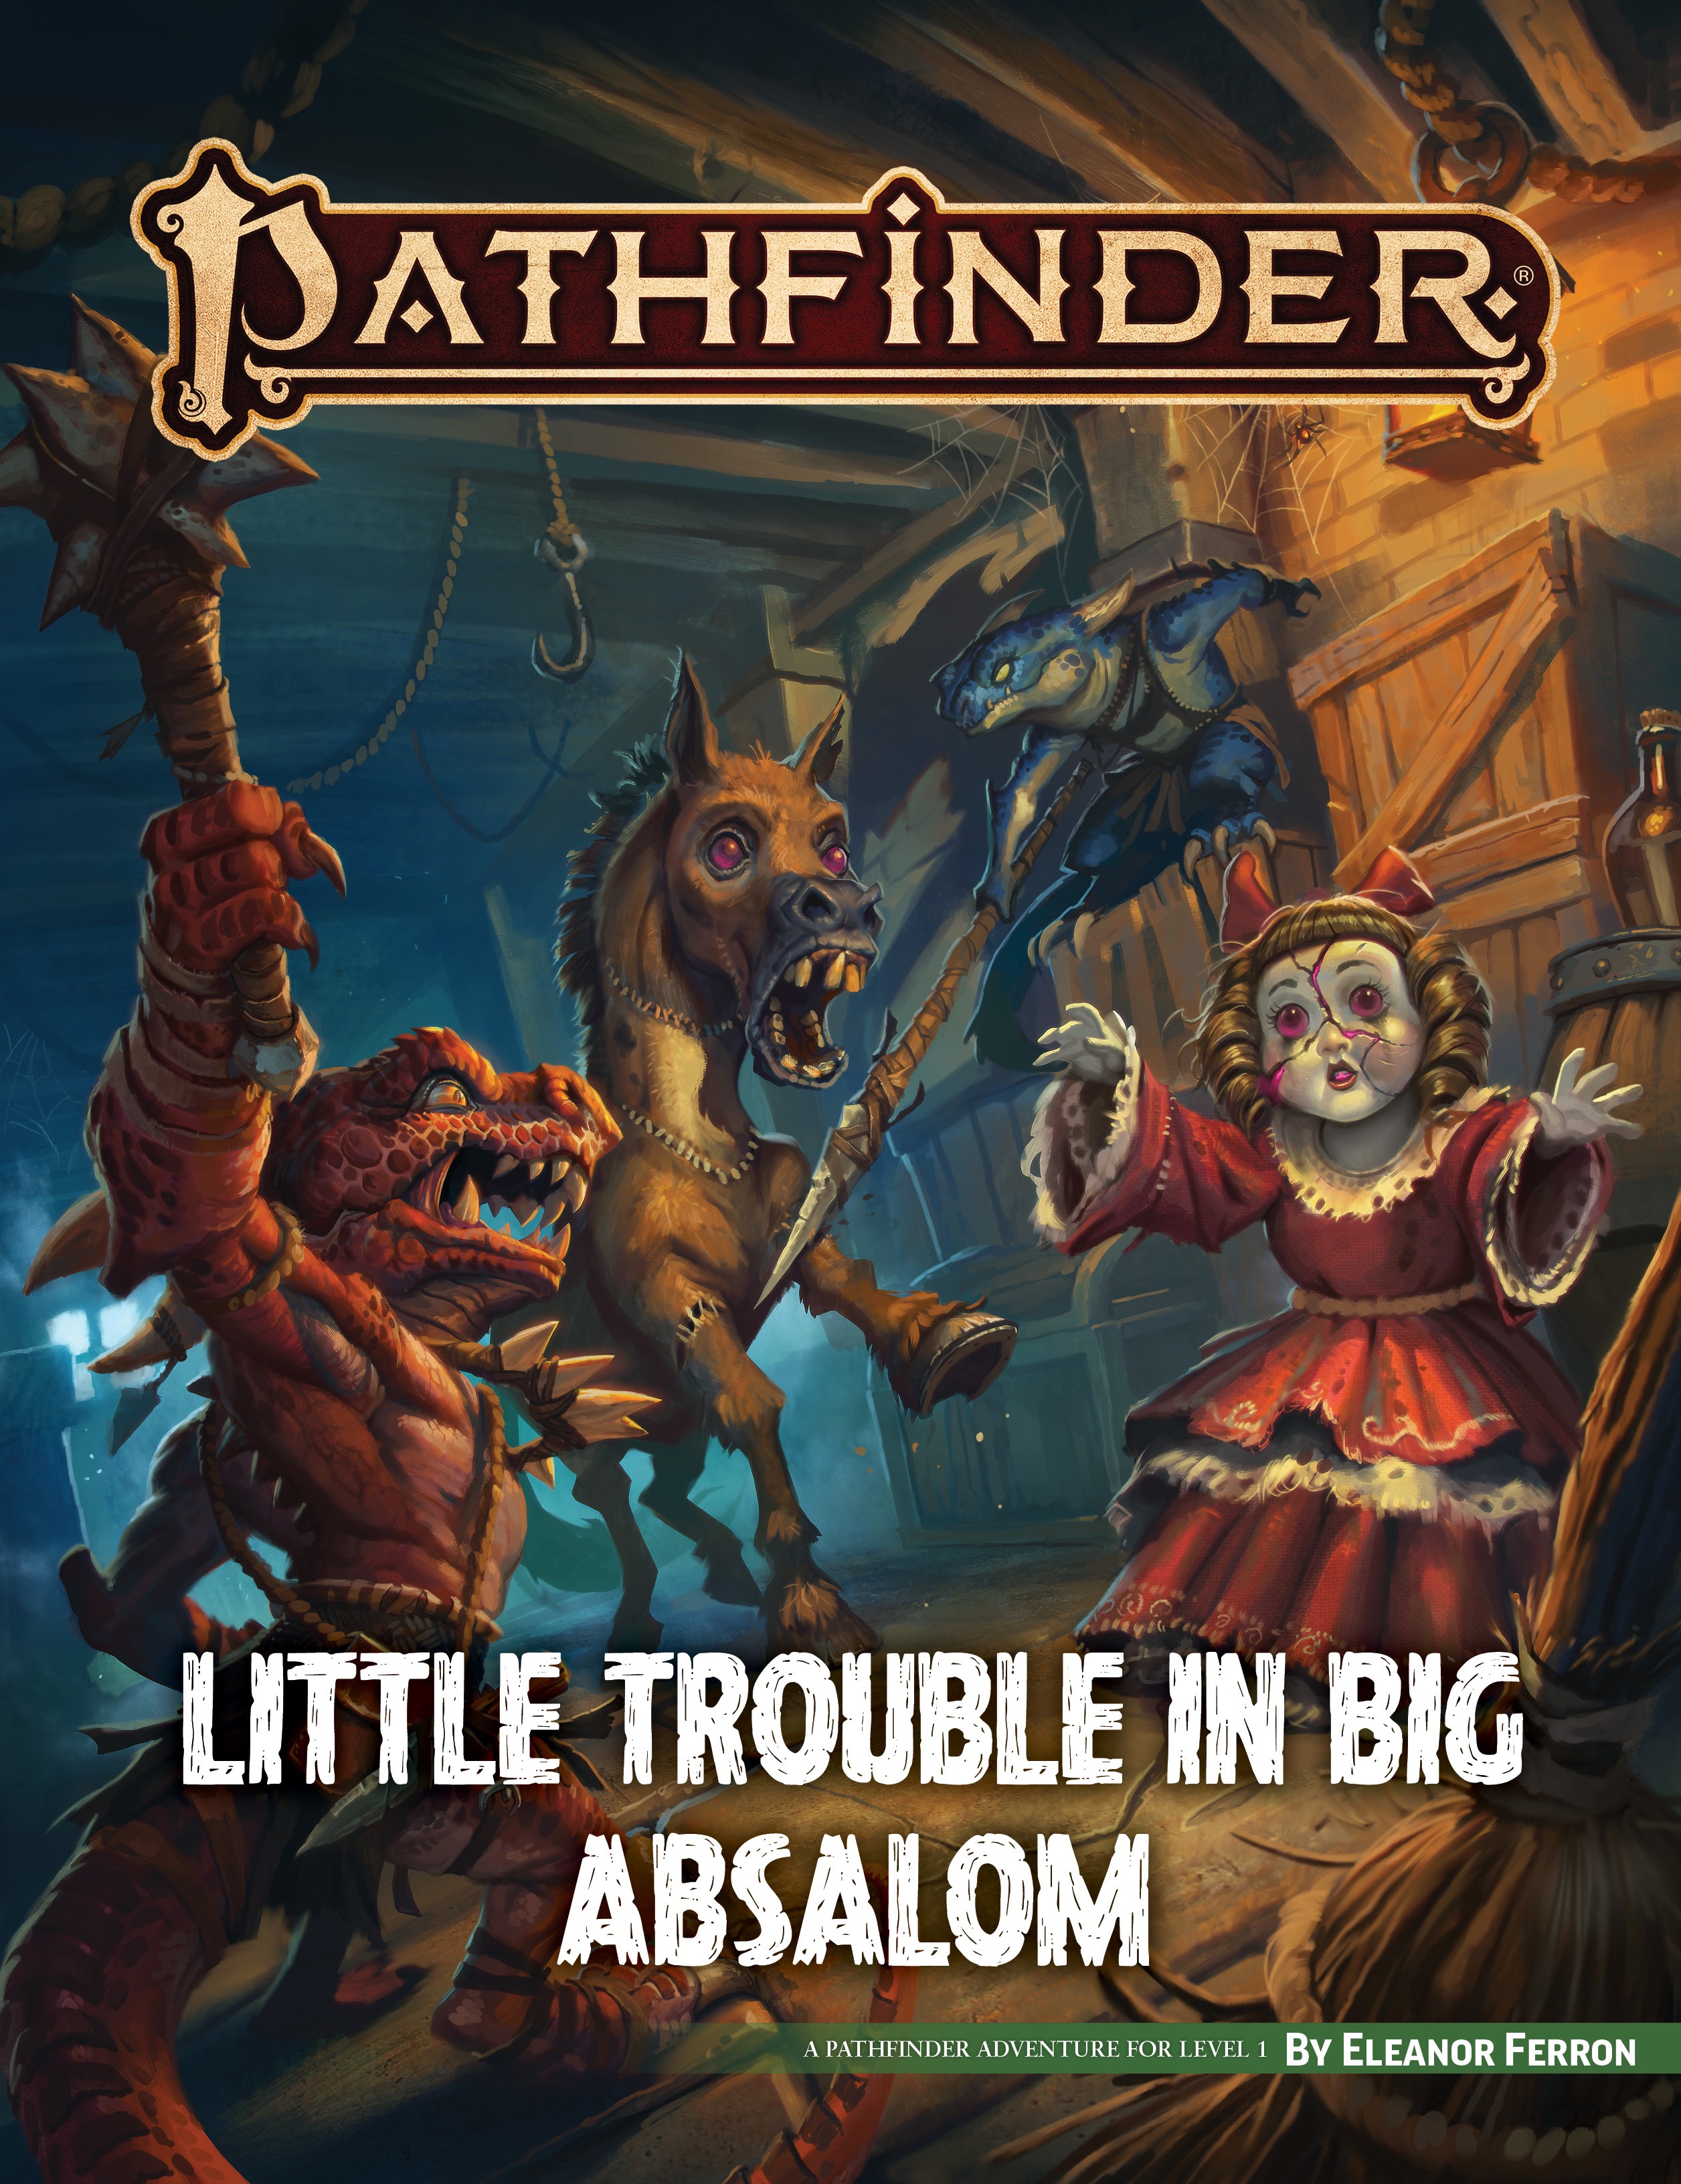
Always living in the shadows is hard when you're a clever and regal creature like a kobold. Now it's time to make a name for yourself and bring honor and prestige to your clan. In Little Trouble in Big Absalom, you take on the role of one of five kobolds from the Hookclaw clan tasked with exploring a treasure-laden vault discovered by a team of Hookclaw diggers. Enticed by the potential wealth, the kobolds brave terrible dangers in what turns out to be a grandmother's basement before being asked by the kind old lady to retrieve her magical hedge trimmer from a neighbor's garden. Little Trouble in Big Absalom includes two mini adventures that can be played back to back or alone—filling as much or as little time as you have for madcap adventure. In addition, the five pregenerated kobold characters provide a preview of the upcoming Pathfinder Advanced Player's Guide in this exciting offering for Free RPG Day! Grab some dice and some friends and play the role of determined kobolds!

Princess Arelina rushed from the tent as total disorder breaks out across the camp. She descends on your party as you struggle to secure you weapons…. Wonderfully descriptive, isn’t’ it. Well, now you can see for yourself with the 3-D DRAGON™ tiles. Use the DRAGON™ Tiles to bring your DUNGEONS & DRAGONS™ an ADVANCE DUNGEONS & DRAGONS™ adventures to life. This package includes 3-D figures, featuring tents, trees, carts, a waterfall, and characters. A sheet of 2-sided tiles including trails, streams, creatures, and other wilderness features. A wilderness mapping grid is included to help you lay out wilderness encounters quickly. The 3-D DRAGON™ Tiles also comes with a special D&D® adventure, “The Revenge of Rusack.” TSR 9145
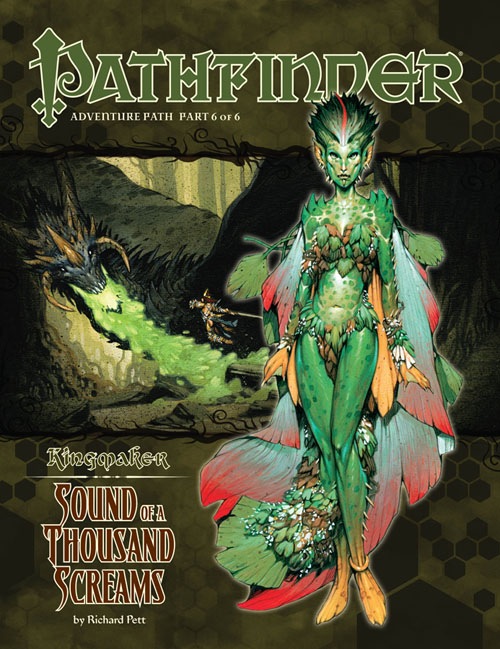
A Pathfinder Roleplaying Game adventure for 15th-level characters, this volume of Pathfinder Adventure Path is part 6 of 6 of the Kingmaker Adventure Path, in which the heroes win and defend a small kingdom from threats foreign and domestic. PCs should advance to 17th level by the end of this adventure. This adventure begins after the War of the River Kings has ended—the PCs, be they the war’s victors or losers, are faced with the task of rebuilding their kingdom or perhaps helping to rebuild Pitax. Yet soon after the war is over, a new peril strikes the region as strange monsters and violent bursts of rapid vegetation growth and bizarre weather plagues the Stolen Lands. At the same time, the PCs learn that one of the treasures discovered in Pitax’s House is a nascent vorpal sword, a weapon of immense power, and as the strange weather and blooms of life and monstrous incursions increase, so does this sword’s intelligence and power. The PCs soon learn that their kingdom faces an invasion, but this time not from the physical world. Some fell force from the legendary First World is attempting to expand into this world, and when the PCs begin to fight back against these verdant blooms, they discover that it’s possible to step from this world into the First World realm of Thousandbreaths. There, the PCs face powerful new threats unlike anything they’ve seen before, and learn that the dangers facing their kingdom are even greater than they feared, for the fey ruler of Thousandbreaths is about to absorb the Stolen Lands into a bauble for her own purposes, an act that would scour clean the region and leave behind nothing but a wasteland.If the PCs hope to save their new kingdom from this threat, they must combat the nymph queen Nyrissa both by stopping the various blooms in their kingdom and by traveling into Thousandbreaths itself to confront the dangerously insane nymph.

The Great Mage Cheiromar, known as Aglahund the Mighty, is said to be buried under the Leaning Stone atop Galzar's Crag. One of his apprentices, Ulthorn, has been discovered dead in an aperture of the Leaning Stone - a doorway that locals swear has never been there before! You must discover how Ulthorn died and the mystery of the Leaning Stone. In the process, you may find yourself at the Endless Stair. Those who never climbed it say is seems to lead nowhere. Those who did never lived to tell of it. Will you dare ascend into the unknown? TSR 9192