
People from all over the world travel to the oracle of the dead, the Necromanteion, to commune with the spirits of the dead. Following a ritualistic preparaton of the body and the mind, a "Seeker", as they are called, enters the Adyton, and with the help of the Prophet comes in contact with spirits. Who would your characters talk to if they found themselves in the Necromanteion? Before you can answer that, you must first save it from a demonic invasion! With the temple in chaos, and foul fiends everywhere, will our adventurers be able to save the Necromanteion?

Red dragons. Storm giants. Dragon rulers. Frost giants. They're all here, in this book, in complete, ready-to-play mini-adventures. No matter what level your characters are, there is something here for you (and them). Need a diversion? Want to spice up a long-running campaign? Want to play, but don't have more than an hour or so? This is the book for your gaming group. As DM, you have everything you'll need to play right at your fingertips. As players, you'll have challenges worthy of your characters. This book has something for everyone. This product includes a random spell generator for dragons, complete with instructions. Contains 14 adventures. TSR 9211
:strip_icc()/pic686699.jpg)
This is a scenario for Runequest characters with skills between 50% and 75% and little Rune magic, or AD&D characters of 4th- 5th Level. Statistics are given in full for the Circus troupe, who can be played as PCs by the party, or run as NPCs, though they should be essentially non-combative. Stats for the other major NPCs are also given at the back of the adventure. INTRODUCTION Ghararna is a prosperous little village in a fertile valley, surrounded by mountains on one side and steppes on the other. However, a Horde of Barbarian Nomads have recently arrived in the area: they took three hostages from the village to ensure obedience, and are planning to stay for the winter. Worse still, they plan to attack a nearby tribe of non-humans, the Karagol, in the mountains near the valley: they have captured a leader of the tribe, throwing the Karagoi into confusion. The villagers have had good relations with the tribe; they fear the coming war will destroy the friendship. Also, the likely battleground will be the villagers' fields, destroying the unharvested crops that are vital for surviving the harsh winter. To counter this threat, the village elders have pooled all their resources to hire the party: their objectives are to make the Horde leave without carrying out any reprisals against the village, to rescue the hostages, and to ensure the tribe do not attack the village. The villagers have also paid Sravindly, the boss of a travelling circus, to take the party into the camp as part of the circus: the circus will give what aid it safely can. Once in, the party can learn what the Horde is like and decide on their course of action, either acting immediately or after the circus leaves.

Rules for playing any level with any number of players without a GM! Have you and your friends ever sat around the gaming table wanting an exciting, perilous dungeon adventure but no one wanted to be the Gamemaster? Do you find yourself with little time to read through lengthy adventure modules and memorize them? Do you want to get down into the dungeon as quickly as possible and start killing monsters and finding treasure? Then look no farther than “Unbound Adventures”! In this rules supplement, players will find the information necessary for using the 3.5 d20 core rules without a Gamemaster. Players will form a party, find an adventure, travel to the dungeon (which will be generated for them as they explore) and fight the monsters they find there.
An evil cult with a trick up its sleeve. A missing tome, a trail of clues and an unusual cult. Lawful-good characters, especially paladins are recommended for this adventure. Clerics of Aphrodite, Hanali Celanil, Hera, and lshtar have a special interest in despoiling the cult of Shami-Amourae. [Note: Adventure contains statistics for the Demigod Succubus, Shami-Amourae] Pgs. 19-27

The Sea Witch is a short adventure for four 10th-level characters. The difficulty of the adventure can be adjusted by changing the level of main antagonist (Black Molly, the sea hag pirate) or by altering the number of her ogre servants. To tailor the encounter to groups of different levels, refer to table 4-1 in Chapter 4 of the DUNGEON MASTER’S GUIDE. The adventure is set off a lightly populated coastline known as Misty Bay, but adapts easily to any coastal region in existing campaigns. The sea hag known as Black Molly is a notorious pirate who has plagued the coastal cities for the better part of a decade. A successful Knowledge (local) check (DC 15) will reveal that Molly and her ogre crew have a filthy reputation as merciless killers who delight not only in plundering vessels for their riches, but also in destroying the ships themselves and sending all hands to the bottom of the sea. Now the villain and her followers have seized control of the Old Lighthouse of Misty Bay located off a lightly populated coastline. For generations the lighthouse beacon has protected the fishermen of this region, warning them of the dangerous rocks that lurk just below the level of the high tides. Recently, the hag has put out the beacon, darkening the lighthouse; misery and destruction are sure to follow as ships start to blunder into the rocks. Blackmail is apparently Black Molly’s aim in this venture: She conveyed a message to the nearest shore community, the fishing village of Poisson, demanding the princely sum of 50,000 gp. Until she receives this ransom, she intends to hold the lighthouse and its beacon hostage. The fate of the human keepers who tend the lighthouse is unknown to the seaside communities at this time, but they fear the worst. The Sea Witch is ostensibly a rescue mission: The PCs are pitted against the evil of Black Molly and the brawn of her savage ogre crew. It is the heroes’ task to retake the lighthouse and, if possible, free its captives from the clutches of their jailer. What neither the PCs nor the shore communities yet realize is that while she 1would be pleased to have the gold, Black Molly is in fact after bigger treasure. Molly has no intention of giving up the lighthouse — at least, not until she finds what her master sent her here for. Lying on the sea floor practically at the base of the rock on which the lighthouse sits is the wreck of the war galley Flying Cloud, which according to popular legend was captained by a cleric who wore around his neck an amulet of the planes. Black Molly wants this prize, but so far she hasn’t been able to find it. She’s scoured the wreck without finding any sign of the magic item. Now she’s trying to determine where to search next, for the item might well be somewhere near the wreck. If she can’t find it, she’ll start torturing her captives to find out if they have any useful knowledge about the amulet.

Some dozens of leagues to the north and west of the STEADING OF THE HILL GIANT CHIEF (Module G1 of this series), amidst the tallest mountain peaks, is the stronghold of Grugnur, Lord of Frost Giants. As frost giants have been amongst those who have been in the reaving bands, the party is to deal with them as the hill giants have been dealt with. Death and destruction are to be meted out to the frost giants in the same measure they gave to the peoples below. This module contains background information, referee's notes, two level maps, and exploration matrix keys. It provides a complete module for play of ADVANCED DUNGEONS & DRAGONS, and it can be used alone or as the second of a three-part expedition adventure which also employs DUNGEON MODULE G1 (STEADING OF THE HILL GIANT CHIEF) and DUNGEON MODULE G3 (HALL OF THE FIRE GIANT KING). TSR 9017

Experience this totally wicked two-hour adventure for 3-6 characters levels 5-10 from the fantabulous minds of Anthony Joyce and Oliver Clegg! Whoa! You’ve just killed Strahd but his body remains?! How can this be?! Lead your party on a retro journey through Castle Ravenloft to collect five pieces of a powerful artifact known as the Pentaforce to summon a powerful entity that can put an end to Strahd’s reign once and for all! Experience the rad music of the 1980’s as it guides you from room to room, confronting horrors like the Brunch Club, Ghost Hunters, thrilling zombies, Ricky Roll, the Loonies, Prom (Barovian Winter Fantasy ‘86), a flash-dance off with hags, aerobics with undead, Jeremy Krawfjord, Kris Purkens, and much more! This 1980’s inspired PDF is professionally designed and illustrated by Gordon McAlpin (Creator of Death by Goblins!). Inside you’ll find hyperlinks to each creature and their stat blocks on D&D Beyond accessible for free! This PDF also includes hyperlinks to a curated “Weekend at Strahd’s” playlist on Spotify so you can wow your players and relive the epic music of the 1980’s as you put an end to the reign of Strahd von Zarovich! This adventure does not require players to have played Curse of Strahd, nor does it spoil anything in Curse of Strahd. This adventure is designed to play casually as a one shot in a tubular party atmosphere, it’s soooo bodacious. P.S. One player plays as Strahd’s corpse...yes, you read that correctly...one lucky player gets to play the entire time as the corpse of Strahd! Oh, and the player that dies the most wins a crayon drawing of Frankenstein Ronald Reagan. Enjoy!

"Tyr is free! Tyr is free!" Such is the heady cry that echoes from the darkest warrens to the gleaming chambers of the Council in that ancient city. Now is your chance to savor life released from the oppressive gloom of the sorcerer-kings-but for how long? New forces threaten the newly-born independence of Tyr, as outside forces march upon the city. King Tithian is determined to resist, but there are others on the Council of Advisors less eager to risk their wealth and lives for the cause of independence. It falls upon you to help mobilize and lead the citizen-army of Tyr on the road to Urik. In Road to Urik, the city-State of Tyr has thrown off the yoke of the sorcerer-king Kalak and declared all slaves free, but the neighboring city-state of Urik is amassing its own armies to conquer Tyr. In the first part of the adventure, the PCs must negotiate with various factions of the city in order to win their support for the war effort. In the second part the PCs leading a scouting force ahead of the main army, and the choices and successes in the first part will affect the troops they lead here. Finally, they will need to fight and lure away the Urik army's own scouting force, letting the army of Tyr ambush them. The second and third part make heavy use of the Battlesystem rules, which were pushed pretty heavily in the early Dark Sun books. Like many Dark Sun adventures, the module makes heavy use of handouts that come in a flip-book along with the main adventure. This adventure is a sequel to Freedom. It stands on its own, but the plot of the adventure is based on the events of Freedom and the novel the Verdant Passage, so you can't really run them in reverse order. Much like Freedom took place concurrently with The Verdant Passage, Road to Urik takes place just before the events of The Crimson Legion, the second novel in the Prism Pentad. TSR 2406
The hamlet of Thistle has a problem. The river they depend on for trade and food was recently poisoned with a tide of filth, and a goblin named Belig has claimed responsibility. If the people of Thistle don’t pay a ransom, Belig has promised them much worse will come with the next poison tide. A Forgotten Realms adventure for 1st-level characters.
Founded by a famous dragonslayer, the small town of Belhaim has become a sleepy rural community just off the beaten path, a settlement where everyone knows everyone and strangers are the talk of the town. But when Belhaim’s peace and quiet is shattered by the sudden collapse of the last standing tower of its founder’s castle, things quickly bloom out of control. Why were there bodies of kobolds amid the rubble? What’s the sinister secret behind the strange sounds of flapping wings in the night? And what’s happened to local wizard Balthus Hunclay, who’s not answering knocks on his door? The collapsed tower had long been an eyesore to the cantankerous old man—could he have had something to do with its destruction? And what of the rumors of strange stirrings in nearby Dragonfen? Has Belhaim’s ancient draconic nemesis returned?
A barroom brawl at a country inn causes the destruction of a priceless relic and the heroes are responsible. Now they must chase down a host of ancient artifacts, lost in a haunted wood, to repay their debt. While the heroes search for the items to clear their name, another group of scoundrels plots their downfall from the depths of the mysterious forest. Only one group will emerge victorious. The Forest King is long dead and no one has seen his priceless regalia in many years, lost as it is to the depths of his haunted domain. Now the objects must be found if justice is to be served, but an eternal guardian stands watch, ready to deal with all intruders.
While traveling a mountainous road, the party hears a "song, echoing faintly through the hills around you--a single, achingly beautiful feminine voice that burns its sorrow straight into your gut. The words are Elvish, but you don't have to speak that language to understand the sense of loss and heartache that fills every note." --from the adventure. Includes map of the tower.
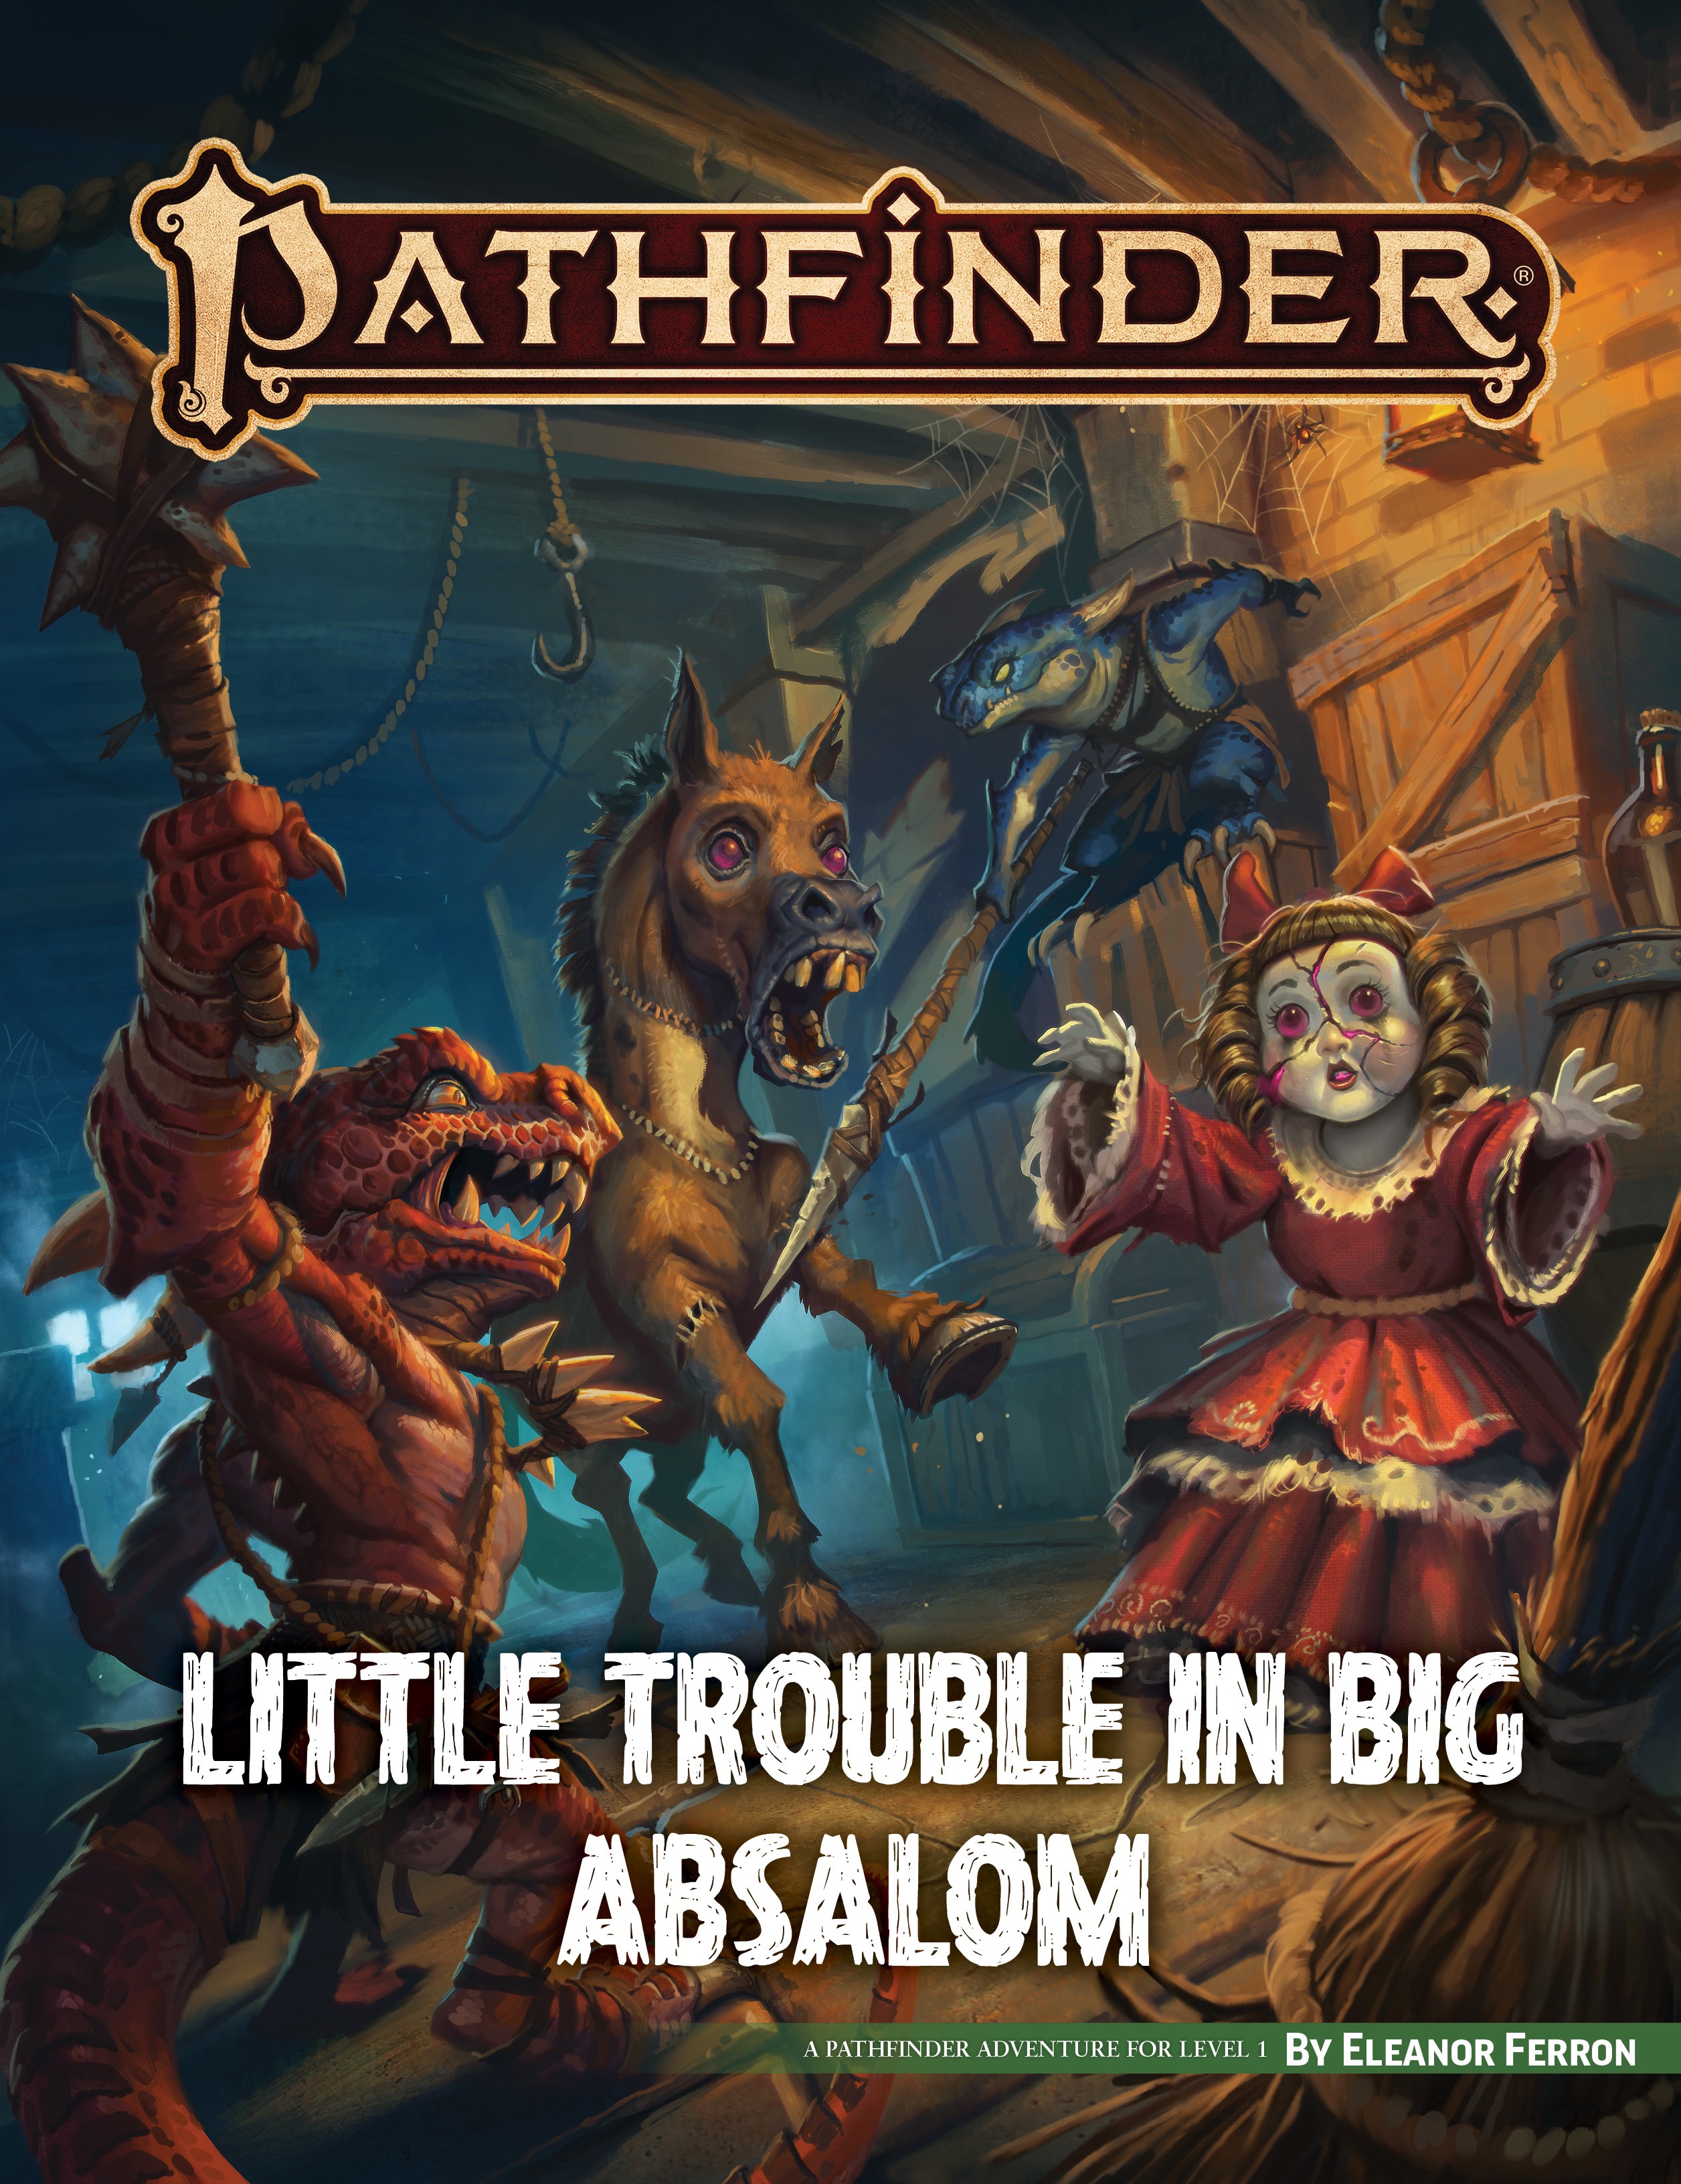
Always living in the shadows is hard when you're a clever and regal creature like a kobold. Now it's time to make a name for yourself and bring honor and prestige to your clan. In Little Trouble in Big Absalom, you take on the role of one of five kobolds from the Hookclaw clan tasked with exploring a treasure-laden vault discovered by a team of Hookclaw diggers. Enticed by the potential wealth, the kobolds brave terrible dangers in what turns out to be a grandmother's basement before being asked by the kind old lady to retrieve her magical hedge trimmer from a neighbor's garden. Little Trouble in Big Absalom includes two mini adventures that can be played back to back or alone—filling as much or as little time as you have for madcap adventure. In addition, the five pregenerated kobold characters provide a preview of the upcoming Pathfinder Advanced Player's Guide in this exciting offering for Free RPG Day! Grab some dice and some friends and play the role of determined kobolds!
We get it. Factions are an integral part of D&D, but it's not always clear how to use them in your campaigns. Luckily, Factions of Sigil has you covered for each of the twelve main factions found across Sigil and the Outlands! This supplement goes over the various rules and lore around the primary factions found in Sigil and the Outlands, making it easy for any new or veteran DMs to integrate the factions more into the core stories being told, and making them feel more useful for the players that choose to join. Complaints have been made to the Transcendent Order of a Slaad and its Bladeling allies that are disturbing the peace in Sigil, who in turn have tasked the characters to restore a sense of tranquility to the old Mastervale Manor.

Deep within a forgotten temple lies the Storm's Eye, a powerful sapphire coveted by the monstrous Behir, Krykzor. In The Storm's Eye, adventurers must navigate deadly traps, confront ghostly knights and phase spider minions, and solve a lightning-powered puzzle, all while racing against time to escape a collapsing temple. Designed for a party of levels 6-7, this one-shot adventure offers thrilling combat, intricate puzzles, and dynamic challenges as players face the storm and claim the treasure—or risk being lost forever.

The Therayle farm, which has been in the family for generations, was the best producing in the region. It now faces ruin. Hugh Therayle, the current owner, is at wit's end trying to reestablish even a modicum of control over the disrupted land. But, when Hugh saw the ancient doorway jutting up from the middle of the field where his corn used to be, he knew that this wasn't the type of problem a plow could solve. More than two centuries ago, a red wizard by the name of Houn made a discovery that shook the foundations of magic on Toril. Yet, due to a considerable amount of effort on his part, it never saw the light of day. The exact nature of this discovery is unknown but it involves the location of the skeletal fragments of an ancient being. The weave, which governs all magic on Toril, reacts strangely to the fragments. More information existed before Houn destroyed his research and fled Thay. His current whereabouts are unknown but many of his peers have attempted to track him down and steal his research for themselves.
This adventure focuses on a Zhentarim attempt to spread terror in Mistledale, although it is suitable for almost any lightly settled area northwest of the Sea of Fallen Stars. "The Raiders of Galath's Roost" is suitable for four 1st-level characters, but PCs should be at least 2nd level before tackling the adventure's second half, the Zhentarim Citadel. Even in the first half of the adventure, many of the encounters are quite formidable for 1st-level characters, and the PCs might find it necessary to withdraw and recover one or more times before completely exploring the ruins.
Centuries ago in the Black Swamp, Castle Kraal was a well-respected keep. Its warriors defended the folk of Thunder Rift from the marauding bands of ogres and goblins who swarmed to attack from the Horned Hills. And then one day the keep and all of its warriors vanished, never to be seen again. Now, all these years later, historians are still trying to find the answers to the disappearance of Castle Kraal, answers which may be hidden in Kraal's ruins. The heroes are asked to investigate and to try and solve the mystery. Be Warned: Not every mystery wishes to be solved! Recommended for beginning players and DMs For use with the DUNGEONS & DRAGONS Game Box. TSR 9434

The Disappearance of Esme is a short adventure for four or five characters of 2nd to 4th level. It will take a party from an ancient forest to a magical island at the fringe of the Feywild to the Feywild itself. As a standalone one shot, it is possible to complete it within a session of six+ hours. However, it is ideally played over two or even three sessions so that the players have time to absorb all that is happening and make decisions with more care. It can be placed within any setting where travel to the Feywild is a possibility. Features A painstakingly crafted 25 page full-color and fully illustrated PDF, a printer friendly B&W version, and a tested for screen readers accessible version A customisable, standalone adventure with opportunities for exploration, skill challenges, NPC interactions and combat Multiple entry and exit points, suggested developments for many different pathways Well rounded, complex NPCs with old school portraits Tooth Fairies, Flying Monkeys and Foglings: custom monsters with stat blocks A colorful battle map with both DM and player versions and separate monster and environment art assets