
Deep in the wooded wilderness, the village of Grimmsgate is an outpost town on a seldom-traveled trail, right at the edge of nowhere. The village’s half-ruined temple of Law, dilapidated inn, drunken blacksmith, exiled trader and a few fur-trappers are enough to keep the bloody-minded denizens of the dark forest at bay, but nobody really expects the village to still be there in another ten years. The woods have become too dangerous for the trappers who once caught animals for fur, and merchants no longer travel the poorly-maintained road. What great evil and what fabulous treasures are to be found in these lands? A brave band of adventurers might make their fortunes here. Or perhaps they might never return… Grimmsgate is an introductory adventure for the Swords & Wizardry tabletop roleplaying game. The Swords & Wizardry rules are needed to play this adventure.

"Men and women walk the streets of Stonefoot, but the laughter of playing children is nowhere to be heard. Over the past year, the village's children have gone missing in the middle of the night. Who will uncover the mystery of these disapearances and stop the curse before it leaves Stonefoot without a future?" From the DMsguild description. The party is tasked with saving the last child in the village and eventually retrieving the kidnapped children. The villains first appear to be goblins, but after a hunt and a fun teleportation maze, they find out a human mage is behind it. The mage has been transmuting the children into human-goblin hybrids.
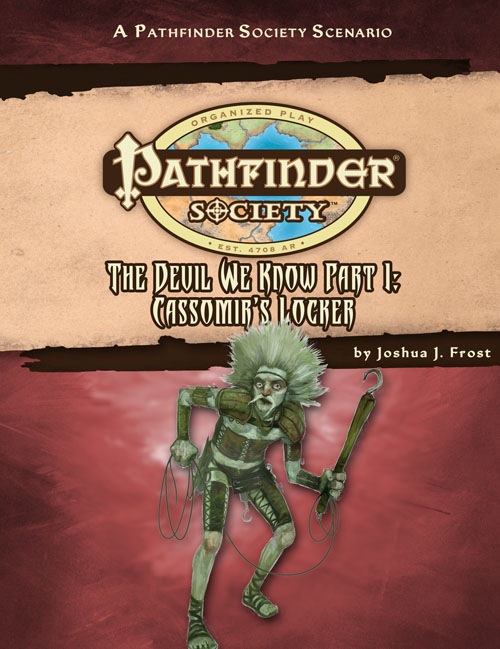
Part 2 of the "The Devil We Know" campaign arc. Cassomir's Locker is a Pathfinder Society Scenario designed for 1st to 7th level characters (Tiers: 1–2, 3–4, and 6–7). The Pathfinder Society dispatches you to the catacombs called Cassomir's Locker to find the source of a rat cult breeding monstrous vermin. After clearing Cassomir's dank sewers and delving into the dirty dungeons below, will you find the artifact that powers Cassomir's Locker or bring about the destruction of Taldor's most important port?

This exploration adventure is planned to be played by 4-5 level 4 characters. They will venture into the temple of Amaunator to cleanse it of corruption, give rest to its inhabitants and recover a precious lost artifact English and Spanish
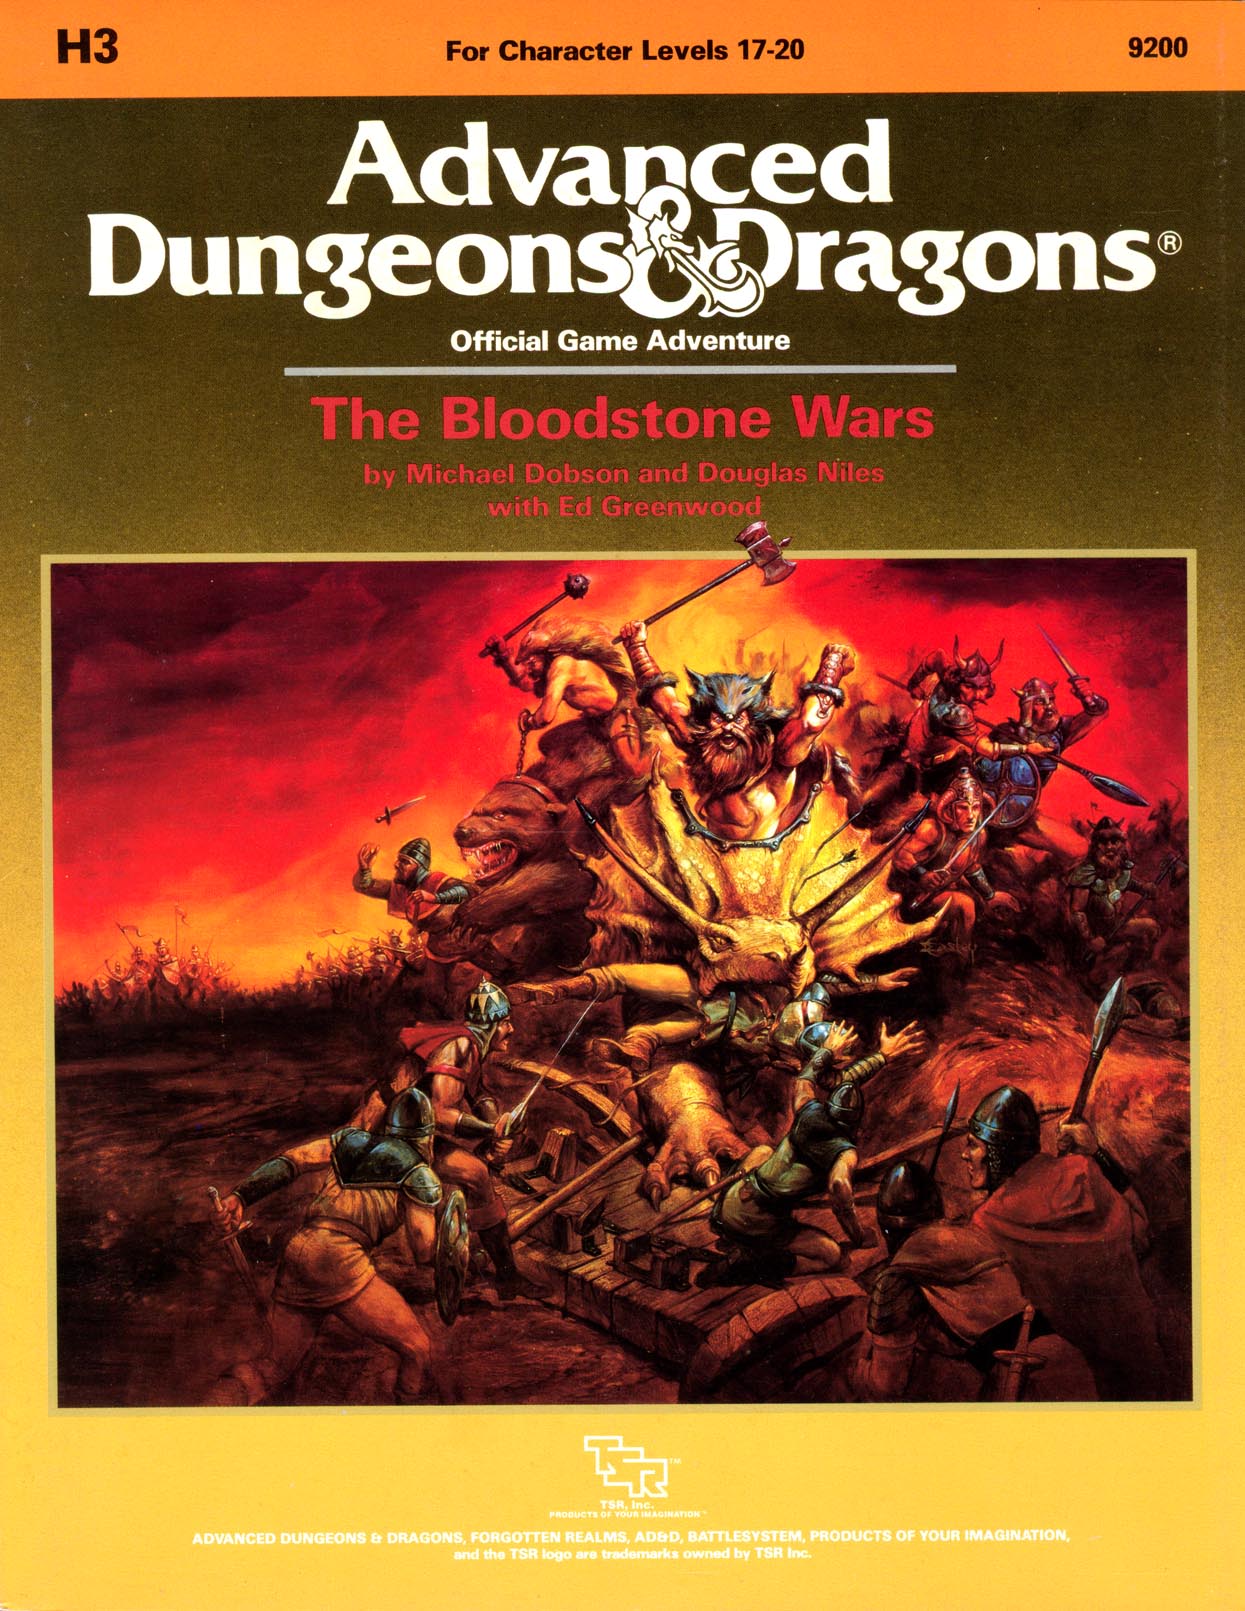
What strange role does Orcus, Prince of the Undead, play in the invasion of the peace-loving Damara? And what interest does the Grandfather of Assassins have in the tiny barony of Bloodstone Pass? With this adventure, your player characters inherit an entire barony - with a recently-reopened mine that produces immense wealth. Wealth enough to attract the dangerous attention of their neighbors...wealth enough to attract the attention of the Witch-King of Vassa...and Orcus himself! Now, your tiny barony is the pivotal point in a war that threatens to engulf the entire Forgotten Realms. Take command, and defend yourself against the encroachment of the evil, demonic forces of the nightmare realm of Vassa. A large, four-color map of the region makes your new realm come alive. Wild and wooly BATTLESYSTEM scenarios (with options if you're not into miniatures) give you the full range of battlefield excitement! Come learn why high-level AD&D game play can be much more than just monster bashing. The Army of Bloodstone wants you! TSR 9200

Evil is stirring in the tiny village of Akeley - an evil that reaches out to minds that drift through the inky void between the stars. However, not all that comes from the skies comes with malice. A band of rather unusual warriors have are resolved to deal with the infestation before it can spread, though they cannot conquer it alone. Perhaps it’s blind chance that brings together the players in this strange and terrible drama, or perhaps it was written in the stars long, long ago. Note: This adventure is intended to work with Mordenkainen's Tome of Foes, and requires a copy of the book to run succesfully.

A man built a temple to a woman who died. It became a shrine for those who lost a spouse too soon. Later. Much later. A young couple came. Their tribes warred so they could only marry in death. It was poison. Which angered HER. They walk the temple ever since, cursed by a shrine spirit. She has a hatred of suicide only dead widows can know.

A fiend lurks among the Black Blade goblins. A shapeshifting barghest fashioned by the General of Gehenna to exact revenge on all goblin-kind. It’s aim: to kill as many goblin leaders as possible… A masked goblin approaches the party asking for help. Two tribe leaders are dead. But a rival for chief has control of the crime scene. Will the party discover the barghest among the goblin ranks? Can they stop this imposter before it strikes again? Adventure Overview The adventure’s story is spread over 4 parts and takes approximately 4 hours to play. The adventure begins with a Call to Action scene. Part 1: Goblin Politics. Krill sends his emissaries to implore help from any strong intermediary. The party is asked to investigate the murder of Thrawn in Dringly’s lair. This is Story Objective A. Part 2: The Opposition. Gain entry into Dringly’s lair and investigate the murder of Thrawn. Gather enough evidence to find the killer. This is Story Objective B. Part 3: To The Lair! Now that the players have determined the barghest (Yeep) is to blame, they need to get to Krill’s lair quickly as he is in imminent danger. This is Story Objective C. Part 4: The Barghest.When the players arrive at the lair, they need to get to Krill and expose and defeat the barghest. This is Story Objective D. Adventure Background A barghest named Yeep has begun its onslaught of attacks against the Black Blade goblins. Starting with Chief Gnar, then his second in command Thrawn, the barghest is moving methodically down the line of command. Krill is now chief. But he has some problems: Two leaders of the Black Blades are dead. Who killed them and why? Is he next? Dringly, the next in command, has decided to take his lair for himself, declaring himself Chief of the Black Blades. Who are the Black Blades? The Black Blades are a tribe of goblins in the local area. They are known for dipping their blades in a dark black substance. It is rumored these blades are poisonous. The Black Blades regularly attack passersby on the road to rob them. The Black Blades have two lairs, one run by a chief who leads the whole tribe, and another overseen by a boss lieutenant. The Black Blades have a well-established pecking order which is how Krill stands to become chief. The next in line is Dringly, who has also declared himself chief and wants Krill dead. Krill suspects that there is something suspicious about two leaders being killed within a day of each other, but he has already burned Gnar’s body without any investigation. He needs to investigate the body of Thrawn, but it is in Dringly’s lair. Krill wishes to avoid direct confrontation with Dringly at the present for three reasons: 1) Any violence would only kill his own tribe members and further divide the lairs. 2) He believes there is still hope for negotiation to reunite the Black Blades. 3) He believes that if he were to attempt negotiations himself, Dringly would kill him. This adventure features: Two maps. Ready for your favorite Virtual Tabletop. A full color pdf. A black and white pdf. One custom monster, a reprint of barghest, all others available in the Monster Manual. Four hours of entertainment involving: roll playing a goblin bard, investigating a murder scene, tracking down a barghest before it strikes again. Applicable to any setting.
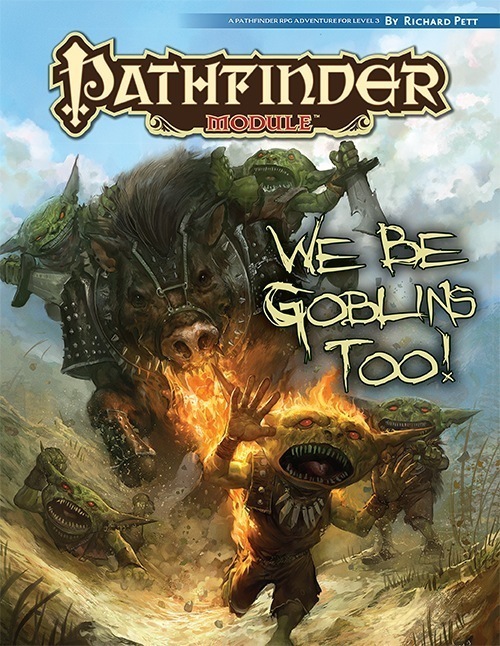
The Licktoads, once the great and fierce goblin tribe in Brinestump Marsh, were defeated by human adventurers! All that remains of the tribe are its four goblin "heroes". Homeless and bored, they left their swampy homeland to join the neighboring goblin tribe, the Birdcrunchers. The good news is that the Birdcrunchers are willing to let the goblin heroes join their tribe. The better news is that the Birdcrunchers have heard of these four, and want one of them to become their new chieftain. The bad news is that before the goblins can join, they'll need to endure a series of dangerous and humiliating tests. Very dangerous. Very humiliating. The worse news is that lately Birdcruncher chieftains have had really short lifespans—they're being killed by the pet fire-breathing boar of a local ogre who wants the Birdcruncher land as his own. Part 2 of the We Be Goblins series.
The City of Sands adventure module starts where the Domes of Ishaq-Zahur leaves off, sending a party of heroes from the peril of the desert tombs to the streets of the sandy metropolis, Archensheen. There the players will find themselves caught in the middle of a fierce struggle for political power and ancient artifacts as factions from all across the city vie for control of relics from the Nartheneen's glory days. Choosing a side may make more enemies than it does friends, but can the heroes survive if they choose to stand alone? Part 2 of 6 in the Fate of the Forebears series.

What could happen while traveling the vast Savage Frontier? Just about anything! Encounters in the Savage Frontier includes 24 unique encounters of various difficulty that can be used while the adventuring party travels the Savage Frontier. It also includes several new creatures and magic items, digital hand-drawn maps (10 as downloadable .jpg files), and original artwork. Some of the encounters are short and brief, while others may take you a full gaming session to complete. Available for Fantasy Grounds

Strange things are happening at War Tortle Brewery. Not only is the magically automated, multi-level stone tower brewery under the influence of corrupting magic, but a bodacious party of hipsters has taken over the grounds. Management needs help! Prove your worth to partying hipsters by playing games and earning VIP points. Earn enough points and earn a Supreme Party Animal Badge – your key to entering the tower. Once inside, navigate the automated brewery, infested with all-new creatures and threats manifested from the brewery’s equipment and brewing ingredients. Do you have what it takes to gain entrance, brave the tower, and put an end to the corrupting magic? Will you survive the challenges within, or fall trying? Content Warning: Alcohol, Drinking Games, Crude Humor, Intoxication

When the adventurers are tasked with destroying a symbol of Demogorgon, they end up falling foul of the great mage Mordenkainen himself – or at least a simulacrum of him. Will they agree to help maintain the great Balance of the Blood War, even if means sacrificing innocent lives in the process?
Create your own Critical Role campaigns with this sourcebook for the world's greatest roleplaying game! Explorer’s Guide to Wildemount provides everything you need to play Dungeons & Dragons on the continent of Wildemount (set within the world of Exandria)—a land of war, betrayal, and swashbuckling adventure. Comprised of four regions, Wildemount provides endless potential for adventure in a land of brewing conflict and incredible magic. Rising tensions boil over into all-out war between the politically dubious Dwendalian Empire and the light-worshiping wastefolk of Xhorhas, supplying a vibrant backdrop for any D&D campaign to explore. Uncover a trove of new options usable in any D&D game, featuring subclasses, spells, magic items, monsters, and more, rooted in the adventures of Critical Role—such as Vestiges of Divergence and the possibility manipulating magic of dunamancy. Start a campaign in any of Wildemount’s regions using a variety of introductory adventures, dozens of regional plot seeds, and the heroic chronicle system—a way to create character backstories rooted in Wildemount. Explore every corner of Wildemount and discover mysteries revealed for the first time by Critical Role Dungeon Master, Matthew Mercer. Includes: Frozen Sick: https://www.adventurelookup.com/adventures/frozen-sick Unwelcome Spirits: https://www.adventurelookup.com/adventures/unwelcome-spirits Tide of Retribution: https://www.adventurelookup.com/adventures/tide-of-retribution Dangerous Designs: https://www.adventurelookup.com/adventures/dangerous-designs

Everyone comes to Taux for a reason, and yet they come. A few will brave the Ebon Swamp, but most come via ship, which is the method the party now employs. Unbeknownst to them, however, a strom is brewing, one with untold magical energy that can bend the very fabric of space and time. If they are lucky they will have a story to be told beyond imagination. If they aren't, they will become the fodder of sea-faring legend, just another lost ship that never made it into the sheltered bay of Taux. This mini-adventure sets up the events of Folio #11 (AT1 The Subtle Revenant) This adventure is formatted to both 1E & 5E gaming rules.
The heroes must brave the crypt of an elven hero to retrieve their divine weapon.
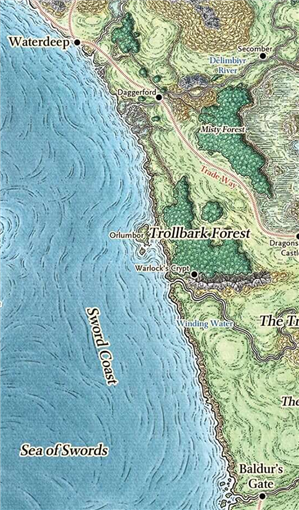
While traveling along the Trade Way, the characters see a small hut on the side of the road, and a spiked barricade erected in the middle of the road. Two men with cudgels in their hands stand on either side of the road. These two brigands proclaim to be members of the Waterdeep City Watch, but any Waterdhavian with half a brain knows this to be a lie. The truth is that these are common highwaymen trying to fleece travelers and merchants with a phony road toll. In this simple encounter, the characters can employ whatever inventive tactics they want to pass the brigands. They may simply pay the toll, they may try to intimidate the bandits or appeal to their better nature by making a Charisma check, or they might resort to violence. Or, they may attempt something else entirely! Encourage creativity.

So you want to be a Mage of High Sorcery? To join the esteemed organization, you must travel to the Tower of Wayreth and undertake the most important event in your life—the harrowing Test of High Sorcery! If you can survive where so many aspiring mages have failed, you will forever bind your soul to the Gods of Magic and gain access to untold arcane secrets. The Test of High Sorcery is the perfect adventure for new and veteran players looking to experience Dungeons & Dragons in a new way! It is a solo adventure, where your choices have meaningful consequences, but it also provides balanced rules to play with a group or a Dungeon Master. This 154-page tome features: - A sprawling adventure that fits perfectly as an expansion to any Dragonlance campaign, Dragonlance: Shadow of the Dragon Queen, or as a stand-alone replayable experience - A tale full of sorcerous intrigue, featuring many new characters alongside iconic favorites like Fistandantilus, Takhisis, Fizban the Fabulous, and the Gods of Magic - Innovative Destiny and Trait mechanics make your choices really matter—and ensure every mage’s Test of High Sorcery is a unique experience - Over 60 possible outcomes to determine which Order of High Sorcery you join and provide compelling new plot hooks for your character during future adventures - Dozens of unique locations with rich stories and sorcerous challenges that Dungeon Masters can use to create their own version of the Test of High Sorcery - New magic items and stat blocks, with mechanics that support clever use of enemies’ weaknesses and the environment against them - Four gorgeous sample characters, with interactive character sheets designed to be new-player friendly so that you can jump right into the story - A detailed primer on the history of Krynn and how it relates to the Mages of High Sorcery - A community survey when you finish to let you see how you compare to other mages taking their Tests of High Sorcery

Kravenghast Necropolis is hidden in a valley that was formerly part of a now dead city. It consists of a small cemetery that sits atop an abandoned necromancer's laboratory. The necropolis has been refitted as a temple to Vecna, the undead God of secrets. The mausoleum in the cemetery contains a secret spiral staircase that leads to the underground laboratory. The temple is populated by a twisted cult of Vecna, led by the lich-priest Mauthereign. Pgs. 96-103
No description available.